StraightSmile Solutions®
Is the $6,000 Spear/Align Integration Course Worth It for You?
 Is the $6,000 Spear/Align Integration Course Worth It for You?
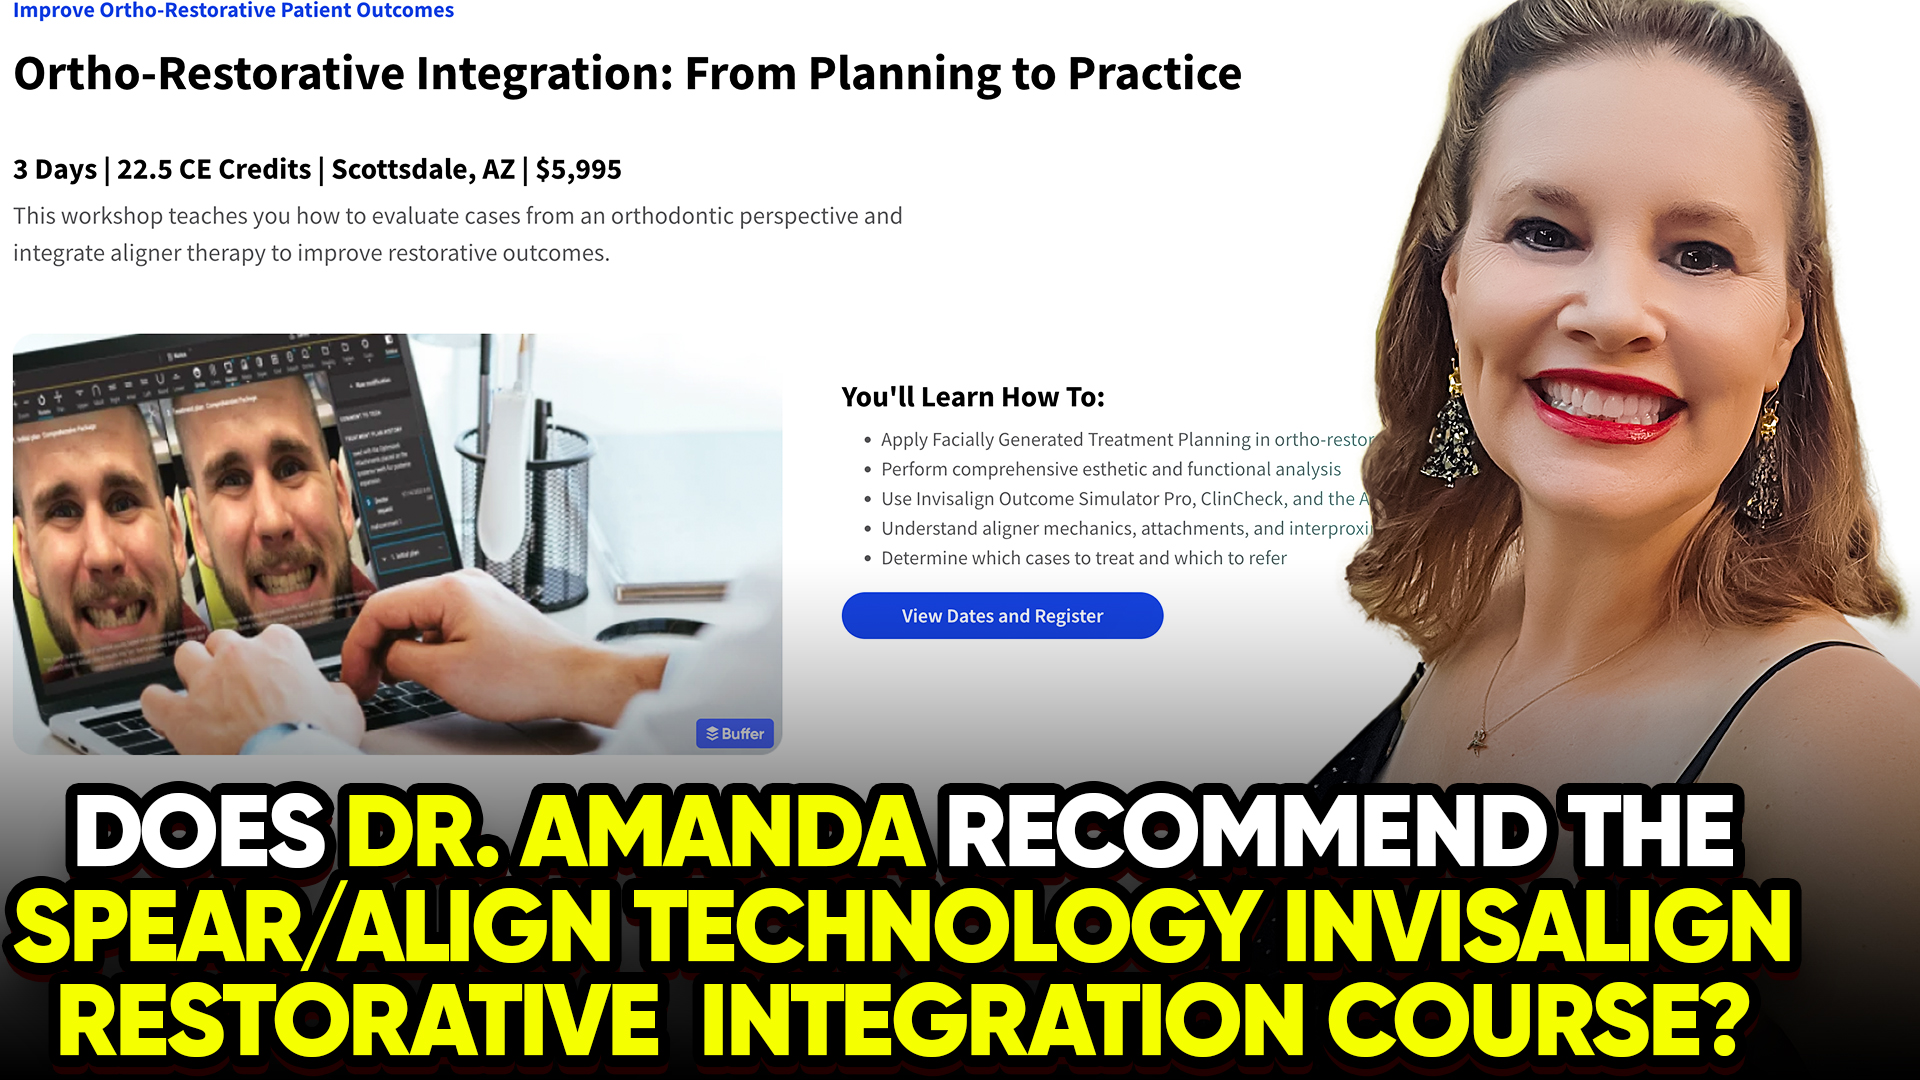
If you’ve seen the latest buzz around the Ortho-Restorative Integration workshop in Scottsdale, you know it’s being hailed as the “Gold Standard” for combining Invisalign with complex restorative work. But at nearly $6,000 for a three-day session, the question I’m getting most often is: “Dr. Amanda, do you recommend this?”
The short answer? It depends on your patient demographic.
The “Gold Standard” for Cosmetic & Restorative Specialists
This course is a powerhouse for the doctor who lives and breathes Facially Generated Treatment Planning (FGTP). If your practice is centered around full-mouth rehabilitations, high-end veneers, and complex adult cases, this integration is invaluable. It teaches you how to use tools like the Invisalign Smile Architect and Outcome Simulator Pro to design a smile from the face down, ensuring that the final restorative result is both functional and esthetically flawless.
Who Should Skip It?
While the Spear education is top-tier, I don’t recommend this for every GP. If your practice focus is primarily Phase 1 interceptive orthodontics or “bread and butter” teen cases, this $5,995 investment is, frankly, overkill. You can achieve excellent clinical results in those areas without the hefty tuition of a Scottsdale-based boutique workshop.
My Final Take
If you are a high-end restorative specialist, it’s a “yes.” If you are a high-volume orthodontic GP focusing on standard aligner cases, your ROI might be better found elsewhere.
Ready to level up your ortho game? Here is how I can help:
📺 Watch My Full Review: For a deeper dive into this specific course and others like it, head over to the StraightSmile Solutions YouTube Channel and browse my “Invisalign Reviews” playlist.
🎓 Get 27 CE Credits for Less: If you want a comprehensive ortho foundation without the $6,000 price tag, check out my Orthodontic Educational Workflow.
🤝 Let’s Talk Strategy: Not sure which CE path fits your practice? Book a free consultation with me today, and let’s find the right fit for your goals!
Boone Gauge, IDB vs Free-Handing Brackets – Which Is Cheapest and Most Efficient?
 Boone Gauge, IDB vs Free-Handing Brackets – Which Is Cheapest and Most Efficient?
I. Introduction
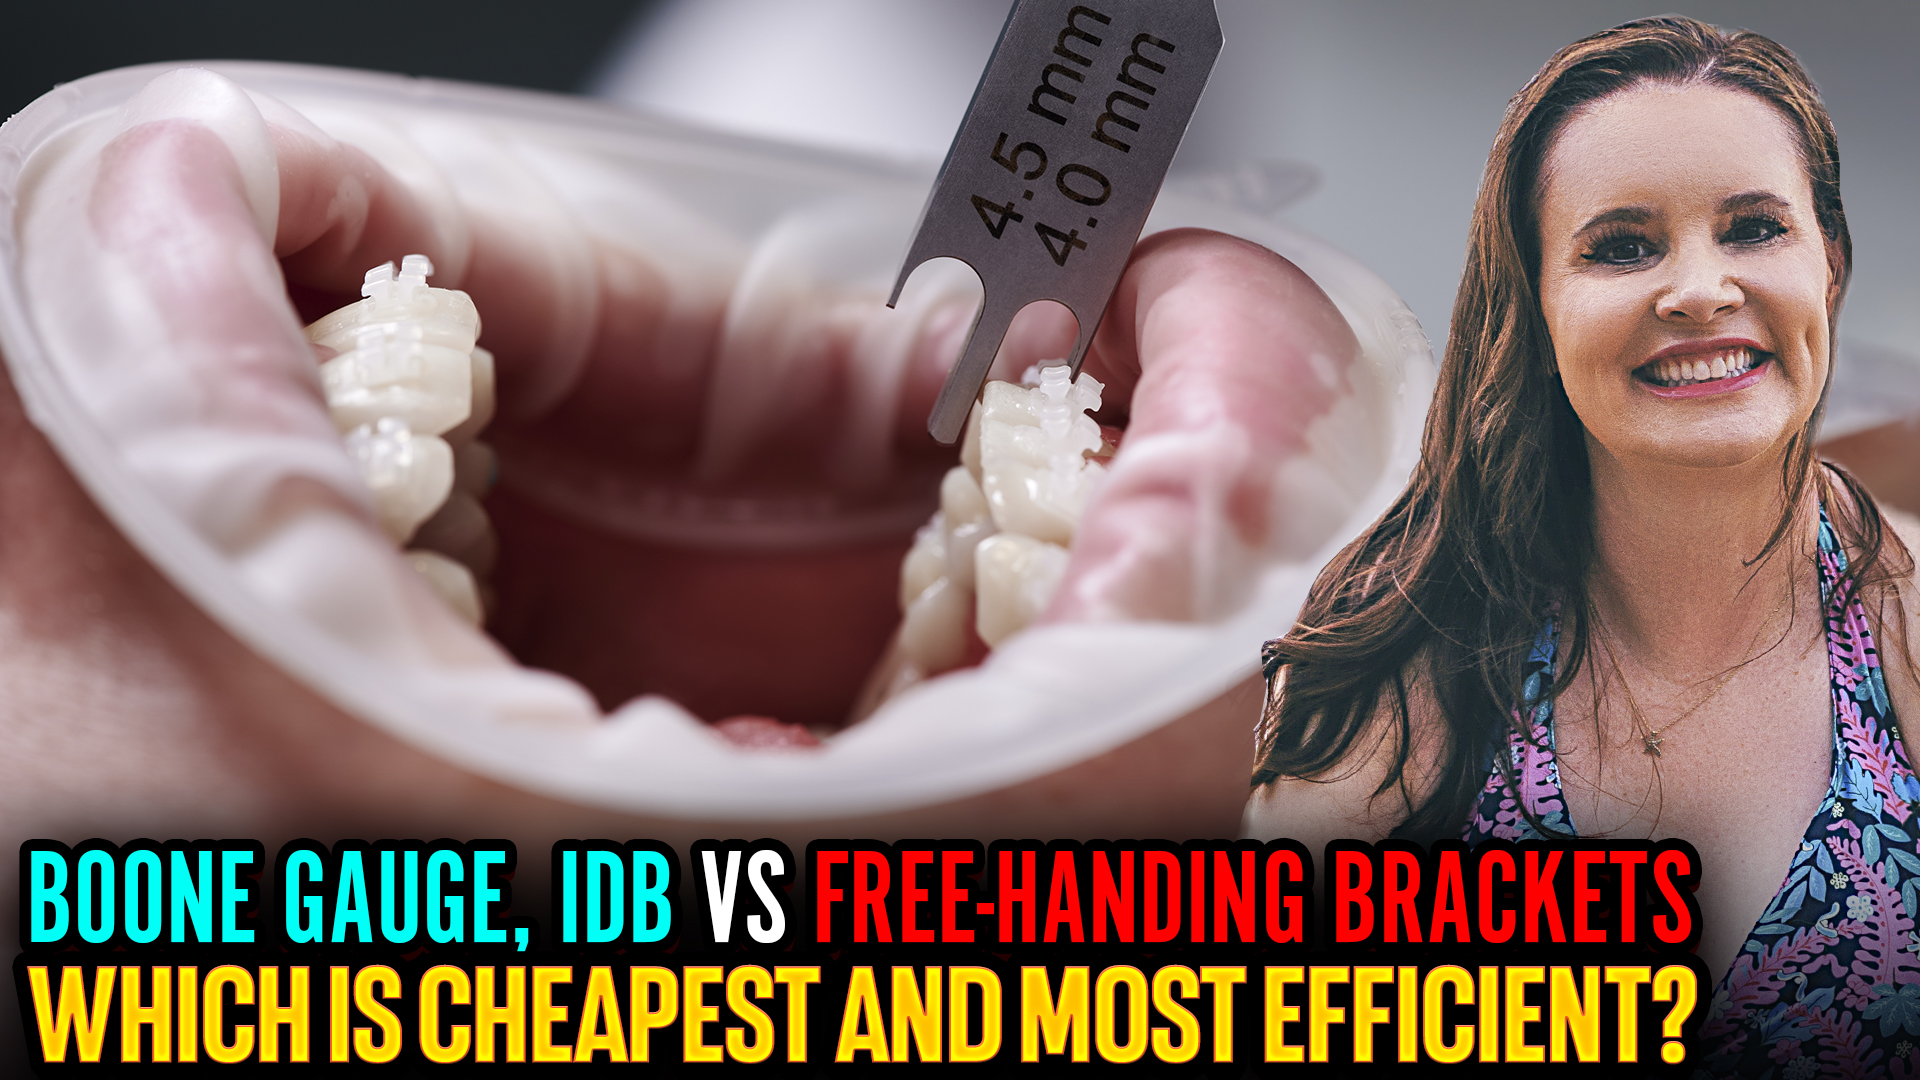
Dr Amanda from StraightSmile Solutions compares indirect bonding (IDB) with free-handing brackets.
Her strong recommendation: general dentists should use IDB for accuracy and predictability.
But bracket breakages happen, so you still need to know how to freehand when necessary.
II. Why Indirect Bonding Wins
Free handing requires years of experience to develop a good “eyeball” for bracket placement.
Most beginners place many brackets incorrectly, learning only through mistakes.
IDB lets you see the final setup digitally, tweak positions, and bond with confidence.
Affordable IDB options are available from multiple vendors.
III. The Problem with Boone-Type Gauges
Some doctors think a mechanical gauge makes free handing accurate.
Dr Amanda has seen many cases done entirely with such instruments – she was not impressed.
Teeth vary in size, shape, wear, and angulation. A one-size-fits-all gauge cannot account for individual anatomy.
It only works for “run-of-the-mill generic teeth,” which most patients don’t have.
IV. How to Free-Hand When You Must
Use a recent pano on the computer screen in front of you.
Work one quadrant or one arch at a time.
Mirror brackets: 8 and 9 should match, 7 and 10 should match, etc.
Draw the long axis of each tooth on the pano (as taught in residency).
Place brackets at the center of the clinical crown, but adjust based on your treatment plan (e.g., intrude a worn tooth).
Use a perio probe to check parallelism and symmetry.
V. Fixing Mistakes
After initial levelling with a light wire (e.g., 16 NiTi), errors become visible.
Brackets can be removed and repositioned as needed.
VI. Cost and Efficiency
IDB is not expensive and saves chair time by reducing repositioning.
Free handing is “cheapest” upfront but costs more in time, frustration, and compromised results.
For a busy practice, IDB is far more efficient and predictable.
VII. The Bottom Line
Use indirect bonding for initial placement; it’s accurate, affordable, and efficient.
Learn to free-hand for emergencies (broken brackets) using a pano and careful mirroring.
Skip the Boone gauge. It won’t give you the results you want.
Is it a Liability to Treat During the “Ugly Duckling” Phase?
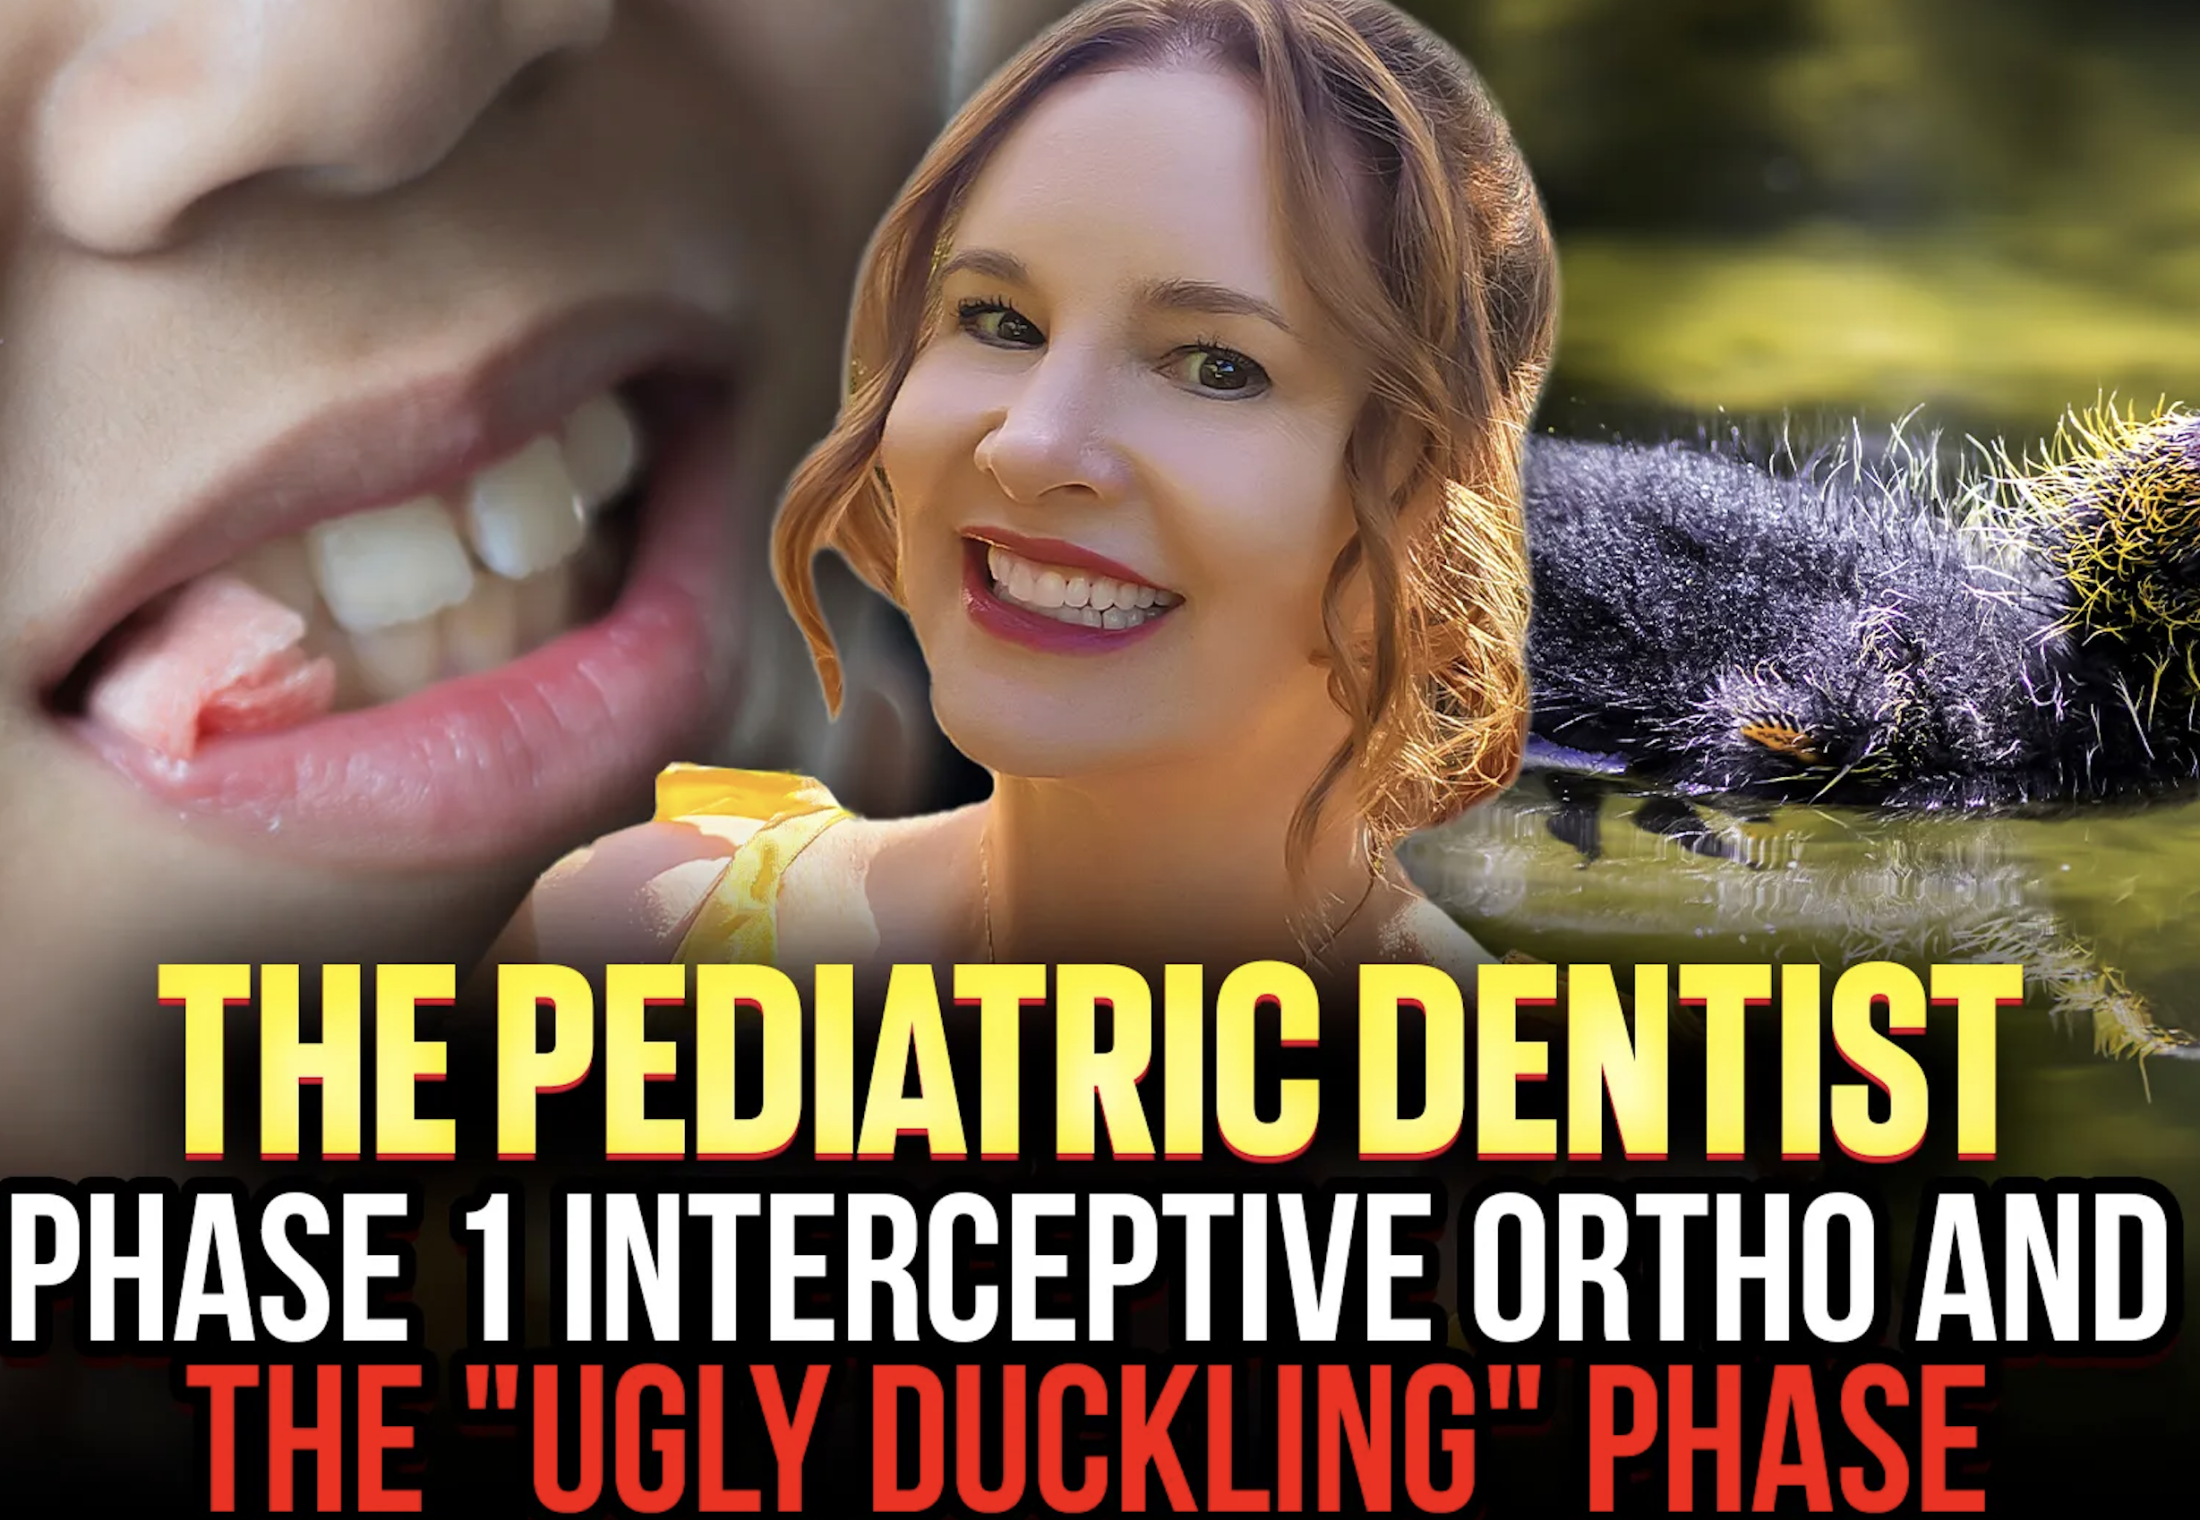 Current dental literature and expert consensus increasingly support the idea that many early dental conditions—specifically the “ugly duckling” stage—are normal developmental phases that resolve without intervention. Research emphasizes that Phase 1 treatment should be reserved for specific functional issues rather than cosmetic spacing in young children.
Key Evidence for Avoiding Unnecessary Phase 1 Treatment
The “Ugly Duckling” Stage (Broadbent’s Phenomenon): Literature defines this as a natural stage (typically ages 7–12) where a midline gap (diastema) and flared front teeth appear as the permanent canines push against the roots of the incisors. Expert consensus confirms these issues are often self-correcting as the canines eventually erupt into their proper place, requiring no immediate treatment.
Lack of Long-Term Advantage: Multiple reviews, including those highlighted on platforms like the Kevin O’Brien Orthodontic Blog, suggest a “lack of evidence” that early treatment for common issues like Class II malocclusion offers significant benefits over waiting for a single phase of treatment later.
Specific Exclusions: Clinical guidelines state that minor crowding (less than 2mm) or small gaps should be monitored rather than treated. Most comprehensive orthodontic organizations, such as the American Association of Orthodontists, only recommend Phase 1 for severe malocclusions, jaw growth discrepancies, or risks to permanent teeth.
When Phase 1 Is Actually Necessary
According to current literature, intervention is typically only prioritized for:
Impacted Canines: To prevent root resorption of neighboring teeth and ensure proper eruption.
Bite Problems: Such as crossbites (which can cause asymmetric jaw growth) or severe underbites/overbites.
Arch Constriction: Where the jaw is too narrow to accommodate permanent teeth.
Social/Psychological Impact: If a child is experiencing significant bullying or distress due to their dental appearance.
When Can You Debond and Finish That Phase 1 Interceptive Case? (Braces, Invisalign, or RPE)
 I. Introduction
- The Phase 1 debond checklist is completely different from the comprehensive/Phase 2.
- Many clinicians either under-bake (raw) or overdo (burnt) Phase 1.
- Poorly done Phase 1 can lead to board complaints or refund requests, especially if another provider catches the mistakes.
II. The Goal of Phase 1
- Fix the bite, habits, and myofunctional issues.
- Set up the foundation so that permanent teeth (3s, 4s, 5s, 7s) have space to erupt.
- No guarantees that every tooth will come in perfectly, but you must create the space.
III. The Debond Checklist
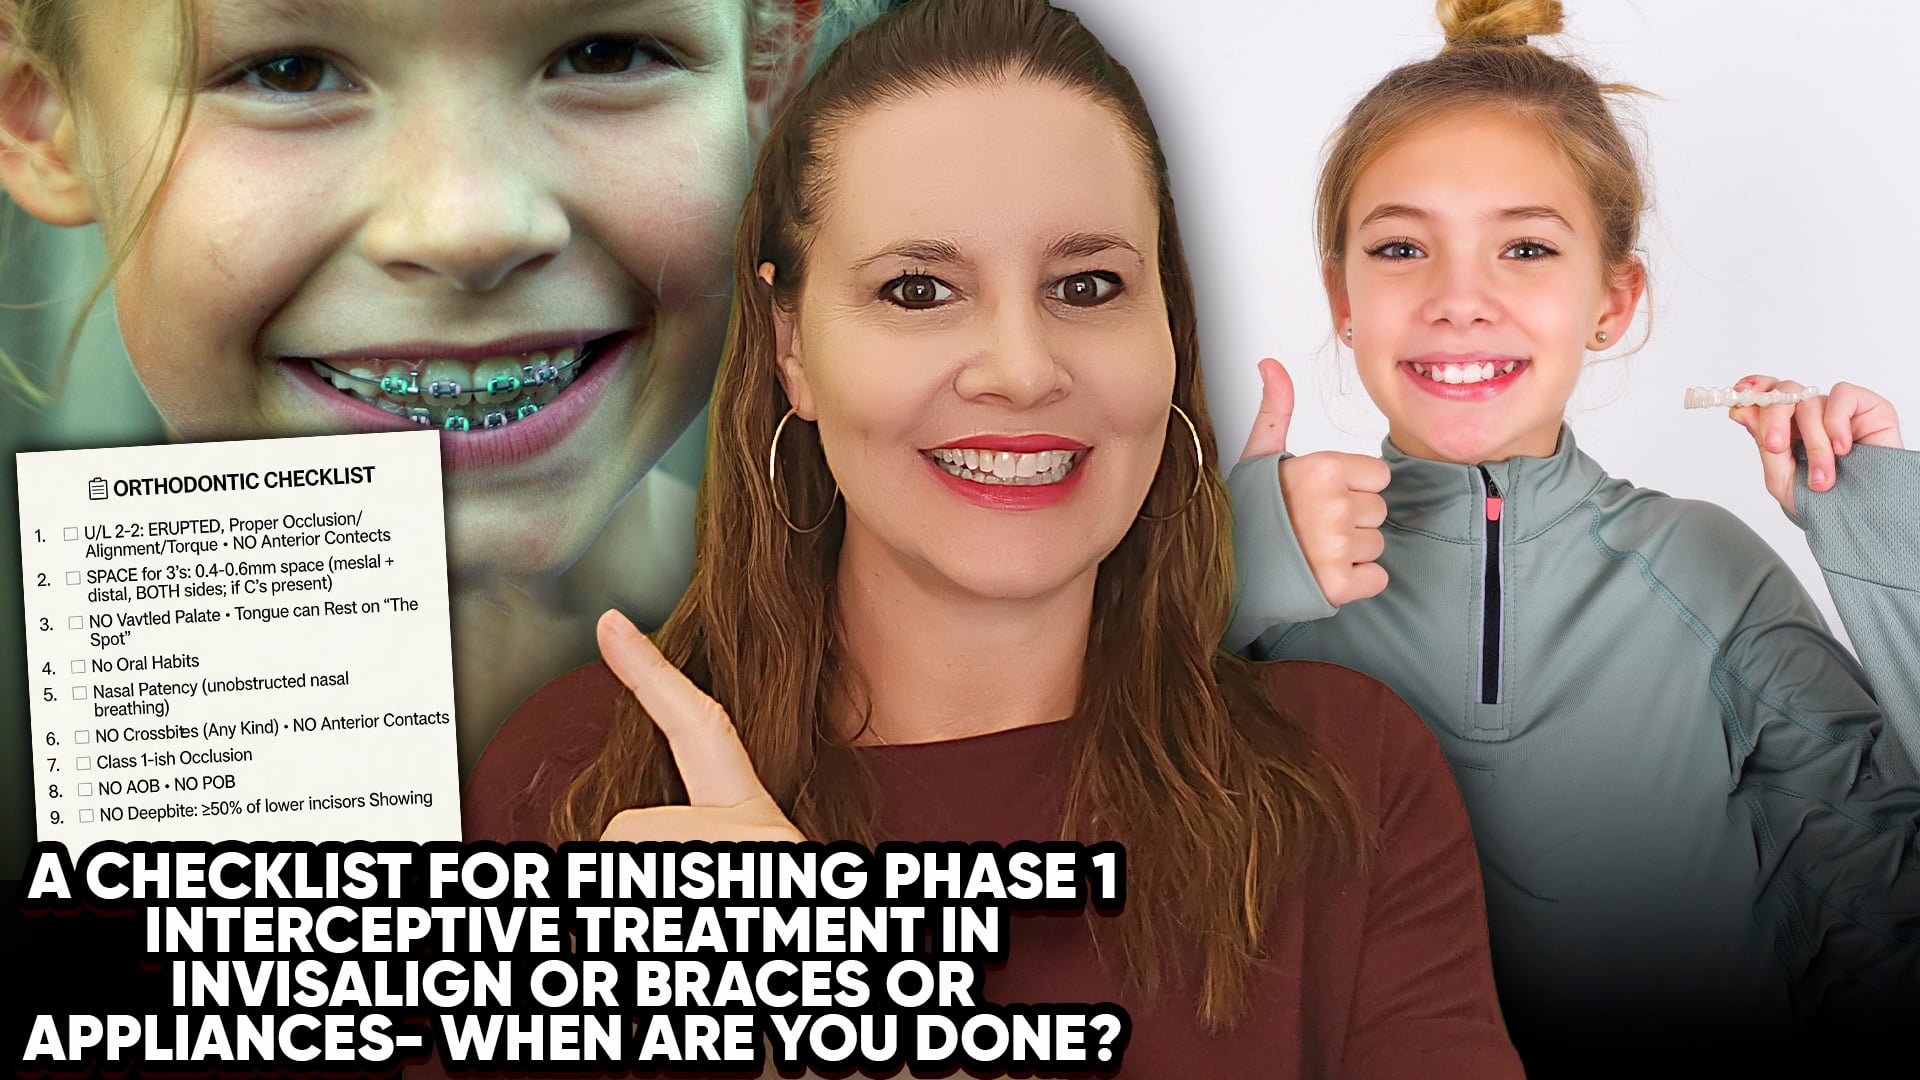
- Upper and lower 2-2 (7-10) should be erupted, aligned, and in proper occlusion.
- There should be a small overjet – no anterior tooth-to-tooth contact.
- If Cs (canine primary teeth) are still present, there must be space around them for the permanent canines.
- No vaulted palate – palate should be remodelled (RPE or IPE done).
- No crossbites (anterior or posterior). The upper arch should be about half a tooth wider than the lower.
- No crowding. Over-expand rather than under-expand extra space is fine.
- No anterior open bite (AOB) or posterior open bite (POB). Back teeth should touch.
- Vertical overlap: see 10-60% of lower incisors – no deep bite.
- Nasal patency and oral habits must be addressed (myo/ENT clearance obtained before starting).
IV. The Retention and Recall Period
- Retention after Phase 1 is often unnecessary – children outgrow retainers quickly.
- Have upfront conversations about what is included (retainers, recalls).
- Keep patients on tight recall every 3 – 6 months between Phase 1 and Phase 2 – these visits are included in the fee, so charge appropriately.
- Good recall keeps patients from going elsewhere for Phase 2.
V. The Bottom Line
- Phase 1 is done when the bite is corrected, space is created, and airway/myo issues are managed.
- Document everything. Get specialist clearances in writing.
- Don’t rush. A proper Phase 1 prevents liability and makes Phase 2 easy.
Should You De-Rotate a Molar BEFORE RPE or Banded Appliances? Or After?
I. Introduction
- Dr Amanda from StraightSmile Solutions addresses a common clinical dilemma: rotated molars in mixed dentition when planning an expander or banded appliance.
- If you band a rotated molar, the expander may sit strangely and produce unpredictable forces.
II. The Problem
- A rotated molar makes band placement awkward.
- The expander (RPE or other banded appliance) may not fit properly or may deliver off- axis forces.
- This can compromise expansion and lead to unwanted tooth movement.
III. The Solution: De- Rotate First
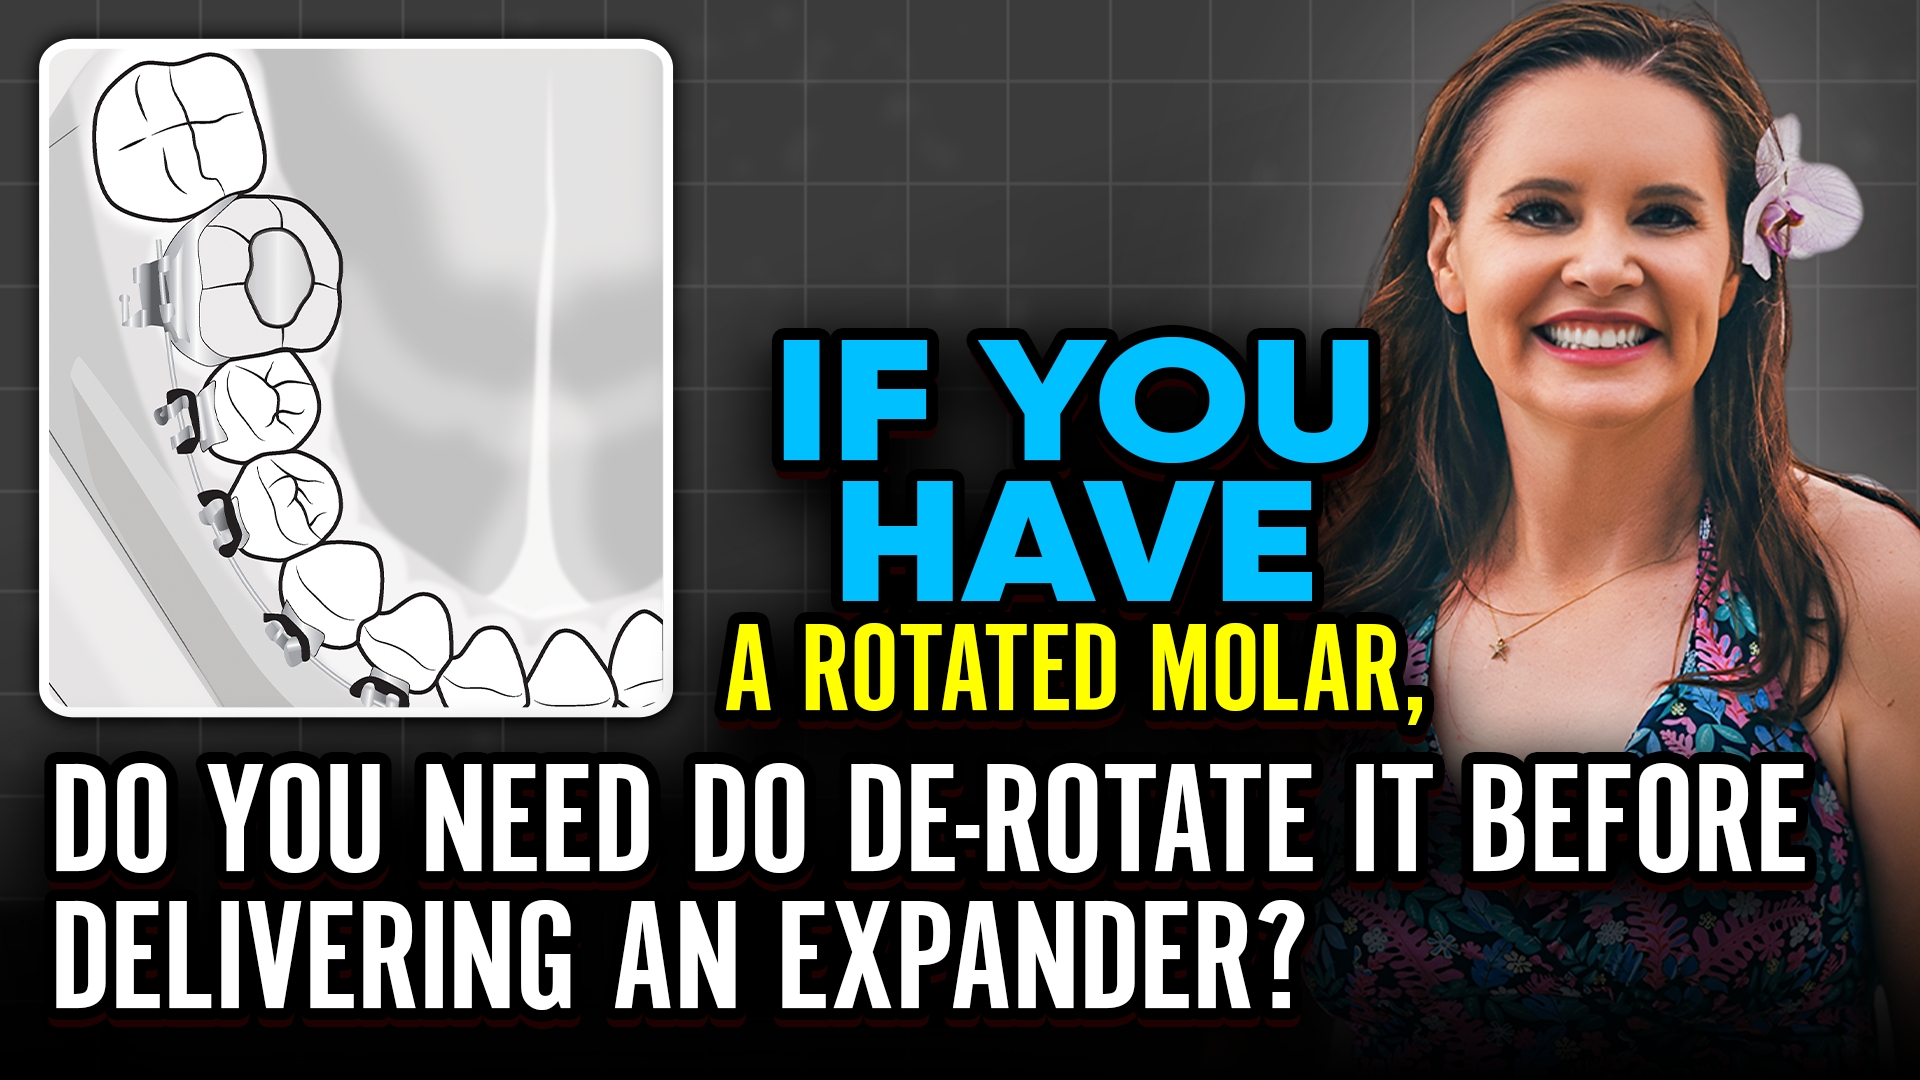
- Yes, de-rotate the molar before delivering the expander.
- A simple 2×4 (two brackets on incisors + two on molars) or even just a 2×2 can straighten the molar.
- You may not bond the front teeth if the arch is too constricted; focus on the rotated tooth.
IV. Invisalign as an Easier Alternative
- Invisalign First is much simpler for de-rotating molars before expansion.
- Aligners can gradually upright the tooth without complex mechanics.
V. When Mechanics Get Complex
- Sometimes you need to engage the tooth behind the rotated molar or use lingual buttons.
- Not every case is simple. If you are unsure, consult an orthodontist.
VI. The Bottom Line
- De- rotate the molar BEFORE banding for RPE or other appliances.
- A few weeks of light mechanics now saves you from a poorly fitting expander and unpredictable results.
- When in doubt, phone a friend (orthodontist) for guidance.
When Can You Debond and Finish That Phase 1 Interceptive Case? (Braces, Invisalign, or RPE)
When Can You Debond and Finish That Phase 1 Interceptive Case? (Braces, Invisalign, or RPE)
I. Introduction
- The Phase 1 debond checklist is completely different from the comprehensive/Phase 2.
- Many clinicians either under-bake (raw) or overdo (burnt) Phase 1.
- Poorly done Phase 1 can lead to board complaints or refund requests, especially if another provider catches the mistakes.
II. The Goal of Phase 1
- Fix the bite, habits, and myofunctional issues.
- Set up the foundation so that permanent teeth (3s, 4s, 5s, 7s) have space to erupt.
- No guarantees that every tooth will come in perfectly, but you must create the space.
III. The Debond Checklist
- Upper and lower 2-2 (7-10) should be erupted, aligned, and in proper occlusion.
- There should be a small overjet – no anterior tooth-to-tooth contact.
- If Cs (canine primary teeth) are still present, there must be space around them for the permanent canines.
- No vaulted palate – palate should be remodelled (RPE or IPE done).
- No crossbites (anterior or posterior). The upper arch should be about half a tooth wider than the lower.
- No crowding. Over-expand rather than under-expand extra space is fine.
- No anterior open bite (AOB) or posterior open bite (POB). Back teeth should touch.
- Vertical overlap: see 10-60% of lower incisors – no deep bite.
- Nasal patency and oral habits must be addressed (myo/ENT clearance obtained before starting).
IV. The Retention and Recall Period
- Retention after Phase 1 is often unnecessary – children outgrow retainers quickly.
- Have upfront conversations about what is included (retainers, recalls).
- Keep patients on tight recall every 3 – 6 months between Phase 1 and Phase 2 – these visits are included in the fee, so charge appropriately.
- Good recall keeps patients from going elsewhere for Phase 2.
V. The Bottom Line
- Phase 1 is done when the bite is corrected, space is created, and airway/myo issues are managed.
- Document everything. Get specialist clearances in writing.
- Don’t rush. A proper Phase 1 prevents liability and makes Phase 2 easy.
Should You Solder Distal Extensions on Your RPE or Appliances for 6’s and 7’s?
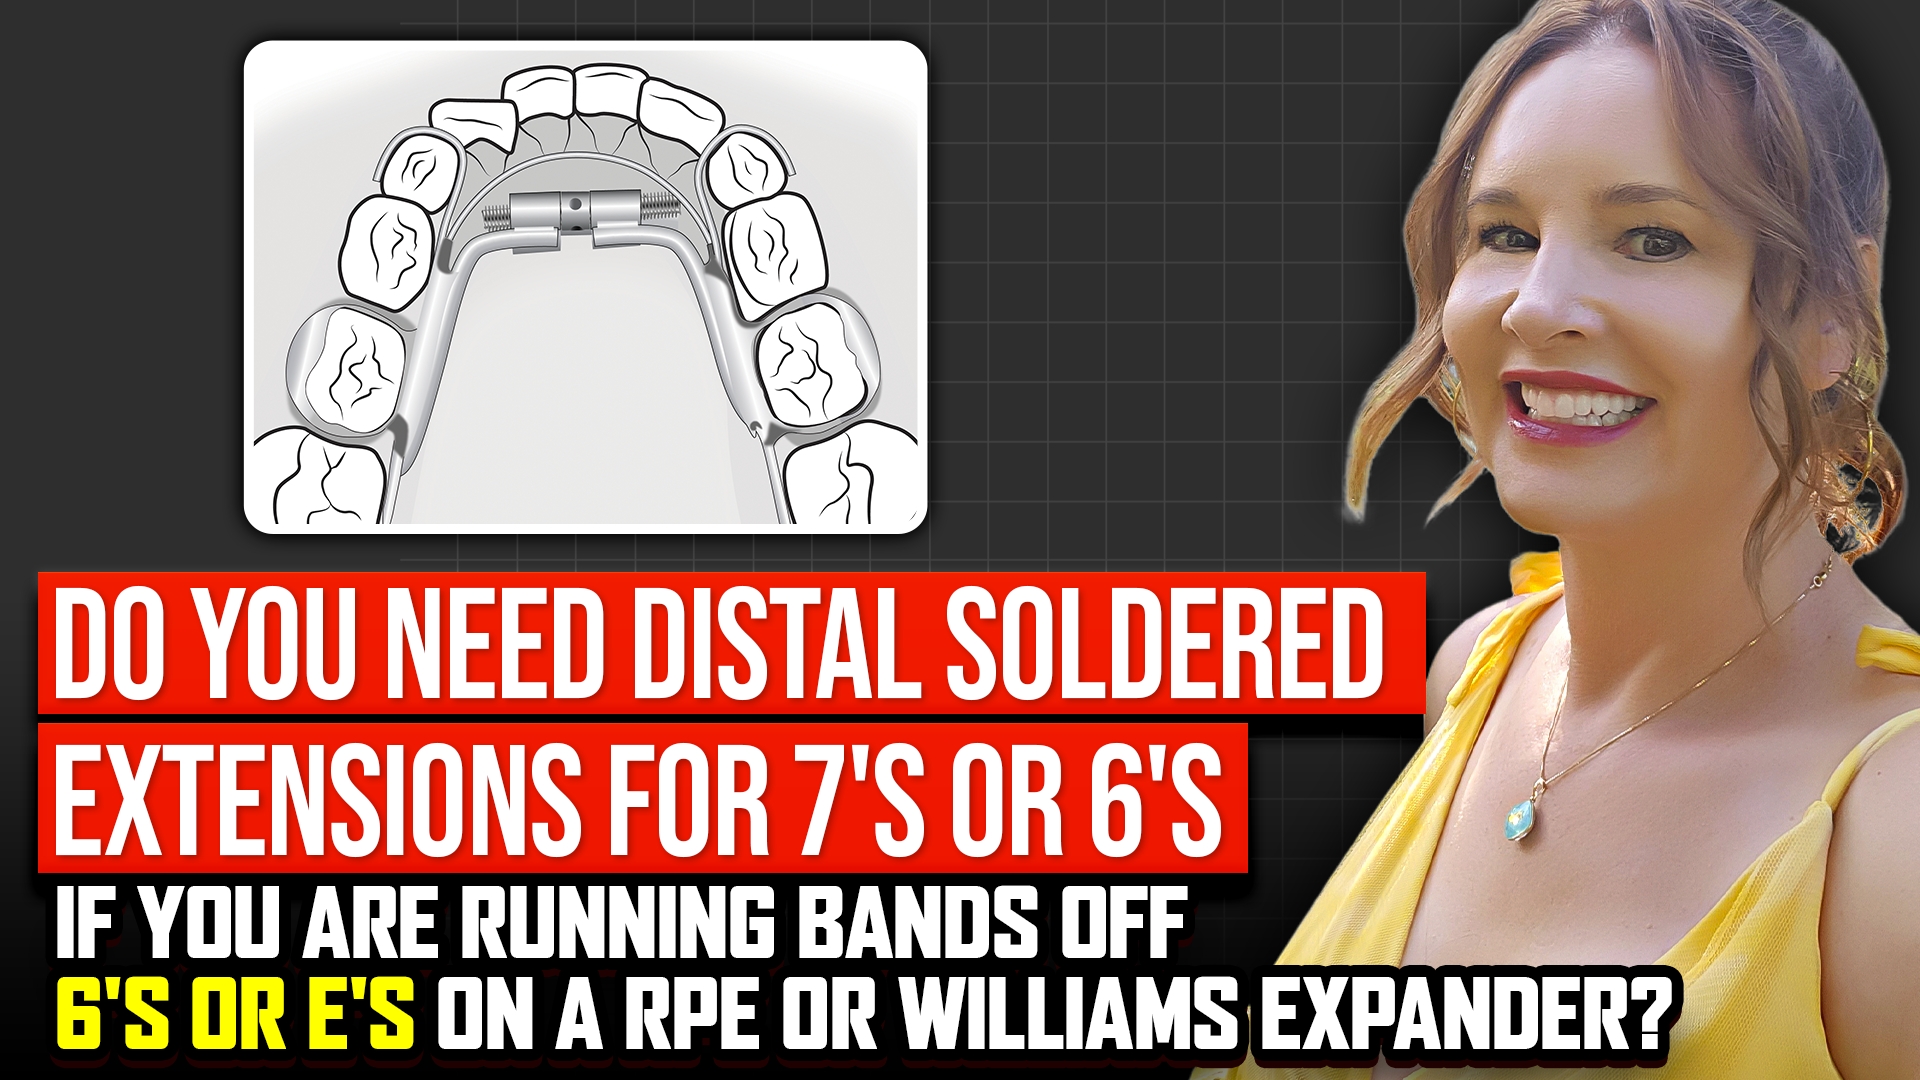
Should You Solder Distal Extensions on Your RPE or Appliances for 6’s and 7’s?
I. Introduction
Dr Amanda from StraightSmile Solutions answers a common lab question: Should you add soldered distal extensions to an RPE or expander to engage the first or second molars?
The answer: it depends on your finishing plan, the patient’s age, and the appliance type.
II. The Case for Distal Extensions
Extensions can help keep molars travelling with the expansion, preventing them from lagging.
If you plan to finish the case in braces, getting a band on a wonky second molar is a nightmare. Extensions may reduce that headache.
Some labs automatically add them; others require a request. Cost is minimal (~$5-10 per case).
III. The Case Against Distal Extensions
Extensions add bulk, making the appliance more annoying for the patient (more wax, more irritation).
If you are finishing with Invisalign, you can easily pick up any mildly rotated molars later – extensions are unnecessary.
In pre-pubertal patients doing true skeletal expansion, the molars should travel with the expander anyway. If they don’t, that’s a different problem.
IV. Age and Arch Considerations
Upper arch: In a growing child, proper expansion separates the midpalatal suture; molars should move with the appliance.
Lower arch: Expanders only upright the curve of Spee molars, may not track perfectly, so that extensions might help.
For very young children (expand on E’s), be cautious about stressing primary teeth.
V. The Bottom Line
Distal extensions are optional, not required.
Use them if you are finishing with braces and want to minimise wonky molars.
Skip them if you are finishing with Invisalign aligners, which can fix minor rotations easily.
Discuss with your lab and weigh patient comfort vs mechanical benefit.
How to Avoid a Lawsuit or Board Complaint for DUMB REASONS in Braces or Invisalign
How to Avoid a Lawsuit or Board Complaint for DUMB REASONS in Braces or Invisalign
I. Introduction
- Dr Amanda from StraightSmile Solutions wraps up her liability series with the “dumb dumb” reasons for lawsuits.
- These are inexcusable, often laughable mistakes, but they happen.
- Good news: They’re entirely avoidable with basic attention to detail.
II. Pathology – Unforgivable
- Take a pano or CBCT. If you see anything suspicious (cyst, ameloblastoma, etc.), do NOT start ortho.
- Refer for radiology or take additional X-rays (PA with shift, occlusal).
- You are responsible for reading your own X-rays. Don’t start a case with any chance of pathology.
III. IPR Done Wrong
- Using a bur too aggressively can remove too much enamel or cut gums/lips.
- Stick with fine strips (slow and safe) instead of rushing with discs or burs.
- Most orthodontists avoid burs for a reason. Take your time.
IV. Allergies – Latex and Nickel
- Latex allergy: non-latex elastics are junk. Avoid elastic-based mechanics altogether.
- Nickel allergy: girls usually know from jewellery; boys may not. If suspected, send for testing and get a written release.
- Alternative: ceramic brackets with nickel-free wires (still trace nickel) or switch to Invisalign.
V. Chemical Burns (Etch) and Swallowed Objects
- Etch burns that scar can lead to payouts. Be careful.
- Swallowing foreign objects (e.g., from “mousetrap” mechanics) is a known lawsuit trigger.
- Dr Amanda avoids complicated auxiliary mechanics entirely.
VI. General Sloppiness
- Failing to document chief complaint, diagnosis, treatment plan, informed consent, and P.A.R.? (Procedures, Alternatives, Risks, Questions).
- Rushing the treatment conference without giving patients a chance to ask questions.
- Not signing and dating the consent form yourself.
VII. The Bottom Line
- Ortho is fun and not hard if you are detail-oriented and not sloppy.
- Phase One interceptive remains the safest path.
- Don’t rush. Document everything. And never start a case you’re not sure about.
How to Avoid a Lawsuit or Board Complaint from TMJ/TMD in Braces or Invisalign
I. Introduction
- Dr Amanda from StraightSmile Solutions continues her liability series, now addressing TMJ/TMD complaints.
- This category is lower in frequency but nebulous and harder to defend.
- Her core advice: If you suspect a TMJ issue, do NOT start ortho without specialist clearance in writing.
II. The Specialist Problem
- TMJ/TMD is not an ADA-recognized specialty, but oral pain specialists, prosthodontists, or OMFS/MD are the appropriate referrals.
- If you hear clicking, popping, or feel asymmetry, stop. Do not start ortho.
- Get a written release from a specialist before proceeding.
III. Red Flags on Exam
- Unilateral posterior open bites (POBs) are a major red flag.
- Asymmetries, condylar degeneration, or any POB = do not start the case.
- If you see a POB, you can try deprogramming or settling, but never start active ortho without further investigation.
IV. Imaging Requirements
- CBCT with a large enough FOV to visualize both condyles is essential.
- Use a reading service (e.g., Beam Readers, 3DX) to evaluate hard tissue asymmetry or degeneration.
- CBCT will not show disc or ligament issues, but it catches hard tissue problems.
- If you lack the right FOV technology, pass the case to someone who does.
V. Standard of Care
- A large percentage of US dentists have CBCT. If you start a case without ruling out TMJ pathology and something goes wrong, it’s on you.
- Don’t let production pressure push you into risky cases.
- You don’t have to treat every patient. Passing on a TMJ case is smart, not weak.
VI. The Bottom Line
- TMJ/TMD complaints are tough to win, but they are avoidable.
- Screen thoroughly. Never start a case with unilateral POB or joint symptoms without a specialist’s written blessing.
- Document everything. Get clearance. Sleep well at night.
How to Avoid a Lawsuit or a Board Regulatory Complaint Regarding RPE, Expansion, and Phase 1 Airway
I. Introduction
- Dr Amanda from StraightSmile Solutions adds a final topic to her liability series: Phase 1 airway and expansion cases.
- This area is becoming a subtle but growing source of complaints.
- The rules are still nebulous, but you need to know them.
II. The ADA/AAPD Joint Statement (2017)
- Dentists must screen pediatric patients for signs of deficient growth, development, or airway risk factors during routine exams.
- Every 6-12 months. Every child.
- Failure to screen or refer is a potential lawsuit.
III. Failure to Refer: The Big Risk
- If you suspect a breathing disorder, you must refer to a physician (ENT or sleep specialist) for a definitive diagnosis.
- You cannot simply “do an expander” and assume it will fix the airway.
- Even if the expander helps symptoms, you have no medical diagnosis on paper. That’s a liability.
IV. You Can Treat Ortho Problems, Not Sleep Problems
- Sleep disordered breathing is a medical diagnosis. Only a physician can diagnose and treat it.
- You are allowed to treat orthodontic problems (narrow palate, crossbite, tongue space) that may also improve the airway.
- But you cannot treat “sleep problems” alone without a medical referral and diagnosis.
V. Timing of Expansion
- The correct time to expand is when the first molars erupt. That is standard of care.
- “Pre-expansion” before that is not standard of care and could be a risk.
- While lawsuits are unlikely now, if records are audited later, you could be found non-compliant.
VI. The Bottom Line
- Screen every child for airway risk. Document it.
- If you see red flags, refer to ENT or a sleep specialist. Get a diagnosis in writing.
- Do expansion only for orthodontic indications—not as a standalone airway treatment.
- Follow the standard of care on timing. Protect yourself now before the rules tighten further.