
StraightSmile Solutions®
Navigating the “Bait and Switch”: Ethically Moving Patients to Alternative Aligners
 Navigating the “Bait and Switch”: Ethically Moving Patients to Alternative Aligners
Switching a patient from Invisalign to an alternative clear aligner mid-treatment is a growing trend, often driven by a desire for lower lab fees or better administrative flexibility. However, this transition carries significant legal and ethical risks if not handled with absolute transparency. The primary danger lies in the “bait and switch” claim—where a patient is promised a premium brand like Invisalign but receives a different product without clear communication. To protect your practice, it is critical to use a specific “alternative aligner” consent form that documents the patient’s agreement to the change and addresses any financial adjustments, such as applying Invisalign lab fee credits.
Beyond the paperwork, clinicians must ensure that the alternative system is clinically capable of meeting the original treatment goals. While many white-label or third-party aligners are effective, the doctor remains legally responsible for the outcome, regardless of the brand used. Maintaining a consistent accountability loop—whether through in-person checks or virtual monitoring—is the best way to ensure the case stays on track after the switch. By prioritizing informed consent and clinical due diligence, you can safely leverage alternative aligner solutions to improve your practice’s overhead without compromising patient trust or care quality.
Actionable Resources for Your Practice:
Case Support & Templates: Access a library of orthodontic documents, including consent forms and checklists, on the StraightSmile Solutions Linktree.
Complimentary Guidance: Doctors and team members can schedule a free 20-minute consultation to discuss practice goals or specific case concerns.
Free Education: Explore over 3,000 instructional videos on the StraightSmile Solutions YouTube Channel to master everything from case selection to complex biomechanics.
Ready to scale your orthodontic production? Whether you need a one-on-one “hand-holding” session for a tricky case or a comprehensive training plan for your entire team, StraightSmile Solutions provides the digital coaching and turnkey education you need to succeed. Sign up today to start your journey toward orthodontic excellence!
Washboard Roots: An Old-School Analog Work around for Aligners and Braces when no CBCT
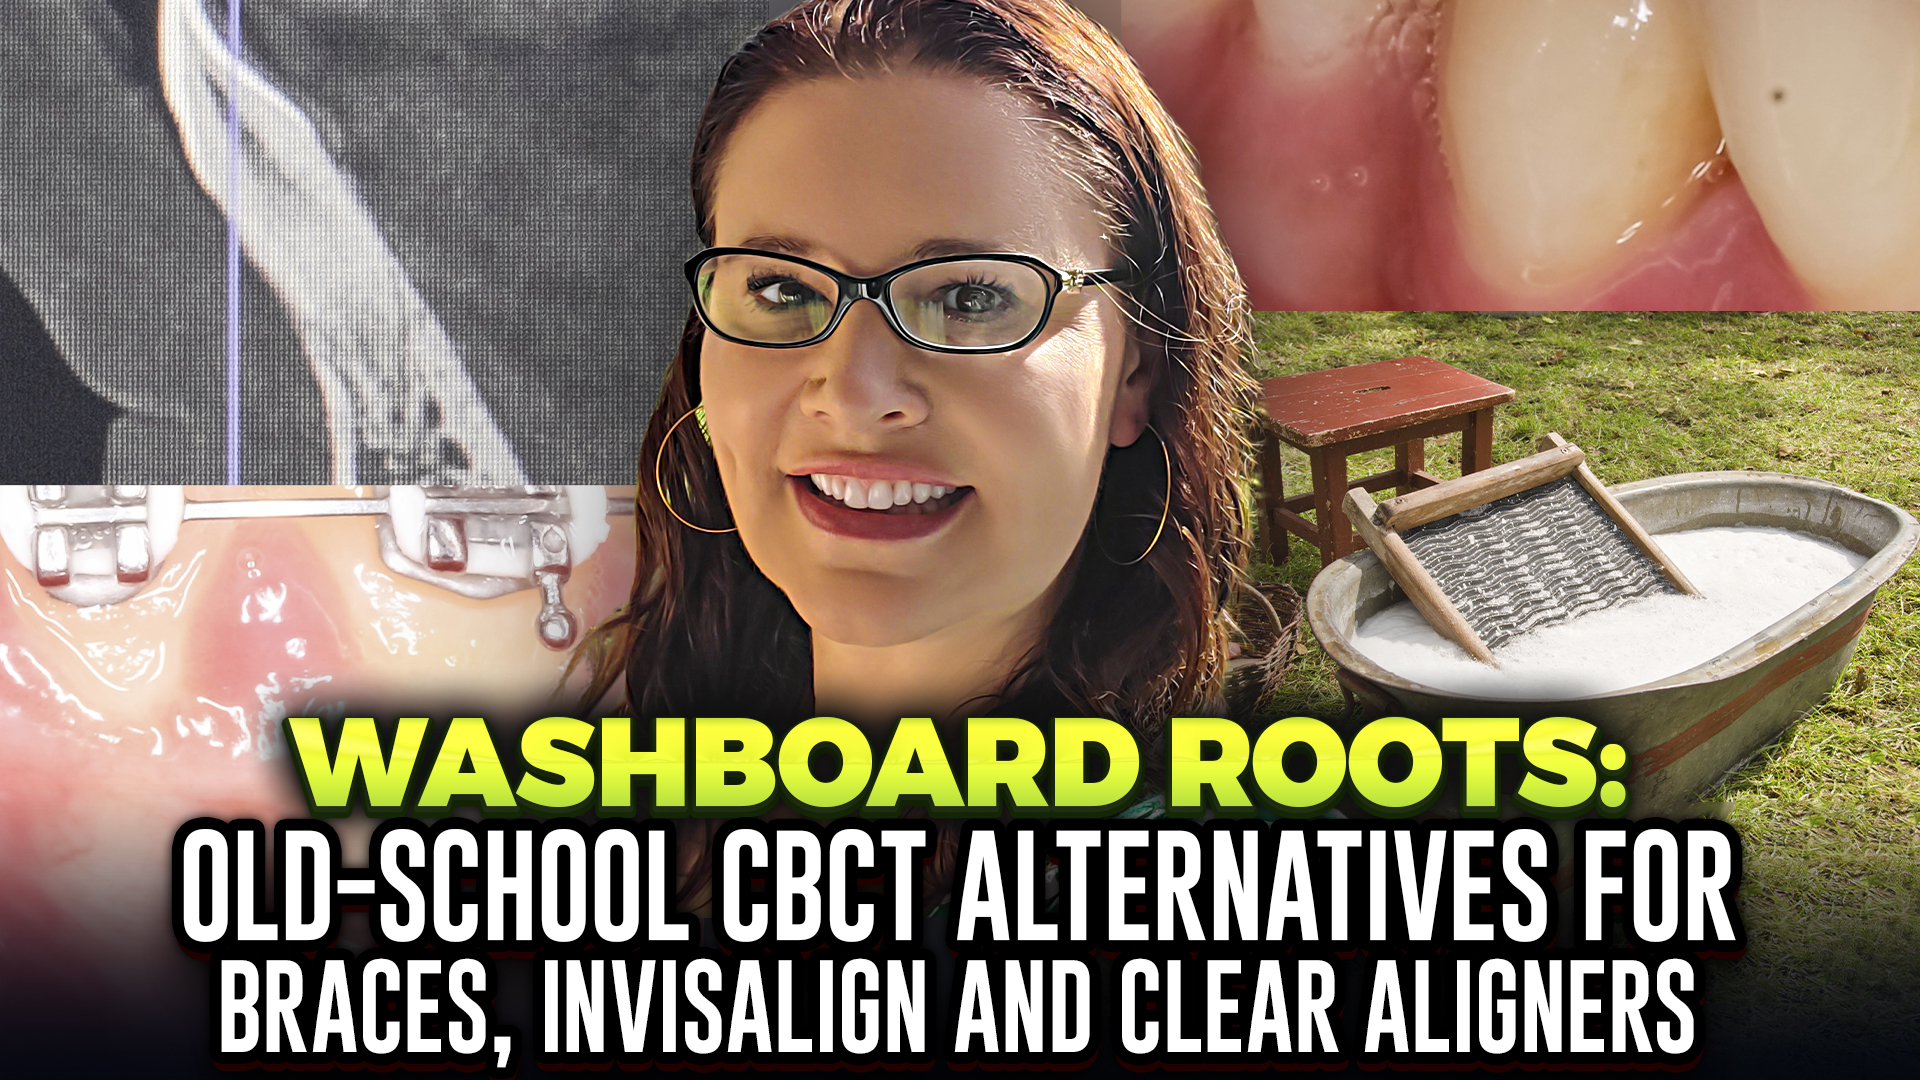 In the modern world of Invisalign and 3D scans, it’s easy to forget that orthodontics is built on centuries of physical mechanics. The StraightSmile Solutions YouTube channel, which features over 3,000 free educational videos, recently explored a critical clinical challenge known as Washboard Roots—a phenomenon that bridges the gap between 19th-century tools and 21st-century technology.
In orthodontics, the “washboard effect” refers to a condition where a tooth’s root is pushed too far toward the outer layer of the jawbone (the labial cortical plate). This causes the gums to thin and the physical contour of the underlying root to become visible or palpable through the tissue. The resulting bumpy texture looks and feels remarkably like a traditional laundry washboard.
If left unmanaged, this positioning can lead to:
Bone loss: The tooth begins to “exit” the supportive bone structure.
Root resorption: The root itself may begin to dissolve or erode—a top reason for board complaints.
Gingival recession: Thin gum tissue over the root prominence is more prone to pulling away.
The term is a nod to the essential household tool of the 1800s and early 1900s. Before electric machines, washing clothes was a grueling manual task involving a fluted metal or wood board.
The Ortho Connection: Just as those ridges applied force to fabric, “washboarding” in the mouth indicates that excessive force or improper torque is being applied to your teeth.
The “Old-School Analog Workaround” is crucial because digital software doesn’t always show where the bone actually ends. When a clinician detects that “washboard” feel, they may switch to traditional techniques—like sectional piggyback wires—to tuck the root back into the safety of the bone, an intervention digital-only workflows might miss.
SMELL YOUR FLOSS! Can a Hidden PERIO TRAP Caused by Bad Retainers Cause Gum Issues?
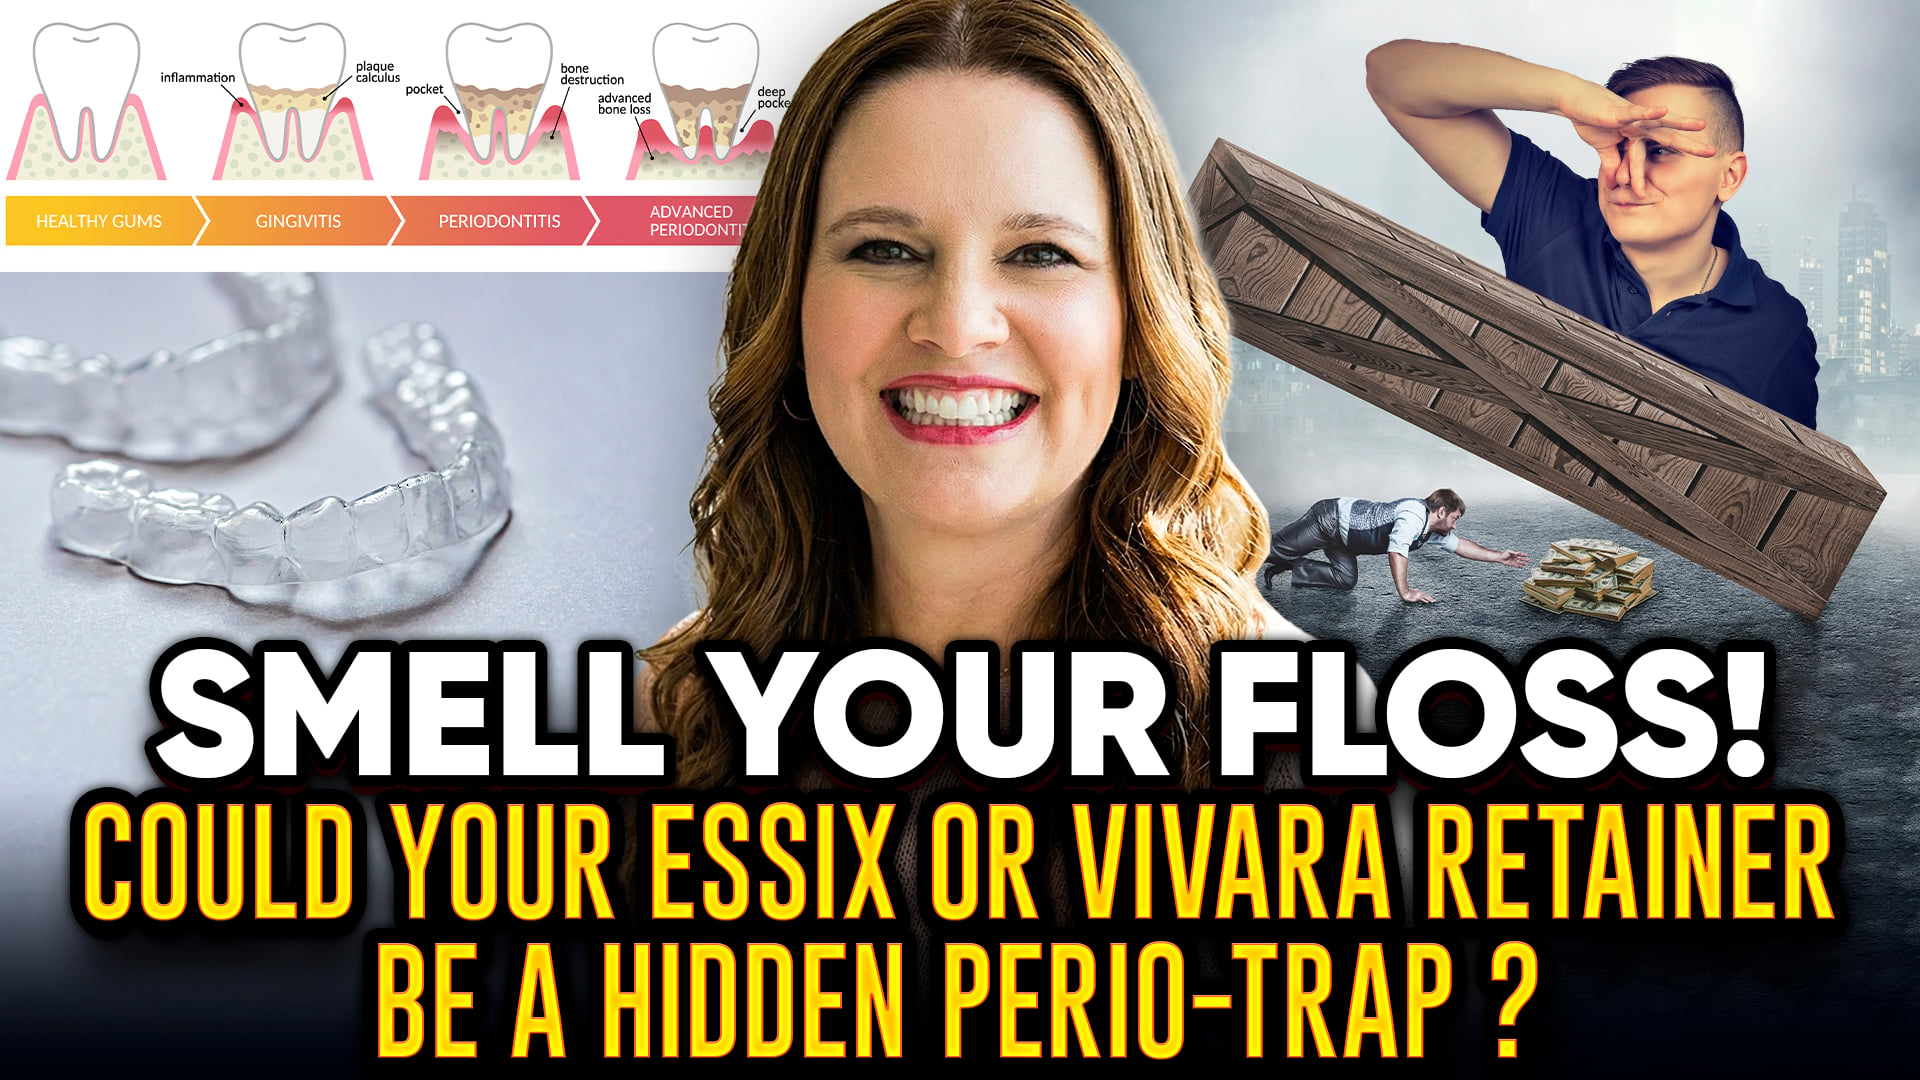 “Perio traps,” or microscopic gaps between teeth caused by loose contacts during orthodontic retention, can lead to food debris accumulation, bad breath, and potential periodontal disease [1]. Dr. Amanda of StraightSmile Solutions advises that if floss lacks a “snap” or produces an odor, these gaps must be addressed immediately to avoid severe gum tissue and bone loss [1]. Early intervention often involves fabricating new active retainers or using limited aligners to close the spaces [1]. You can watch the full video analysis on the StraightSmile Solutions YouTube channel.
Selecting the RIGHT Archwire for a Flared Case
- Watch the Deep Dive: Check out our latest video, What is the WIDEST Archwire? How do you Order? Decorative Bracketing, on our YouTube channel for a step-by-step breakdown on sourcing and selection.
- Clinical Pearl: Learn the importance of wire coordination in our video How to Coordinate your Arches: Lay Wires Flat.
- Explore More Blogs: Read our latest technical guides and case studies on the StraightSmile Solutions Blog.
- Get Personalized Support: Stuck on a difficult transverse case? Visit our Official Website to learn about our orthodontic consulting services for GPs and Pediatric Dentists.
- Resource Hub: Access all our recommended products and orthodontic forms via our Linktree.

Immediate vs. Passive Re-Bracketing: Solving the “Train-Wreck” Case
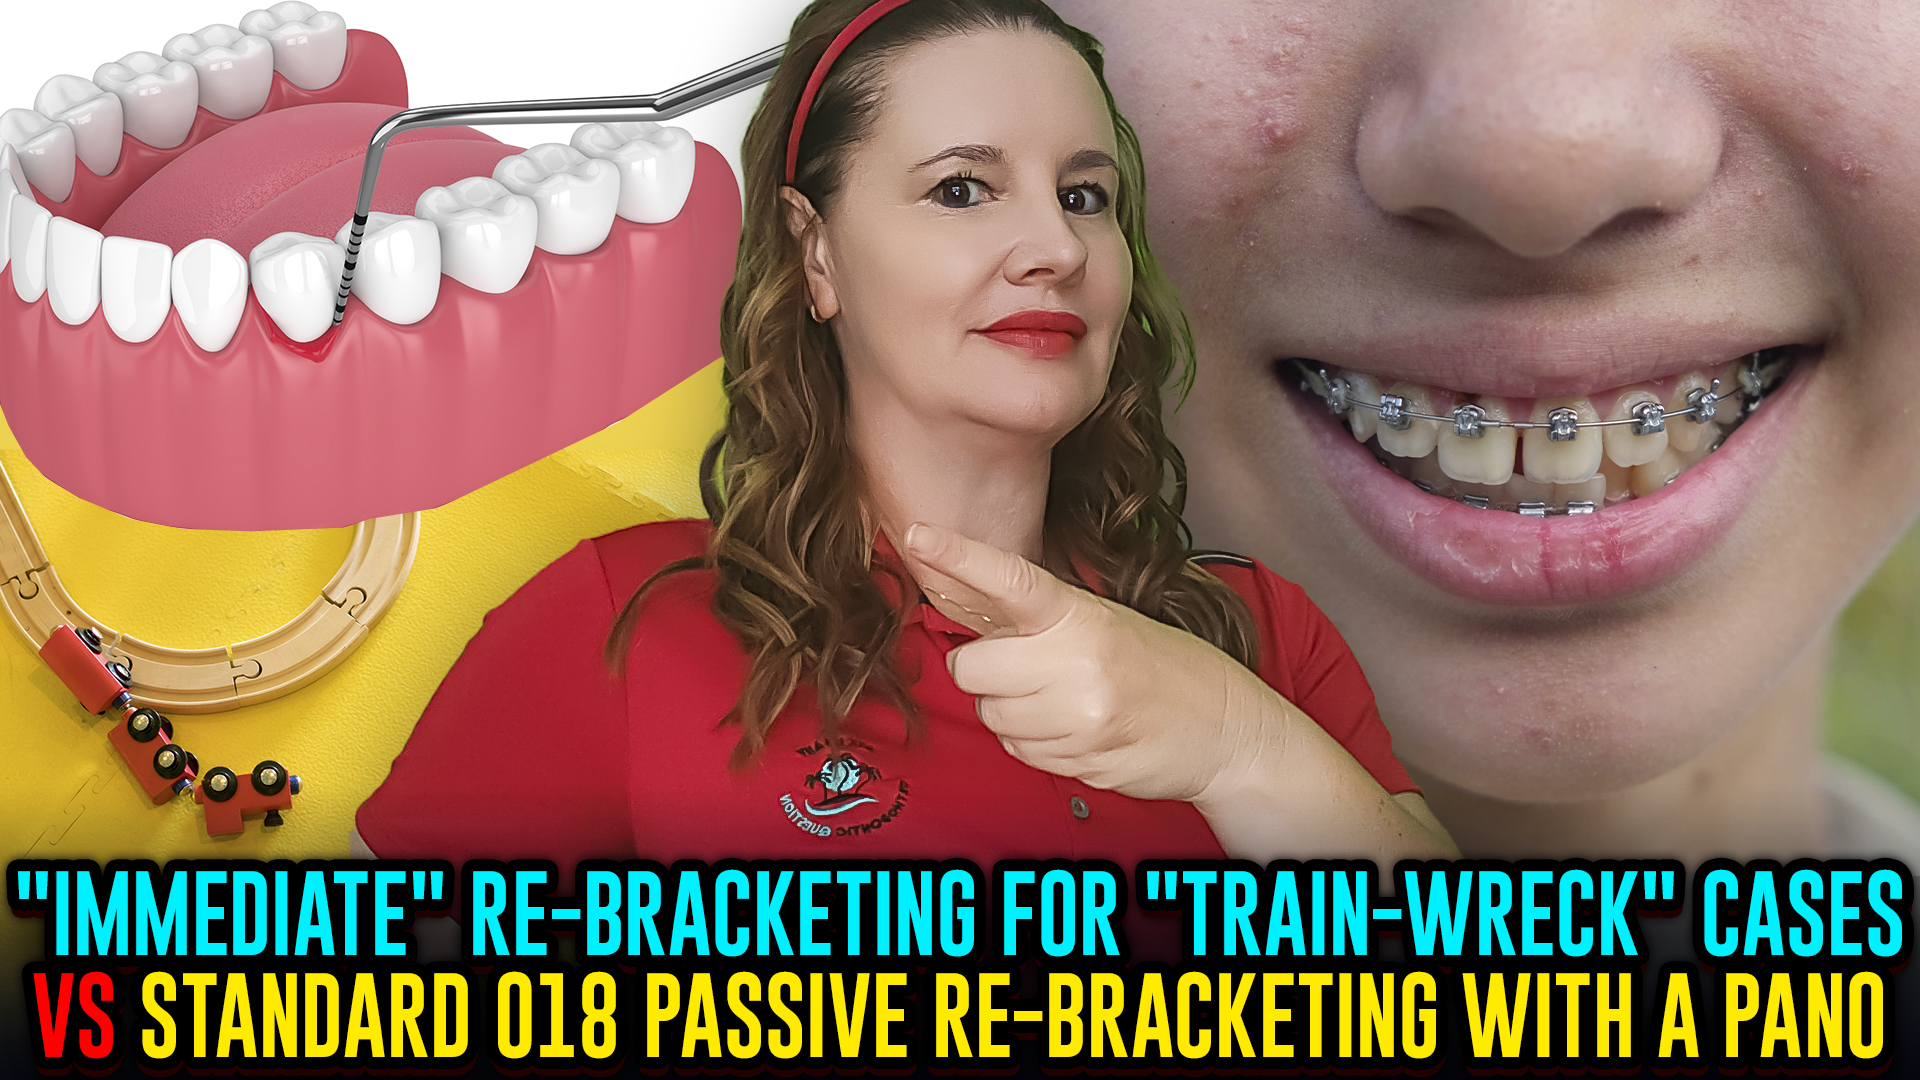 Immediate vs. Passive Re-Bracketing: Solving the “Train-Wreck” Case
In straight-wire orthodontics, “train-wreck” cases—those with severe crowding and extreme rotations—are the ultimate test of a clinician’s patience and strategy. Traditionally, many doctors follow a passive protocol: waiting for a .018 stainless steel wire to be fully engaged before taking a panoramic X-ray to repo brackets. While this “standard” approach is safe, it often results in stalled progress and extended treatment times. To keep your cases moving efficiently, you need to know when to pivot to “immediate” re-bracketing.
Pro Tip: Don’t wait for the pano if the error is obvious today. You can find more clinical “pearls” like this in our extensive library of StraightSmile Solutions Blogs.
The “immediate” approach involves correcting bracket positioning much earlier in the leveling and aligning phase. By addressing major positional errors before they are “baked into” the treatment, you prevent the case from “sinking” and ensure a more predictable finish. Whether you are using traditional braces or digital indirect bonding, understanding these mechanics is vital for any GP or Pediatric Dentist looking to scale their ortho production.
Take Your Ortho Skills to the Next Level
Ready to stop guessing and start finishing cases faster? We have the resources to help you master every “train-wreck” case that walks through your door:
Watch & Learn: Subscribe to the StraightSmile Solutions YouTube Channel for over 3,000 free videos covering everything from re-bracketing to complex biomechanics.
Get Personalized Help: Are you stuck on a specific case? Visit our Official Website to learn about our one-on-one orthodontic consulting services.
One-Stop Resource Hub: Access all our forms, checklists, and specialized course links via our StraightSmile Linktree.
Deep Dive Training: Sign up for our StraightWire and Phase 1 Courses to get the comprehensive training your team needs to succeed.
Stop struggling with finishing. Whether you need a quick tip from our YouTube library or a deep-dive consultation, we are here to support your journey to orthodontic excellence.
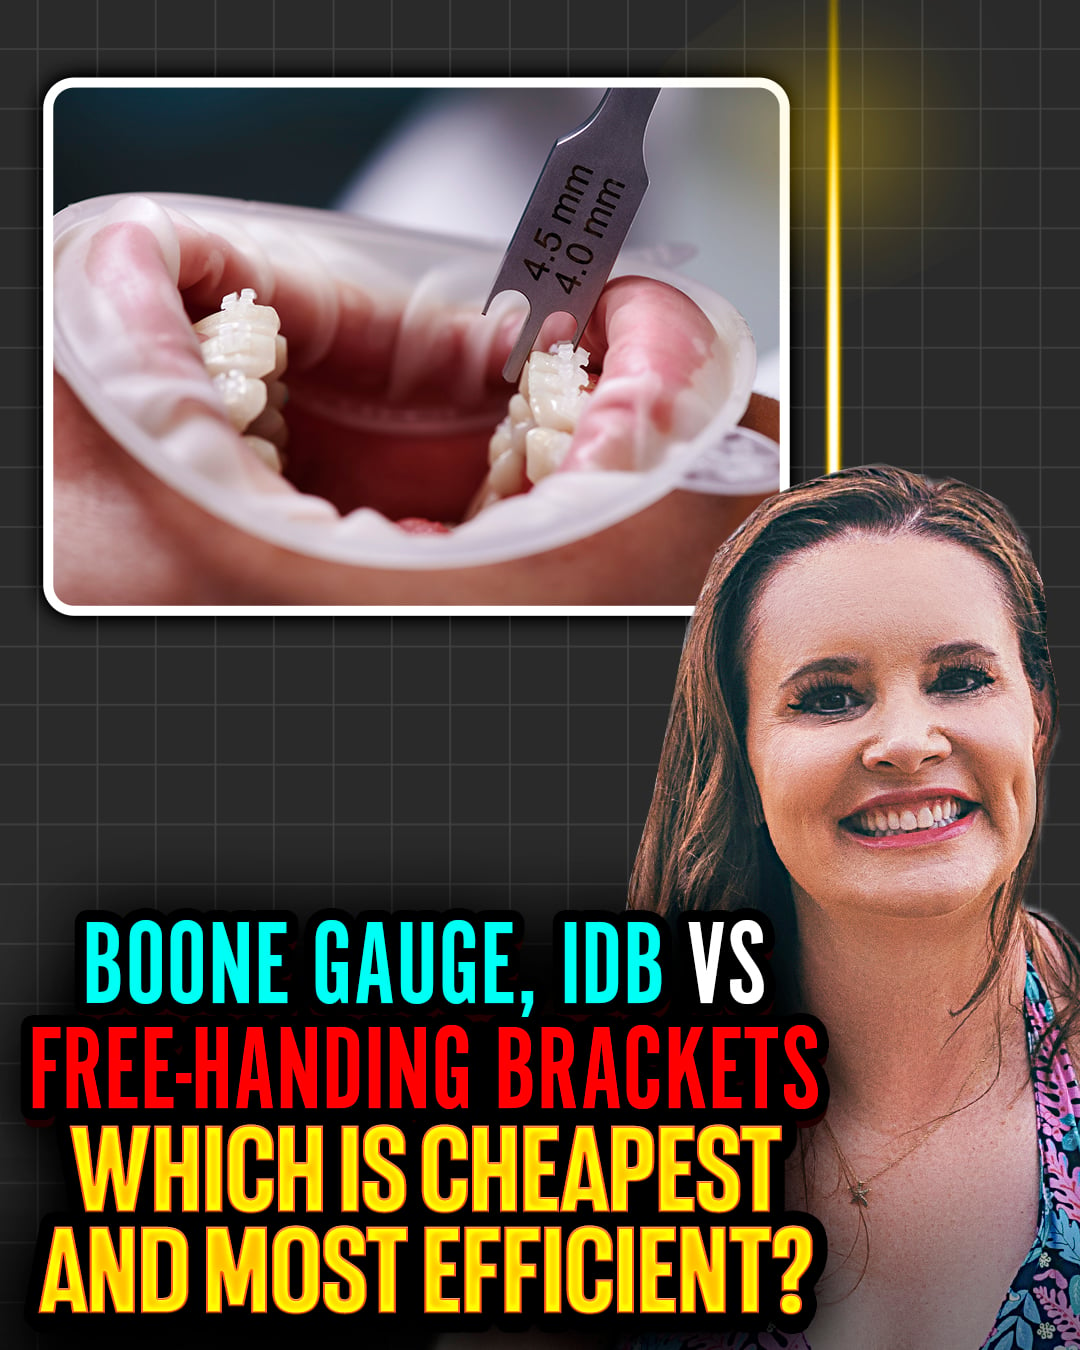
Boone Gauge, IDB vs Free-Handing Brackets – Which Is Cheapest and Most Efficient?
Boone Gauge, IDB vs Free-Handing Brackets – Which Is Cheapest and Most Efficient?
I. Introduction
- Dr Amanda from StraightSmile Solutions compares indirect bonding (IDB) with free-handing brackets.
- Her strong recommendation: general dentists should use IDB for accuracy and predictability.
- But bracket breakages happen, so you still need to know how to freehand when necessary.
II. Why Indirect Bonding Wins
- Free handing requires years of experience to develop a good “eyeball” for bracket placement.
- Most beginners place many brackets incorrectly, learning only through mistakes.
- IDB lets you see the final setup digitally, tweak positions, and bond with confidence.
- Affordable IDB options are available from multiple vendors.
III. The Problem with Boone-Type Gauges
- Some doctors think a mechanical gauge makes free handing accurate.
- Dr Amanda has seen many cases done entirely with such instruments – she was not impressed.
- Teeth vary in size, shape, wear, and angulation. A one-size-fits-all gauge cannot account for individual anatomy.
- It only works for “run-of-the-mill generic teeth,” which most patients don’t have.
IV. How to Free-Hand When You Must
- Use a recent pano on the computer screen in front of you.
- Work one quadrant or one arch at a time.
- Mirror brackets: 8 and 9 should match, 7 and 10 should match, etc.
- Draw the long axis of each tooth on the pano (as taught in residency).
- Place brackets at the center of the clinical crown, but adjust based on your treatment plan (e.g., intrude a worn tooth).
- Use a perio probe to check parallelism and symmetry.
V. Fixing Mistakes
- After initial levelling with a light wire (e.g., 16 NiTi), errors become visible.
- Brackets can be removed and repositioned as needed.
VI. Cost and Efficiency
- IDB is not expensive and saves chair time by reducing repositioning.
- Free handing is “cheapest” upfront but costs more in time, frustration, and compromised results.
- For a busy practice, IDB is far more efficient and predictable.
VII. The Bottom Line
- Use indirect bonding for initial placement; it’s accurate, affordable, and efficient.
- Learn to free-hand for emergencies (broken brackets) using a pano and careful mirroring.
- Skip the Boone gauge. It won’t give you the results you want.
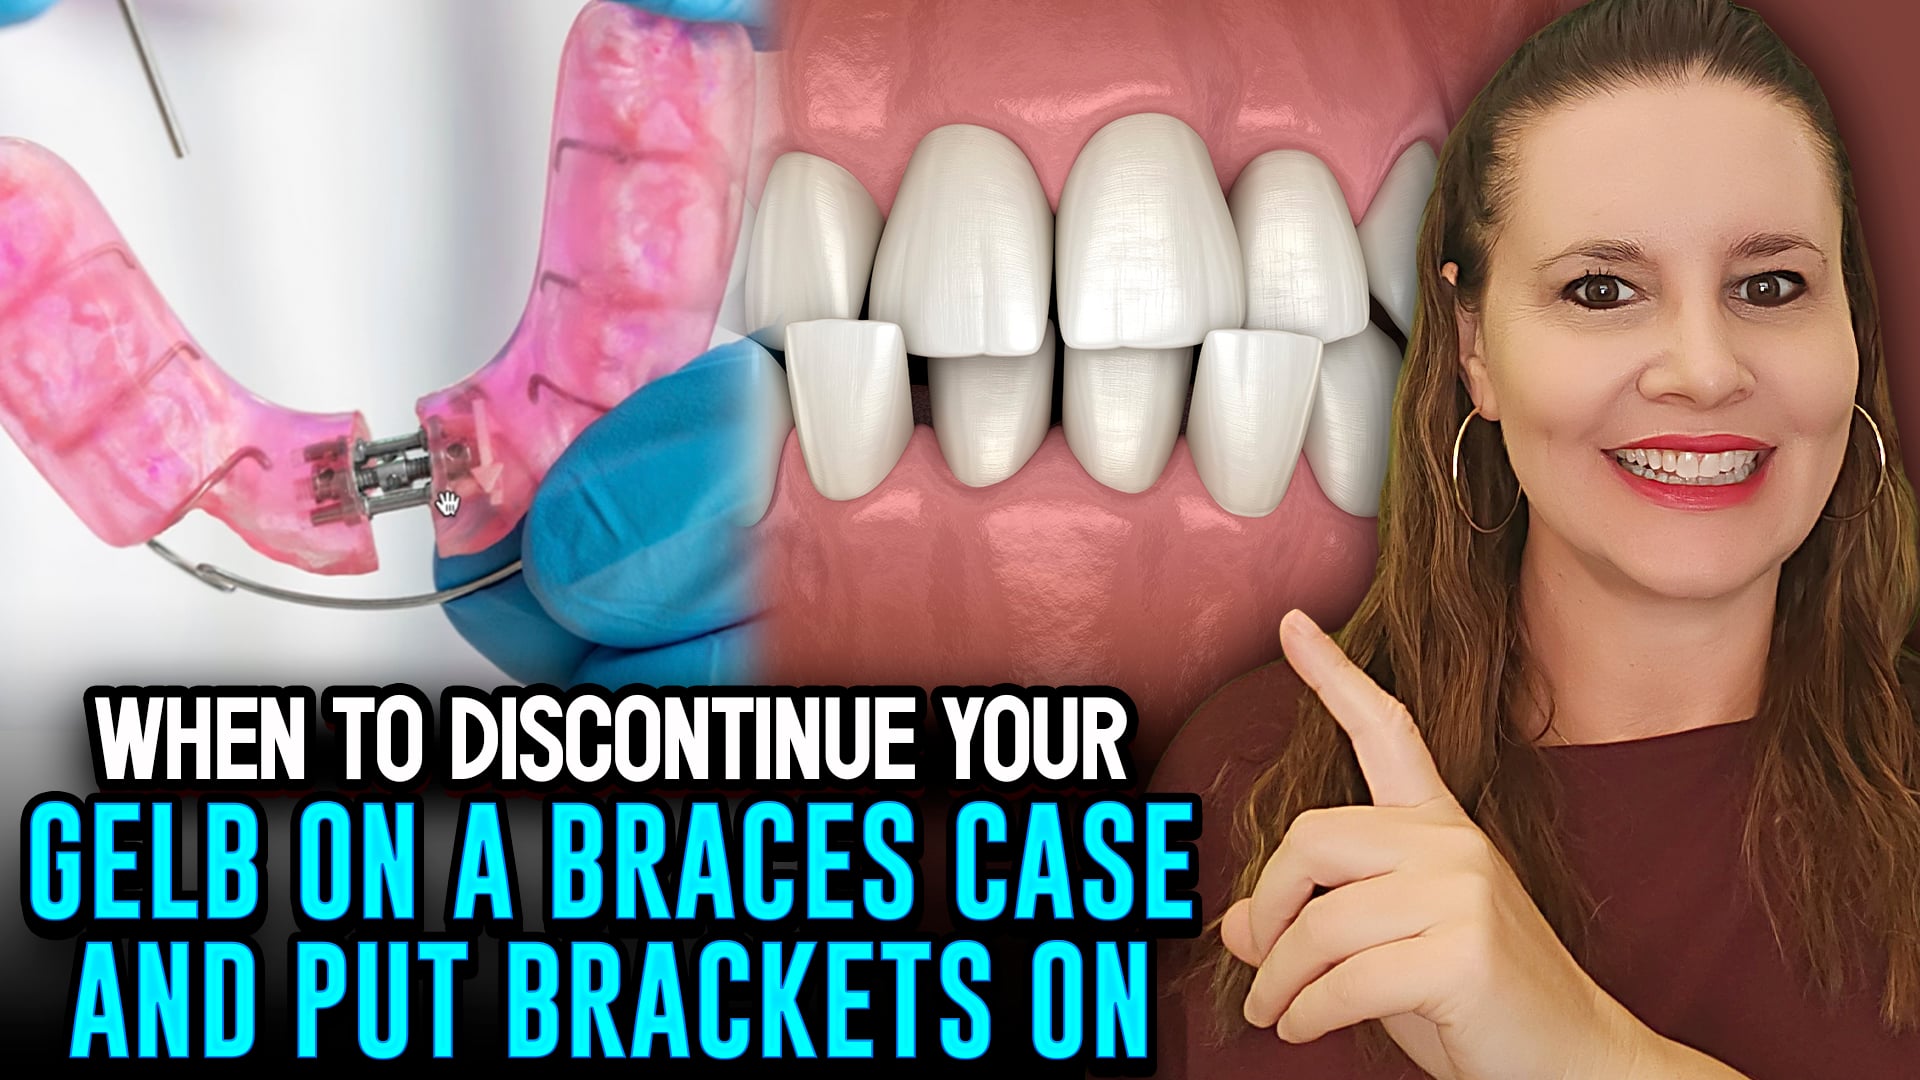
The Pivot: When to Transition from a GELB Appliance to Brackets
- 📺 Watch the Clinical Deep Dive: I have a full video walking through the exact milestones you need to hit before bonding brackets on the StraightSmile Solutions YouTube Channel. Search “GELB to Brackets” to find it.
- 🎓 Complete Your Orthopedic Training: Learn the full sequencing of functional appliances and fixed mechanics in my Comprehensive Orthodontic Workflow.
- 🤝 Get Real-Time Case Support: Not sure if your patient’s joint is stable enough for brackets? Let’s review your records together through my Concierge or VIP Coaching Plans.
- 📅 Book a Strategy Call: Schedule a free consultation to discuss how to integrate high-value TMJ-ortho cases into your practice workflow seamlessly.
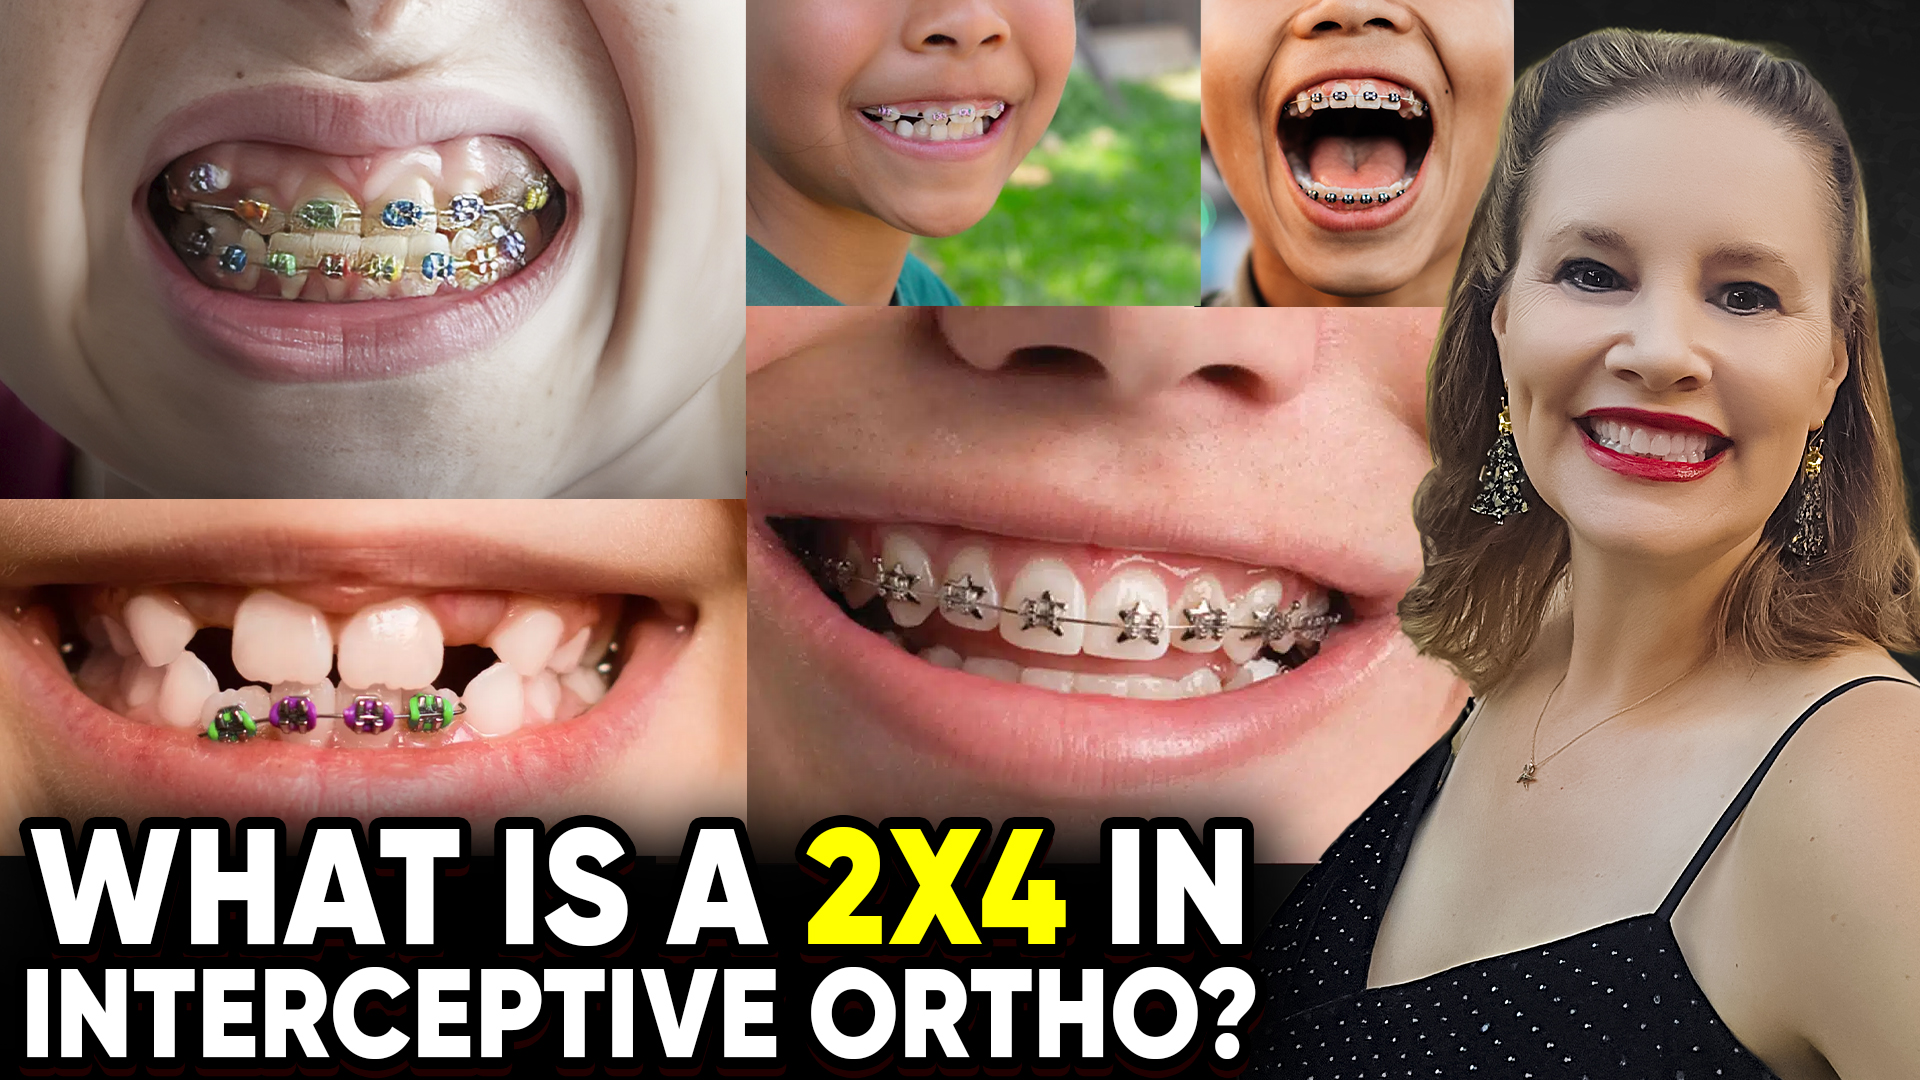
What Is a 2×4 in Interceptive Ortho? Phase 1 Braces Explained
I. Introduction
- Dr. Amanda from StraightSmile Solutions explains the “2×4” in interceptive orthodontics.
- The name comes from placing four brackets on the front teeth and two on the back teeth.
- This is a common Phase 1 braces setup.
II. Why Not Just Front Teeth Only?
- A wire only on the front teeth (without back brackets) becomes “wonky” and unstable.
- Back brackets are needed to round out the arch and provide anchorage for power chains.
- Without back brackets, the wire flexes too much, brackets snap off, and movement is unpredictable.
III. The First Step: Create Space
- Before placing any braces, ensure there is enough space for the teeth.
- Pulling baby canines as a “sloppy” shortcut creates worse problems later (impacted or blocked-out permanent canines).
- Expand the arches first if space is deficient.
IV. Wire Sequence and Cinching
- Start with a sectional wire (light gauge: 12, 14, or 16 NiTi) on the front teeth only.
- Always CINCH the ends of the sectional wire to prevent flipping or “smiley V” distortion.
- Once front teeth are straight, move to a heavier rectangular wire (e.g., 18×25 or 19×25 NiTi).
- Then bond brackets on the back teeth (usually on first molars or primary E’s / A and J).
V. Bonding on Primary Teeth
- Bonding on primary canines can be risky – they may become loose before treatment ends, making debond traumatic.
- Bonding on primary first molars (E’s / A and J) is safer because those teeth typically exfoliate around age 12, and Phase 1 is done at ages 8-10.
VI. The Bottom Line
- 2×4 = four front brackets + two back brackets.
- Create space first. Start with a sectional wire. Cinch the ends.
- Add back brackets only after the front is aligned, and you need anchorage or arch rounding.
- Proper 2×4 technique makes Phase 1 braces efficient and predictable.
The 2026 Vivera Update: Virtual Power Chains, Bonded Retainers, and Bite Turbos
- 📺 Watch the 2026 Vivera Masterclass: For a click-by-click walkthrough of the new ordering interface, watch my latest video on the StraightSmile Solutions YouTube Channel. Search “Vivera 2026” to find it instantly.
- 🎓 Complete Your Invisalign Training: From ClinCheck setup to final retention, get the full roadmap in my Comprehensive Orthodontic Workflow.
- 🤝 Troubleshoot Your Prescriptions: If you’re struggling with the new “Virtual Power Chain” settings or bite ramp placement, submit your case for a review through my Concierge and VIP Coaching Plans.
- 📅 Get a Clinical Practice Audit: Let’s look at your current retention protocols. Schedule a free consultation to see how we can optimize your workflow and reduce relapse cases.
Phase 1 Interceptive: The “When Are You Done?” Checklist
- 📺 Watch the Step-by-Step Breakdown: See this checklist in action with real-world case examples on the StraightSmile Solutions YouTube Channel. Search “Phase 1” for my dedicated playlist.
- 🎓 Master Interceptive Ortho: Get fully certified and earn 13 CE credits with my comprehensive Phase 1 Interceptive Online Course.
- 🤝 Get Real-Time Case Help: Not sure if your current patient meets these “Done” criteria? Submit your case for a second opinion through our Concierge or VIP Coaching Plans.
- 📅 Book a Strategy Call: Schedule a Complimentary Consultation to discuss how to integrate this checklist into your practice’s daily workflow.