StraightSmile Solutions®
The Shift from Straightening Teeth to Growing Faces: Why Modern Orthodontics Has It Wrong
The Shift from Straightening Teeth to Growing Faces: Why Modern Orthodontics Has It Wrong
For decades, we have been conditioned to believe that braces and clear aligners are a mandatory rite of passage for almost every child. If teeth are crooked, you take them to an orthodontist, pay thousands of dollars, and mechanically force the teeth into a straight line.
But if we look at the core of human biology, traditional orthodontics is largely addressing a symptom rather than the actual problem. In modern dental structures, conventional braces and retroactive straightening are often an unnecessary approach to a preventable issue.
The Root Cause: Why Teeth Crooked in the First Place
Teeth do not simply choose to grow crowded or misaligned without reason. Crooked teeth are a symptom of a larger developmental issue: an underdeveloped jaw and a compromised airway.
When a child’s facial structure develops correctly, the jaw grows wide enough to naturally accommodate every single tooth. When the jaw fails to grow to its full potential, teeth become crowded. Traditional orthodontics waits for this poor development to finish, and then attempts to crowd straight teeth into a small, underdeveloped arch—sometimes even extracting healthy teeth to make room.
The Preventive Approach: Growing the Face
If we shift our focus entirely toward early intervention, proper growth, and development, the vast majority of children would never need traditional braces. True oral health is achieved by focusing on systemic habits between the ages of two and five, including:
Nasal breathing: Ensuring children breathe through their nose rather than their mouth, which heavily dictates jaw posture and facial expansion.
Airway health: Correcting airway issues early so the tongue can rest on the roof of the mouth, naturally expanding the upper jaw.
Diet and posture: Emphasizing proper chewing habits and off-the-grid, less-processed diets that require heavy mastication to stimulate bone growth.
When you grow the child right, correct their posture, and secure a functional airway, the face develops as nature intended. The teeth then align themselves naturally because the body has provided the physical space for them to do so.
Upending an Insurance-Driven Industry
The current orthodontic landscape is heavily dictated by an insurance-driven model and corporate dental groups that benefit from waiting until development has failed so they can sell a mechanical solution. Residency programs routinely fail to prioritize interceptive growth, airway development, and early pediatric intervention because the business model is built on the backend: braces and aligners.
It is time to move away from a model that treats the human mouth like a puzzle of isolated pegs. True craniofacial orthopedics shouldn’t be about hiding structural developmental failures behind a straight smile; it should be about educating parents early enough to ensure those structural failures never happen in the first place.
Why You Shouldn’t Take on Orthodontic Cases Combining Periodontal Disease and Multiple Missing Teeth
 Orthodontic technology like clear aligners and modern braces makes expanding a dental practice easier than ever. However, certain clinical boundaries should not be crossed in general dentistry. One of the most dangerous combinations a practitioner can face is a prospective patient with both active periodontal disease and multiple missing teeth.While it is tempting to try and help these patients achieve a straighter smile, taking on these high-risk cases without a specialized, multidisciplinary workflow is a recipe for clinical failure. This article breaks down why these cases are structurally unstable and why standard orthodontic mechanics will fail.The Double Whammy: Loss of Bone and Loss of Anchor PointsOrthodontic movement relies entirely on predictable bone remodeling—the controlled breakdown and rebuilding of bone tissue as a tooth moves through the jaw. For this process to work safely, a patient needs a healthy periodontium to serve as a baseline. Combining gum disease and missing teeth destroys the essential biomechanics needed for tracking.1. Compromised Bone SupportPeriodontal disease attacks and destroys the underlying bone structure anchoring the teeth. When you apply orthodontic forces to teeth sitting in compromised bone, you are no longer safely moving them. Instead, you risk accelerating bone loss, causing extreme tooth mobility, or accidentally extracting the teeth entirely.2. Missing Anchorage LoopsTo move specific teeth, an orthodontic system requires stable teeth to act as anchors. When multiple teeth are missing, those critical anchor points vanish. The remaining teeth are forced to bear a higher load. Because their bone support is already weakened by periodontitis, these anchor teeth will tip or migrate unpredictably rather than remaining stationary.3. Unpredictable Digital TrackingModern clear aligner software creates an idealized digital setup based on healthy dental anatomy. However, the software cannot accurately simulate how a tooth will behave when moving through a severely degraded, low-density bone envelope. The tracking will fall off almost immediately, leaving you with an unmanageable clinical mess.The Required Safe Treatment ProtocolIf a patient presenting with these dual conditions walks into your clinic, a standard clear aligner or braces setup should be completely off the table. The case must follow a strict, phased multidisciplinary approach:Periodontal Stabilization: The patient must first see a specialist to eliminate active infection and achieve absolute periodontal clearance. Orthodontic force must never be applied to actively inflamed tissues.Restorative Mapping: A definitive plan for replacing the missing teeth via implants, bridges, or partials must be established prior to moving any teeth.Specialist Referral: Because the biomechanics require advanced tools like temporary anchorage devices (TADs) or highly specific segmented force systems, these cases should be managed exclusively by an experienced orthodontist working alongside a periodontist.Protect your practice and your patients’ oral health by learning to recognize these anatomical red flags early. When bone support is compromised and anchor teeth are missing, saying “no” to a standard clear aligner setup is the highest standard of care.
Hidden Precision: How Inside-the-Tooth Attachments Keep Invisalign Truly Invisible
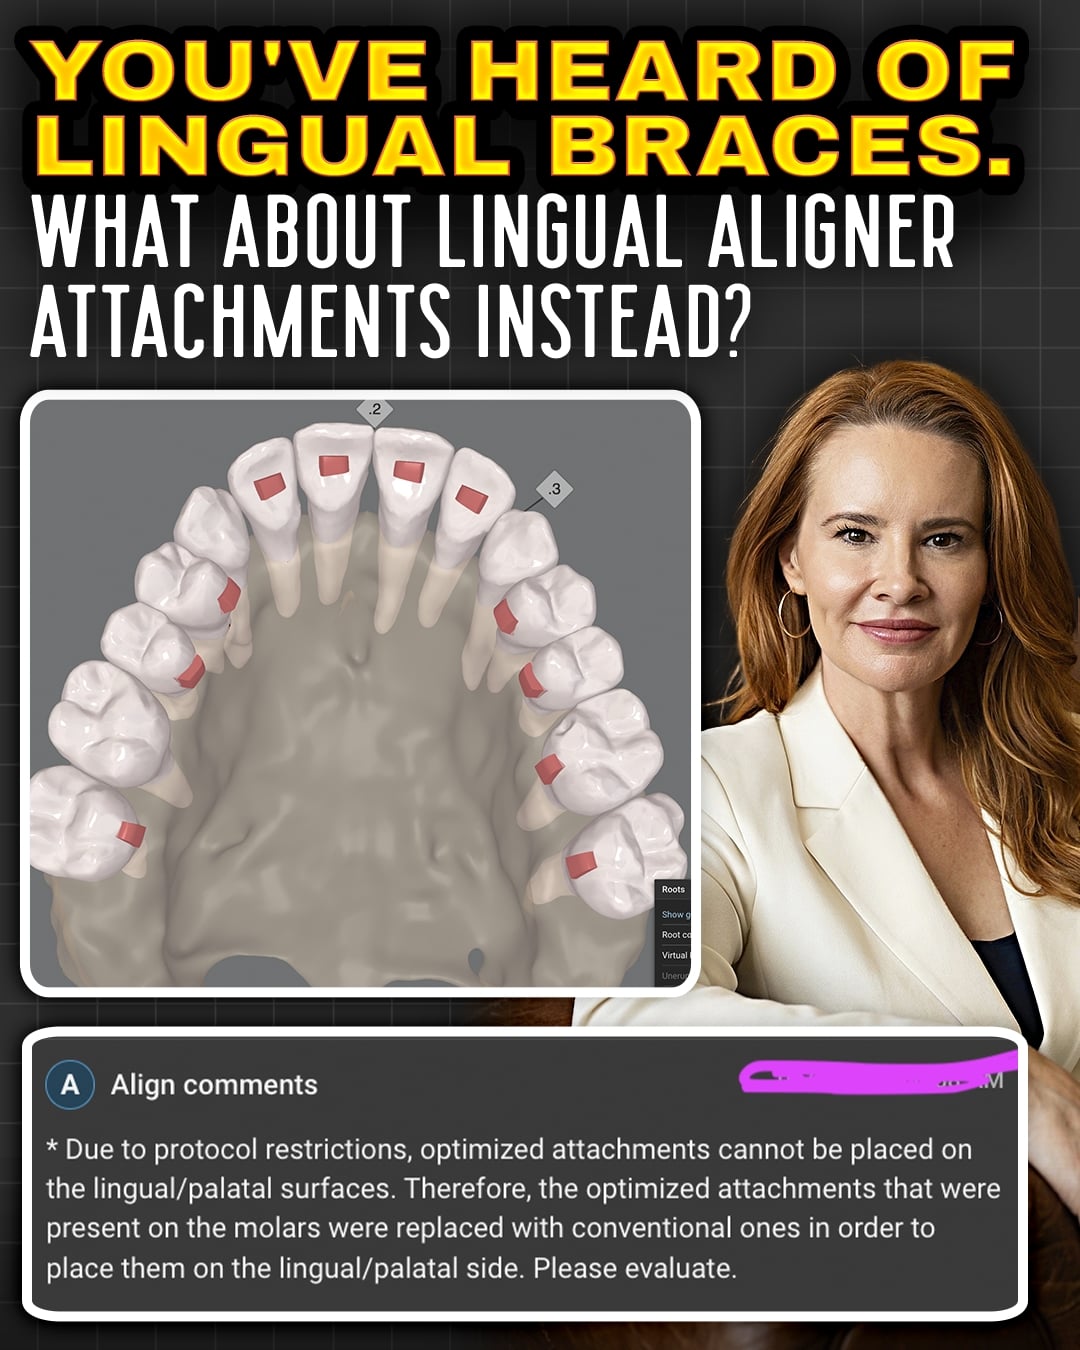 Hidden Precision: How Inside-the-Tooth Attachments Keep Invisalign Truly InvisibleStandard Invisalign treatments rely on tooth-colored composite bumps placed on the front surface of the teeth to guide movement. However, advanced digital customization allows providers to request traditional attachments placed strictly on the lingual and palatal surfaces instead. This technique completely eliminates the visible exterior bumps, offering an entirely invisible alternative for highly aesthetic or concierge-level patient demands.While highly discreet, inside-the-tooth positioning requires careful clinical execution. The shape and anatomy of the back of the teeth differ significantly from the front, meaning standard automated software defaults cannot be used. Doctors must manually override the aligner software and design the plan step-by-step. This process requires more clinical time, hands-on planning, and four-handed chairside dentistry to successfully bond the composite materials.Because of the specialized techniques required, lingual attachments work best when restricted to the upper arch to avoid the extreme bonding difficulties commonly found on lower teeth. Patients may experience slight initial bite interference, similar to standard anterior bite turbos used in traditional orthodontics. To prevent knocking the attachments loose and to keep tooth-moving forces completely consistent, patients are often encouraged to keep their aligners in place while eating, followed immediately by strict brushing and flossing routines.For modern dental practices, offering interior attachments serves as an excellent boutique marketing tool. Instead of a standardized, cookie-cutter approach, providers can offer this highly customized aesthetic experience under a premium, specialized billing model. By thinking outside the box, dentists can cater directly to patients seeking premium discretion throughout their smile journey.
Phase 1 Interceptive Orthodontics: Comparing the Finnish and American Models
- Early Universal Screening: All children undergo systematic screenings directly within the school system between the ages of 5 and 7 to check for developing malocclusions or airway issues.
- Standardized Myofunctional Training: Early treatment relies heavily on pre-made myofunctional bio-trainers. Children wear these through a prescriptive sequence to guide jaw growth naturally, drastically minimizing the need for complex braces or aligners later in life.
- Clinical Workforce Utilization: An orthodontist designs the overarching treatment plan, but the routine check-ins and clinical supervision are handled by dental hygienists every three to four months.
- The Compliance Clause: Early care is entirely taxpayer-funded with zero out-of-pocket costs for parents. However, if the orthodontist deems a patient non-compliant, public coverage is revoked. The parents must then choose to pay an out-of-pocket fee for subsequent corrective treatment.
- The Diagnostics Deficit: In the U.S., a practitioner might spend considerable uncompensated time mapping out a Phase 1 interceptive treatment plan, only for families to decline the startup phase entirely.
- Corporate and Administrative Pressure: Corporate dental structures and venture-capital-backed firms frequently shield parents from accountability regarding poor compliance. Clinicians can face internal administrative pressure to absorb tracking failures, shifting blame away from non-compliant behaviors to protect customer service metrics.
- Comprehensive Second Phase Coverage: In Finland, an advanced second phase of treatment is only funded publicly if a severe genetic issue or an unpreventable problem arises. In the U.S., insurance coverage tiers rarely tie funding directly to clinical compliance metrics.
Treating Orthodontic Patients with Spider Bite Piercings: Clinical and Legal Risks
- Severe Structural Snagging: Oral jewelry can easily snag on the edge of an aligner tray, an archwire, or a bracket during routine movements like yawning, speaking, or laughing. This catching can lead to sudden, painful macro-trauma and severe tearing of the inner lip tissue.
- Chronic Root and Bone Trauma: Because spider bite piercings sit directly over the roots of the lower incisors, the hard metal backing constantly bangs against the incredibly thin alveolar bone. This repetitive micro-trauma can lead to root damage and premature devitalization of the teeth.
- Localized Infections: Constant movement of the jewelry introduces micro-trauma beneath the skin layer, elevating the risk of chronic irritation and localized soft-tissue infections.
- Mandatory In-Person Inspections: To legally defend your standard of care, you must visually inspect the piercing site and surrounding bone structure at every single appointment. This requirement completely eliminates the ability to use remote monitoring tools or virtual check-ins.
- The Insurance Limitation: Managing these high-risk cases demands extra doctor time and additional physical visits. However, if your practice operates under a standard insurance model, you cannot adjust or raise your flat-rate treatment fees to compensate for this specialized care.
- The Reality of Legal Defense: If a patient signs a supplemental informed consent form acknowledging potential damage, a malpractice lawsuit may eventually get thrown out of court. However, defending yourself against a claim still requires paying a retainer fee and enduring months of stressful litigation that drains your practice both emotionally and financially.

The Blueprint for Neurodivergent Dental Students: How to Pick the Right Specialty
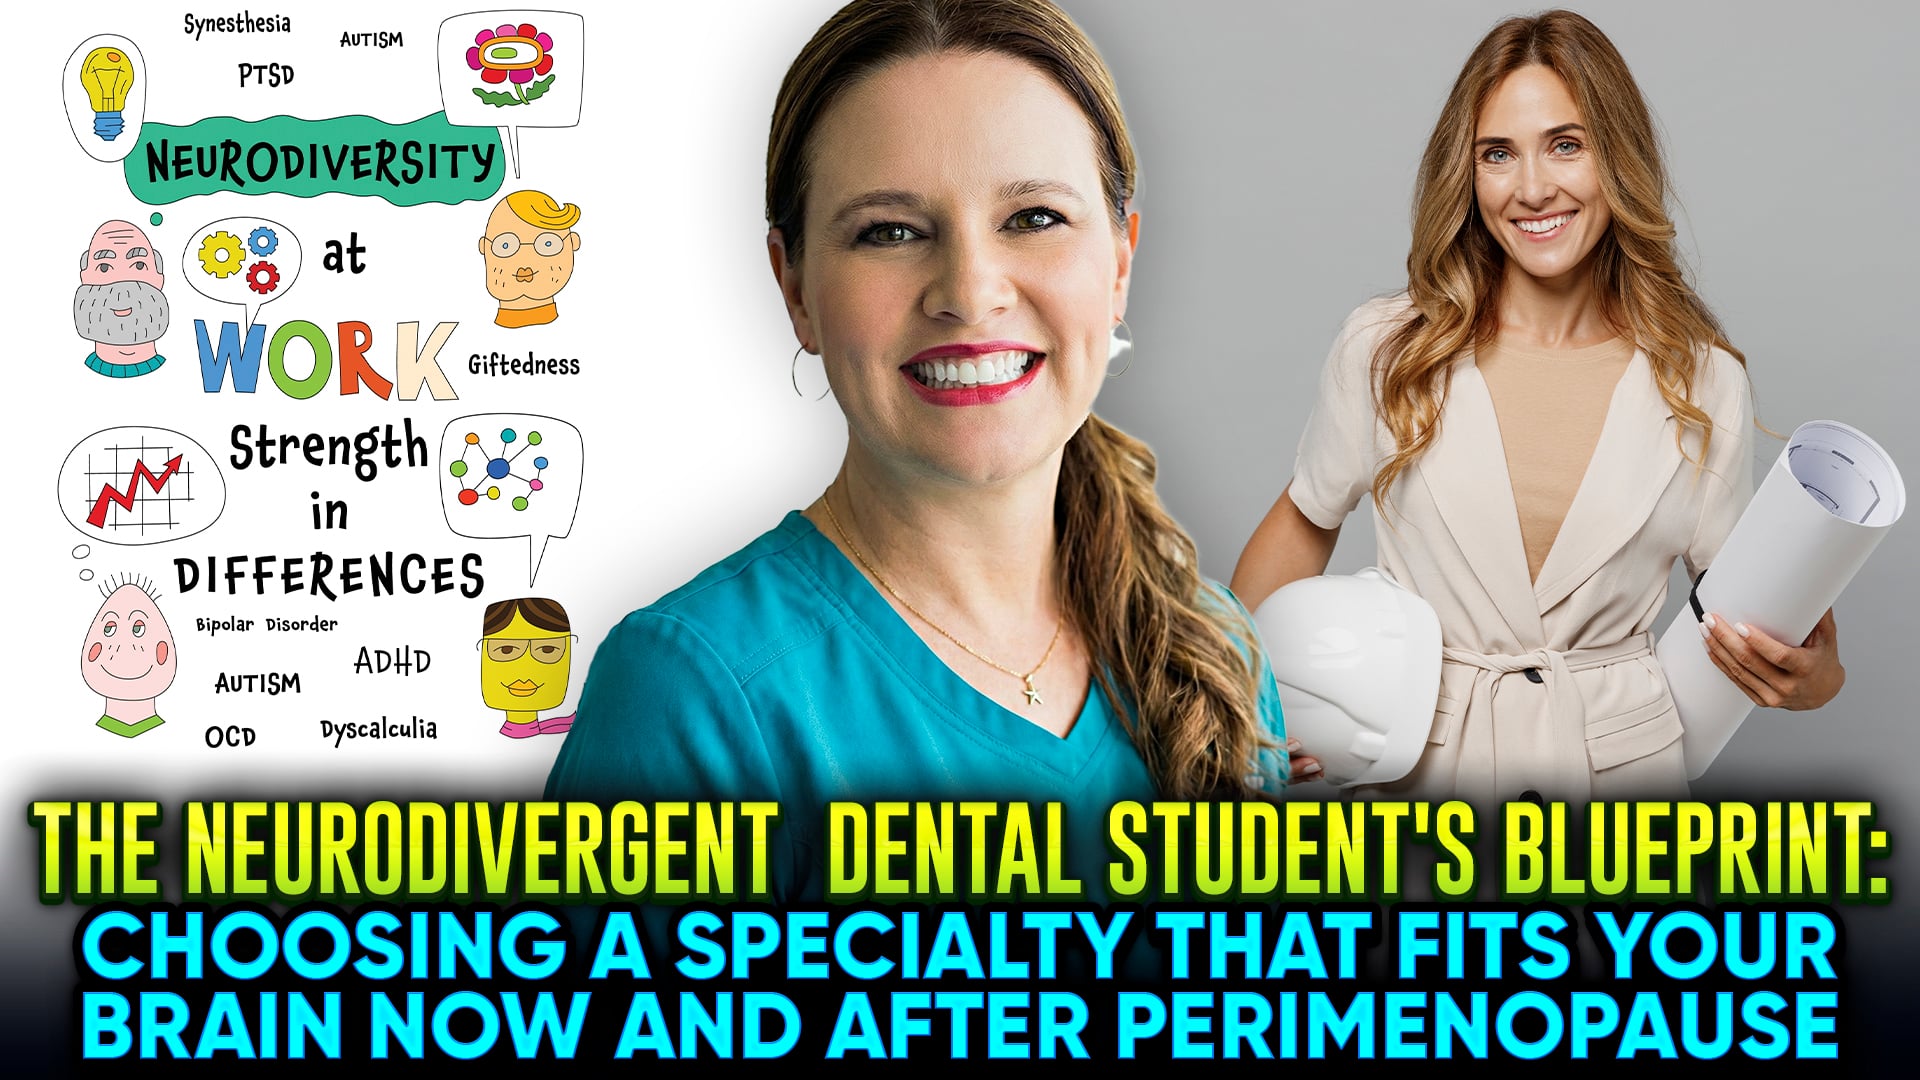 The Blueprint for Neurodivergent Dental Students: How to Pick the Right Specialty
-
- The Superpowers: Individuals with ADHD are exceptionally fast and calm during severe clinical crises, bringing high-level creative problem-solving and intense hyperfocus to urgent situations.
- The Traps: Repetitive administrative tasks, slow-paced environments, or highly predictable schedules can lead to severe stagnation and understimulation.
- Optimal Fits: Oral surgery, emergency medicine, trauma surgery, and urgent care dentistry provide the necessary pace and constant procedural variety to keep an interest-driven brain fully engaged.
-
- The Superpowers: This neurotype brings unparalleled deep focus, exceptional accuracy, and systemic logic to complex medical challenges.
- The Traps: Environments with high social demands, unpredictable patient behaviors, and loud, chaotic sensory stimulation can cause rapid burnout.
- Optimal Fits: Oral pathology, oral medicine, and dental radiology allow for specialized technical expertise within low-sensory, highly controlled environments that limit overwhelming patient face-time.
-
- The Superpowers: When the systemic focus of autism combines with the charismatic, highly communicative nature of ADHD, it creates a powerful clinical skill set. You can see solutions to structural problems rapidly while remaining exceptionally skilled at talking to people.
- The Traps: The high-volume social interaction required to run a busy multi-chair practice can completely empty your gas tank by the end of the day, especially when dealing with workplace conflict or insurance restrictions.
- Optimal Fits: Orthodontics and dentofacial orthopedics serve as excellent fields. The specialty acts as a systemic, highly predictable digital puzzle that constantly evolves alongside new technologies, providing the ideal baseline structure for the autistic traits alongside the fluid novelty needed for ADHD.
How to Get Orthodontic Mentoring with StraightSmile Solutions
- General Discussion Only: These sessions are reserved for broad orthodontic concepts, professional questions, or learning more about structured courses and consulting services.
- No Case Reviews: You cannot share patient records, emails, or images during a free session.
- Strict Cancellation Policy: Sessions that do not meet the outlined booking criteria or are identified as spam will be canceled automatically.
- Protected Health Information (PHI): Reviewing specific clinical records or patient files incurs a cost to maintain professional consulting standards.
- Secure Document Sharing: Paid consultations utilize a HIPAA-compliant method to safely upload and review patient records. Never email unprotected patient data before a formal agreement is established.
- Review Process: Pitch meetings generally require a fee due to high demand.
- Alternative Pitching: You can email your proposal directly to the consulting team. If there is a high potential return on investment or a prior relationship, an invitation for a complimentary meeting may be extended.

ClearCorrect Update: Understanding the New Purple and Orange Movement Warnings
![]() ClearCorrect Update: Understanding the New Purple and Orange Movement WarningsClearCorrect recently updated its predictive tooth movement warnings, changing its classic system to a multi-colored approach. If you are a general or pediatric dentist using ClearCorrect, understanding these color-coded indicators is critical for assessing case difficulty and minimizing tracking errors.Here is what the new warning system means for your practice and how it compares to Invisalign’s tracking alerts.The New Color IndicatorsClearCorrect previously relied solely on yellow triangles to flag complex tooth movements. To align closer with industry standards and avoid confusion with other features, ClearCorrect has shifted to orange and purple indicators.Orange Triangles (Moderate Difficulty): These indicate moderately difficult tooth movements. They are equivalent to Invisalign’s blue dots.Purple Triangles (Advanced Difficulty): These represent a major red flag for complex movements. They are equivalent to Invisalign’s black dots.What to Do When You See Purple TrianglesSeeing one purple triangle on a setup shouldn’t cause immediate panic, provided the overall case looks straightforward. However, multiple purple triangles require immediate action.Re-evaluate the Treatment Plan: If a case seems simple but displays multiple purple warnings, the treatment parameters may have been input incorrectly.Expect Longer Treatment Times: Cases heavily flagged with purple triangles are complex and typically require a higher volume of aligners to achieve the desired results.Know When to Refer: In the orthodontic classification system, multiple purple warnings designate a highly advanced setup. General and pediatric practitioners should carefully evaluate these risks or consider referring the patient to a specialist.Why the Change MattersBecause Invisalign dominates the clear aligner market, most dental professionals are primarily trained to read Invisalign’s blue and black tooth movement assessments. ClearCorrect updated its software to map directly to those familiar difficulty tiers, making it much easier for cross-trained providers to evaluate setups accurately.
ClearCorrect Update: Understanding the New Purple and Orange Movement WarningsClearCorrect recently updated its predictive tooth movement warnings, changing its classic system to a multi-colored approach. If you are a general or pediatric dentist using ClearCorrect, understanding these color-coded indicators is critical for assessing case difficulty and minimizing tracking errors.Here is what the new warning system means for your practice and how it compares to Invisalign’s tracking alerts.The New Color IndicatorsClearCorrect previously relied solely on yellow triangles to flag complex tooth movements. To align closer with industry standards and avoid confusion with other features, ClearCorrect has shifted to orange and purple indicators.Orange Triangles (Moderate Difficulty): These indicate moderately difficult tooth movements. They are equivalent to Invisalign’s blue dots.Purple Triangles (Advanced Difficulty): These represent a major red flag for complex movements. They are equivalent to Invisalign’s black dots.What to Do When You See Purple TrianglesSeeing one purple triangle on a setup shouldn’t cause immediate panic, provided the overall case looks straightforward. However, multiple purple triangles require immediate action.Re-evaluate the Treatment Plan: If a case seems simple but displays multiple purple warnings, the treatment parameters may have been input incorrectly.Expect Longer Treatment Times: Cases heavily flagged with purple triangles are complex and typically require a higher volume of aligners to achieve the desired results.Know When to Refer: In the orthodontic classification system, multiple purple warnings designate a highly advanced setup. General and pediatric practitioners should carefully evaluate these risks or consider referring the patient to a specialist.Why the Change MattersBecause Invisalign dominates the clear aligner market, most dental professionals are primarily trained to read Invisalign’s blue and black tooth movement assessments. ClearCorrect updated its software to map directly to those familiar difficulty tiers, making it much easier for cross-trained providers to evaluate setups accurately.
Navigating the Orthodontic Crossroads: When Non-Extraction Fails
 Navigating the Orthodontic Crossroads: When Non-Extraction FailsThe debate between extraction and non-extraction therapy is a prominent conversation in modern orthodontics. Pulling teeth used to be the standard approach to resolve severe crowding. Today, contemporary practices are highly influenced by an airway-aware era where patients frequently advocate against extractions. Influenced by online trends, many individuals fear that removing bicuspids will compromise their facial profile or lead to sleep apnea. While interceptive treatment can minimize the need for extractions in growing children, adult borderline cases present a steeper challenge. When providers push non-extraction therapies too far to satisfy patient preferences, they often create severe, unintended complications.Avoiding extractions at all costs in a crowded mouth can push teeth entirely out of their biological boundaries. Without proper bone support, teeth flare forward and wide, resulting in an unnaturally protruding profile. This excessive protrusion creates lip incompetence, forcing patients to struggle to close their mouths or default to chronic mouth breathing. Beyond the poor aesthetic outcome, these over-expanded arches can push roots completely outside the facial bone. This lack of structural support triggers severe periodontal issues, including tissue thinning, sloughing, and advanced gingival recession.Orthodontists must carefully monitor borderline cases for specific clinical signs that indicate the non-extraction approach is failing. Key warning signs include the development of an anterior or posterior open bite, excessive tipping of the back teeth, and a palatal cusp hanging lower than normal. Providers should also observe the patient when they are relaxed to look for facial muscle tightness, jaw straining, or lip incompetence. Unwanted vertical growth that causes the face to look longer is another clear indicator that the oral environment cannot accommodate the current tooth volume. When these biological boundaries are violated, it is time to pivot to an extraction treatment plan.Successfully managing these complex cases requires a deep understanding of biomechanics rather than a total reliance on computer-generated treatment plans or predictive artificial intelligence. Crucially, the possibility of pivoting to an extraction plan must be clearly communicated to the patient during the very first appointment. Informing the patient upfront about a potential change in treatment direction protects the practice from negative reviews and legal liabilities while keeping the patient well-informed throughout their orthodontic care.
From Band-Aids to Better Bites: Why Dental Sleep Medicine is Shifting to Interceptive Orthodontics
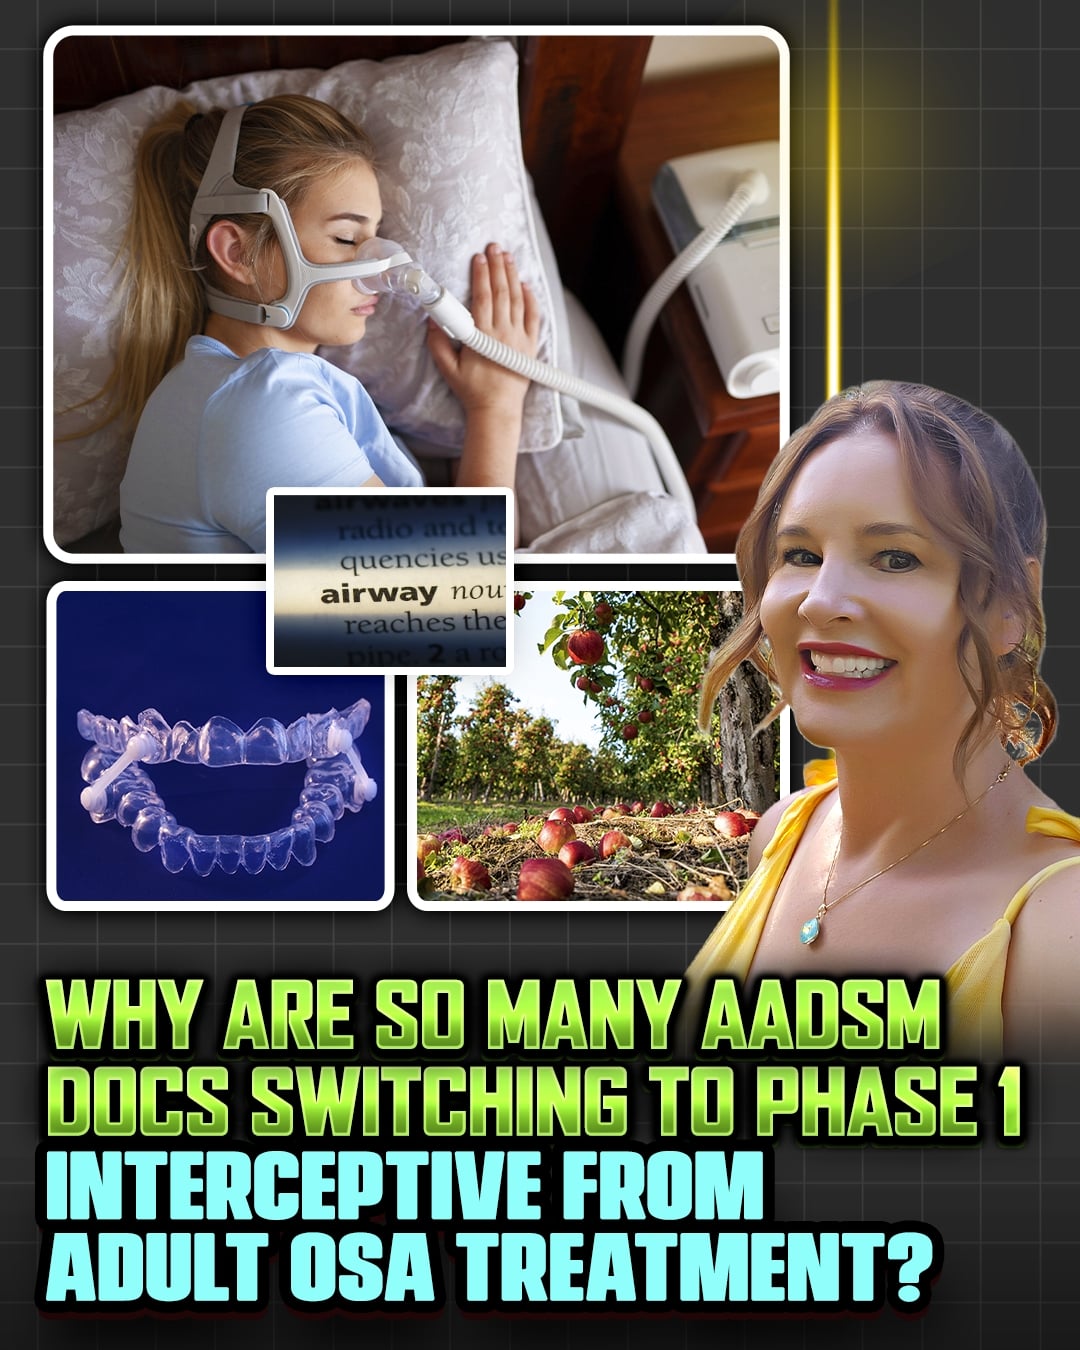 A major perspective shift is happening within the dental sleep medicine community. For years, practitioners focused heavily on adult care by managing sleep apnea with oral appliances. Today, a growing number of doctors associated with the American Association of Dental Sleep Medicine are pivoting away from these traditional methods. Instead, they are embracing Phase Interceptive orthodontics for children as a primary tool for patient care. This clinical evolution represents a shift from lifelong symptom management to proactive health optimization.Moving Past the Lifetime Band-AidTraditional adult sleep apnea treatment relies heavily on Mandibular Advancement Devices. While these oral appliances are highly effective at managing acute breathing issues, they function primarily as a lifetime band-aid. They mechanically force the lower jaw forward each night to clear the airway. However, long-term use over decades introduces chronic structural challenges.Patients frequently experience progressive, sometimes irreversible dental changes. The constant pressure alters the natural occlusion, shifts teeth out of alignment, and leaves patients with permanently wonky bites. Practitioners face complex administrative and coordination burdens when constantly working alongside physicians. Dealing with medical insurance networks and patient complaints regarding altered bites creates significant logistical friction.The Power of Growth ModificationInterceptive orthodontics introduces an entirely different paradigm by permanently modifying craniofacial growth during early childhood. Practitioners target the structural root causes of airway restrictions rather than managing symptoms later in life. Common anomalies like narrow dental arches, myofunctional deficits, and recessed jaws can be safely remodeled while a young patient is still growing.Doctors employ specific growth-guiding techniques to expand the skeletal boundaries of the oral cavity. Rapid palatal expansion actively widens a narrow upper jaw to increase nasal airflow. Functional appliances permanently encourage healthier jaw positioning without pulling joints out of their natural sockets. Clear aligner treatment employs customized clear aligners featuring built-in mandibular advancement features to simultaneously widen arches and guide lower jaw development.By fundamentally increasing the physical size and structural stability of the pediatric airway, doctors mitigate sleep disorders before they solidify into chronic adult diseases. This early intervention vastly reduces the likelihood that a child will ever grow up needing nightly breathing appliances.Holistic Benefits of PreventionThe clinical advantages of pediatric intervention reach far beyond basic respiratory health. Optimizing a developing child’s breathing directly correlates with improvements in neurocognitive development and daily behavior. Proper sleep quality supports childhood growth milestones that adult treatment options simply arrive too late to influence.Doctors are systematically shifting from a practice built on managing disease to a model focused entirely on prevention. Many practitioners routinely evaluate the young children of their current adult sleep patients, identifying structural narrowness before chronic issues emerge. Correcting a growing jaw builds a fundamentally stable bite and an open airway that functions naturally, eliminating the need for a bulky nightly device.Learning the core foundations of early pediatric expansion is highly accessible for general dentists. It does not require investing in complex, proprietary, turnkey appliance systems that demand uncritical brand loyalty. Mastering basic skeletal principles allows any clinician to build a highly rewarding preventative practice that safeguards a child’s systemic health for a lifetime.