StraightSmile Solutions®
Understanding Crown-to-Root Ratios in Adult Orthodontic Treatment
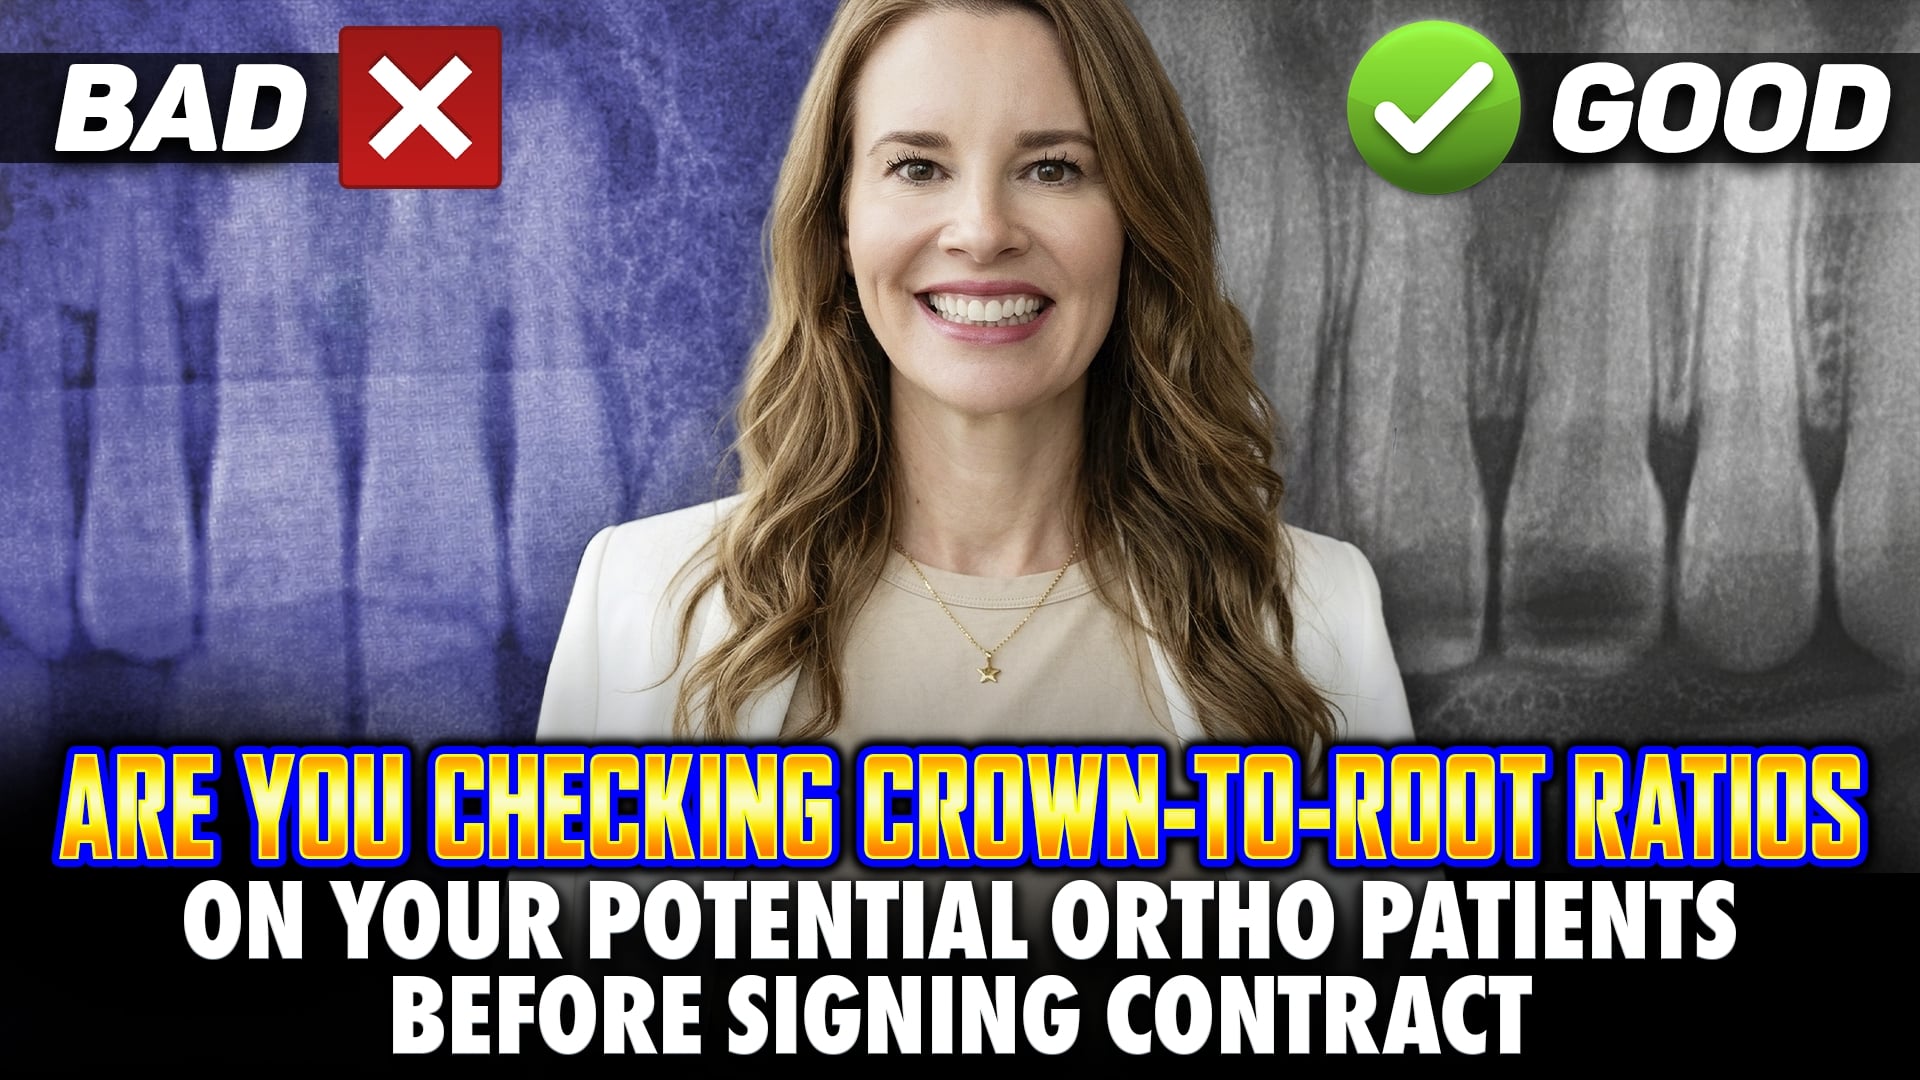
When planning orthodontic treatment for adult patients, evaluating the crown-to-root ratio is a critical step that should never be overlooked. Failing to consider the amount of bone supporting each tooth before starting a case can lead to highly unpredictable tooth movement, severe structural damage, or even tooth loss.
An ideal clinical scenario requires at least 50% of the entire tooth length to be securely embedded in healthy bone. When a patient presents with a compromised ratio—where less than half of the tooth root is supported—moving the teeth becomes incredibly risky. Adult patients often have a history of periodontal disease. Even if the disease is currently inactive with no active inflammation or deep pockets, the historical attachment loss remains permanent. Shifting these teeth can cause them to loosen completely or fall out during or after treatment, creating significant legal and clinical liability for the practitioner.
To safely navigate these complex adult periodontal cases, general and pediatric dentists should follow a strict protocol:
• Verify with Proper Diagnostics: Always use a Panoramic X-ray (Pano) or a CBCT scan rather than relying solely on a Full Mouth Series (FMX). A Pano acts as the gold standard to eliminate blind spots and reveal hidden pathology or severe root angulations.
• Get Periodontal Clearance: Never initiate active treatment until a periodontist evaluates the patient and explicitly “blesses” the case with written approval. This transfers the primary liability and ensures professional oversight.
• Apply Gentle Forces: Avoid traditional braces completely. Instead, opt for clear aligners utilizing the lowest and slowest forces possible to move the teeth gradually.
• Plan for Financial Risk: Because these cases carry a high risk of medical or dental termination before completion, utilize clear contracts regarding billing for services rendered. Collect a sizable upfront deposit or use third-party financing to cover front-loaded lab fees.
Orthodontists and general practitioners do not necessarily need to reject these patients. Instead, proceed with extreme caution, ensure continuous periodontal maintenance every three months, and let the specialist make the final call.
The Pitfalls of Proclination: Why Your Orthodontic Shortcuts Are Failing
 The Pitfalls of Proclination: Why Your Orthodontic Shortcuts Are Failing
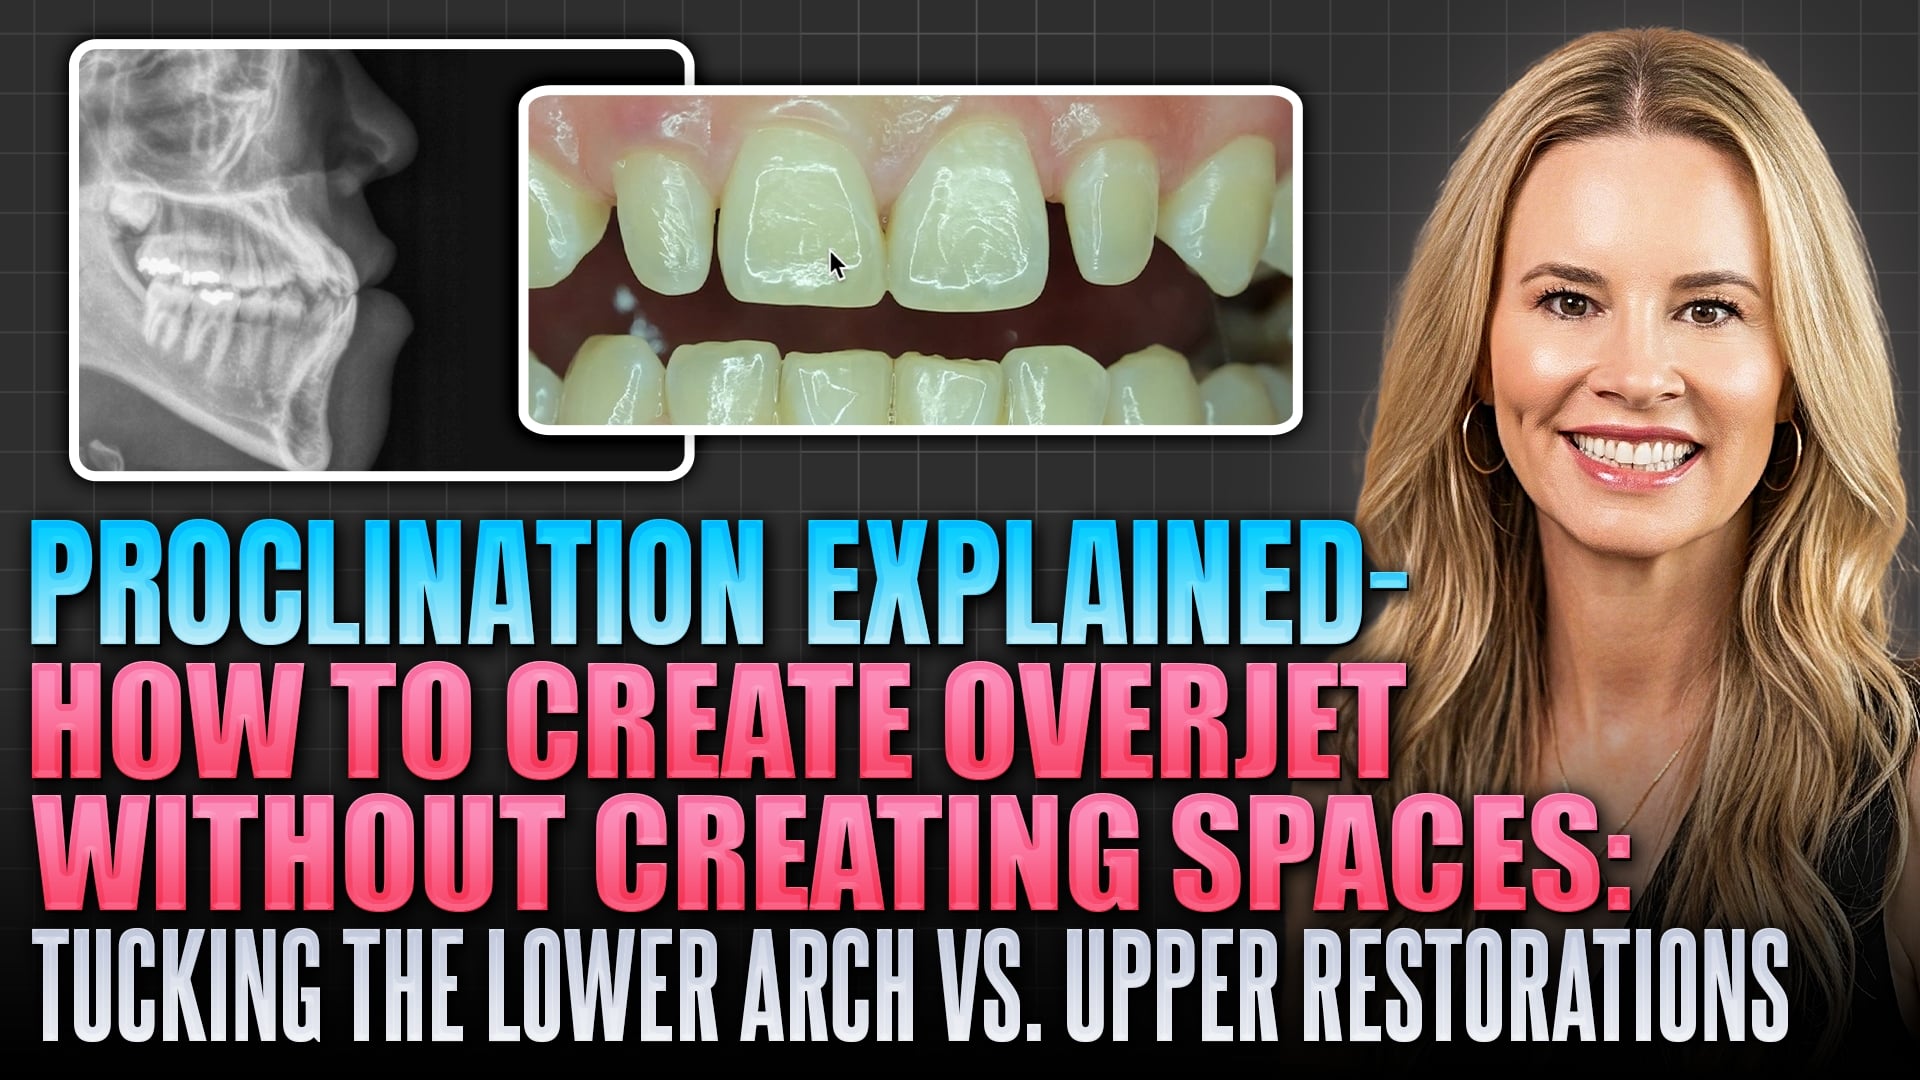
Many dental clinicians face a common dilemma when treating mild Class 3 cases or patients with a mandibular Bolton discrepancy: “Can’t we just procline the maxillary incisors to quickly generate more overjet?” On a digital mockup like Invisalign, this seems like an easy, elegant fix. However, relying on proclination as a shortcut is a recipe for clinical frustration, prolonged treatment times, and unhappy patients.
The fundamental truth about proclination is that moving teeth forward inherently creates space. Unless you plan to leave those spaces open, you cannot procline upper teeth without introducing gaps. While you can try to spread these spaces out distally, patients will almost certainly object to the resulting gaps. Reversing this midway through treatment to close the spacing effectively doubles your chair time without increasing your case fee.
Furthermore, pushing teeth blindly forward ignores critical biological boundaries. Without evaluating a cephalometric radiograph, you risk shoving the roots entirely out of the alveolar bone. True candidates for upper proclination must present with naturally upright incisors and an abundant, healthy bone structure to support the movement. Shortcuts like intrusion also fail to produce predictable overjet, despite what digital software might simulate.
To achieve predictable finishes, you must master alternative biomechanics. If a mandibular Bolton discrepancy exists, lower interproximal reduction (IPR) is often the superior choice, provided the lower incisors are not already overly upright. For growing patients, orthopedic maxilla traction remains the gold standard to balance the profile. Never leave spaces on the upper arch unless a virtual wax-up is finalized, restorative treatments are locked in, and the patient has financially committed to the restorations beforehand.
What Happens When a Phase 1 Orthodontic Patient Loses a Baby Tooth?
What Happens When a Phase 1 Orthodontic Patient Loses a Baby Tooth?
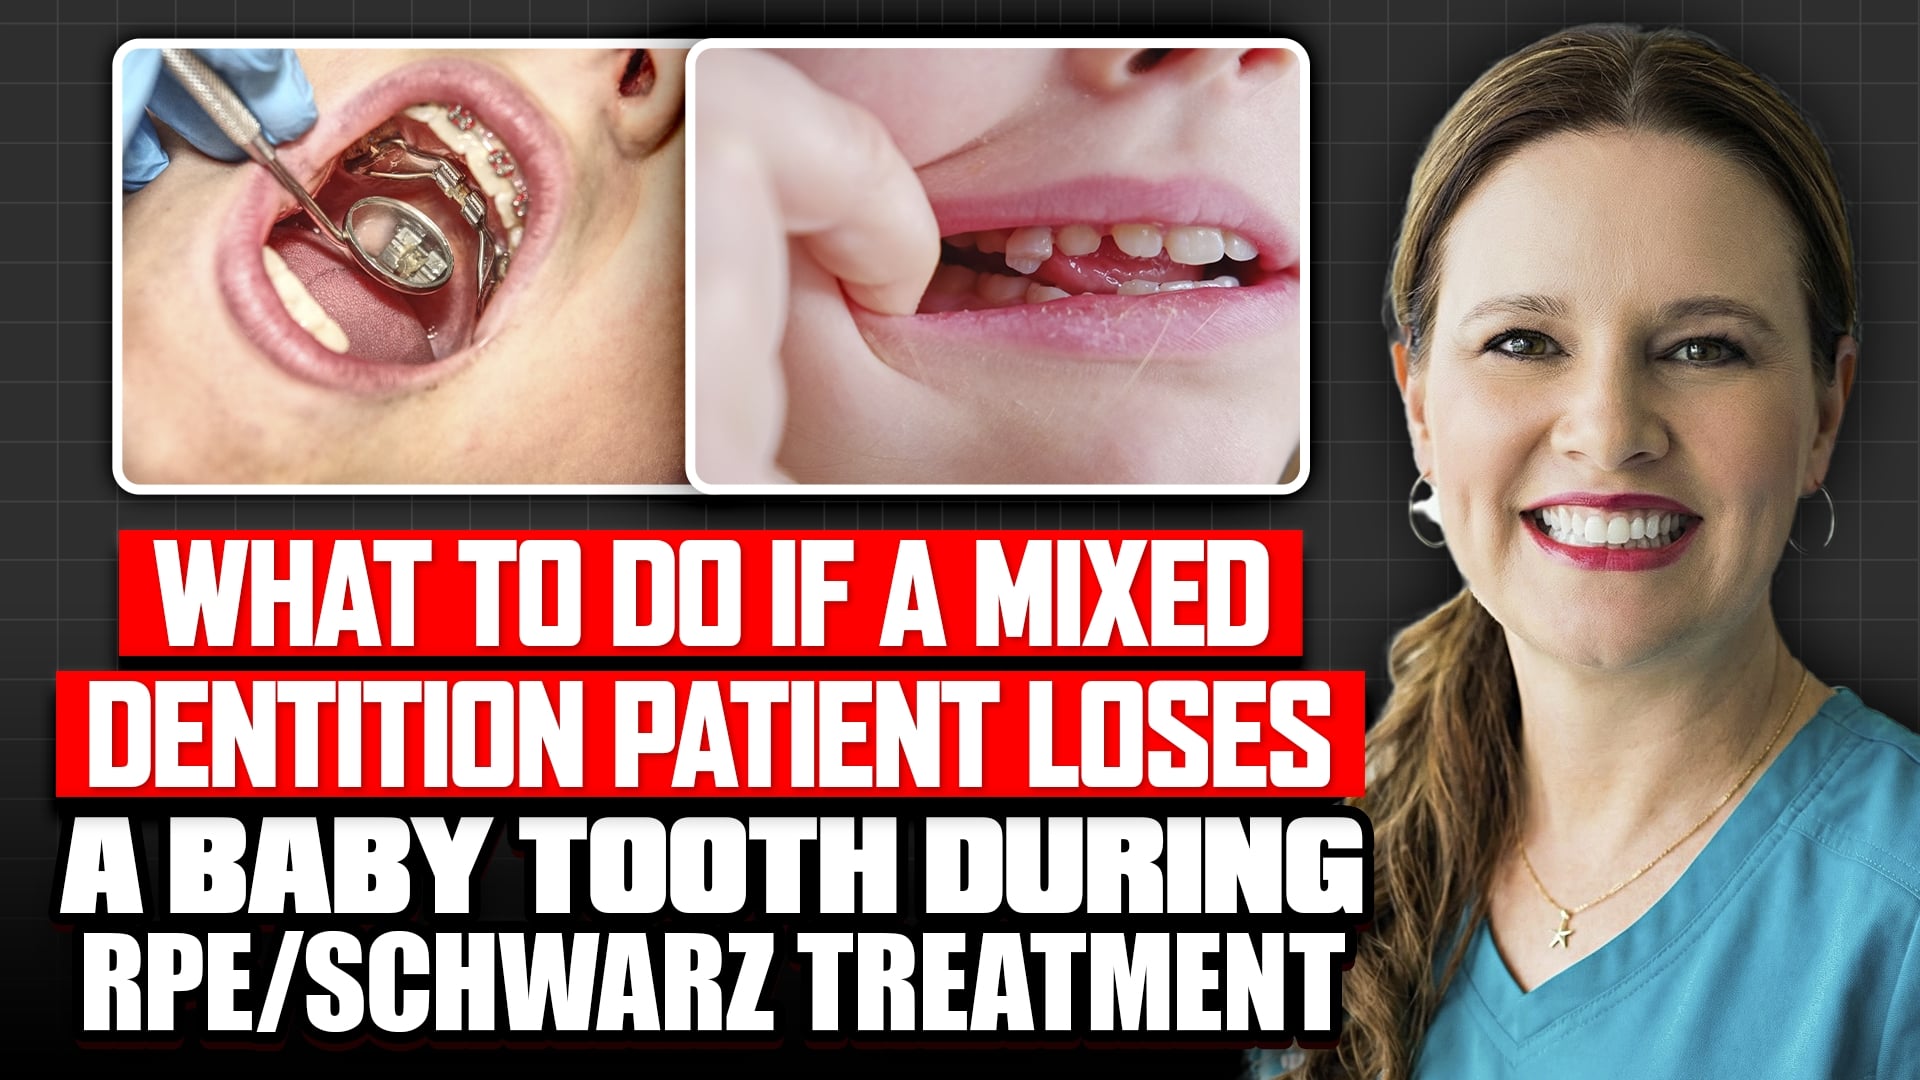
Phase 1 orthodontic treatment often utilizes appliances like Rapid Palatal Expanders (RPE), Rapid Maxillary Expanders (RME), or Schwartz expanders to guide jaw growth and create adequate space for incoming adult teeth. However, a common question parents encounter during this transitional phase is: what should you do if a child loses a baby tooth while wearing an expansion appliance?
Understanding the Appliance Stability
In most scenarios, the loss of a primary tooth during active expansion does not derail the entire treatment. Orthodontic expanders are carefully engineered to derive their primary support and stability from the surrounding teeth and the underlying bone structure. Because the appliance relies on multiple anchor points across the arch, losing a single baby tooth rarely causes the device to become loose or ineffective.
When to Take Action
While a loose or lost baby tooth is a completely natural milestone, you should still keep your orthodontist informed. If the lost tooth was a primary anchor for the expander, or if the appliance begins to rock, pinch the gums, or shift out of its proper position, an appointment is necessary. The clinical team can quickly evaluate the fit and make any minor adjustments to ensure the jaw alignment continues seamlessly.
The primary goal is maintaining consistent, gentle pressure across the palate. Unless the appliance loses stability, you can usually keep turning or wearing the expander exactly as prescribed.
The Importance of Functional Orofacial Training in Dentistry
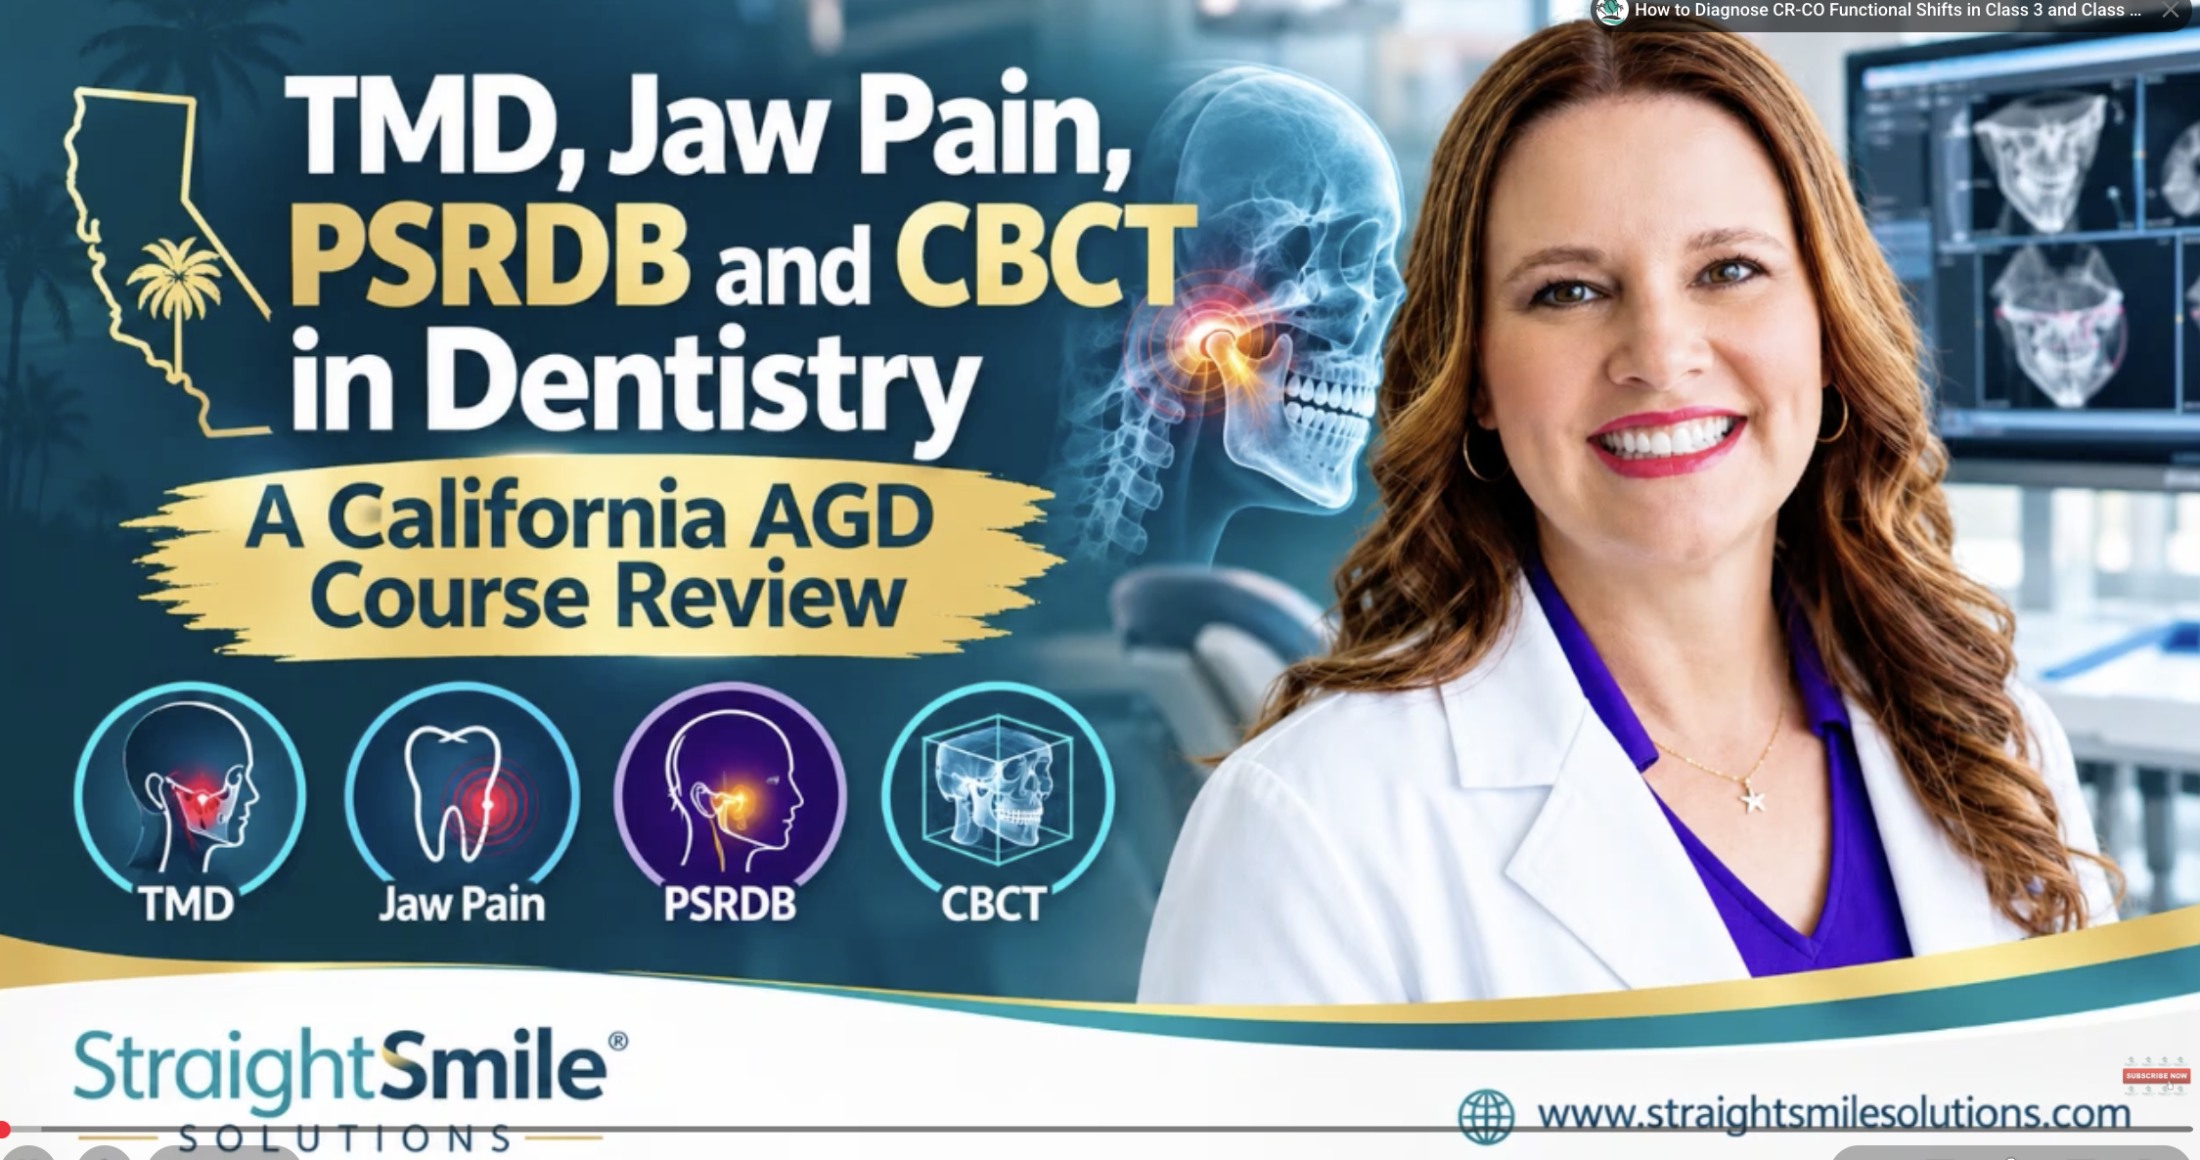
Dr. Amanda from Straight Smile Solutions presents a comprehensive review of a continuing education course hosted by the California Academy of General Dentistry. Priced around five hundred dollars for an immersive full-day session, the course was led by lecturer Dr. Chris Chui and focused heavily on TMJ pain management, orofacial discomfort, and myofunctional therapy. Dr. Amanda shares her personal journey as both a practitioner and a chronic pain patient, explaining how traditional orthodontics can sometimes compromise the airway and overall bite function when treatments merely focus on slamming spaces shut. During the session, she experienced immediate relief after utilizing a muscle stimulation unit and specialized bite registrations like the George Gauge. The course also featured insights from a myofunctional therapist on nasal hygiene, introducing practical tools like crafting mirrors to test nasal patency alongside nasal dilators and mouth strips to optimize sleep quality. Additionally, the video includes a segment demonstrating Planmeca software, showcasing how advanced artificial intelligence can easily extrapolate panoramic views and cephalometric numbers directly from a single three-dimensional scan without needing separate radiation exposures. Ultimately, Dr. Amanda emphasizes that understanding the intersection of growth, development, and airway health is the true future of pediatric and general dentistry, urging clinicians to look past cosmetic tooth movement to prioritize long-term functional stability and patient satisfaction.
The Hidden Connection Between Neurodivergence and Chronic Jaw Pain
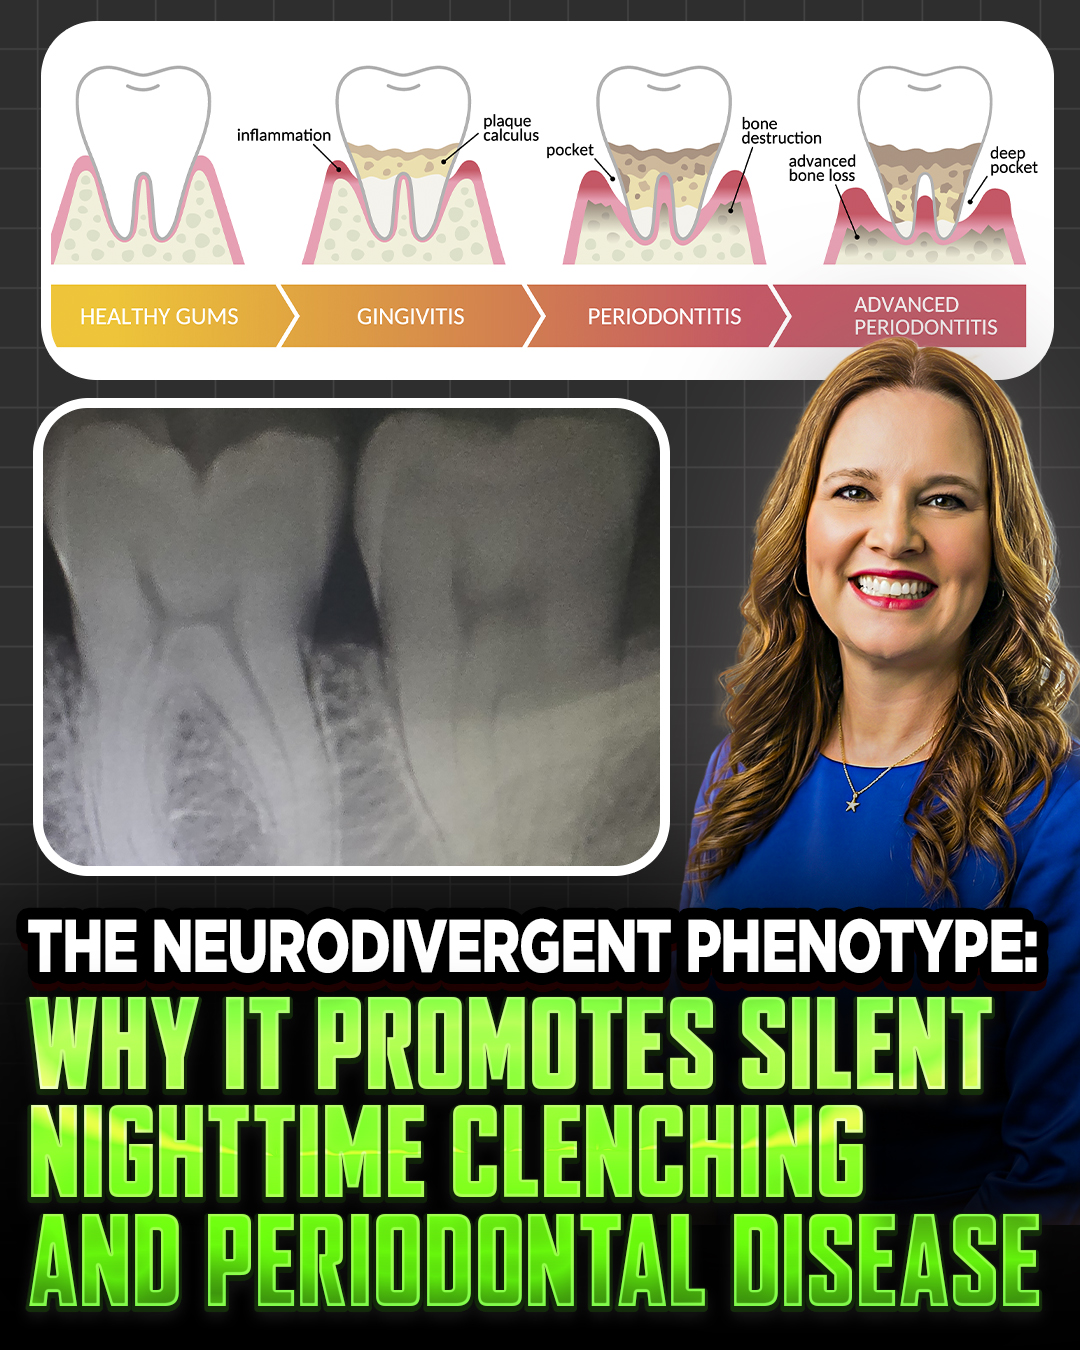
The Hidden Connection Between Neurodivergence and Chronic Jaw Pain
For decades, the intersection of neurodiversity and dental health has remained largely unrecognized in mainstream medicine. Many individuals with neurodivergent phenotypes, particularly females with autism or ADHD, live with a baseline of chronic facial pain and severe dental breakdown. Surprisingly, this damage often occurs despite maintaining immaculate oral hygiene habits and having zero cavities. The root cause of this mysterious deterioration does not stem from poor hygiene or diet, but rather from the physical manifestations of an overlooked phenotype.
Neurodivergent individuals frequently possess distinct facial structures, such as a low-angle brachycephalic phenotype, which naturally alters bite alignment. To cope with sensory overload or to regulate the nervous system, many resort to subconscious oral stimming. While standard stimming behaviors like finger tapping or hand flapping are highly visible, oral stimming is entirely internal. This hidden habit includes intense jaw clenching, deep biting, and creating powerful suction forces inside the mouth while awake or asleep.
Over time, this relentless physical pressure causes severe periodontal breakdown, muscle fatigue, and unexplained dental damage. Because standard dentistry often approaches care with a one-size-fits-all mindset, typical mouthguards frequently fail to provide relief, and patients are mistakenly left with recommendations for heavy medication.
True relief requires addressing the structural root causes rather than masking the symptoms. Combining specialized occlusion-based dental adjustments with oral myofunctional therapy, tongue-tie releases, and targeted facial exercises can effectively disrupt these destructive habits. By retraining oral posture and consciously replacing oral stimming with healthy movement patterns, individuals can finally eliminate chronic facial pain and protect their long-term dental health.
Orthodontist Reacts: The Mystery of the Unilateral Open Coil Spring
Orthodontist Reacts: The Mystery of the Unilateral Open Coil Spring
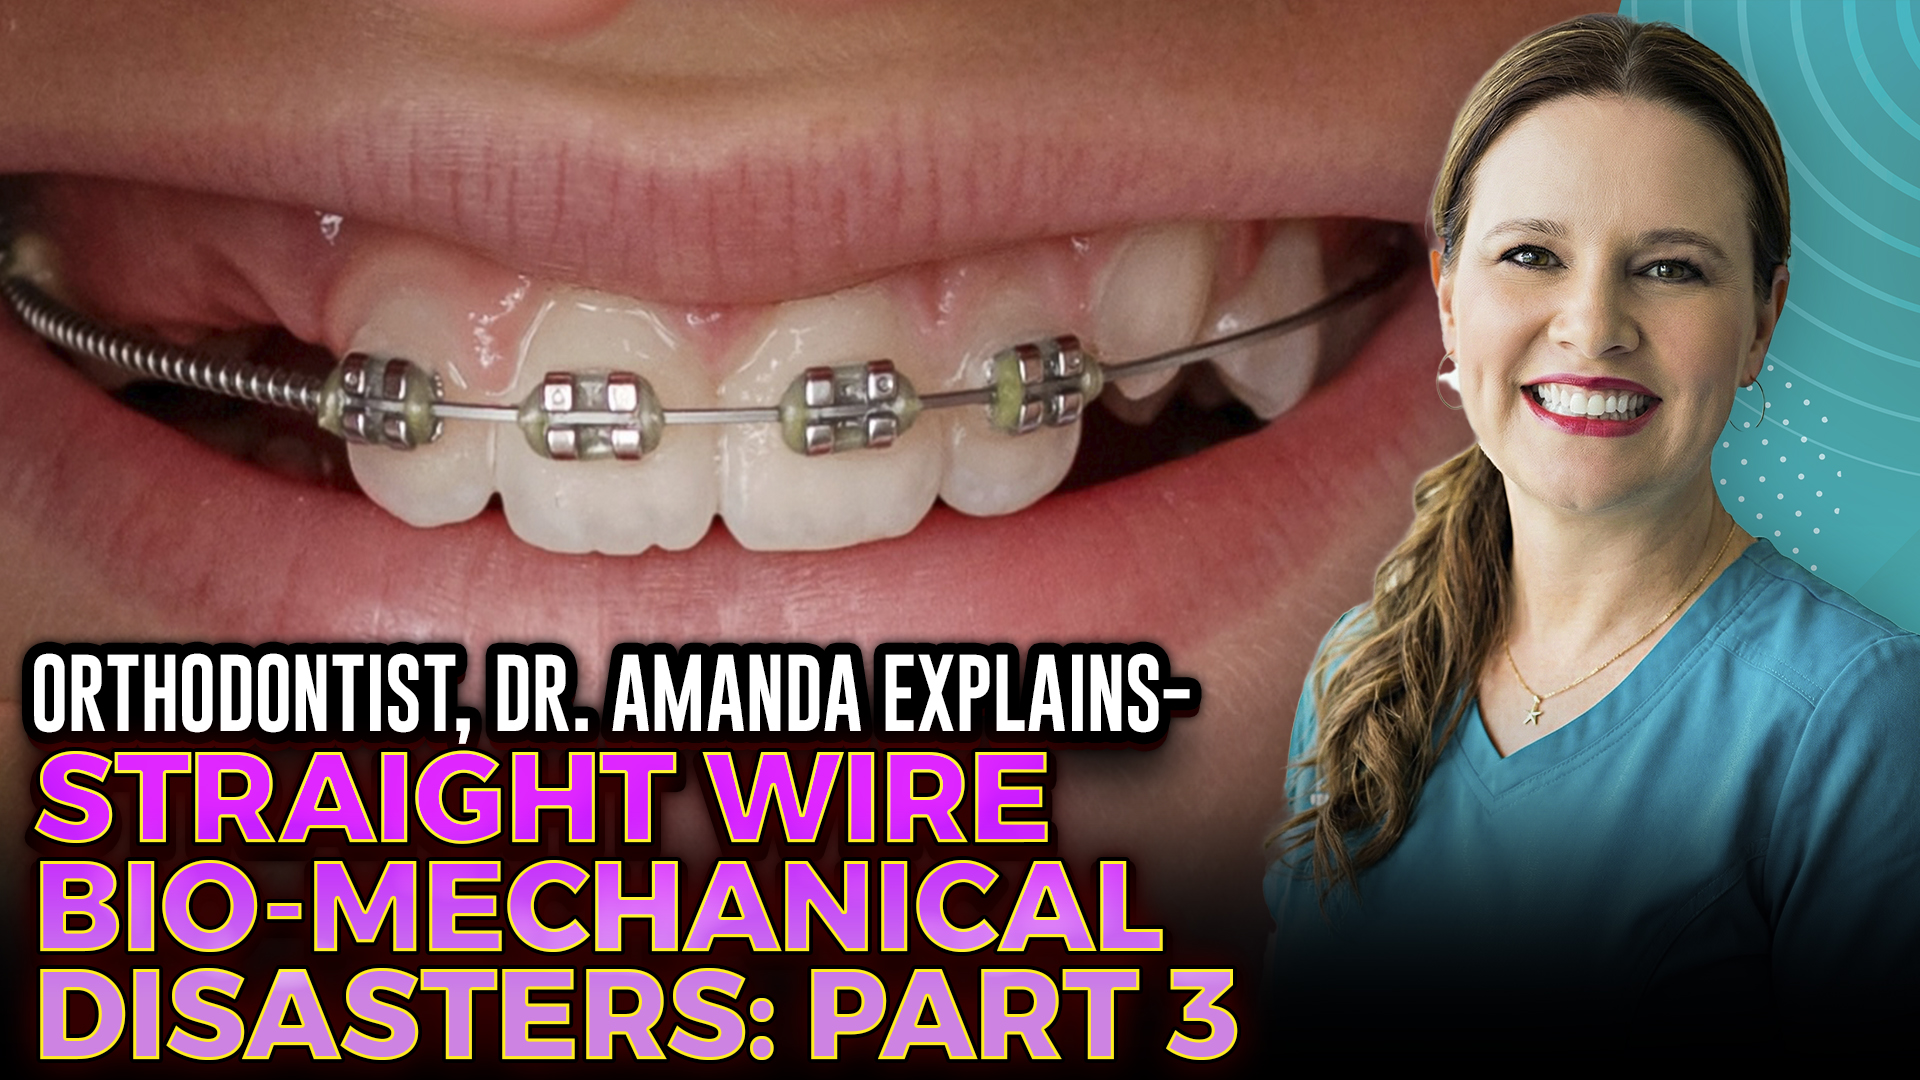
Stock photos of dental work are notorious for showcasing some truly bizarre treatment choices. In her latest breakdown video, Dr. Amanda from Straight Smile Solutions dives into a specific orthodontic image that has left professionals scratching their heads. While the setup isn’t completely terrible, the mechanical logic behind it is a massive biomechanics question mark.
At first glance, the setup gets a few things right. The clinician successfully leveled and aligned the sectional area first, and they correctly placed the open coil spring (OCS) on a heavy wire. However, that is where the good news ends. The image reveals a giant, active unilateral open coil spring that is noticeably bowing out.
Using a massive unilateral spring like this creates severe side effects. Because the spring is highly active, it naturally forces all the surrounding teeth over to the left side. The problem is that tooth number 11 (the upper left canine) hasn’t even erupted into the arch yet because there isn’t enough space. Pushing the teeth blindly creates a whole new structural issue on the opposite side of the mouth.
Before introducing a force this strong, an orthodontist must consider the patient’s facial midline, their unique bone structure, and their overall bite. Flaring everything forward without proper planning can easily throw the entire mouth out of alignment. Additionally, minor bracketing issues and mismatched mamelons suggest that this case was either mismanaged or taken completely out of context.
Unless this specific setup is part of a highly specialized Phase 1 interceptive treatment, using a massive active spring at this stage simply makes no clinical sense. It serves as a great reminder to general dentists that every single orthodontic force requires a clear, predictable purpose.
Orthodontist Reacts: Why Underwire Extrusions in This Stock Photo Are a Biomechanics Nightmare
Orthodontist Reacts: Why Underwire Extrusions in This Stock Photo Are a Biomechanics Nightmare
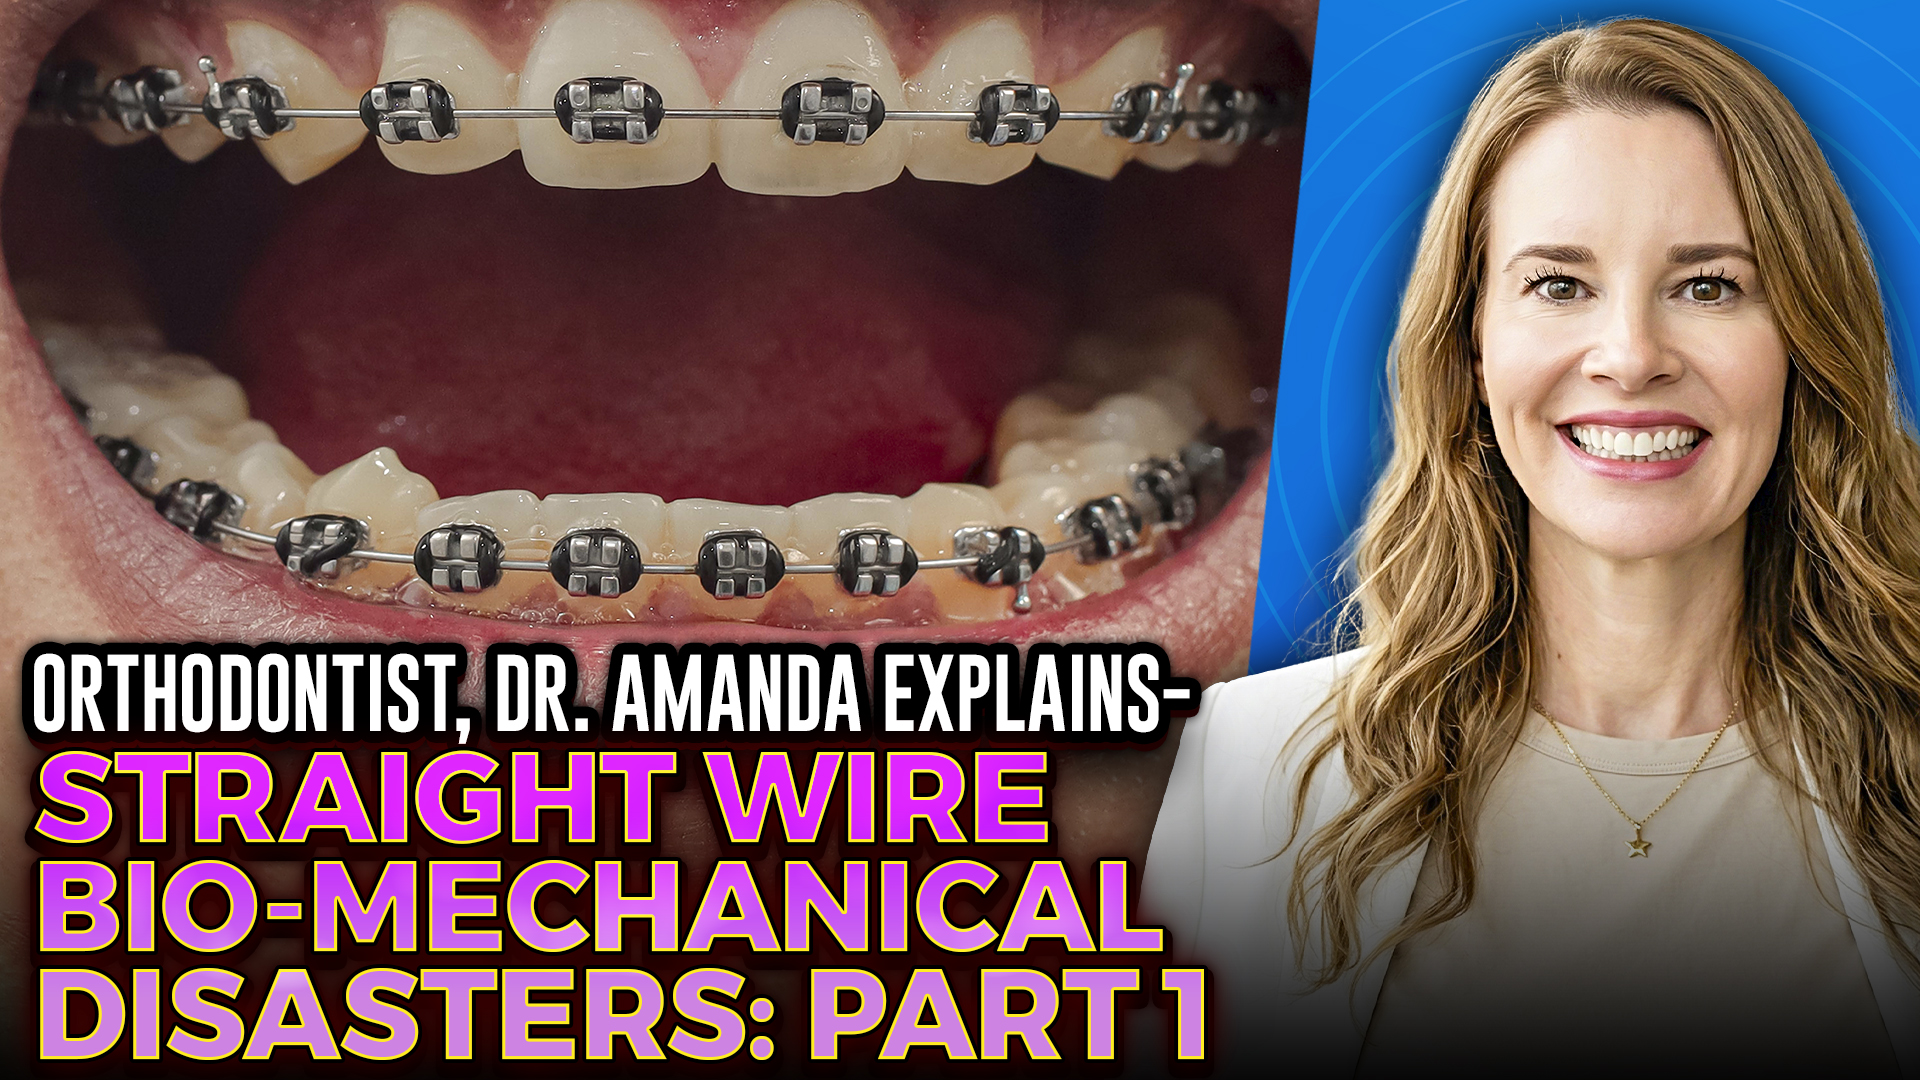
Stock photos of medical procedures are notoriously inaccurate, but when it comes to orthodontics, some images show setups that are a total biomechanics disaster. If a patient walked into a clinic with their braces configured like this common stock image, it would immediately raise several major red flags for any licensed dentist or orthodontist.
First and foremost, a close look at the brackets reveals that the archwire is completely out of the slot on tooth number 10. This could simply be a case of a broken O-ring caused by poor hygiene or eating sticky candy, allowing the wire to pop out. Alternatively, it might be an intentional attempt at an underwire sling or an underwire extrusion technique. While running a wire underneath a bracket to force a tooth down can be used when gums are puffy and time doesn’t allow for a gingivectomy, it is highly inefficient if there is clear enamel available. In an actual clinical setting, it makes far more sense to just pop the bracket off and reposition it slightly lower toward the gumline.
Furthermore, using an underwire extrusion here makes no sense because the lateral incisors should never be longer than the central incisors. Because the wire isn’t seated in the slot, it completely ruins the necessary torque, kicking the entire tooth forward.
Beyond the messy wire placement, the image highlights a severe edge-to-edge bite. Leaving a patient with this type of occlusion creates a high liability for tooth wear and chipping. Relying on short-term emergency fixes like posterior bite turbos without a long-term plan to fix the underlying Class III relationship or negative overjet is simply sloppy mechanics. To achieve proper alignment, the clinician must establish a comprehensive plan using interproximal reduction (IPR) or elastics rather than relying on a broken, inefficient setup.
The Stock Photo Nightmare: Spotting Sloppy Orthodontic Mechanics
Maximizing Bracket Engagement: Steel Ties and Ceramic Workarounds
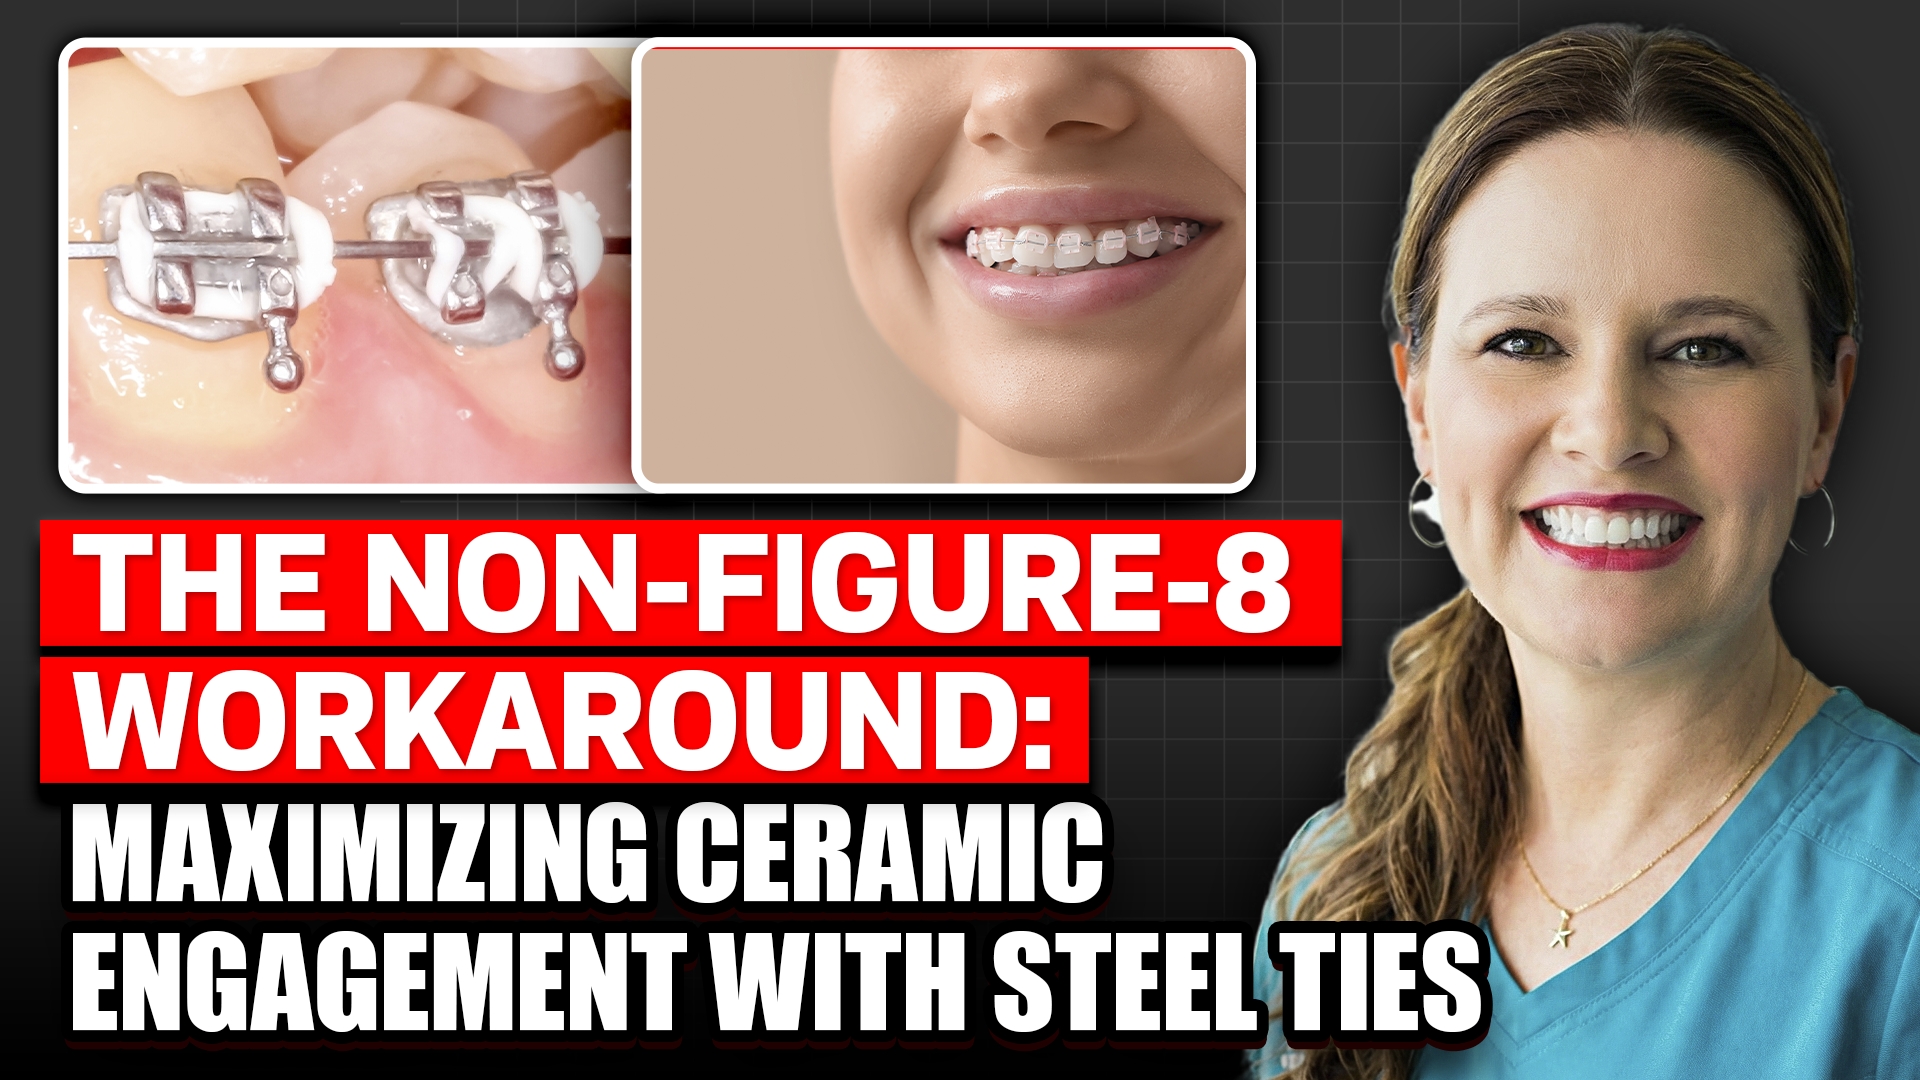
In orthodontic treatment, getting an active archwire fully seated into the bracket slot can sometimes feel like an uphill battle. A common roadblock occurs when a wire is simply too heavy for the required deflection. For instance, attempting to force a thick rectangular wire into a crowded slot often leaves the wire deflected and poorly engaged, even when using a standard figure-eight tie. When the ligature cannot fully push the wire down, the mechanics stall out, and tracking stops.
To overcome this issue, clinicians can shift their workflow toward a highly effective workaround. The first step involves bumping down the archwire size to a lighter, more flexible option, such as a 12 or 14 wire. Once the lighter wire is in place, the true magic lies in substituting standard elastic modules with stainless steel ligatures.
Applying steel ties directly over the archwire provides rigid, unyielding engagement that completely seats the wire into the slot. Unlike elastic ties that degrade and lose their force within weeks, steel ties stay fully active for months. This allows for long-term, continuous tooth movement and fewer emergency appointments.
For patients wearing aesthetic ceramic brackets, there is an extra step to maintain a clean look. Because steel ties leave visible pigtails and metallic elements, clinicians can place white or clear O-rings directly on top of the steel ligatures. While these superficial elastics are purely decorative and prone to staining, they successfully mask the underlying metalwork. This brilliant combination balances superior biomechanics with the cosmetic tracking demands of the patient, ensuring orthodontic cases finish beautifully and efficiently.
Can Braces or Invisalign Actually Grow Your Jaw? (Rubber Bands Explained)