
StraightSmile Solutions®
Understanding the Limitations of Bite Correction: Why Class Two Elastics Do Not Grow Jaws
Understanding the Limitations of Bite Correction: Why Class Two Elastics Do Not Grow Jaws
A common misconception in orthodontics is that traditional Class Two elastics can stimulate jaw growth in developing children. While these tiny rubber bands are incredibly useful for adjusting how upper and lower teeth meet, they possess zero biological capability to elongate a skeletal jawbone. Understanding exactly what elastics do and mapping out their potential side effects is essential for mapping a truly successful bite correction strategy.
Traditional elastics work entirely through dental movement rather than skeletal manipulation. They function by applying constant tension that subtly tips the upper teeth backward and pulls the lower teeth forward. While this process masks a Class Two bite discrepancy, it leaves the underlying bone structure unchanged. Consequently, elastics are classified as a camouflage technique because they realign the teeth within the existing boundaries of the patient’s current jaw framework.
Relying exclusively on elastics introduces several specific side effects that clinicians must carefully evaluate during a profile analysis. Because they pull diagonally across the dental arches, elastics can cause unwanted extrusive effects that lengthen a patient’s face. They also cant the biting plane, flatten the upper lip, and push the lower incisors into a forward flare. If a young patient already possesses naturally forward-leaning teeth, utilizing elastics can easily push those roots past safe biological limits.
Furthermore, a patient’s facial profile dictates whether a camouflage technique is appropriate. For example, some individuals genetically possess a short lower jaw paired with a prominent chin bone. Attempting to grow the jaw or dramatically canting the bite plane in these specific cases can overemphasize the chin, throwing the facial aesthetics completely out of balance. When a mild overjet is present alongside a strong chin, leaving a minor bite discrepancy while simply straightening the teeth is often the most beautiful and stable outcome.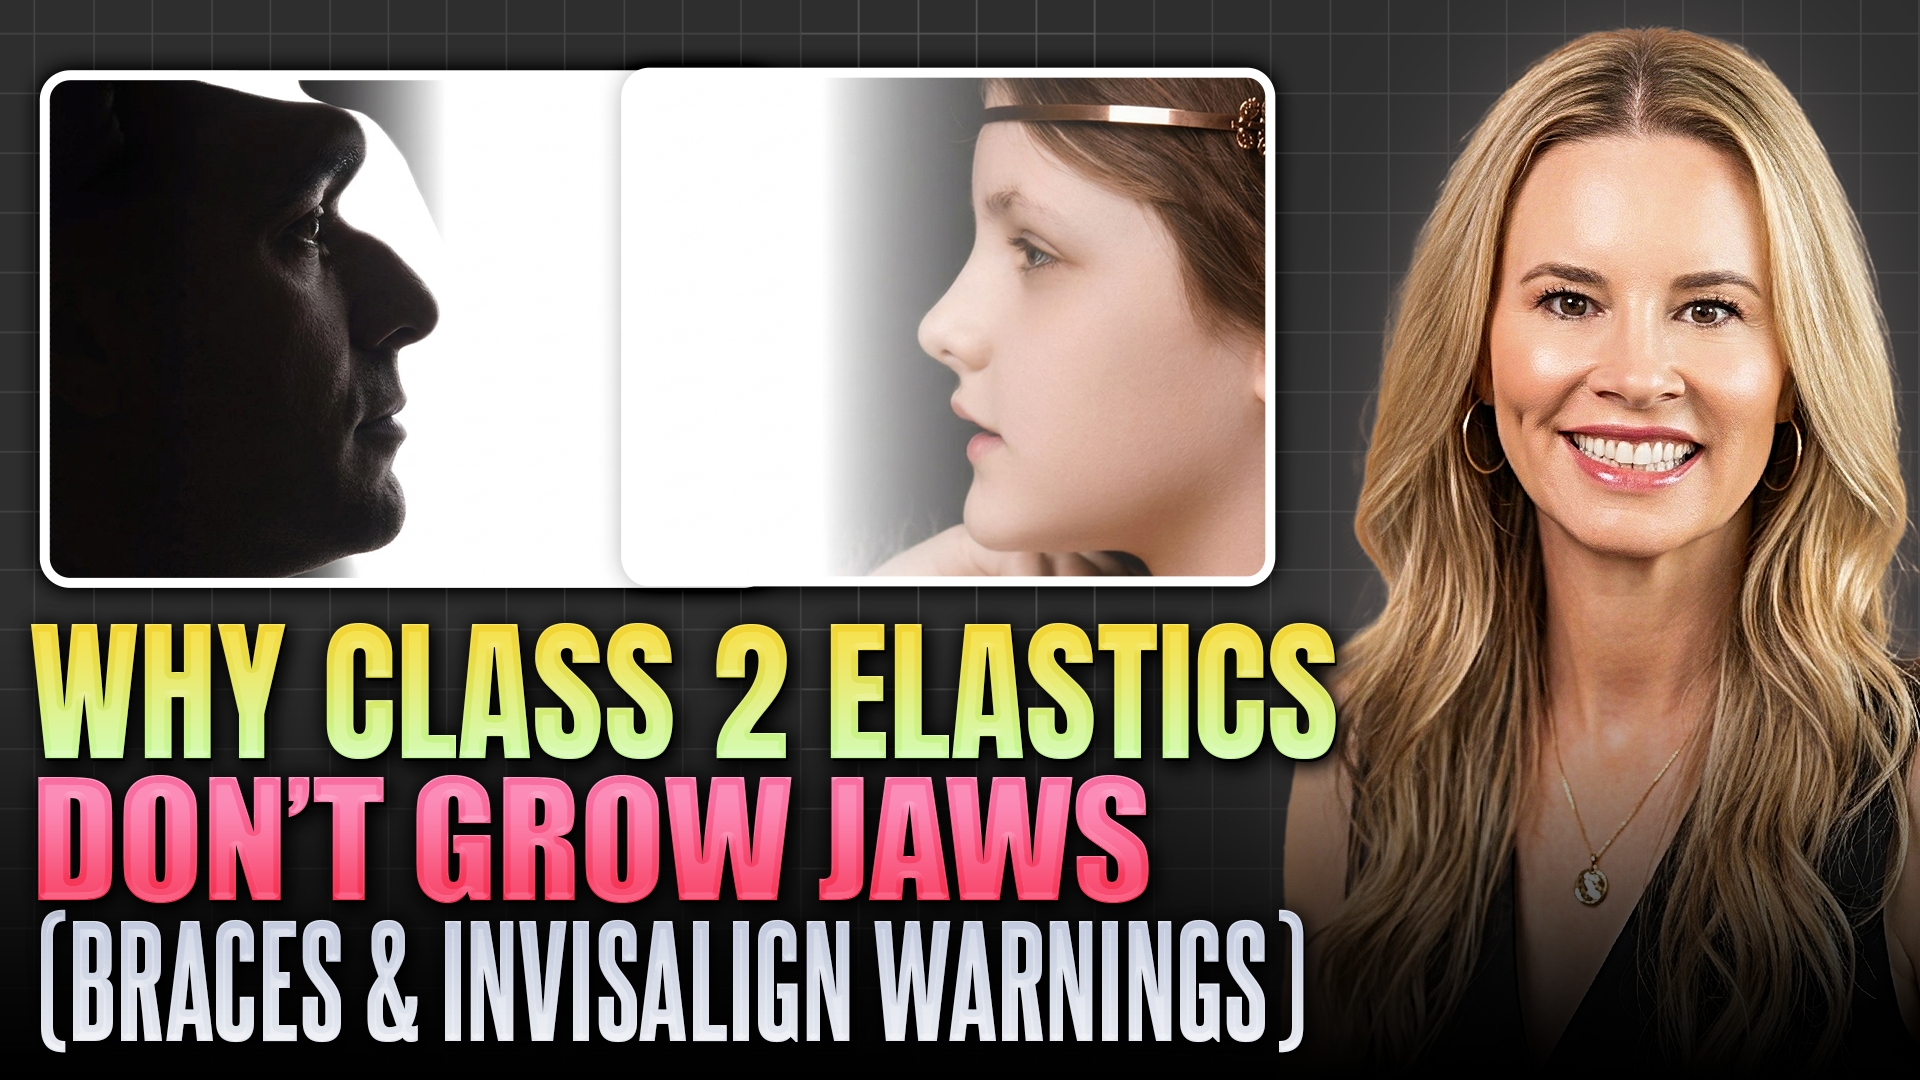
Understanding the Choices for Bite Correction: Class Two Elastics Versus Advanced Procedures
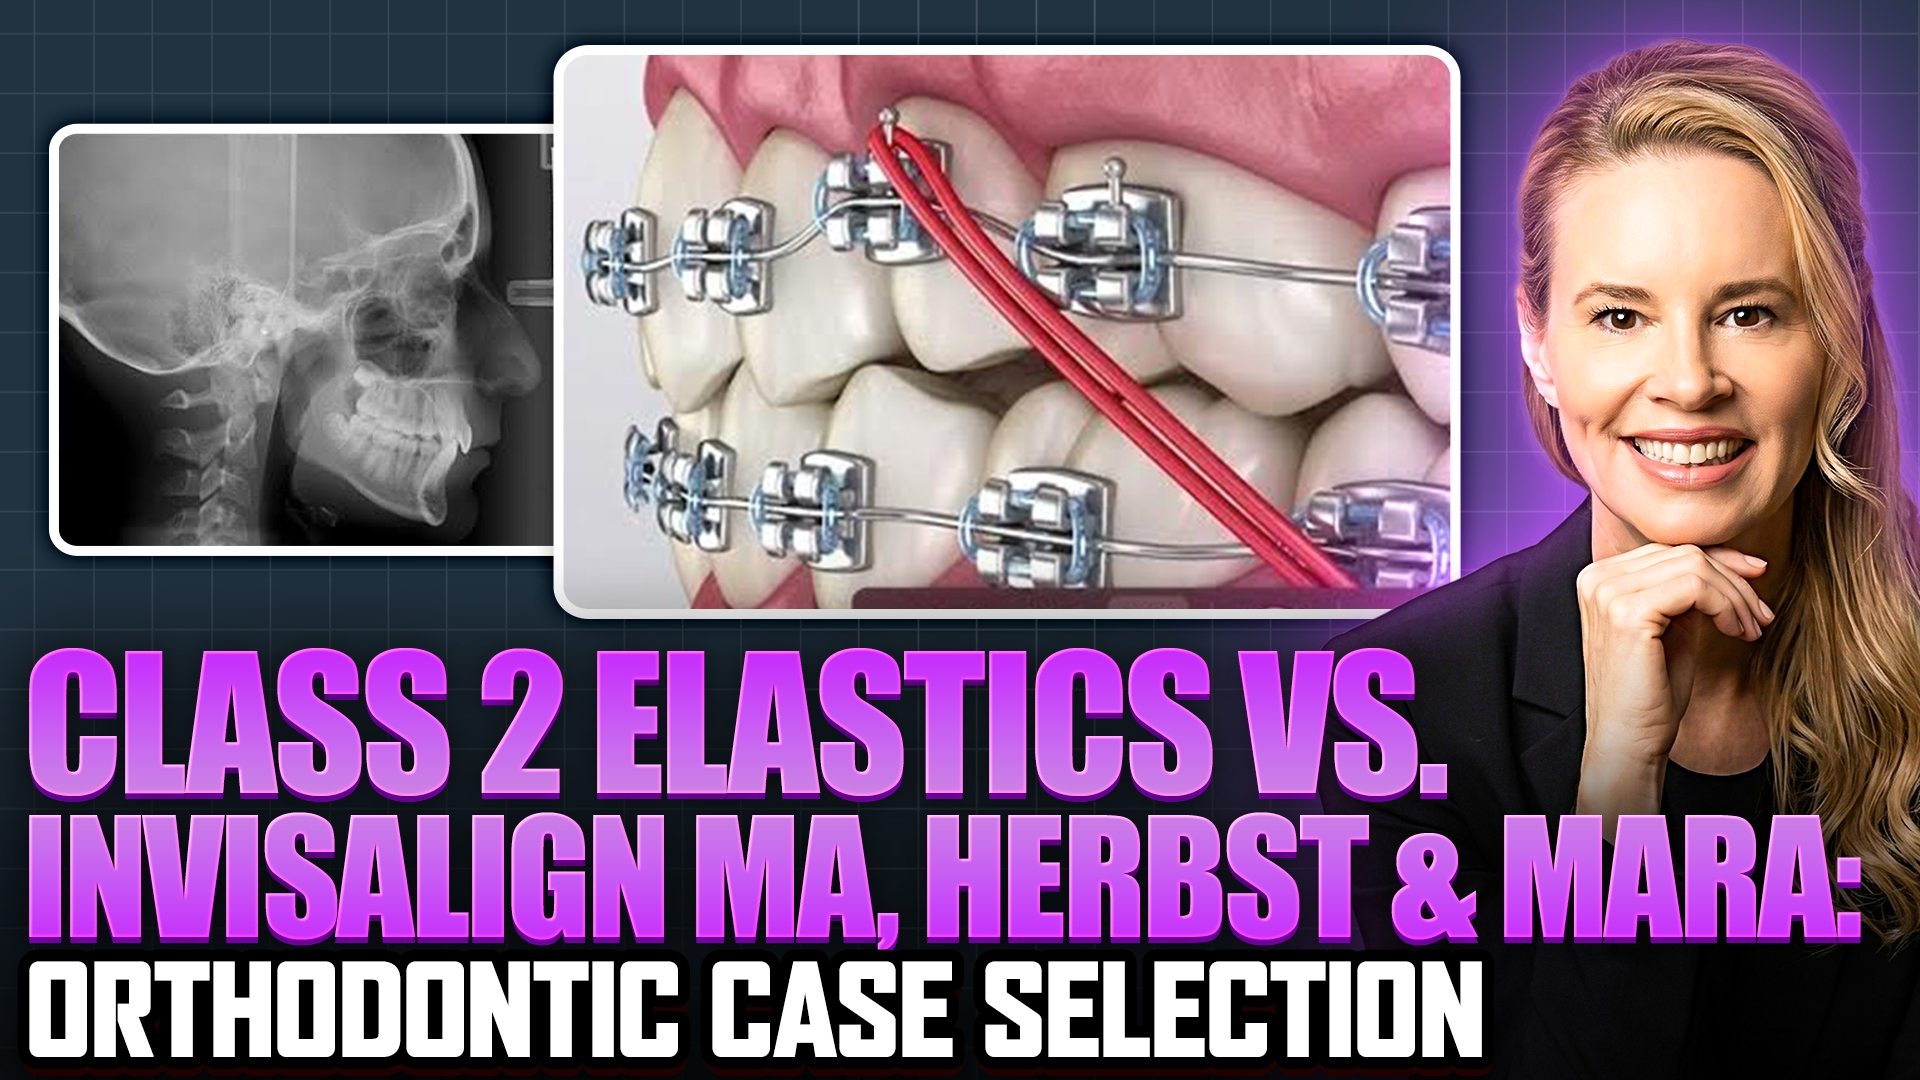
Choosing the right approach for a Class Two bite correction requires a deep understanding of the structural differences between traditional Class Two elastics and advanced orthopedic systems. While several treatments aim to resolve a mismatched bite, they achieve this goal through entirely different biological mechanisms. Understanding how elastics compare to more complex procedures helps patients and practitioners select the ideal path.
Traditional Class Two elastics primarily act as a dental camouflage technique. They apply continuous forces that tip the upper teeth backward and pull the lower teeth forward, masking the underlying jaw discrepancy. Because elastics rely purely on moving teeth within the existing bone, they do not alter jaw structure or stimulate bone growth. This means they are only appropriate for patients who do not already have forward-leaning lower incisors, as pushing flared teeth further can cross safe biological limits.
Advanced procedures like Mandibular Advancement systems and specialized fixed appliances work through an entirely different mechanical philosophy. Instead of simply shifting teeth, these advanced procedures physically guide the lower jaw forward. When utilized during active growth phases in young patients, this continuous advancement stimulates actual skeletal growth along the jawbone. This provides a true structural correction that significantly enhances a recessed jawline and permanently improves the facial profile.
While heavy mechanical appliances can also force jaw repositioning, their extreme forces risk root and bone damage if the case is not meticulously managed. Modern clear aligner systems with built-in advancement features now offer a much gentler alternative to these rigid devices. Ultimately, traditional elastics remain a valuable tool for minor dental shifting, but advanced skeletal procedures are necessary when true jaw development is required to fix the bite.
Reimagining Adult Maxillary Expansion: Aesthetics Meet Function with MARPE and MSE
Reimagining Adult Maxillary Expansion: Aesthetics Meet Function with MARPE and MSE
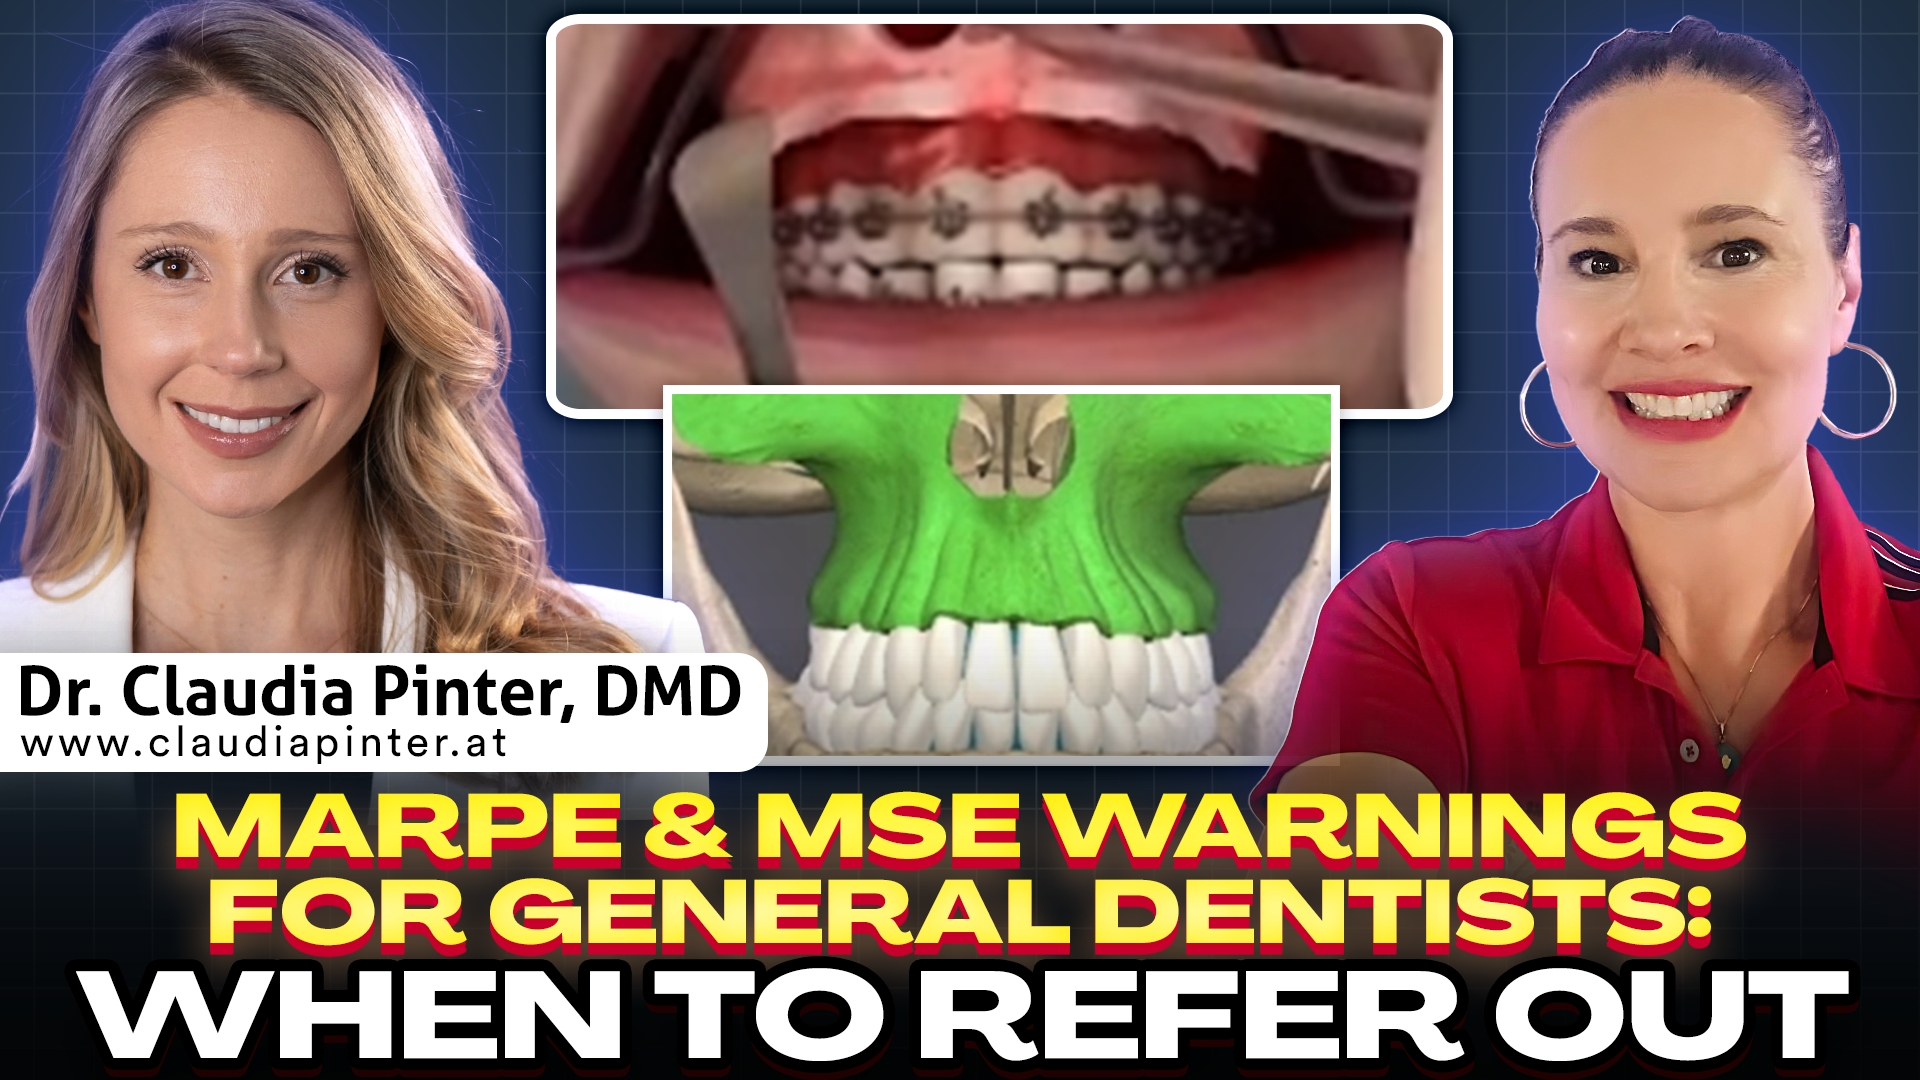
For many adult dental patients, correcting a transverse deficient maxilla has historically felt like a bitter pill to swallow. Because the mid-palatal suture is completely fused in adults, traditional orthodontic treatments often relied on highly invasive, aggressive jaw surgeries like Le Fort I osteotomies. These surgical pathways are intimidating to patients and typically create a large, disfiguring gap between the front teeth during rapid expansion. Unsurprisingly, these aesthetic and physical concerns cause a vast majority of adult patients to reject treatment outright, even when they are fully aware of the long-term health benefits.
Fortunately, innovative protocols are shifting this paradigm by combining bone-borne anchorage with digital aligner therapy. Known as MARPE (Maxillary Skeletal Expansion) or Maxillary Skeletal Expander (MSE), this technique bypasses tooth-borne pressure entirely. By anchoring custom-made expanders directly into the palate using strategically placed mini-screws, clinicians can separate the maxillary halves with minimal surgical intervention rather than extensive, aggressive osteotomies.
The latest evolution of this process integrates clear aligners directly into the treatment sequence, allowing clinicians to hold the front teeth aligned while the underlying skeletal base widens. Instead of rapid daily turning protocols, patients utilize a customized, slow expansion schedule. This measured pace allows the teeth to move smoothly into the precise zones where new bone is actively forming, preserving aesthetics and preventing a massive diastema from start to finish.
Crucially, widening a narrow maxilla does more than fix a crossbite or create a beautiful smile. Because the roof of the mouth serves as the floor of the nasal cavity, skeletal expansion directly opens the nasal floor. This structural change increases pharyngeal airway volume, makes nasal breathing easier, and addresses the root causes of snoring or mouth-sleeping. By eliminating disfiguring gaps and intense surgeries, patient acceptance rates soar, allowing dental professionals to improve systemic patient health beyond the oral cavity.
Rethinking Early Orthodontics: Why Elastics Make No Sense in Phase 1
Rethinking Early Orthodontics: Why Elastics Make No Sense in Phase 1
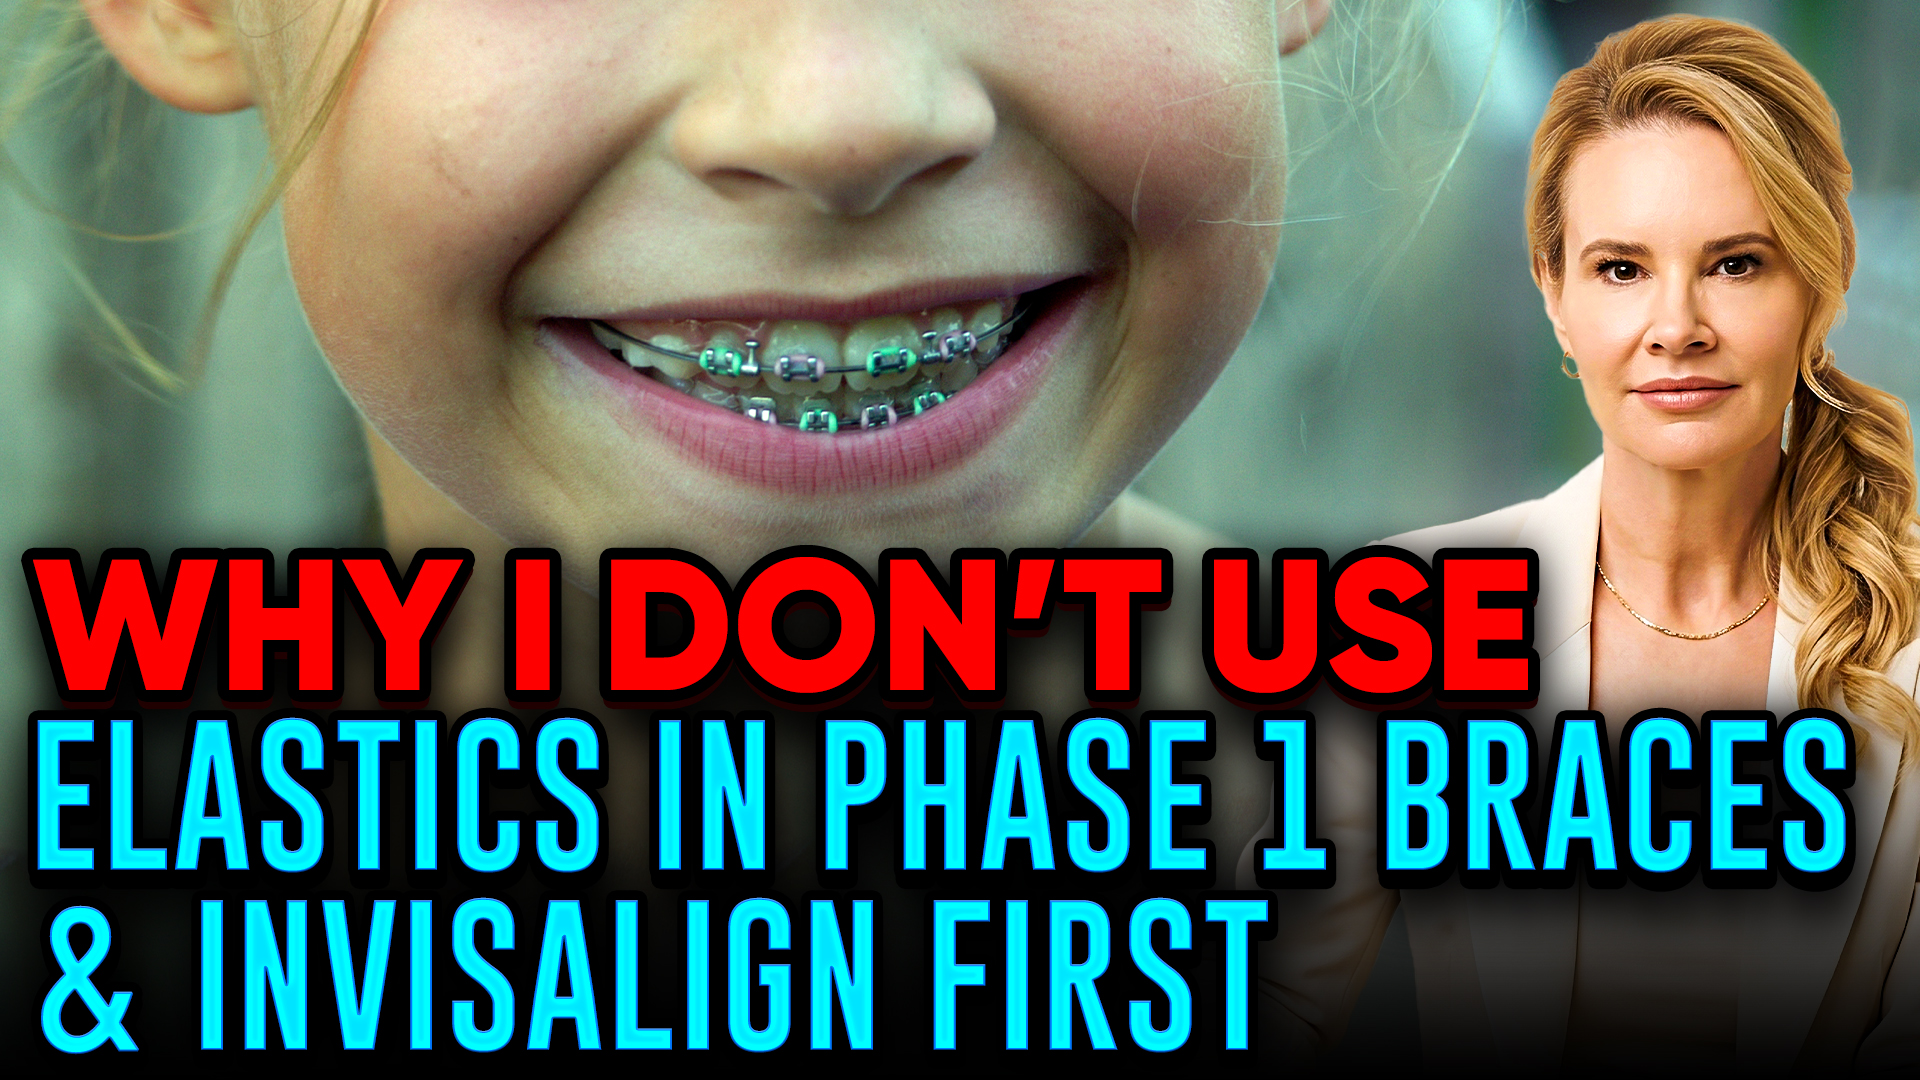
When managing early interceptive orthodontics for young patients, dental practitioners often face choices about which mechanics to implement. A common point of discussion is whether to integrate orthodontic elastics, or rubber bands, during the initial stage of treatment. Dr. Amanda from Straight Smile Solutions addresses this topic directly, explaining why using elastics in Phase 1 braces or Invisalign First treatments generally makes zero clinical sense.
The primary goal of Phase 1 orthodontic care is to address foundational skeletal and structural issues before permanent teeth erupt. This interceptive phase focuses strictly on big-picture corrections. Key objectives include closing large spaces among the front teeth, correcting basic bite relationships, and creating room in the arch. Practitioners utilize foundational appliances like palatal expanders to widen narrow arches, grow the jaw structurally, or use protraction face masks when major orthopedic guidance is required.
Because Phase 1 is about setting a proper foundation, complex detailing mechanics are entirely unnecessary. Attempting to fine-tune tooth positions or shift dental arches with elastics during this early developmental window complicates treatment without adding value. Young children also struggle with the strict compliance required for proper rubber band wear, leading to frustration. Detailed alignment goals are much more efficiently handled later during comprehensive Phase 2 treatment.
However, there is one rare exception to this rule. Dr. Amanda notes that she might consider elastics in Phase 1 if a patient presents with a severe anterior open bite. In this specific situation, a practitioner could solder a crimp onto small hooks and have the patient wear a localized box elastic in the front to help pull the teeth together. Aside from this scenario, elastics should be skipped until Phase 2 to keep early treatment simple and effective.
Why We Say No to Adult Palatal Expansion Cases
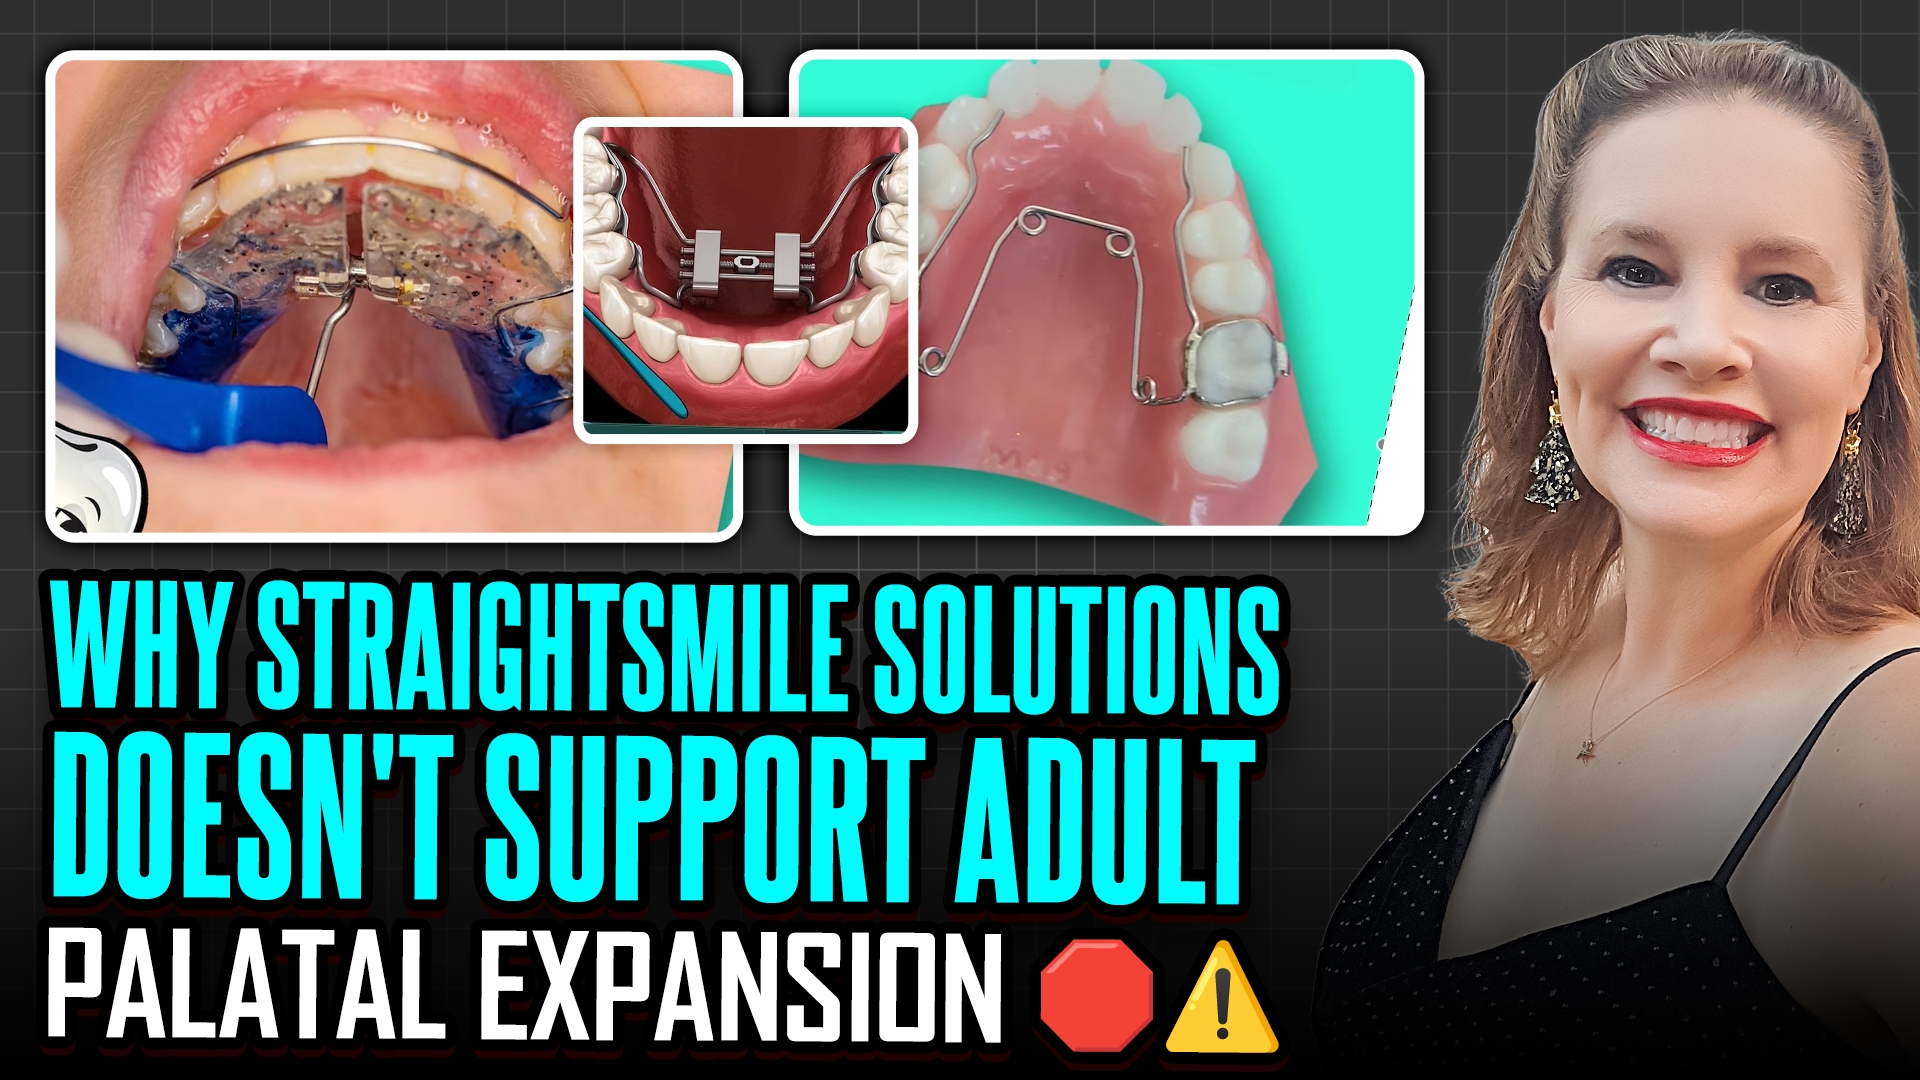
When it comes to orthodontic treatment planning, understanding the biological limitations of the human body is essential for patient safety. At StraightSmile Solutions, we love helping general practitioners navigate pediatric arch expansion. However, Dr. Amanda draws a strict line when it comes to adult palatal expansion cases involving workflows like MARPE or SARPE.
The primary reason for this boundary comes down to simple anatomy: a child’s maxilla consists of unfused palatal shelves, making it easy to widen the jaw, improve the airway, and fix bites early on. In contrast, an adult’s mid-palatal suture is completely fused.
Without surgery, attempting to use an expander, quad helix, or clear aligners on an adult does not widen the bone. Instead, it merely causes dental tipping. This artificial tipping flares the teeth outward, pushes the palatal cusps down, and frequently creates a frustrating posterior open bite. Ultimately, it introduces more instability and trouble than it is worth.
Achieving true skeletal expansion in an adult requires highly invasive surgical intervention. Procedures like MARPE (Mini-Screw Assisted Rapid Palatal Expansion) or SARPE (Surgically Assisted Rapid Palatal Expansion) involve complex bone distraction, surgical splitting, and serious risks like severe hemorrhage.
Because these advanced procedures fall completely outside the routine scope of general dentistry, Dr. Amanda does not consult on or teach them. For the safety of your practice and your patients, these complex cases should always be referred out to specialized oral surgeons and dedicated orthodontists who routinely manage surgical workflows.
The Straight Wire Horror Show: Are You Skipping Essential Orthodontic Steps?
Why StraightSmile Solutions Stays Out of the Adult Expansion Lane
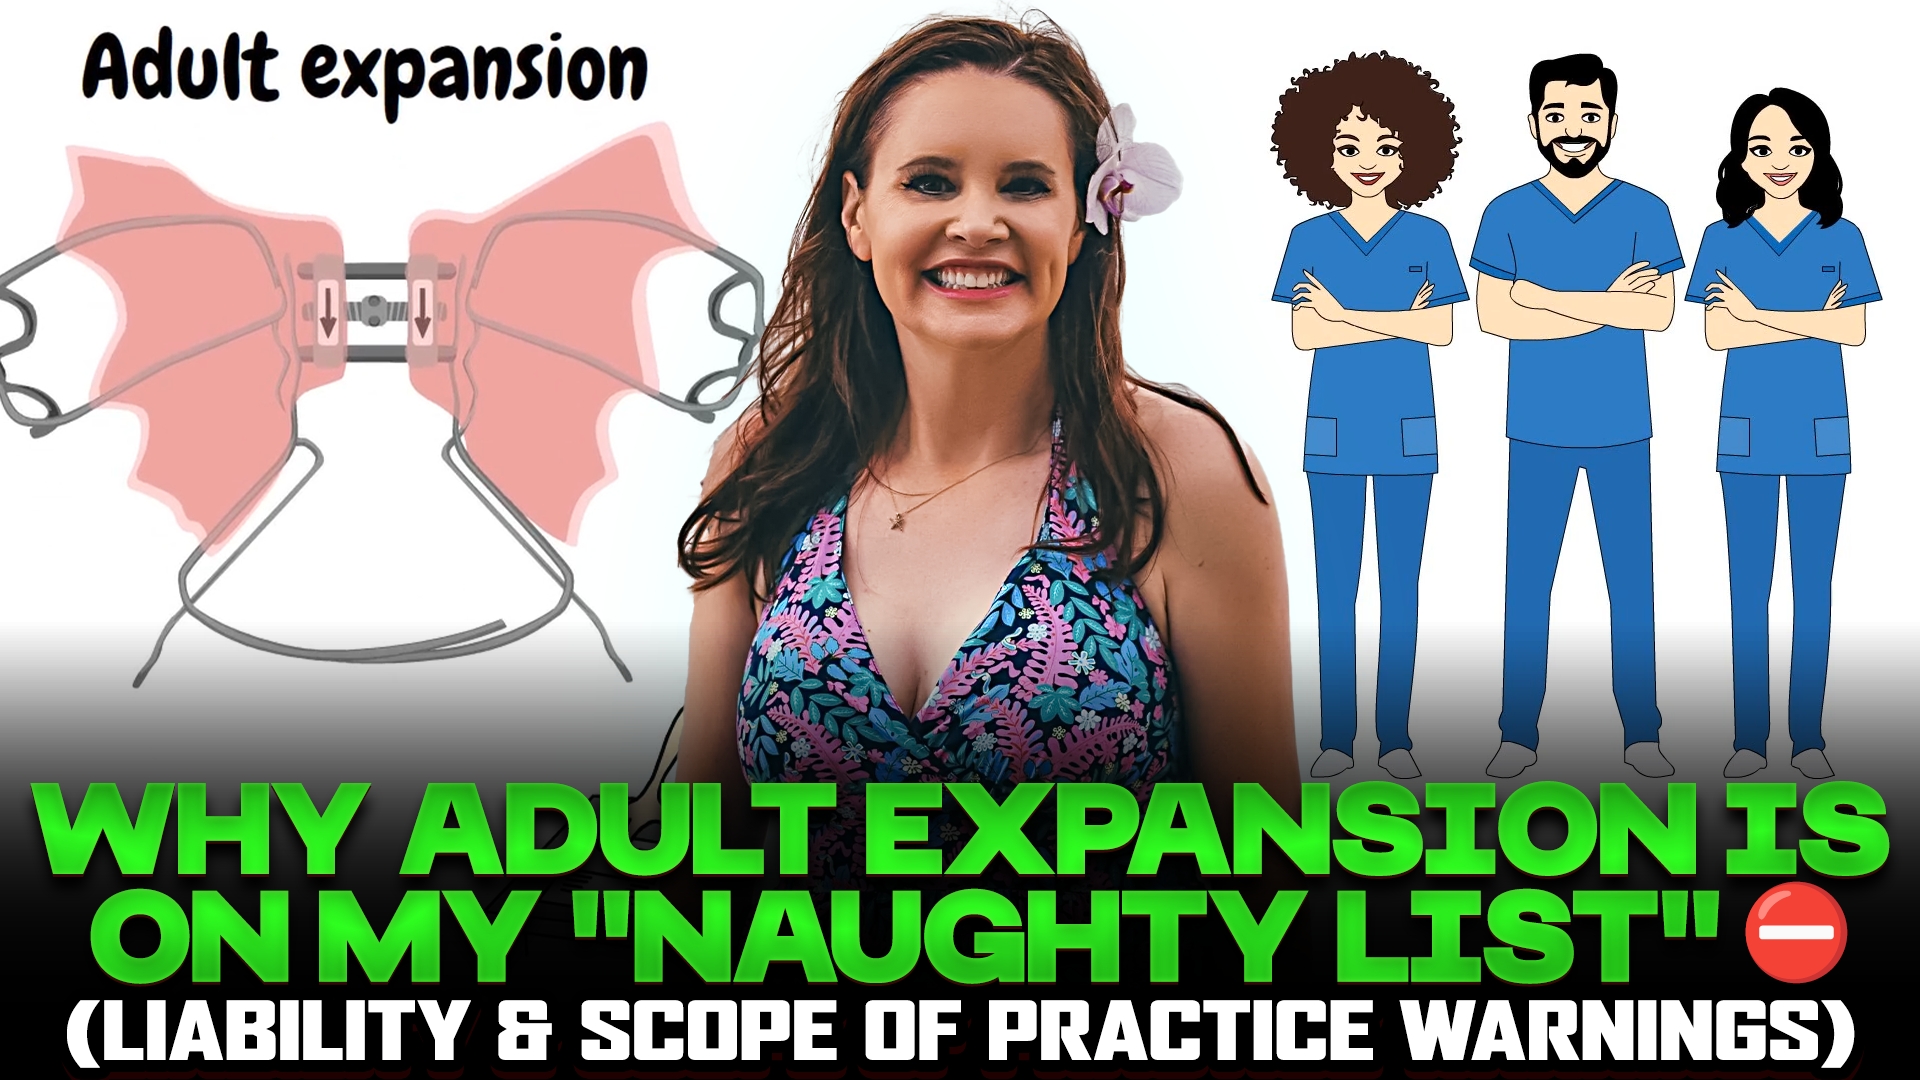
As an orthodontic consulting company, StraightSmile Solutions focuses heavily on helping general and pediatric dentists successfully navigate clinical cases. However, to maintain the highest standards of safety and liability, there are specific boundaries regarding the cases the company can support. Dr. Amanda recently shared the reasons behind her “naughty list”—a collection of products and appliances that fall completely outside her current consulting scope.
First and foremost, this list includes adult expansion devices. While pediatric or children’s growth expansion appliances are highly encouraged and fully supported by her team, adult jaw structures behave completely differently. True adult expansion usually enters the realm of airway management and sleep medicine. Because airway care is deeply tied to the fields of general dentistry and dedicated sleep specialists, Dr. Amanda chooses not to overstep clinical boundaries. Orthodontic consulting should stay strictly within its clinical specialty. Aside from surgical expansion paired with complex jaw surgeries, remote tracking for nonsurgical adult skeletal expansion simply introduces too much risk.
Furthermore, the complexity of aligning teeth after adult skeletal changes carries a high risk of adverse side effects. Managing those structural changes from afar is not a practice she feels comfortable providing remotely. Additionally, there are specific appliance brands where Dr. Amanda lacks direct, first-hand training. Even if a product is perfectly fine, she refuses to consult on workflows she has not rigorously audited herself.
To avoid complications, always check in with her clinical team before signing up for services with a specific product in mind. Staying firmly within her expertise ensures your practice receives safe, elite, and predictable clinical support.
Navigating Ectopic Eruption in Early Orthodontics
 Navigating Ectopic Eruption in Early Orthodontics
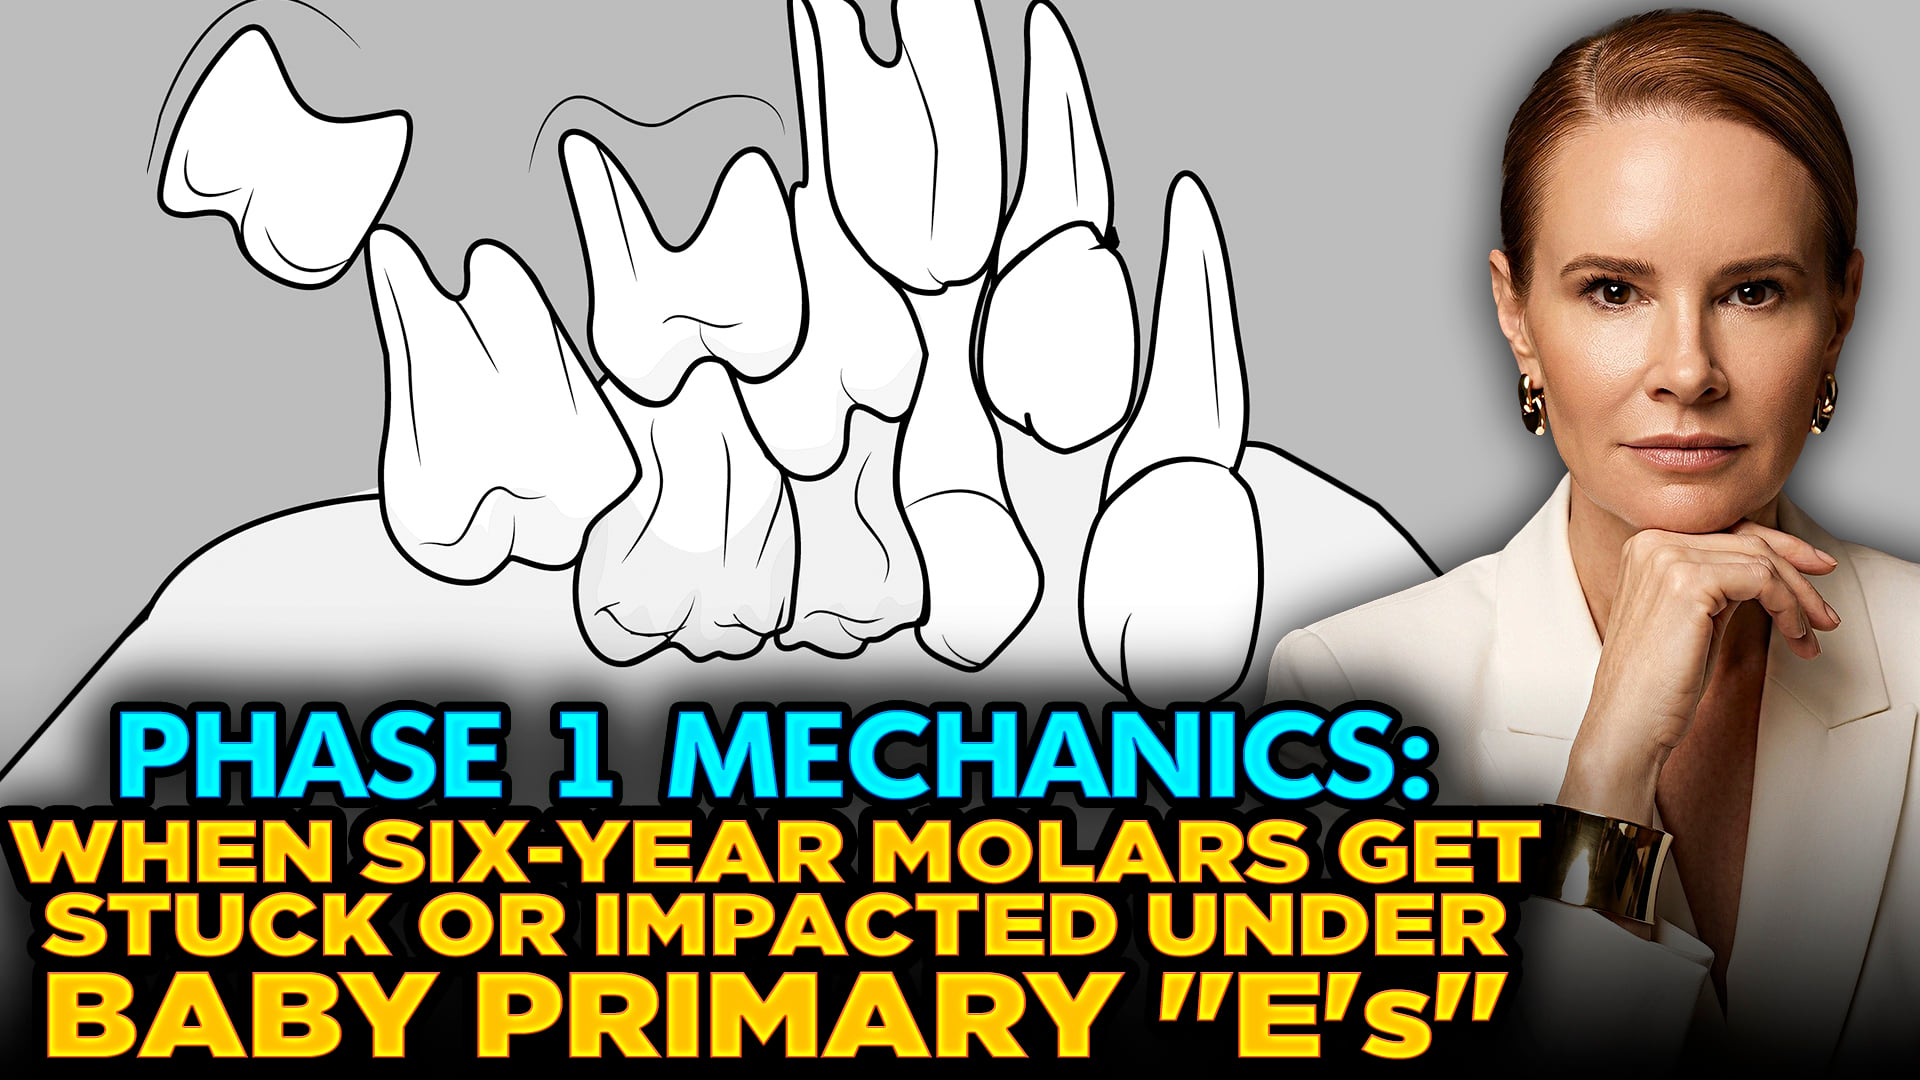
When a permanent first molar begins to erupt, it occasionally encounters an obstacle that disrupts its natural path. In pediatric dentistry, a common hurdle occurs when this new permanent tooth gets physically caught on the height of contour of the adjacent primary second molar. This specific impaction can lead to premature root resorption of the baby tooth or complete blockage of the permanent molar if left unaddressed. Recognizing this alignment issue early is essential for preventing long-term structural complications in a growing smile.
Successfully correcting a trapped molar depends heavily on treatment timing and available anchorage. Orthodontic movement relies on Newton’s law of equal and opposite reactions, meaning the provider needs stable structures to push against to move the permanent tooth backward. If the condition is detected during early childhood, a simple spacer technique is often highly effective. However, if intervention is delayed, the surrounding primary teeth may begin to loosen naturally. This creates a challenging situation where there are no longer enough secure teeth to anchor the braces or clear aligners.
Clinical sequencing must also be carefully planned when multiple orthodontic goals exist. For instance, parents or providers might want to introduce a palatal expander immediately to address airway concerns or a narrow palate. However, an expander cannot be properly anchored to a molar that remains trapped or incorrectly angled. The impacted permanent tooth must first be uprighted and guided into its proper position before secondary appliances can be utilized. Prioritizing the correction of the eruption path ensures a stable foundation for any future structural expansion.
The Invisible Risk: Why Your Large-FOV CBCT Could Trigger a Lawsuit
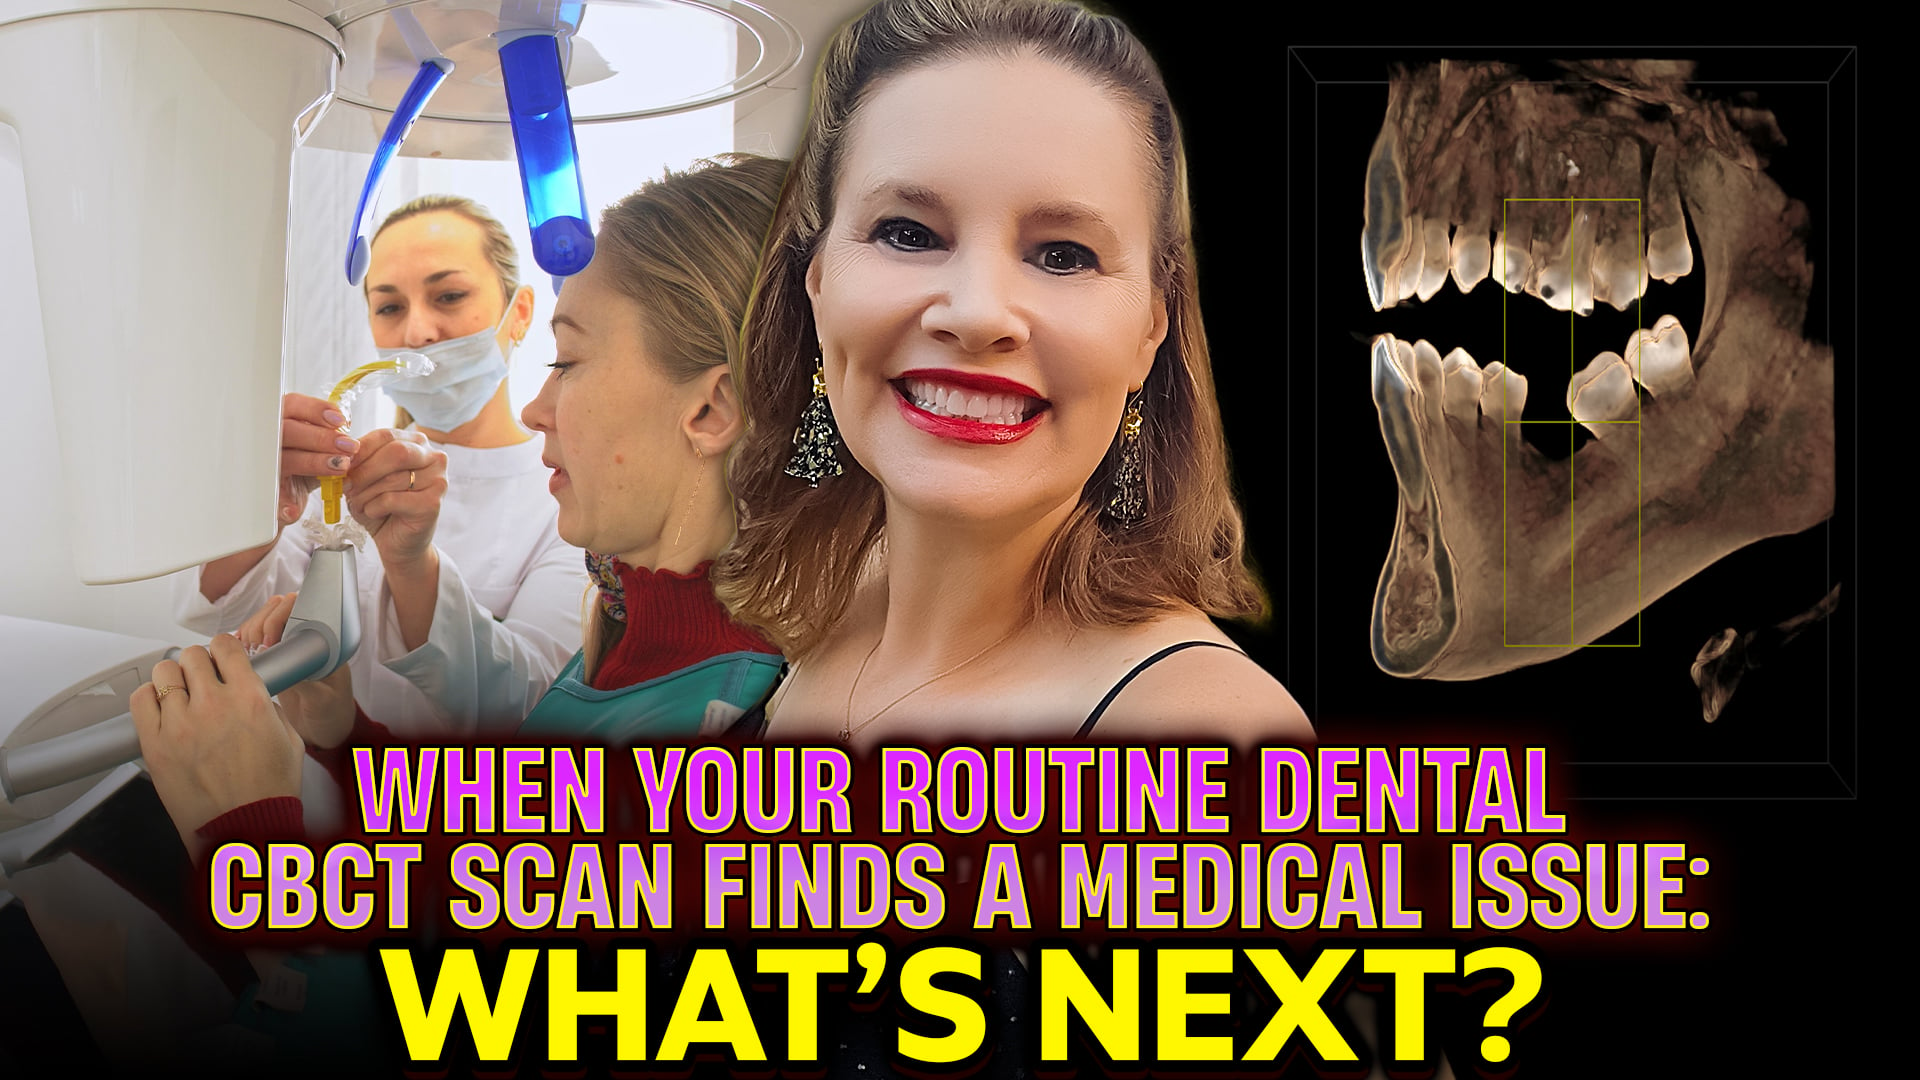 The Invisible Risk: Why Your Large-FOV CBCT Could Trigger a Lawsuit
Implementing Cone Beam Computed Tomography (CBCT) in your dental practice offers incredible diagnostic power, but it also carries significant legal responsibilities. Many general dentists and orthodontists utilize large Field of View (FOV) scans for orthodontic tracking or implant planning. However, a growing liability risk stems from what you might miss outside your primary area of focus.
Legally, if a pathology falls within your scan’s field of view, you are fully responsible for reading and diagnosing it. It does not matter if you are an orthodontist only looking at teeth movement; if that large scan captures carotid calcifications, sinus tumors, or airway issues, the liability rests on your shoulders. Failing to recognize these non-dental medical issues can open the door to malpractice lawsuits.
Compounding this risk is the rise of the hyper-informed patient. Empowered by online communities, AI, and digital access, patients frequently request their raw CBCT data on flash drives. They are increasingly aware of their rights and may independently seek secondary clinical reviews. If they discover a missed condition that you overlooked, legal consequences can quickly follow.
To protect your practice from this “hidden” liability, risk mitigation is essential. First, limit your scans to the smallest practical FOV necessary for the treatment. Second, when a large FOV is unavoidable, routinely outsource the scan to a third-party Oral and Maxillofacial Radiologist (OMFR) for a comprehensive clinical medical overview. While this independent reading introduces a small nominal fee, it provides vital legal protection and ensures total patient safety.
Don’t let advanced technology become a legal vulnerability. Inspect the entire scan, or partner with experts who can.
Unlocking Growth: How Invisalign Touch-Up Can Transform Your Practice
 How Invisalign Touch-Up Can Transform Your Practice
As the clear aligner market evolves, staying ahead of consumer trends is essential for growing a modern dental practice. Align Technology recently introduced a brilliant consumer-facing campaign called Invisalign Touch-Up, and it represents a massive opportunity for doctors to capture an underserved segment of patients.The Invisalign Touch-Up strategy specifically targets individuals who have already undergone orthodontic treatment in the past. Over time, many patients who previously had braces or clear aligners experience minor shifting, often due to lost or worn-out retainers. They do not want or need a comprehensive, multi-year treatment plan; instead, they are looking for a fast, minor correction to restore their smile. By marketing a fast fix, this initiative meets consumers exactly where they are.
For qualified dental providers, the economics of this program are highly favorable. The lab fee sits at a very accessible rate of around thirty-seven dollars per aligner. To tap into this low-cost workflow, providers must utilize an iTero scanner within their practice. This digital integration makes the process seamless, enabling fast scans and predictable, minor tooth movements that patients love.The most important takeaway for general and pediatric dentists is the need to adjust your external communication. If consumers are actively searching for quick fixes online, your digital presence must match that demand. Updating your website language, shifting your social media dialogue, and optimizing your marketing content to reflect these minor correction options will ensure local patients find your clinic. Embracing this shift allows you to effortlessly bring new production into your chairs.