
StraightSmile Solutions®
Unmasking the “Pillow Face” Trend: What Hollywood Tells Us About Facial Fillers
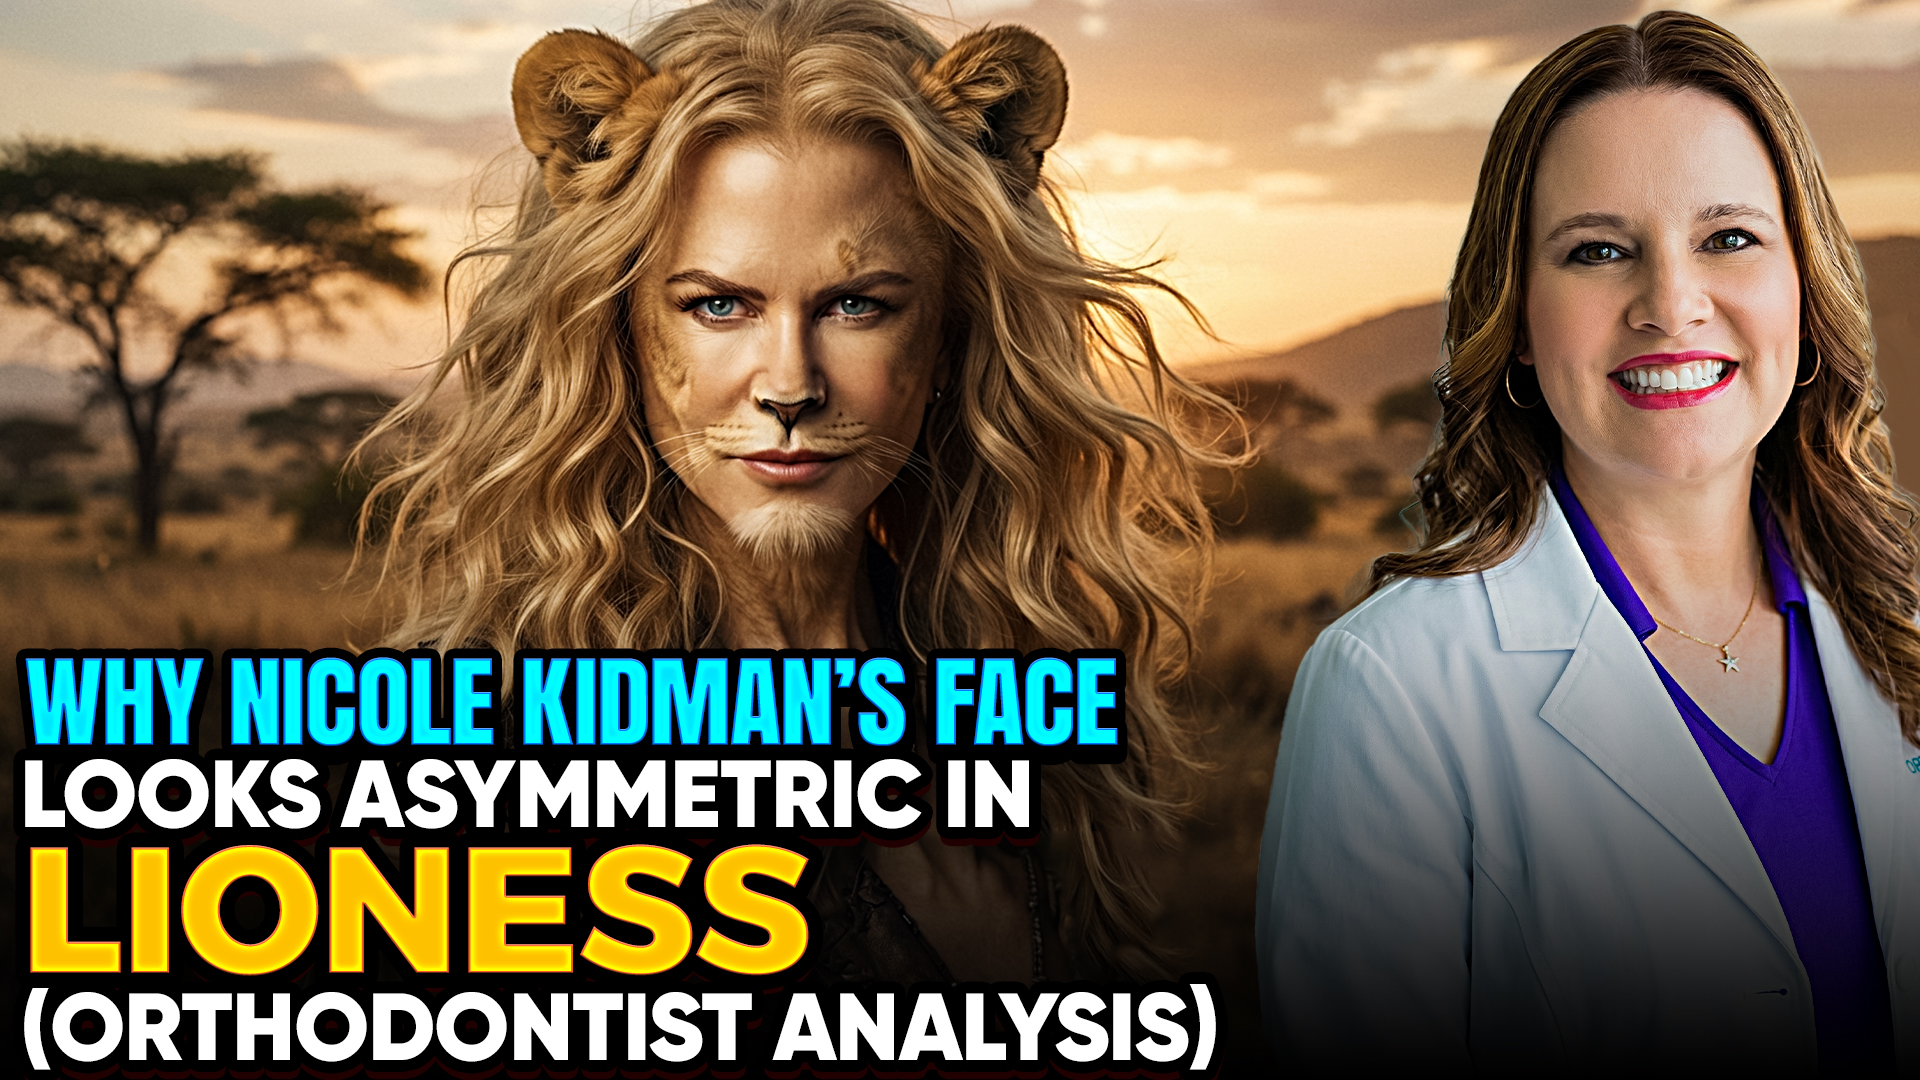
Have you ever found yourself binging a new streaming series, only to be completely distracted by how an actor’s face moves? That is exactly what happened to Dr. Amanda of Straight Smile Solutions while watching Paramount’s spy thriller, Lioness. While Nicole Kidman delivers a phenomenal performance, her facial asymmetry and unnatural muscle movements in the early episodes of season one stole the spotlight for all the wrong reasons.This phenomenon is commonly referred to in the cosmetic world as “pillow face”. It occurs when an over-reliance on dermal fillers creates an oversized, lumpy appearance that leaves the face looking stiff and restricted during speech.
As a dental and orthodontic consultant, Dr. Amanda views facial aesthetics through a professional lens. For her, seeing these distracting, asymmetric shifts on screen served as a powerful cautionary tale about the limits of cosmetic procedures.The lesson here isn’t about shaming aging; it is about embracing a healthier approach to longevity. While minor interventions like localized Botox or myofunctional therapy can offer subtle support, heavy fillers often distort natural expressions. Instead of chasing a frozen ideal, true vitality comes from lifestyle-focused habits like strength training, maintaining balanced hormones, and supporting your body from the inside out.If Hollywood’s elite can struggle with the unnatural side effects of over-filling, it might be time for us to rethink our own beauty standards. Prioritizing a strong, healthy body will always look better than chasing a flawless, unmoving visage. Next time you tune in to a favorite show, remember: natural aging is a privilege, and true beauty lies in the ability to move and express ourselves fully.
The Invisalign Blindspot: Navigating Root Parallelism vs. Chairside Esthetics
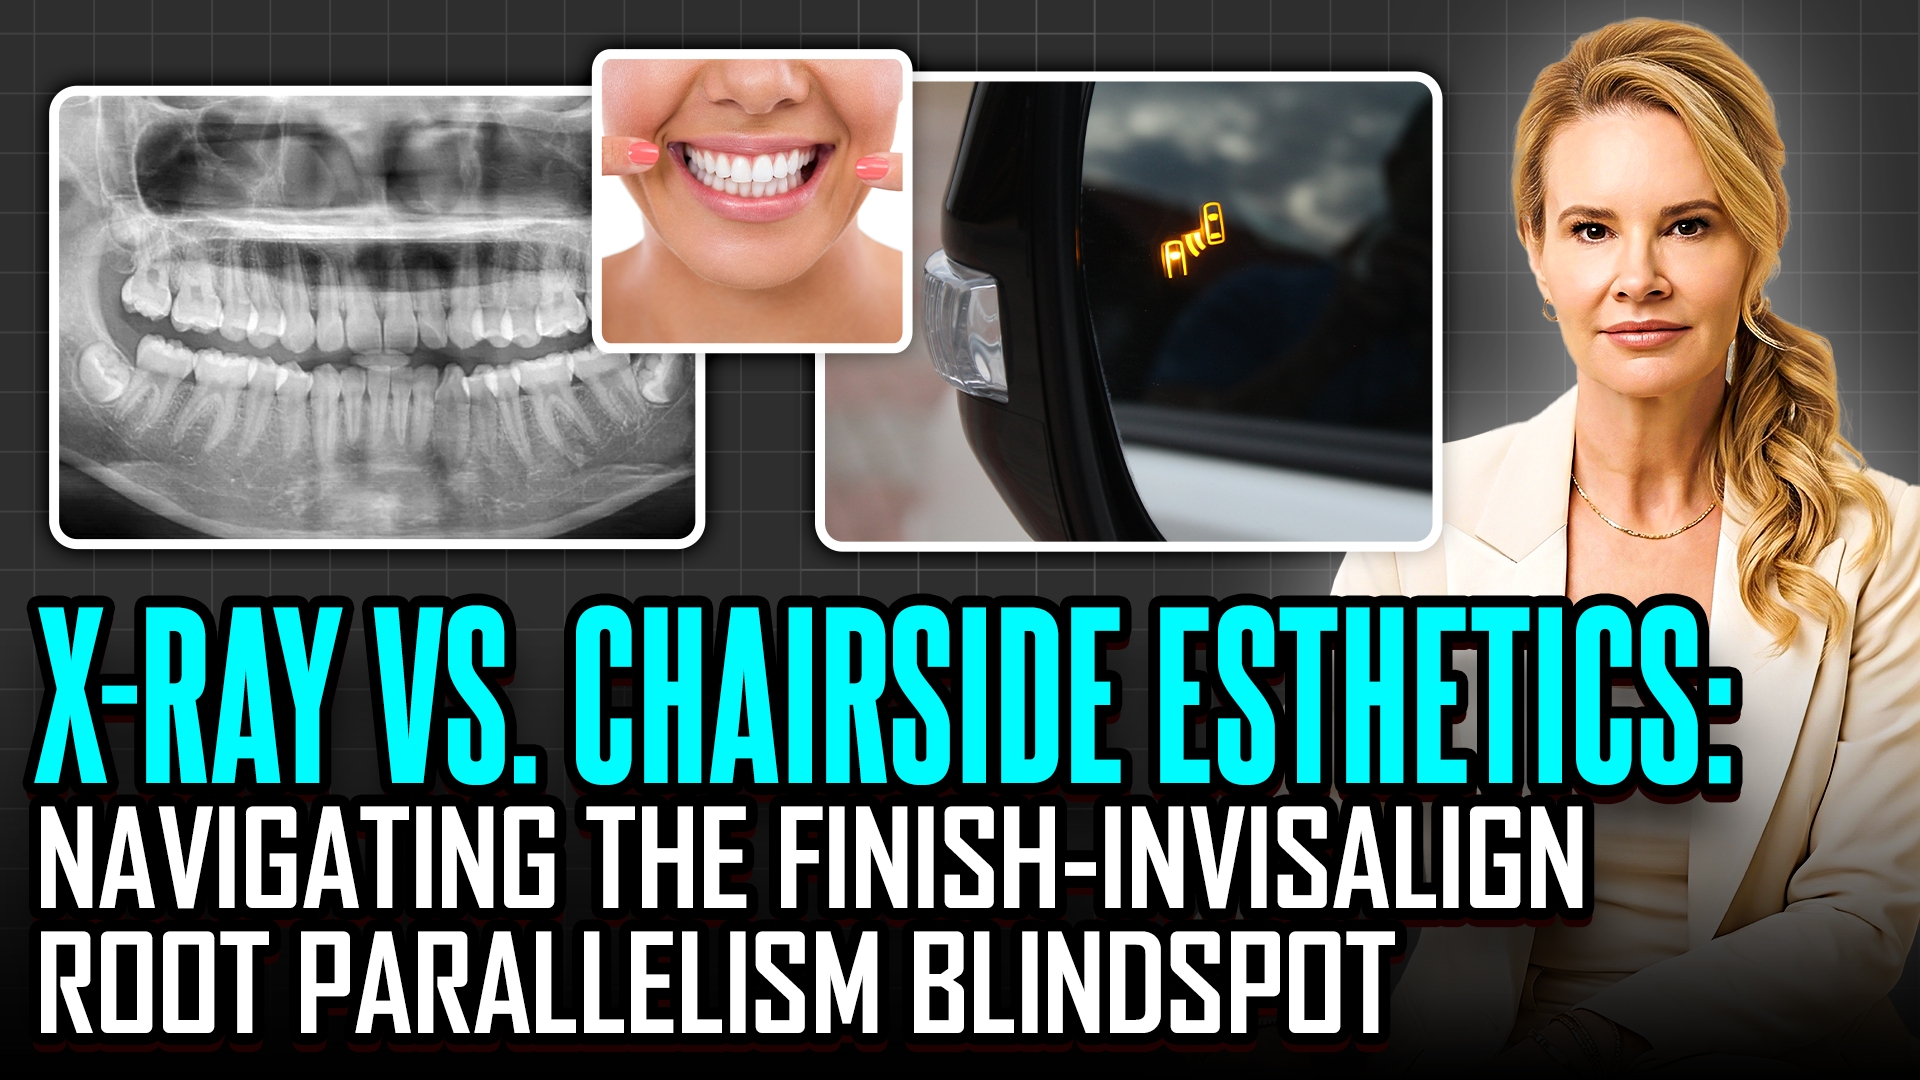
When wrapping up orthodontic cases, a major gap can form between what you see in the chair and what is actually happening beneath the gums. Many general practitioners face a common blindspot when finishing clear aligner cases like Invisalign or ClearCorrect. While the teeth might look completely straight and beautiful clinically, a progress radiograph might tell a completely different story.In traditional braces, standard workflows include a clear pausing point to evaluate root alignment. Practitioners typically take a progress panoramic X-ray or CBCT scan to check the roots, allowing them to reposition brackets as needed before final detailing.
Clear aligner therapies often lack this built-in disruption. Without a dedicated pause, it is easy to miss a severely tipped root that looks perfectly straight from the crown down.Catching these issues early is vital to prevent long-term damage like root resorption or traumatic occlusion. Approximately one month before you even consider standard debonding or finishing conversations, you should take a progress panoramic radiograph or CBCT to verify root parallelism.If a root is tipped, you must have an honest conversation with your patient regarding their options.
Uprighting the root can occasionally alter the crown’s position, temporarily making the tooth look worse or requiring future restorative work. If the patient prefers the current cosmetic appearance and the tipped root is not causing active damage, you can choose to leave it as is. However, this clinical decision must be explicitly detailed in a customized end-of-treatment release form signed by the patient or parent to protect your practice and ensure proper standard of care.
Why Invisalign Capitalized on a Trillion-Dollar Orthodontic Oversight
 Why Invisalign Capitalized on a Trillion-Dollar Orthodontic Oversight
Have you noticed the brilliant new advertising push from Align Technology? The brand recently launched a clever marketing campaign using a phrase that has actually been floating around the dental community for decades. For years, general dentists and orthodontists used the witty slogan “Shift Happens” on office posters, t-shirts, and coffee mugs to emphasize the importance of retainer compliance. However, in the fast-paced world of intellectual property, common usage does not guarantee trademark ownership. A routine search of the USPTO records revealed that the original trademark filing for this exact phrase had expired.
Align Technology recognized this massive opportunity, swooped in, and officially claimed the branding.This strategic move is an absolute game-changer for clear aligner marketing because it pivots away from traditional, purely cosmetic perfect smile messaging. Instead, it directly targets adult aging and orthodontic relapse. This brilliant approach opens up two massive, low-hanging fruit buckets for modern dental practices: interceptive phase one treatment and long-term aftercare. Dental health professionals often struggle to find new ortho starts, but the growth opportunities are already sitting right in your chairs.By offering complimentary retainer checks to every patient who walks through your door, you can effortlessly introduce clear aligner therapy options.
The secret to increasing case acceptance is consistent clinical documentation. You should take comprehensive intraoral photos of every single patient as part of standard record-keeping rather than labeling it as a strict orthodontic screening. Anyone on your dental team can master taking these quick photos. When you actively look for bite changes and minor dental relapse, you will easily uncover ten new cases. Do not let these high-value orthodontic opportunities slip away from your practice.
The Hidden Risks of Switching Patients from Braces to Invisalign
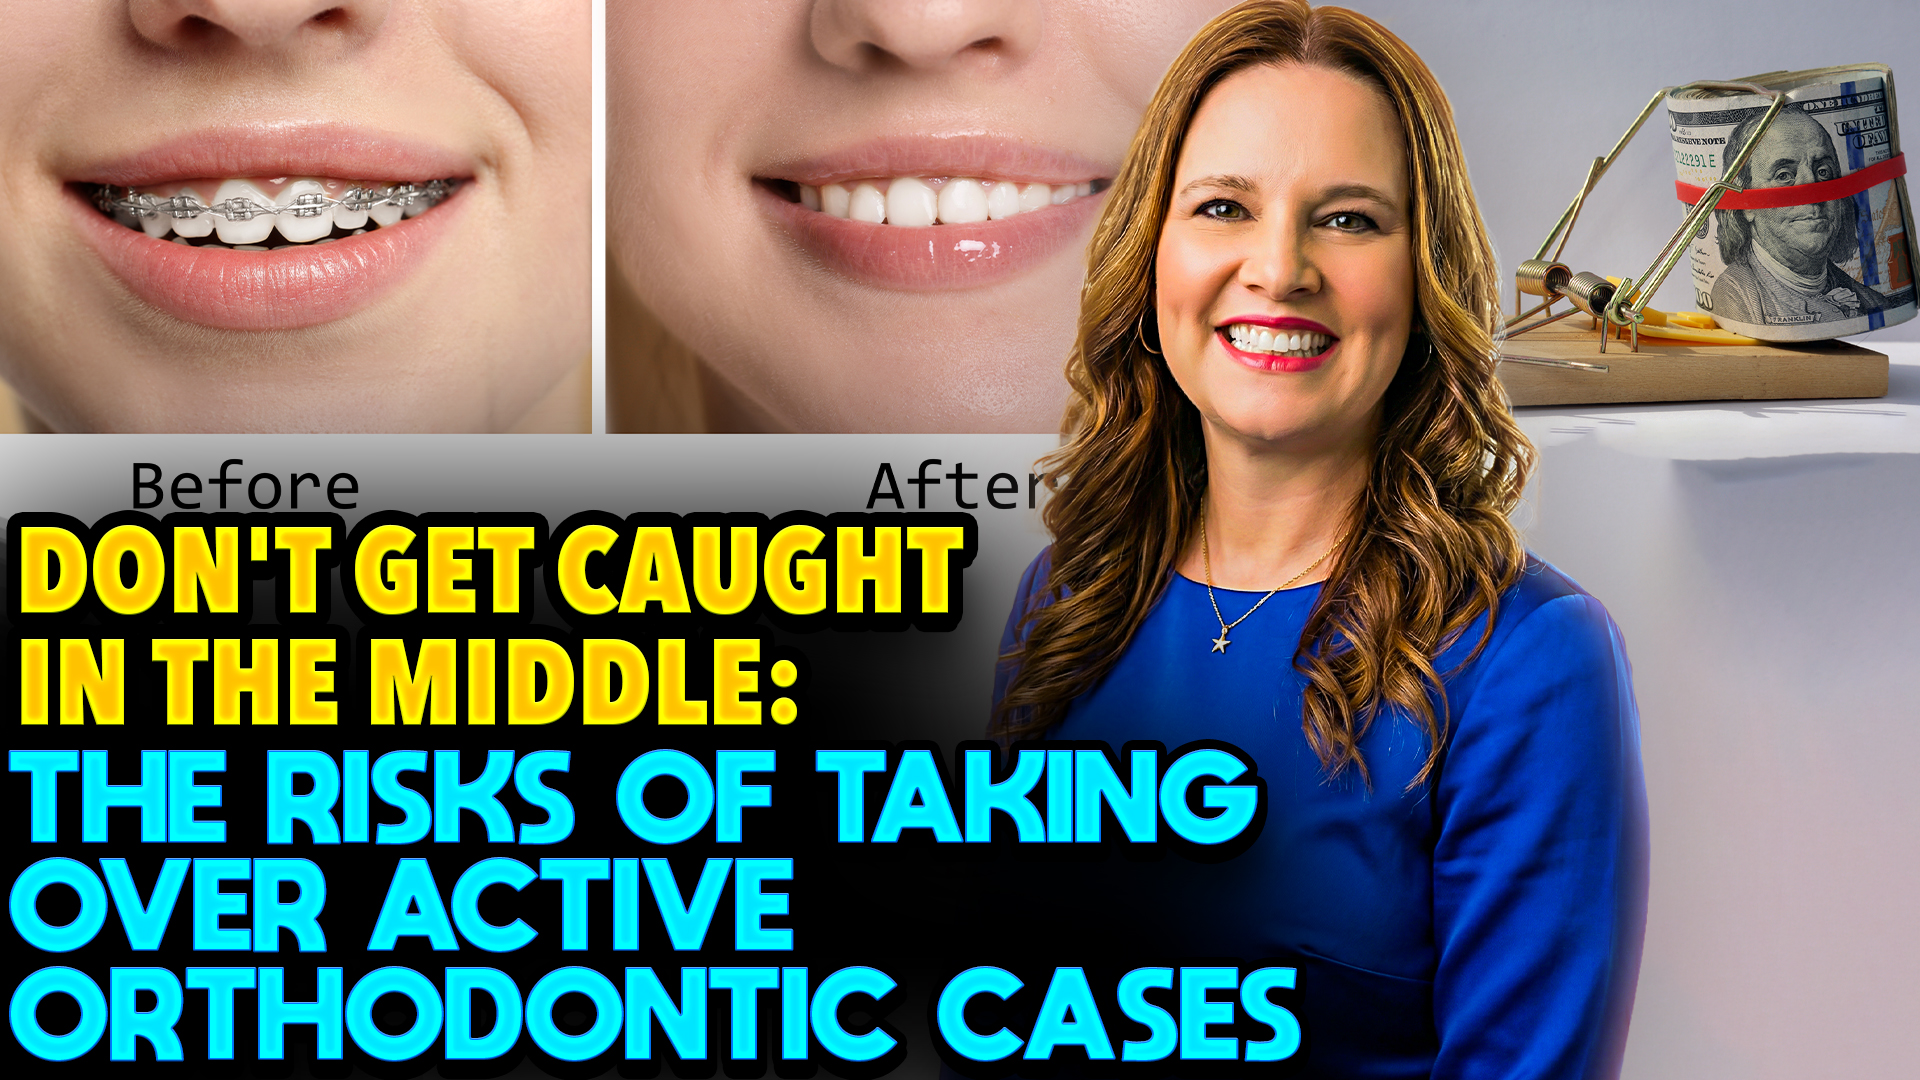
Patient transfers can be an absolute minefield for dental providers. A common scenario involves a frustrated parent who wants their child’s traditional braces removed early to switch to clear aligners under your care. While every patient has the right to change providers, jumping into these cases without a strict protocol creates major clinical and legal risks.When a transfer patient walks through your doors, you only see their current oral state. You cannot safely determine if teeth have been moved outside the bone, if there is underlying root resorption, or if compliance was the true issue without reviewing the original diagnostic files. This is why obtaining the prior doctor’s records, treatment plan, and progress notes is an absolute standard of care. In the United States, patients have a legal right to these files, so the burden should be placed on the family to request them before you quote a price or build a plan.Your intake workflow must remain rigid. Start by taking a completely new, comprehensive set of records, including an eight-series photo set and a fresh panoramic radiograph or CBCT. Concurrently, ensure the patient signs a formal release form alongside the official AAO transfer form. This document alerts the previous orthodontist and establishes a clean break in liability.Never debond the existing hardware until all records are reviewed, the new financial contract is signed, and a realistic treatment plan is established. Finally, if your initial scans reveal severe root issues or major complications from the previous treatment, do not accept the case. Protect your practice by referring these high-risk transfers directly to an established orthodontist or a university residency program.
The Truth About Bonded Retainers: Why They Fail and How to Protect Your Practice
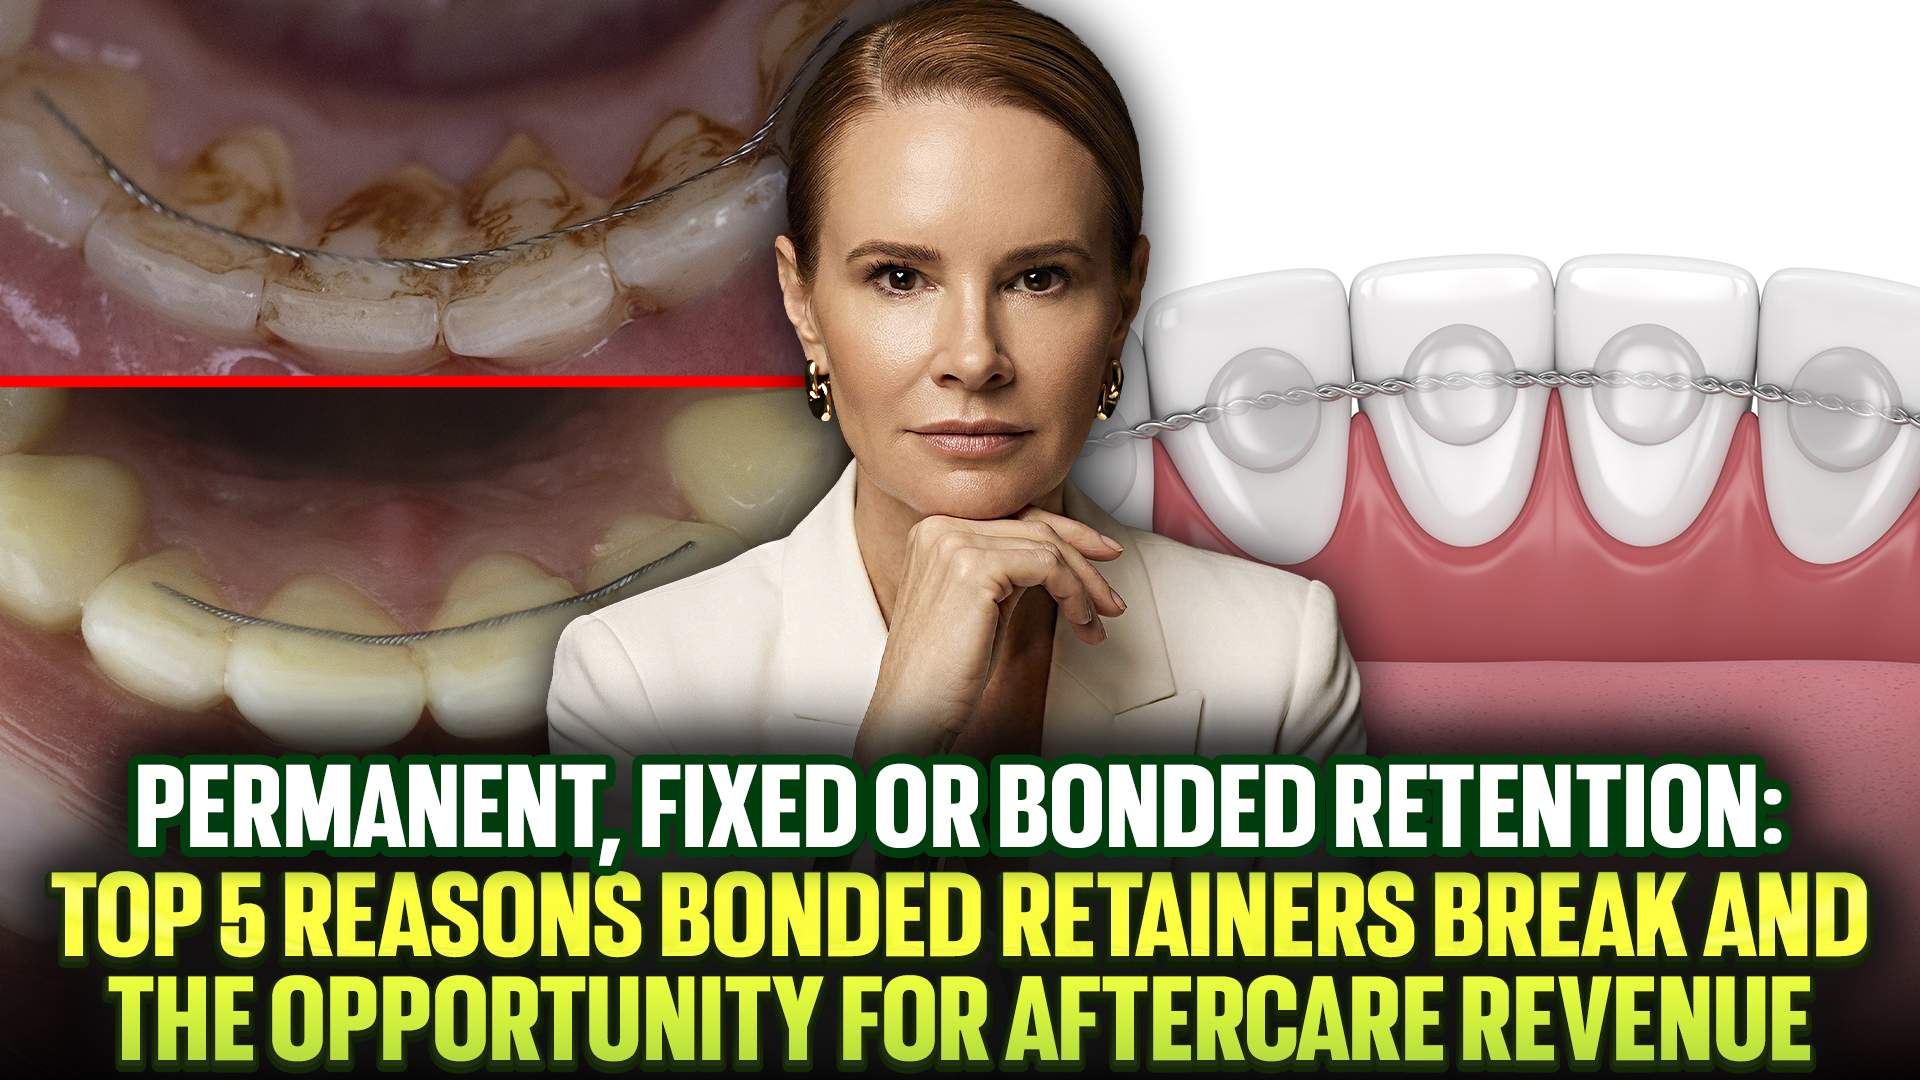
Bonded retainers are a staple in orthodontics, but many general practitioners treat them as a set and forget solution. In reality, these permanent fixtures are prone to failure and can quickly become a liability if they are not properly managed. For general dentists and dental hygienists, understanding why these retainers break is essential for preventing patient relapse and capturing overlooked revenue.Permanent retainers are rarely meant to last a lifetime. Over time, recurring chewing forces wear down the structural integrity of the metal, causing predictable material fatigue. Furthermore, when patients bite directly into hard or chewy foods like bagels, tacos, or pizza, they exert excessive pressure that easily snaps the delicate bond.Beyond physical wear, underlying biological and clinical factors play a major role in device failure. Heavy anterior contact from an unbalanced bite puts constant stress on the wire, which occurs when a case is not finished perfectly. Unaddressed myofunctional habits like tongue thrusting or nail biting also exert a continuous counterforce that forces teeth to shift and bonds to break. Clinically, poor isolation during placement causes immediate failure within days, while poor oral hygiene leads to plaque buildup and demineralization that eats away at the bonding material itself.Every time a patient with a fixed retainer sits in your hygiene chair, it represents a valuable screening opportunity. Teams should evaluate the wire for active damage, check for damaging occlusal contacts, and screen the overall bite. By shifting your practice toward a structured warranty and maintenance program with clear upcharges, you protect your patients from relapse while turning routine hygiene checks into a reliable profit center.
Early Orthodontic Interception: Maximizing Patient ROI Through Slow Maxillary Expansion
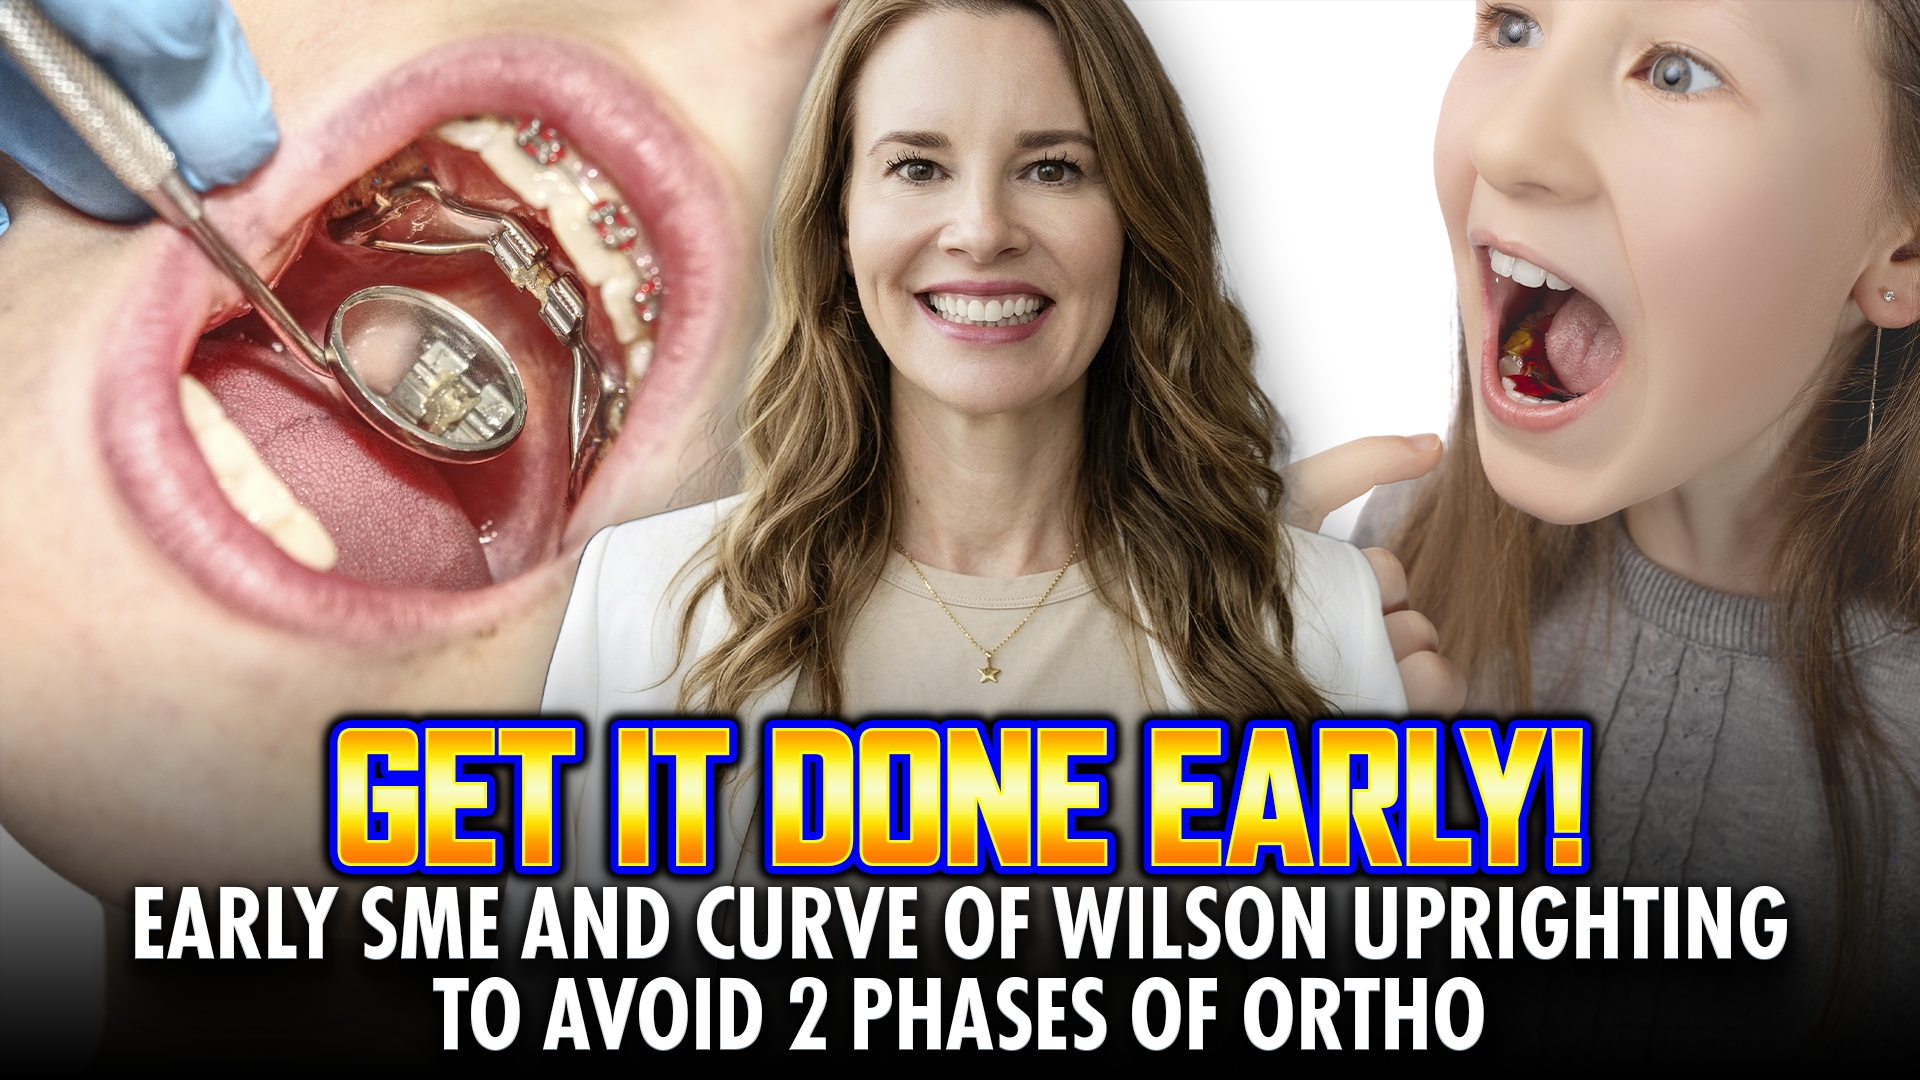
In a recent educational presentation by Straight Smile Solutions, orthodontist Dr. Amanda Wilson discusses interceptive techniques using slow maxillary expansion (SME) combined with lower arch uprighting to potentially eliminate the need for traditional two-phase orthodontic treatment. Dr. Wilson outlines why she strongly prefers early, slow palatal expansion over rapid maxillary expansion (RME), noting that slow expansion causes significantly less patient discomfort, minimizes facial asymmetries, and allows bone to fill in naturally without creating large, dramatic gaps between the front teeth. She emphasizes that while legacy, insurance-driven business models often restrict coverage to a single treatment phase later in adolescence, practicing interceptive care at a very young age—specifically between six and eight years old—yields optimal skeletal remodeling and much better physiological development.
Parents are encouraged to evaluate their child’s early dental width using a simple visual gauge: a healthy primary dentition should feature roughly a millimeter of spacing, equivalent to the thickness of a nickel, between each of the front baby teeth to accommodate permanent tooth eruption safely.A critical component of this interceptive treatment protocol is addressing the mandibular arch simultaneously by uprighting the lower dentition along the curve of Wilson. Dr. Wilson points out that many practitioners mistakenly focus solely on upper palatal expansion, but failing to correct lingually rolled lower molars prevents the upper arch from gaining sufficient, stable width. While standalone slow expanders are highly effective, they primarily widen the posterior area and can create a triangular shape if not paired with early phase-one braces or clear aligners to properly remodel the bone near the permanent canines. Though doctors cannot guarantee an absolute cure-all, starting this comprehensive dual-arch leveling early in the mixed dentition maximizes the statistical likelihood that a child will avoid massive, expensive teen orthodontic treatments, frequently saving families thousands of dollars in future healthcare costs.
Bridging the Gap: The Future of Digital Workflows in Interdisciplinary Aesthetic Dentistry

The integration of digital technology in interdisciplinary dental care is completely changing how general dentists manage complex anterior restorative cases. When planning restorations for teeth like peg laterals, the future of predictable outcomes lies in early, precise collaboration across the entire care team. Utilizing modern digital platforms allows clinicians to export critical setup files and perform a virtual lab wax-up well before physical treatment ever begins. This streamlined workflow gives the laboratory, the periodontist, and the general dentist a shared visual blueprint, which significantly minimizes errors in space distribution and overjet planning.Dental practices are moving away from unpredictable manual adjustments, such as heavy interproximal reduction.
Because precise enamel reduction is notoriously difficult to calculate by hand, relying on it often leads to numerous mid-course case refinements and dramatically extends treatment times. Digital setups solve this issue by allowing providers to pre-determine exact clearance and space distribution before initiating aligner therapy.Equally vital to this digital evolution is the transformation of the patient onboarding process. Bundling orthodontic alignment and restorative procedures into a single, comprehensive financial and clinical contract is becoming the industry standard.
Requiring formal sign-offs and initial deposits on the unified plan ensures that patients stay fully committed to the long-term vision. This proactive management strategy eliminates sudden, costly course corrections at the end of orthodontic treatment, ensuring a smooth transition into final restorations. Embracing this integrated approach helps modern dental teams confidently deliver highly accurate, beautiful aesthetic results.
Navigating Early Orthodontics: A Parent’s Guide to Finding the Right Care

When it comes to our children, we naturally want to give them the best possible start in life, and that includes their dental health. If you are noticing changes in how your child’s teeth are coming in, or if you have concerns about their bite, jaw alignment, or even the way they breathe, your parental instinct is likely telling you to find answers sooner rather than later. Early interceptive orthodontics can make a massive difference in a child’s development, but navigating the dental system to find the right provider can feel incredibly overwhelming and sometimes even a bit discouraging.It is completely normal to feel lost when you are searching for specialized guidance.
You might find yourself hitting roadblocks or running into businesses that only consult with other doctors rather than working directly with families. When that happens, the best path forward is to act as your own advocate and explore multiple avenues. Orthodontic consultations are often completely free, especially if you already have your child’s dental records on hand. It is always worth your time to get a second or even a third opinion until you find a professional who truly listens to your concerns.If traditional orthodontists are not giving you the answers you need, consider widening your circle. Pediatric dentists frequently specialize in early interceptive care, though their approaches can vary. Another fantastic, often overlooked option is an orofacial myofunctional therapist.
These specialists focus on the muscles of the mouth and face, helping with habits like tongue thrusts or mouth breathing. The best part is that you usually do not need a doctor’s referral to reach out to them. Trust your gut, keep asking questions, and remember that you have the right to shop around until you find the perfect partner for your child’s health.
Why Mini-Twin Brackets Beat Tip-Edge for General Dentists
 As a general dentist expanding into orthodontics, choosing the right bracket system can make or break your clinical success and your practice profit margins. While systems like Tip-Edge have their niche, standard Mini-Twin brackets remain the gold standard for predictable, efficient, and scalable tooth movement.
If you are evaluating which hardware system to integrate, here are four major reasons why Mini-Twin brackets are the superior choice for your practice.
### 1. Drastically Lower Inventory Costs
Financial overhead is a massive factor when scaling ortho services. Tip-Edge systems are proprietary, meaning you are locked into a single vendor with premium pricing. By contrast, Mini-Twin brackets are universal. You can shop around, leverage vendor competition, and secure high-quality hardware at a fraction of the cost.
### 2. Patient Portability and Case Transfers
Life happens, and patients move. If a patient wearing a Tip-Edge system transfers to a new city, finding a nearby doctor who works with that specific proprietary system is incredibly difficult. Mini-Twin brackets are universally recognized. Any dentist or orthodontist worldwide can pick up right where you left off, ensuring seamless continuity of care for the patient.
### 3. Abundant Support and Community Crowdsourcing
When you hit a roadbump on a case, you need fast answers. Because Tip-Edge is a niche system, you will find very few online forums, study clubs, or one-on-one coaches who can troubleshoot with you. Mini-Twin brackets are the industry standard. This widespread adoption gives you access to robust online communities, mentorship programs, and peer-to-peer troubleshooting.
### 4. Simplified Staff Training and System Efficiency
Training your clinical team on complex, proprietary wire-bending and bracket systems slows down your workflow. Mini-Twin brackets offer a highly efficient, predictable straightwire progression. Your assistants will master the mechanics quickly, reducing chair time and minimizing bonding errors. For ultimate efficiency, you can even use indirect bonding (IDB) digital trays for flawless, rapid bracket placement.
### The Bottom Line
While alternative brackets exist, standard Mini-Twin brackets offer the cost-efficiency, predictability, and universal support that general dentists need to thrive. Stick to the gold standard to keep your cases tracking beautifully and your overhead low.
The Ortho Blueprint: When Mild Malocclusions and Bolton Discrepancies Collide
 In the world of dentistry, mild malocclusions are often treated as routine cases. However, when a Bolton discrepancy enters the picture, a straightforward alignment can quickly turn into a clinical nightmare if you are not careful. Amanda from StraightSmile Solutions warns that even a tiny 1-to-2 mm class 2 or class 3 case requires a proactive strategy before you start moving teeth.
The clinical reality changes dramatically based on how the discrepancy pairs with the patient’s bite. Some combinations are a walk in the park, while others require aggressive intervention.
Here is how the scenarios shake out:
* **Class 2 with Maxillary Bolton:** This combination creates excess overjet. To finish nicely in Class 1, you will likely need to rely on elastics or posterior IPR distal to the upper canines.
* **Class 2 with Mandibular Bolton:** A true clinical “happy space.” The lower tooth mass excess naturally balances out the class 2 tendency, leaving little to no need for correction.
* **Class 3 with Maxillary Bolton:** Another easy win. The upper tooth excess counters the class 3 lower jaw protrusion, making alignment a breeze with minimal IPR.
* **Class 3 with Mandibular Bolton:** The absolute worst-case scenario. Extra lower tooth structure paired with a class 3 shift results in a severe underbite. Fixes here require complex treatment plans, such as lower incisor extractions, sequential distalization, or building up the upper incisors.
The take-home lesson? Catch these anomalies early using diagnostic software widgets like ClearPilot or ClinCheck. If you map these discrepancies out at the start, you can build a predictable treatment plan instead of facing a major problem at the finishing stage.