
StraightSmile Solutions®
Interceptive Orthodontics and OMT: A Strategic Workflow for Tongue-Tie Treatment
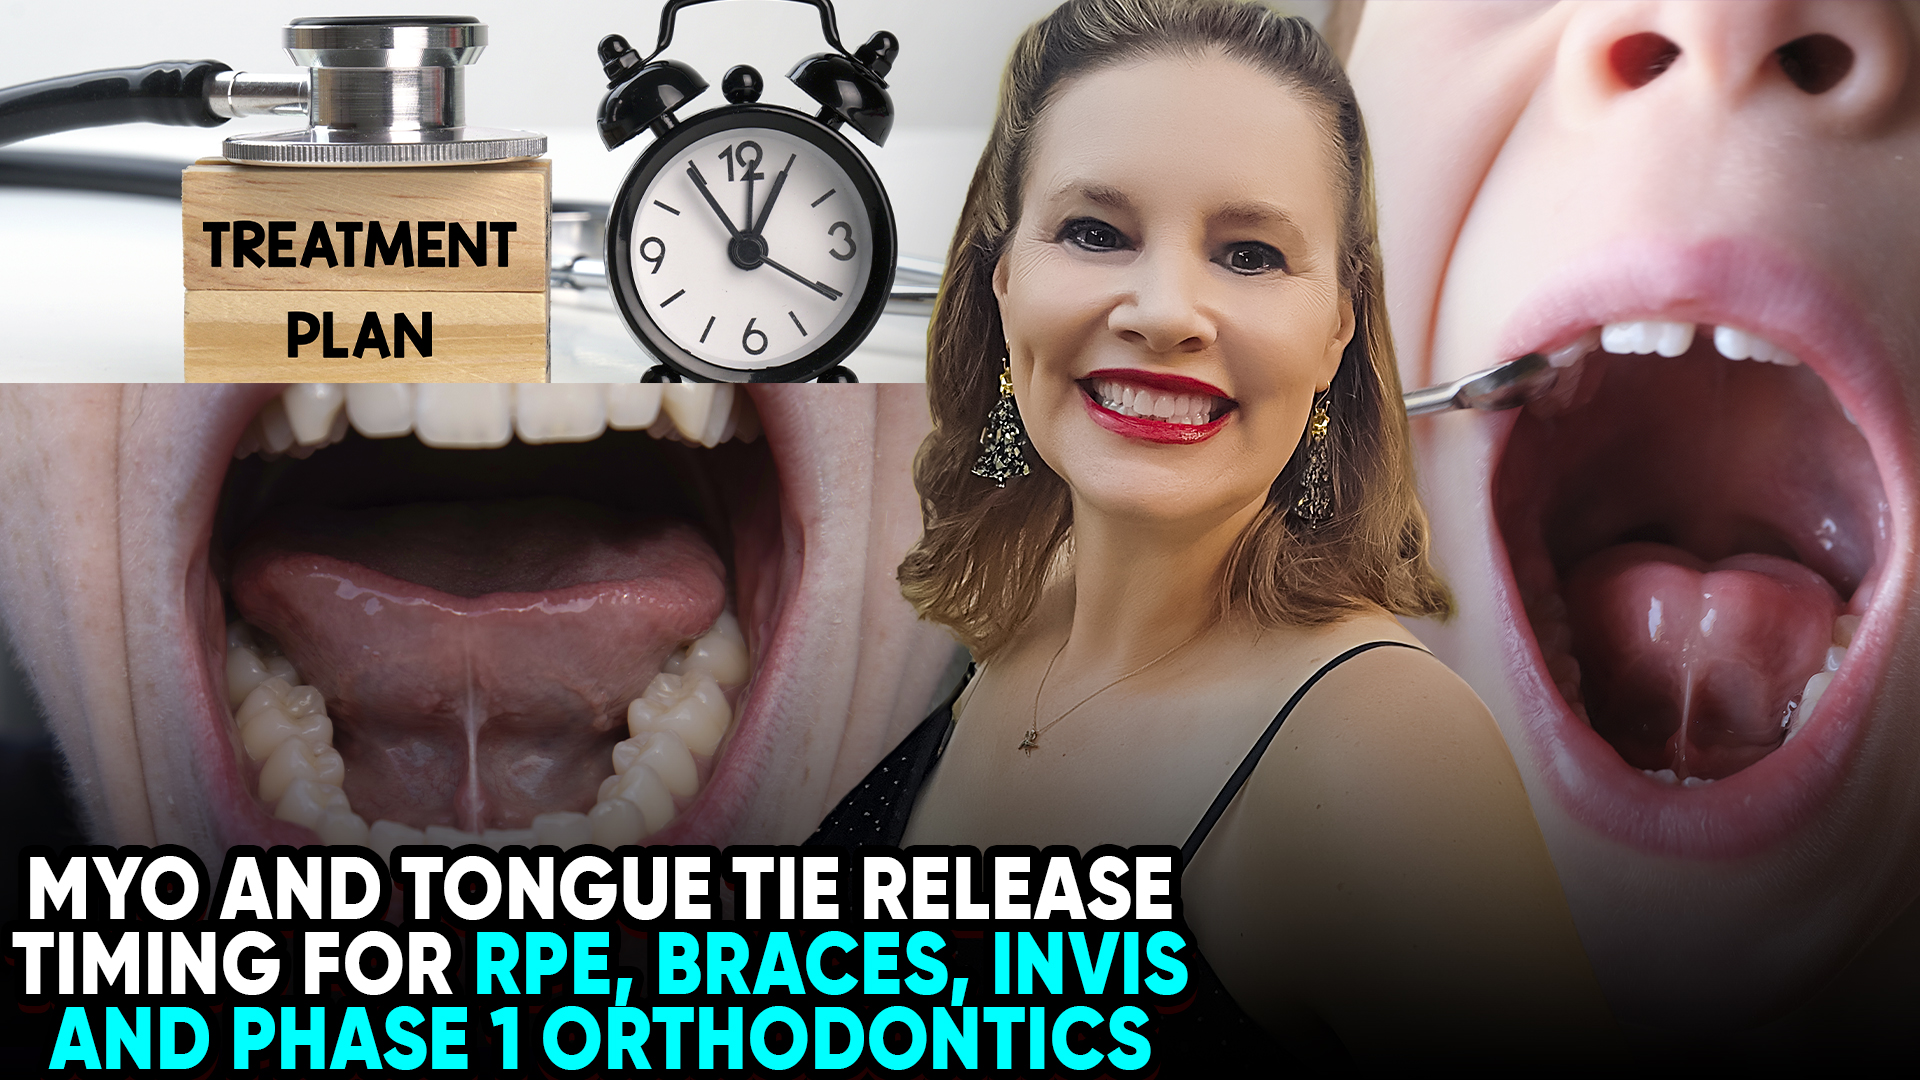 1. The Importance of Expansion First
The speaker strongly advises starting with maxillary expansion (such as a Rapid Palatal Expander or RPE) before proceeding with a tongue-tie release (frenectomy).
Creating “Tongue Space”: Expanding the upper arch provides the necessary room for the tongue to rest properly in the roof of the mouth.
Stability: If a tongue tie is released before there is enough room for the tongue to sit high, the procedure is often unsuccessful, and the tissue may re-attach.
2. The Role of Orofacial Myofunctional Therapy (OMT)
Myofunctional therapy is presented as a non-negotiable part of the process.
Pre-Surgical Prep: Patients should engage in OMT exercises before the release to strengthen the tongue and learn proper coordination.
Post-Surgical Healing: Continuing OMT after the surgery is critical to prevent scarring and to “train” the tongue to use its new range of motion.
3. Integrated Timeline
The ideal workflow suggested is:
OMT Evaluation & Initial Exercises: Begin therapy to prepare the muscles.
Orthodontic Expansion: Use Phase 1 interceptive ortho to widen the arch.
Tongue-Tie Release: Perform the frenectomy once adequate space is established.
Continued OMT: Follow-up exercises to ensure the tongue maintains its new posture and function.
Key Takeaway
The core message is that form follows function. A successful tongue-tie release requires both the physical space (orthodontics) and the muscular training (OMT) to be effective. Performing a release in isolation without these supporting treatments often leads to suboptimal outcomes or the need for revision surgery.
Disclaimer: This content is for general informational purposes for dental professionals and does not constitute medical or dental advice. Always consult with a licensed provider for specific cases.
Key Factors for Offering Free Re-treatment
 In the video “When would you Retreat an Orthodontic Case for FREE?” by StraightSmile Solutions, the presenter explores the complex decision of when an orthodontist should provide re-treatment at no cost to the patient.Key Factors for Offering Free Re-treatmentThe decision often hinges on a “deep dive” audit of the patient’s chart and the circumstances surrounding the relapse:Clinical or Administrative Oversight: If the practice failed to secure signed paperwork, missed follow-up retention appointments, or misdiagnosed underlying issues (like tongue thrusts or OMT issues) initially, a free or heavily discounted re-treatment is usually necessary.Patient Value & Referrals: For “high-value” patients who are active referrers and have shown consistent compliance, a practice may offer free re-treatment as a gesture of goodwill to maintain the relationship.Unforeseen Biological Issues: When issues like tongue ties or extra-oral habits weren’t identified before treatment, a sliding scale for costs is often recommended once the underlying cause is addressed.Documentation & Policy: Having a clear, signed aftercare policy that defines responsibilities for retainer breakage and wear is the practice’s best defense against being forced to provide free work.Prevention StrategiesThe video emphasizes that a robust Aftercare Program can significantly reduce these dilemmas:Standardized Retention Plans: Moving beyond just “handing over a retainer” to a structured recall system.Replacement Options: Offering patients “subscription” models or affordable replacement programs for retainers to ensure they stay in use.Clear Paperwork: Ensuring every patient understands the financial responsibility for re-treatment before the first set of braces even goes on.
Measuring Inter-Molar Width – Screening for Phase 1 Interceptive Treatment (40mm ± MP Cusp Tip of 6’s)
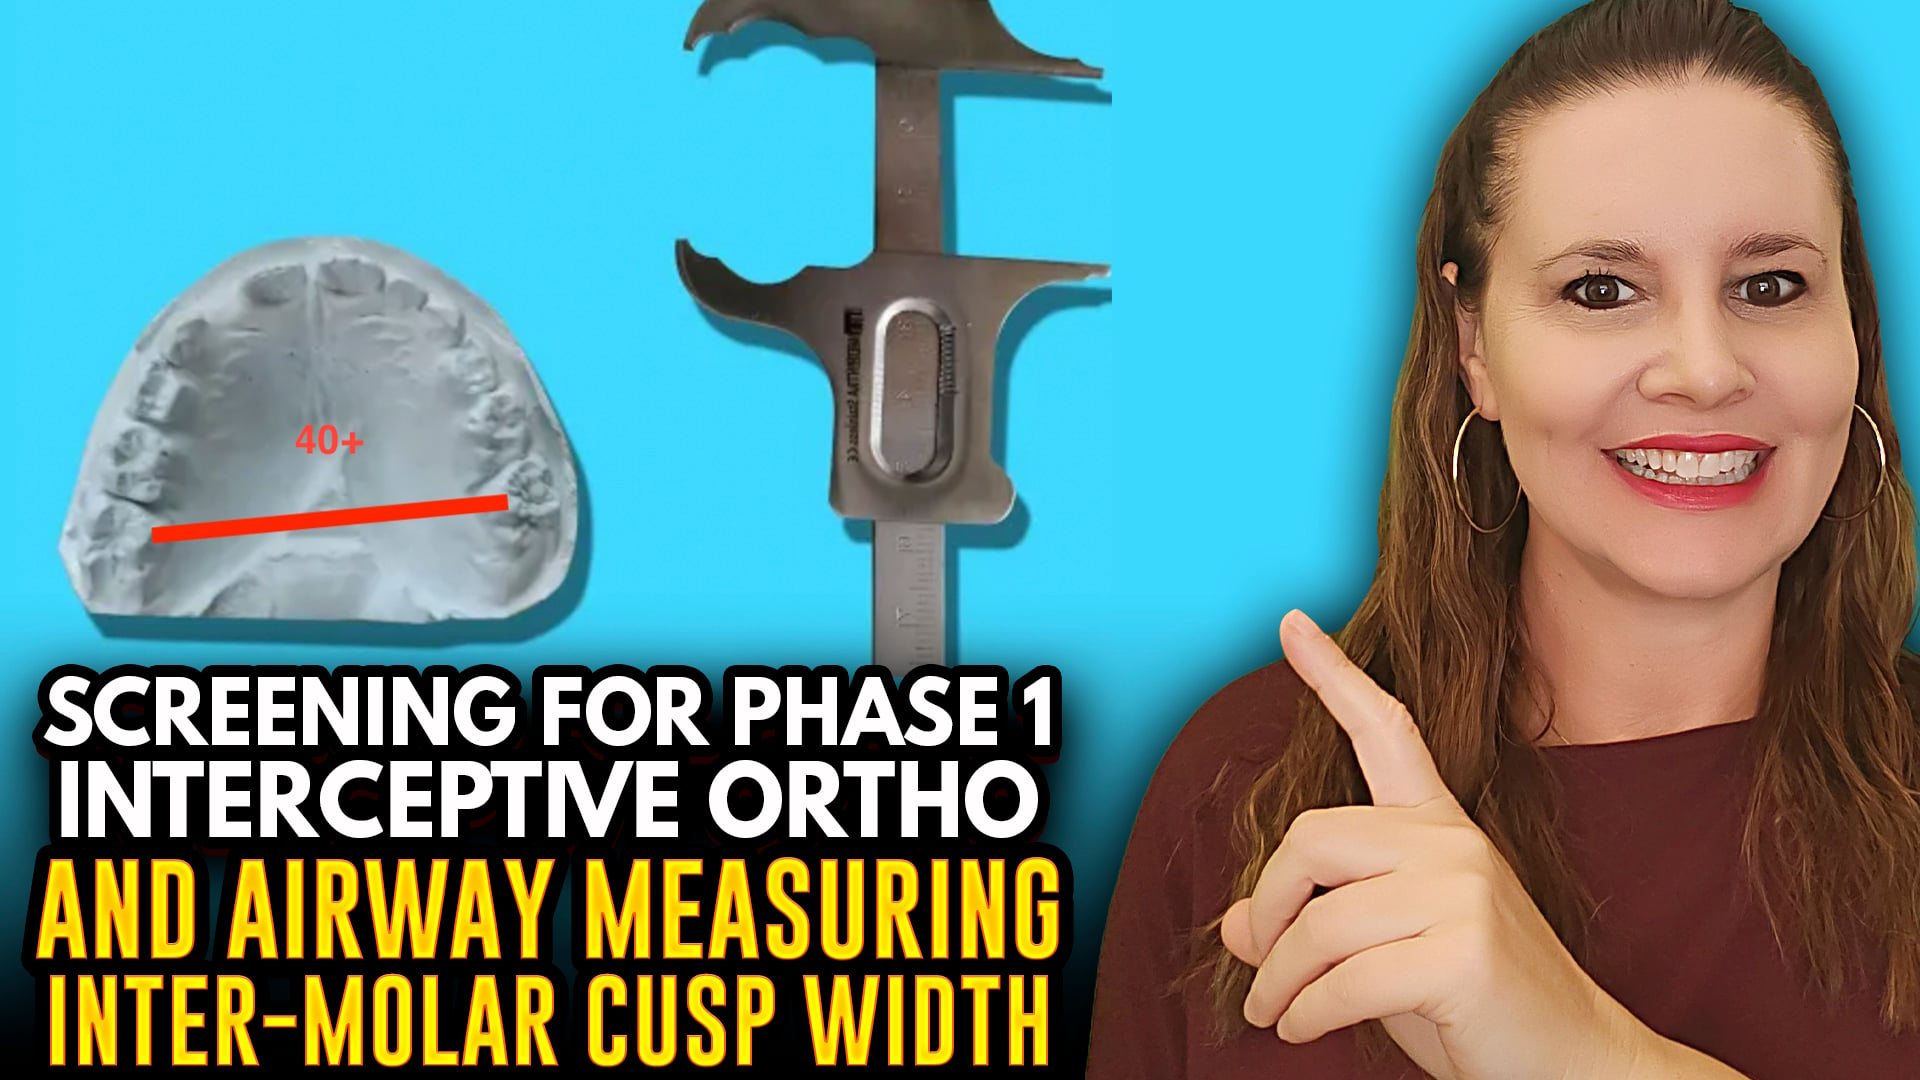 Measuring Inter-Molar Width – Screening for Phase 1 Interceptive Treatment (40mm ± MP Cusp Tip of 6’s)
I. Introduction
Dr Amanda from StraightSmile Solutions explains how to measure inter-molar width as a screening tool for Phase 1 interceptive treatment.
This is just one of many data points – not a standalone diagnosis.
II. How to Measure
Measure from the mesial palatal cusp tip of the upper first molar to the same point on the opposite side.
Use a Boley gauge. If you don’t have one, use a piece of floss and lay it next to a millimeter ruler.
III. The 40mm Benchmark
For average-sized teeth, the minimum inter-molar width is approximately 40mm (around 40ish).
Patients with larger teeth may need 48-52mm.
Patients with smaller than average teeth (e.g., Dr Amanda’s) may be fine at 36mm.
IV. Important Caveats
If the molars are rotated inward, rotating them out increases the measured width, but that is alignment, not true expansion.
Use this measurement as a screening flag, not a hard rule.
Consider tooth size, arch form, and other clinical findings together.
V. Where to Learn More
Full details are in Dr Amanda’s Phase 1 course at www.straightSmileSolutions.com.
The course is affordable ($14/CE unit) and offers CE or non-CE options.
VI. The Bottom Line
Measuring inter-molar width is a quick, useful screening tool for possible maxillary constriction.
But always combine it with a complete evaluation before planning Phase 1 treatment.
Expanding Your Pediatric Practice: ASAP Pathway vs. StraightSmile Solutions
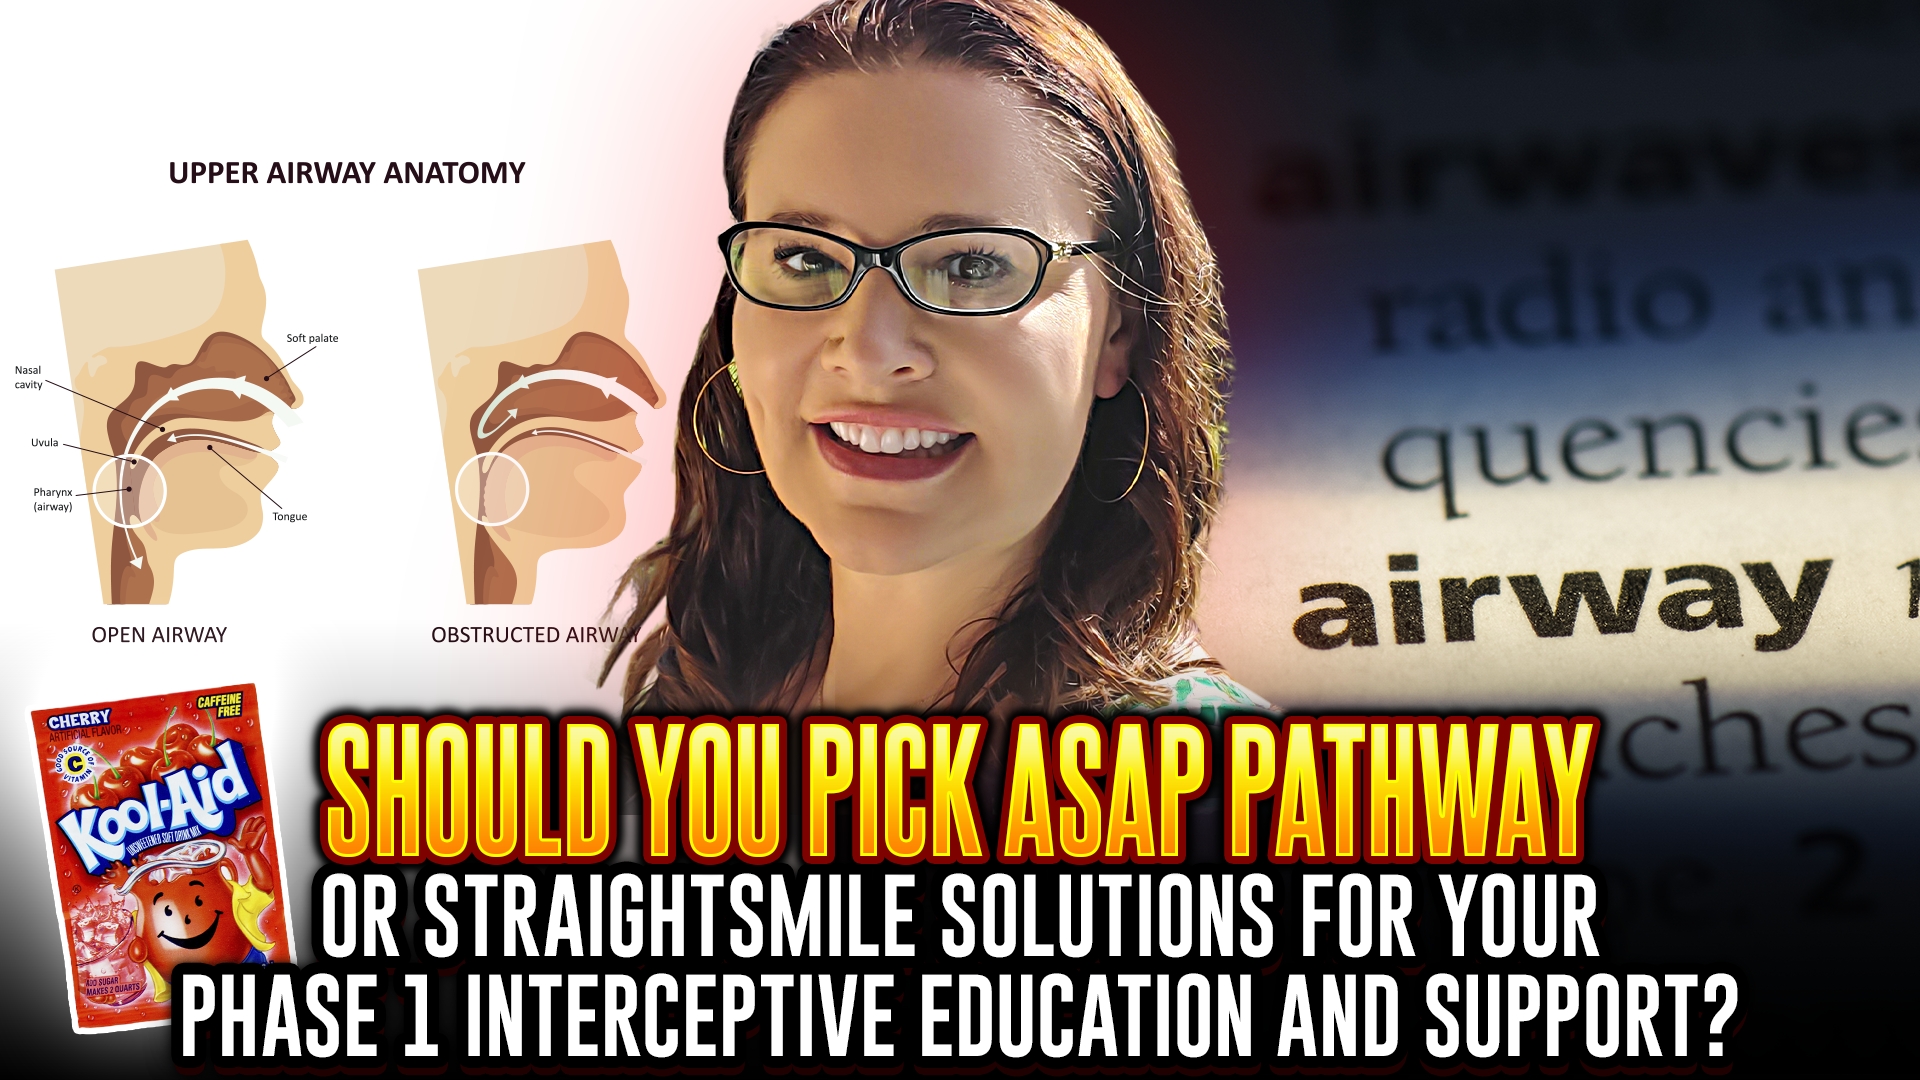 Expanding Your Pediatric Practice: ASAP Pathway vs. StraightSmile SolutionsAs a general or pediatric dentist, you’ve likely noticed the “Airway Revolution” taking over the industry. Parents are no longer just asking for straight teeth; they are asking about mouth breathing, sleep apnea, and why their child is always tired.To meet this demand, two major training philosophies have emerged as leaders: The ASAP Pathway and StraightSmile Solutions. But which one is the right fit for your clinical style and business model?1. What is the ASAP Pathway?The ASAP (Airway, Sleep, and Pediatrics) Pathway is a comprehensive, “deep-dive” immersion program. It is designed for doctors who want to become airway-centric experts.The Philosophy: It treats the dentist as a primary gatekeeper for systemic health. It focuses heavily on the “why” behind sleep-disordered breathing.The Content: You’ll find heavy emphasis on screening, diagnosis, medical collaboration (working with ENTs), and myofunctional therapy.The Commitment: This is an intensive online mini-residency. It includes over 95 hours of CE and monthly live mentorship sessions.Best For: Doctors who want a community-led, structured academic environment to transform their entire practice philosophy.2. What is StraightSmile Solutions?StraightSmile Solutions, led by Dr. Amanda Wilson, offers a more practical, “pick-and-choose” approach to orthodontic consulting and Phase 1 training.The Philosophy: Focuses on efficiency, clinical predictability, and “straight-talk” coaching. It’s less about a rigid pathway and more about providing the tools to handle cases on a day-to-day basis.The Content: Their Phase 1 course on CEZoom covers 13 critical topics, including sagittal, vertical, and transverse appliances. They emphasize the mechanics—how to use the expanders, how to avoid “smiley wires,” and how to manage the lab side without corporate gatekeeping.The Commitment: Highly flexible. You can watch “bite-sized” videos on YouTube or take the formal $499 course for CE credit.Best For: Doctors who are already busy and need immediate, practical solutions for specific cases, or those who prefer a “concierge” consulting model over a group class.Comparison at a GlanceFeatureASAP PathwayStraightSmile SolutionsPrimary FocusPediatric Airway & Sleep MedicinePhase 1 Mechanics & Ortho CoachingLearning StyleStructured Mini-ResidencyOn-Demand & Concierge ConsultingCE CreditsHigh (95+ Hours)Modular (Per Course)Clinical DepthSystemic health & ENT collaborationBiomechanics & Appliance selectionCost ModelMembership/Tuition-basedPer-course or Monthly ConsultingWhich One Should You Choose?Choose ASAP Pathway if…You want to be the “Airway Expert” in your town. If you enjoy the medical side of dentistry—studying pulse oximetry, working with sleep physicians, and understanding neurodevelopment—ASAP provides the community and the credentialing to get you there.Choose StraightSmile Solutions if…You want to start doing Phase 1 cases now and need to know exactly which appliance to order and how to troubleshoot it when things go wrong. If you prefer one-on-one coaching and “on-demand” help with your specific patient digital files, Dr. Amanda’s model is built for you.
The Cavity Culprit You’re Overlooking: Airway and Mouth Posture
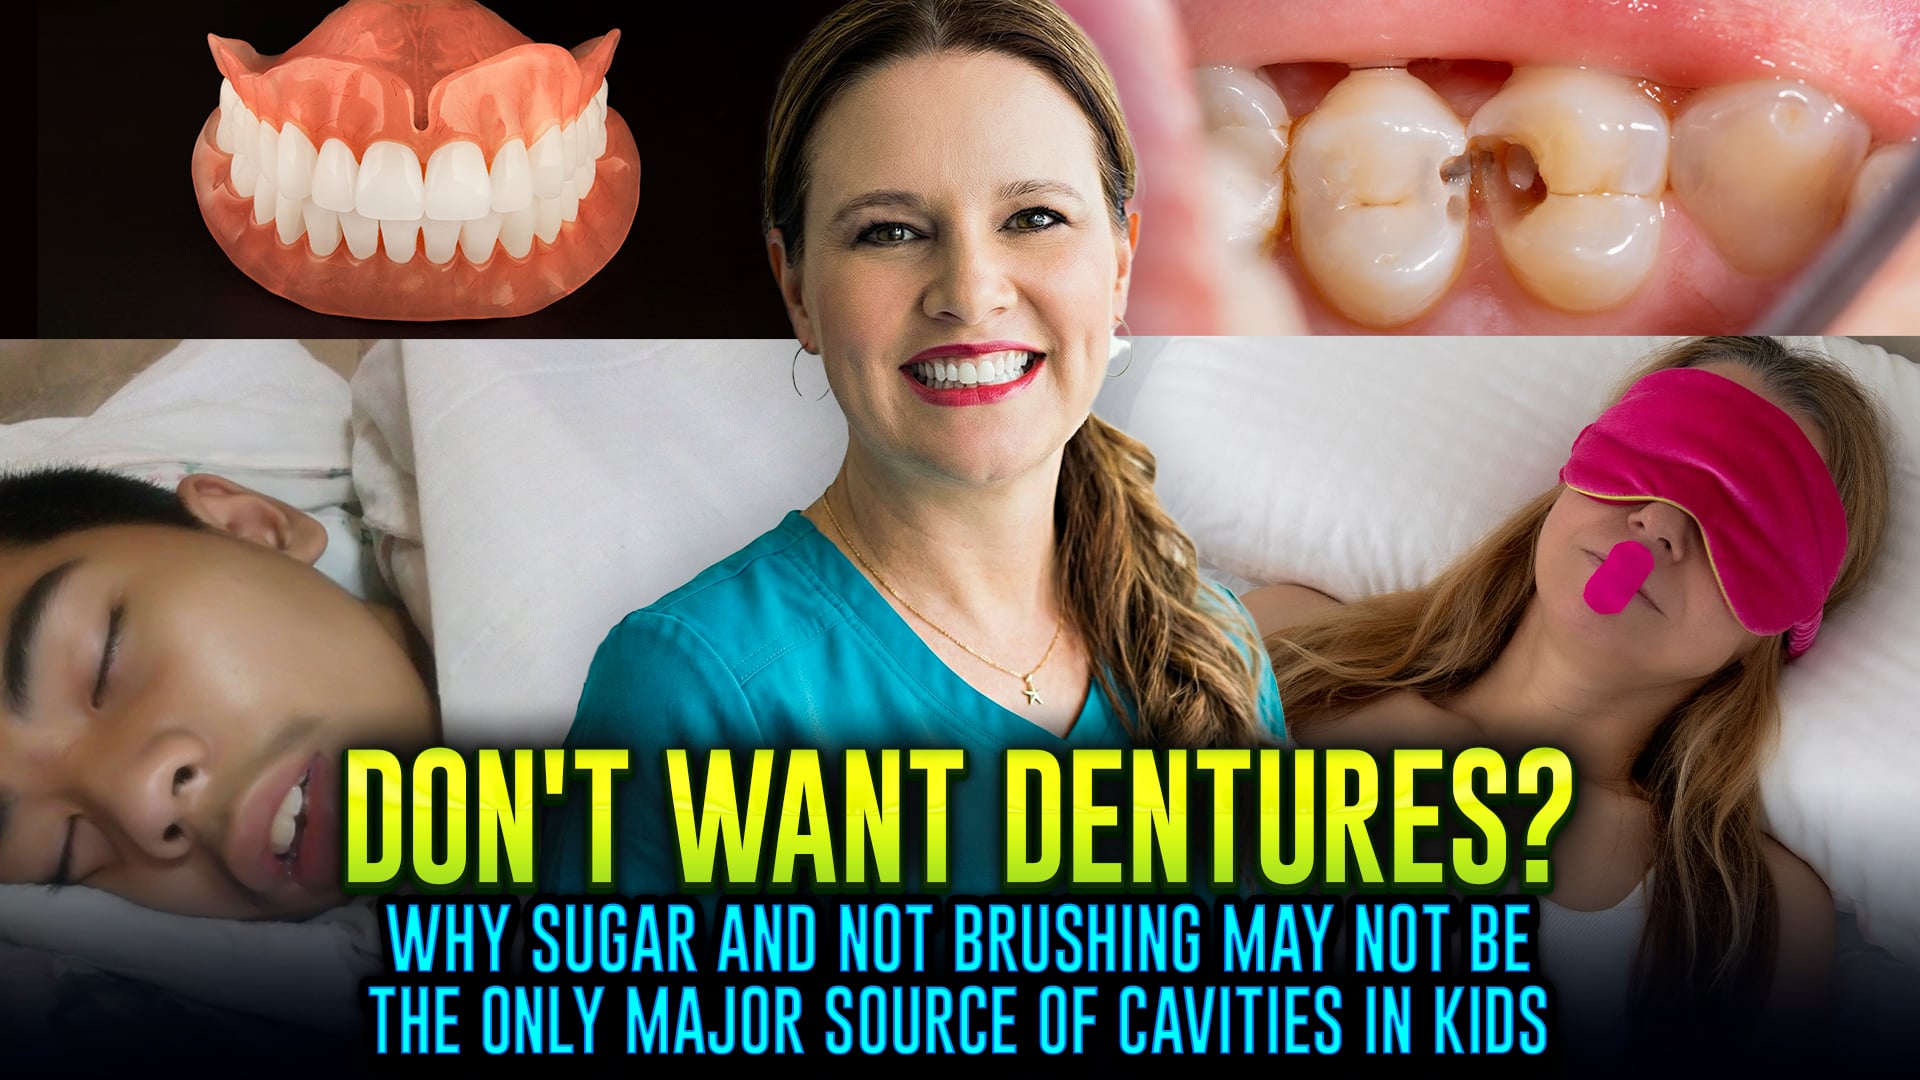 The Cavity Culprit You’re Overlooking: Airway and Mouth Posture
We’ve all been told that sugar is the #1 enemy of a healthy smile, but what if the real threat isn’t just what you’re eating, but how you’re breathing? In this eye-opening breakdown of the hidden causes of cavities, we look past the snack bowl and into the airway. Mouth breathing—especially during sleep—dries out the mouth, neutralizing the saliva that acts as your teeth’s natural defense against acid and decay. Without that protective moisture, your oral pH drops, creating a high-acid environment where cavities thrive regardless of how little sugar you consume.
At Straight Smile Solutions, we believe true orthodontic success starts with a healthy airway. Chronic mouth breathing isn’t just a dental hygiene issue; it is often a sign of underlying airway obstruction that can lead to narrow arches, crowded teeth, and even orthodontic relapse. When a patient’s mouth is constantly open, the tongue rests improperly in the lower jaw instead of the palate, failing to guide the natural expansion of the upper jaw. This poor mouth posture can lead to a “long face” appearance and complex bite issues that braces alone can’t permanently fix if the breathing habit isn’t addressed.
Understanding the biological link between airway health and jaw growth is essential for anyone seeking a lasting, healthy smile. If you’re struggling with persistent cavities or orthodontic issues that seem to keep returning, it’s time to stop focusing solely on your toothbrush and start looking at your airway. Check out our dedicated playlists on the Straight Smile Solutions YouTube Channel to learn how we use airway-focused screenings and myofunctional therapy to treat the root causes of dental problems, ensuring your smile is as functional as it is beautiful.
Stop Ruining Your Brush Heads: The Safe Way to Sterilize Oral-B and Sonicare
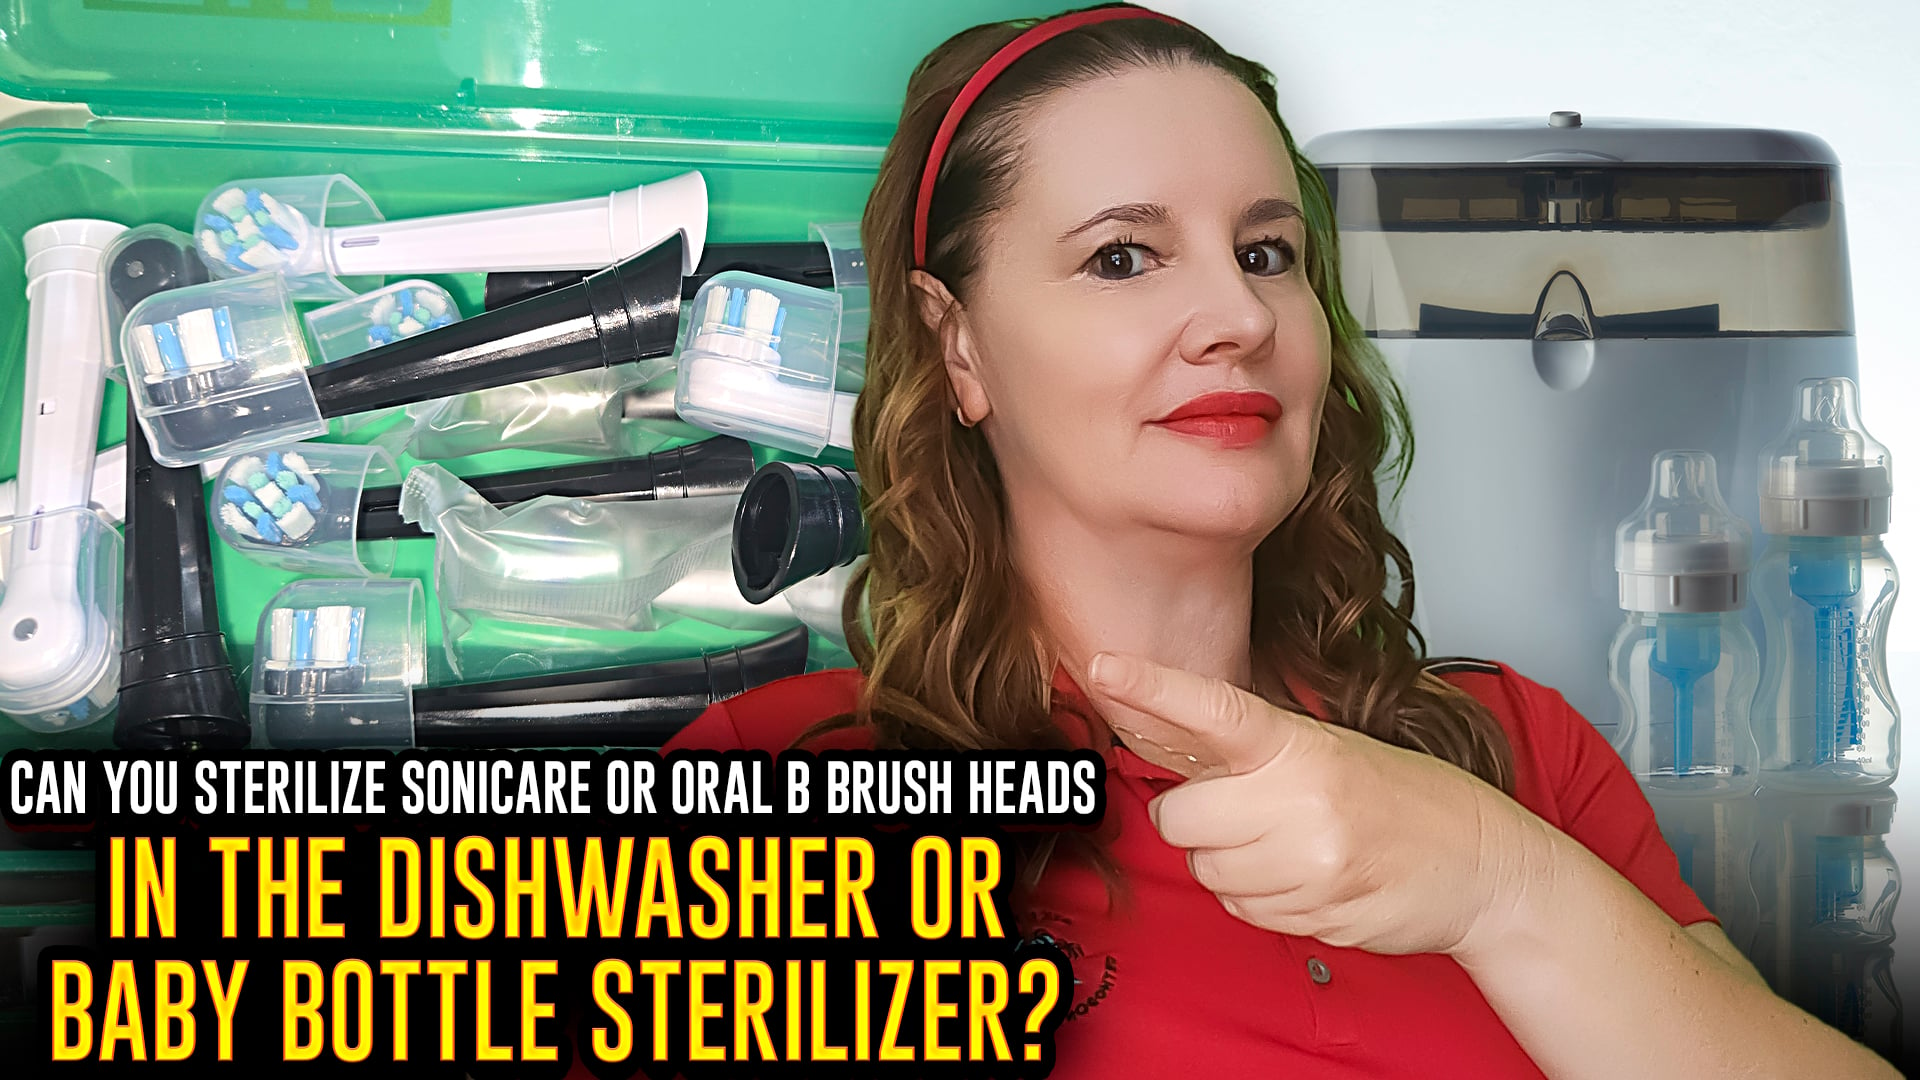 Maintaining a clean electric toothbrush is a non-negotiable for oral hygiene, but many people unintentionally damage their equipment by using high-heat cleaning methods. While it’s tempting to toss an Oral-B or Sonicare brush head into a dishwasher or a steam-based baby bottle sterilizer, these environments are often too harsh for the materials. The intense heat can warp the plastic housing and weaken the specialized adhesives that hold the bristles in place, leading to a brush head that is ineffective or even uncomfortable to use.
For a safer and more effective alternative, UV light sanitization or gentle chemical soaks are the way to go. UV sanitizers, often integrated into modern charging stations, can eliminate up to 99% of bacteria without the risk of heat deformation. If you don’t have a UV station, a simple 10-minute soak in an antimicrobial mouthwash or a diluted hydrogen peroxide solution can effectively disinfect the bristles after a cold or flu. These methods preserve the structural integrity of the brush while ensuring your daily routine stays hygienic.
Ultimately, even the most rigorous cleaning routine can’t replace the need for regular replacement. Over time, bristles fray and lose their ability to reach deep between teeth and along the gumline. To keep your smile at its healthiest, aim to swap out your brush heads every three months. By combining regular replacements with proper low-heat sanitization, you ensure your dental tools are always performing at their best while protecting your long-term oral health.
Why Doctors Are Switching FROM Invisalign TO Angel Aligners – Risks and Liability
Why Doctors Are Switching FROM Invisalign TO Angel Aligners – Risks and Liability
I. Introduction
Dr Amanda from StraightSmile Solutions addresses growing requests about Angel Aligners.
She has personal and political reasons for not using them and will not disparage any brand due to legal bullying.
The main reason doctors switch: Angel is cheaper. Money talks.
II. Why the Switch?
Lower cost (though likely a loss leader – prices may rise later).
Some orthodontists report better quality setups (possibly because Angel still uses live humans, not just AI).
Less pressure to be a “KOL” (key opinion leader) – at least for now.
Bondable attachments instead of tray cutouts (though Invisalign offers the same).
III. The Hidden Risks – Legal and Trademark
Switching may violate Align Technology’s terms of service.
Potential consequences if Align enforces IP and trademark rights:
Must remove all Invisalign trademarks from past and present marketing (social media, website, metadata, URLs).
Add disclaimers stating “not affiliated with Invisalign.”
May receive cease-and-desist letters.
Could face monetary damages, loss of customer status, and permanent inability to use Invisalign again.
IV. Dr Amanda’s Bottom Line
She has seen companies bully clinicians even when they are correct. She stays out of this drama.
For green or yellow cases, any aligner brand can work with proper case selection and clinician skill.
Angel may be fine, but the legal risks of switching are real and potentially devastating.
Do your own research. Read your contracts. Consult an attorney before jumping.
V. Call to Action
Dr Amanda remains agnostic but will not work with brands that have sued her.
She advises doctors to think carefully about long-term liability before switching from Invisalign to Angel.
Why Doctors are Switching from Invisalign to Angel Aligners
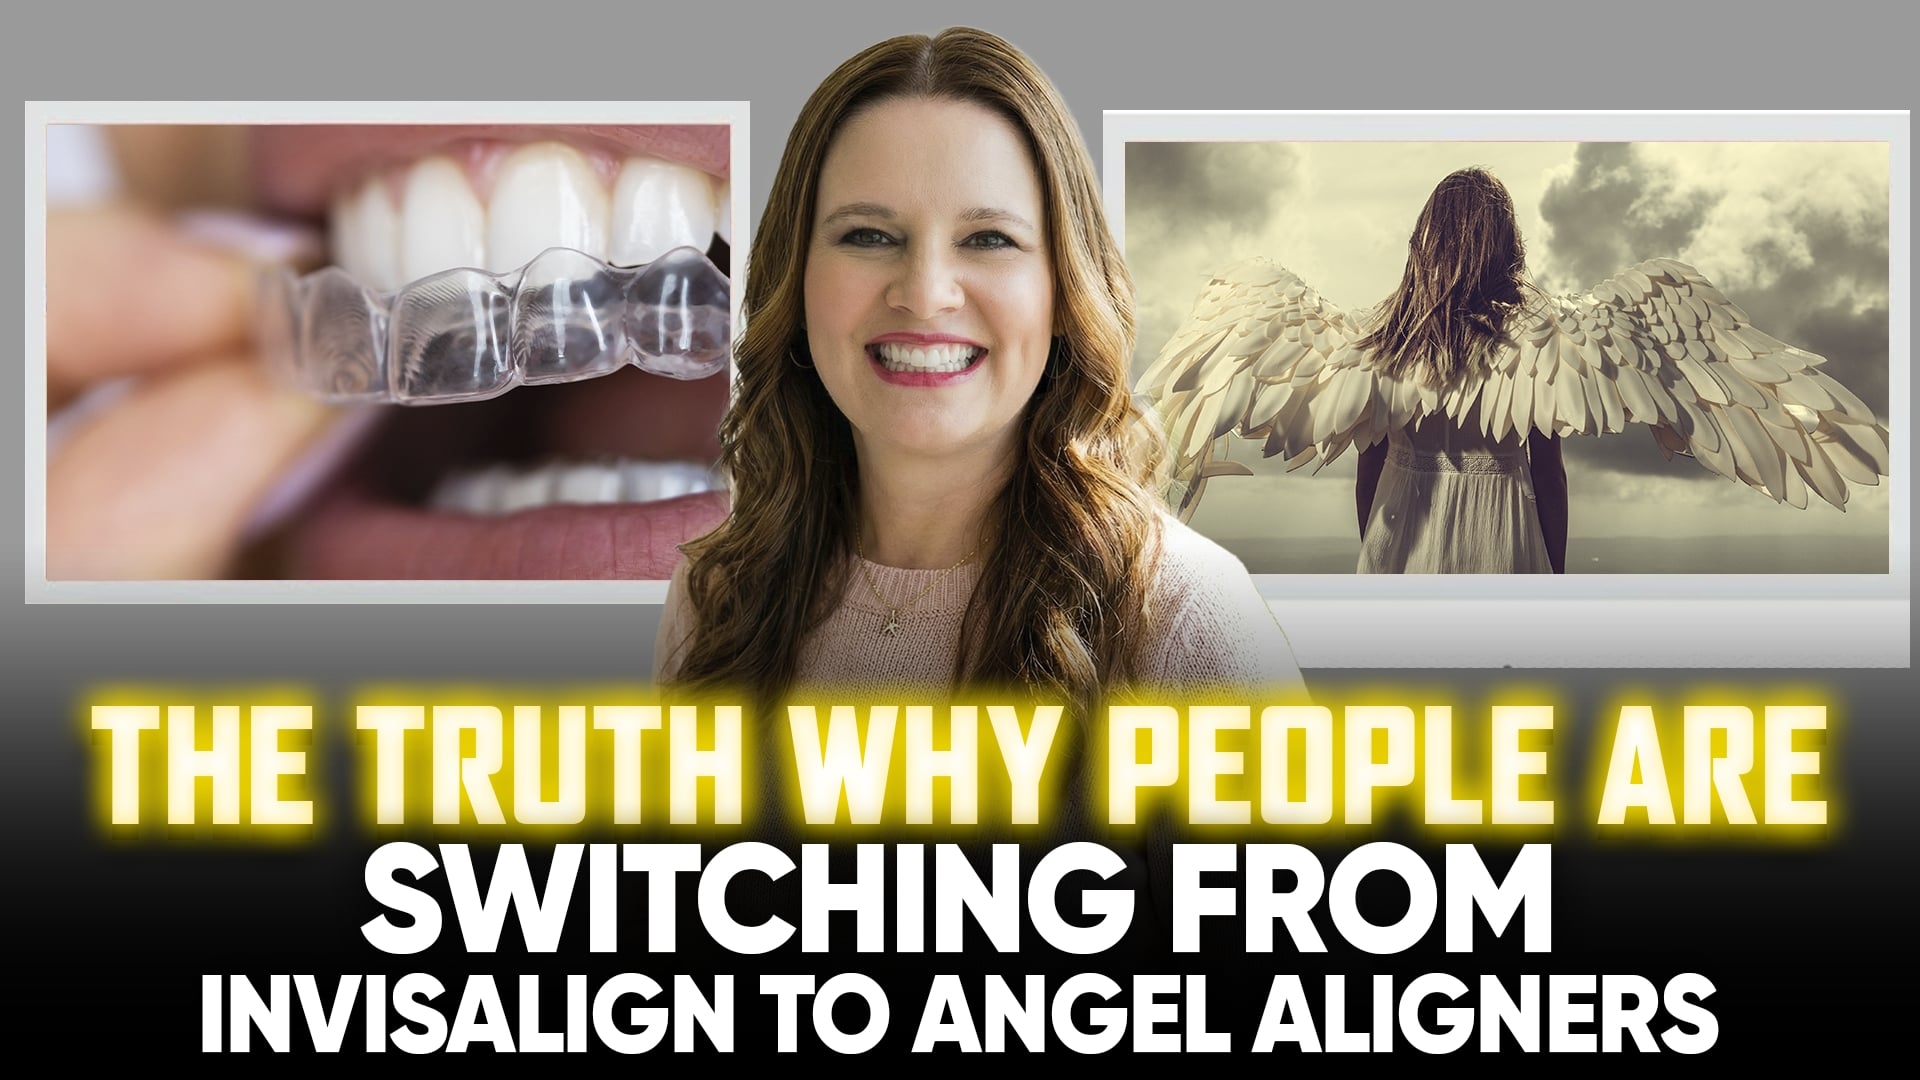 Some patients and orthodontists are increasingly choosing Angel Aligners over traditional systems like Invisalign, highlighting key differences in cost, technology, and patient comfort. While both use clear, removable trays, the primary driver for many switching is the significantly lower cost for patients and lower lab fees for doctors, which can save over $1,000 per case.
Cost-Effectiveness: Angel Aligners are generally more affordable than Invisalign while providing similar aesthetic and orthodontic results.
The “Angel Button”: A standout feature is the built-in button manufactured directly into the aligner for use with elastic bands. This often eliminates the need to bond metal or tooth-colored buttons directly to the teeth, which can be uncomfortable or unappealing.
Material and Clarity: The system uses advanced “MasterControl” multi-layer polymer materials designed for both durability and superior clarity, helping the trays stay clear longer without staining.
Treatment Efficiency: Angel Aligners offer “Pro” options that use different materials for different stages (the “7+3” mode), which can lead to faster and more efficient tooth movement, especially in complex cases.
Ultimately, the choice depends on an individual’s specific orthodontic needs and budget. While Invisalign remains a trusted, globally recognized brand, Angel Aligners are positioned as a modern, high-value alternative that addresses common patient complaints regarding comfort and extra attachments.
Unfortunately, Dr. Amanda and StraightSmile Solutions can’t support doctors with these cases, due to political and philosophical reasons.
Smile Architect and Wonky Clinchecks
 In her recent video, Dr. Amanda Wilson from StraightSmile Solutions dives into the technical debate surrounding Invisalign’s Smile Architect and Invisalign Flex. Dr. Wilson advocates for a return to “old school” traditional rules, specifically suggesting that clinicians consider disabling these automated features in certain cases. She argues that relying too heavily on these newer digital tools can sometimes lead to suboptimal treatment plans if they aren’t carefully managed by a practitioner who understands the fundamental mechanics of tooth movement.
The core of her message centers on clinician control and the importance of professional oversight in orthodontic software. While digital planning tools are designed to streamline the workflow, Dr. Wilson emphasizes that they should not replace a doctor’s seasoned judgment. By sticking to traditional biomechanical principles and manually adjusting cases rather than accepting automated “Flex” or “Architect” suggestions, providers can often achieve more predictable and stable results for their patients. This “back-to-basics” approach serves as a reminder that the best technology is only as effective as the expertise guiding it.
Should you LEAVE an ADULT Class 2 Div 2 Occlusion? Lawsuits and Liability with Overjet
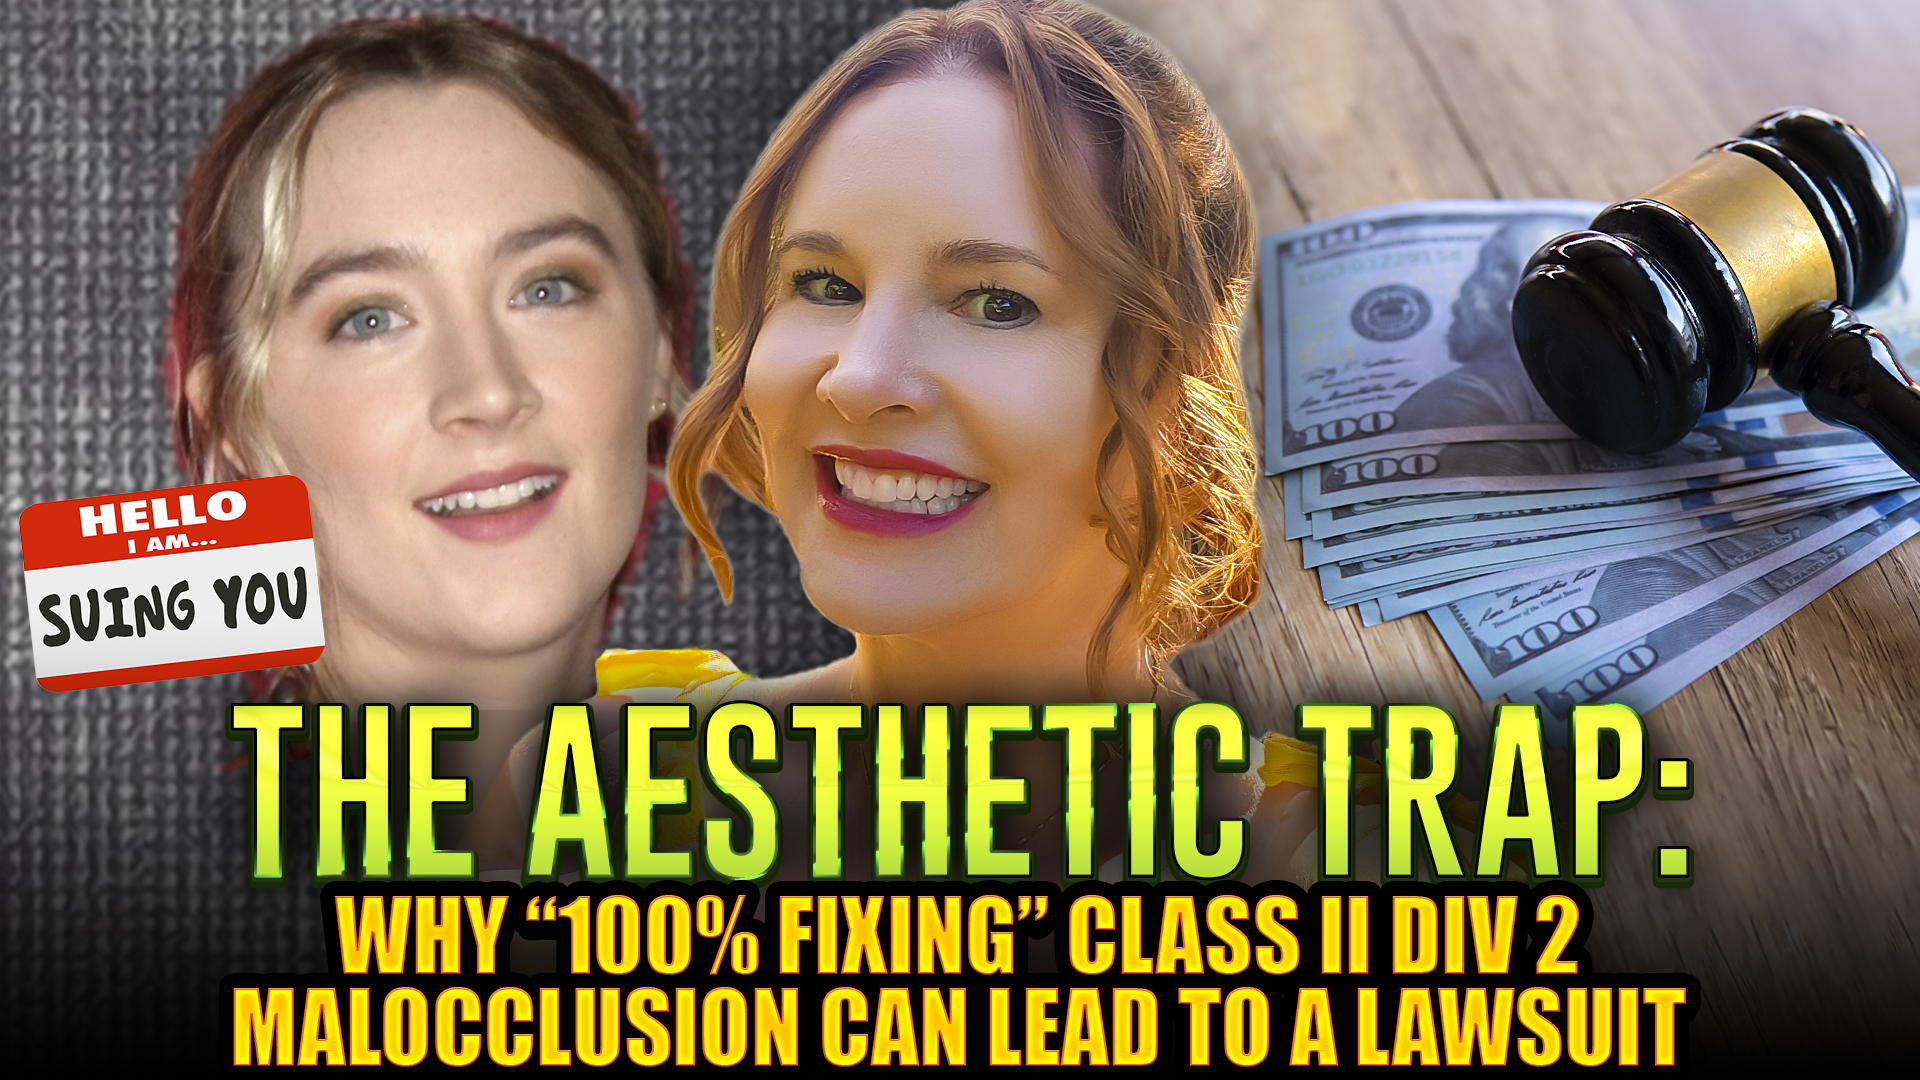 When treating adult patients with a Class 2 Division 2 malocclusion, practitioners often face a difficult choice: to intervene or to leave the occlusion as is. Because adult patients have finished their skeletal growth, correcting the deep bite and retroclined incisors typical of this division often requires complex, multi-disciplinary approaches. The decision to treat should be heavily weighed against the patient’s functional needs, aesthetic concerns, and the potential risks of long-term wear or periodontal issues if left untreated.
For many clinicians, “leaving it alone” is a viable strategy if the patient is asymptomatic and the occlusion is stable. However, if the patient experiences trauma to the palate or significant enamel attrition, a tailored treatment plan—often involving clear aligners or fixed appliances—may be necessary. As discussed by StraightSmile Solutions, understanding the unique mechanics of adult orthodontics is key to providing safe, effective care without over-engineering a stable situation.