
StraightSmile Solutions®
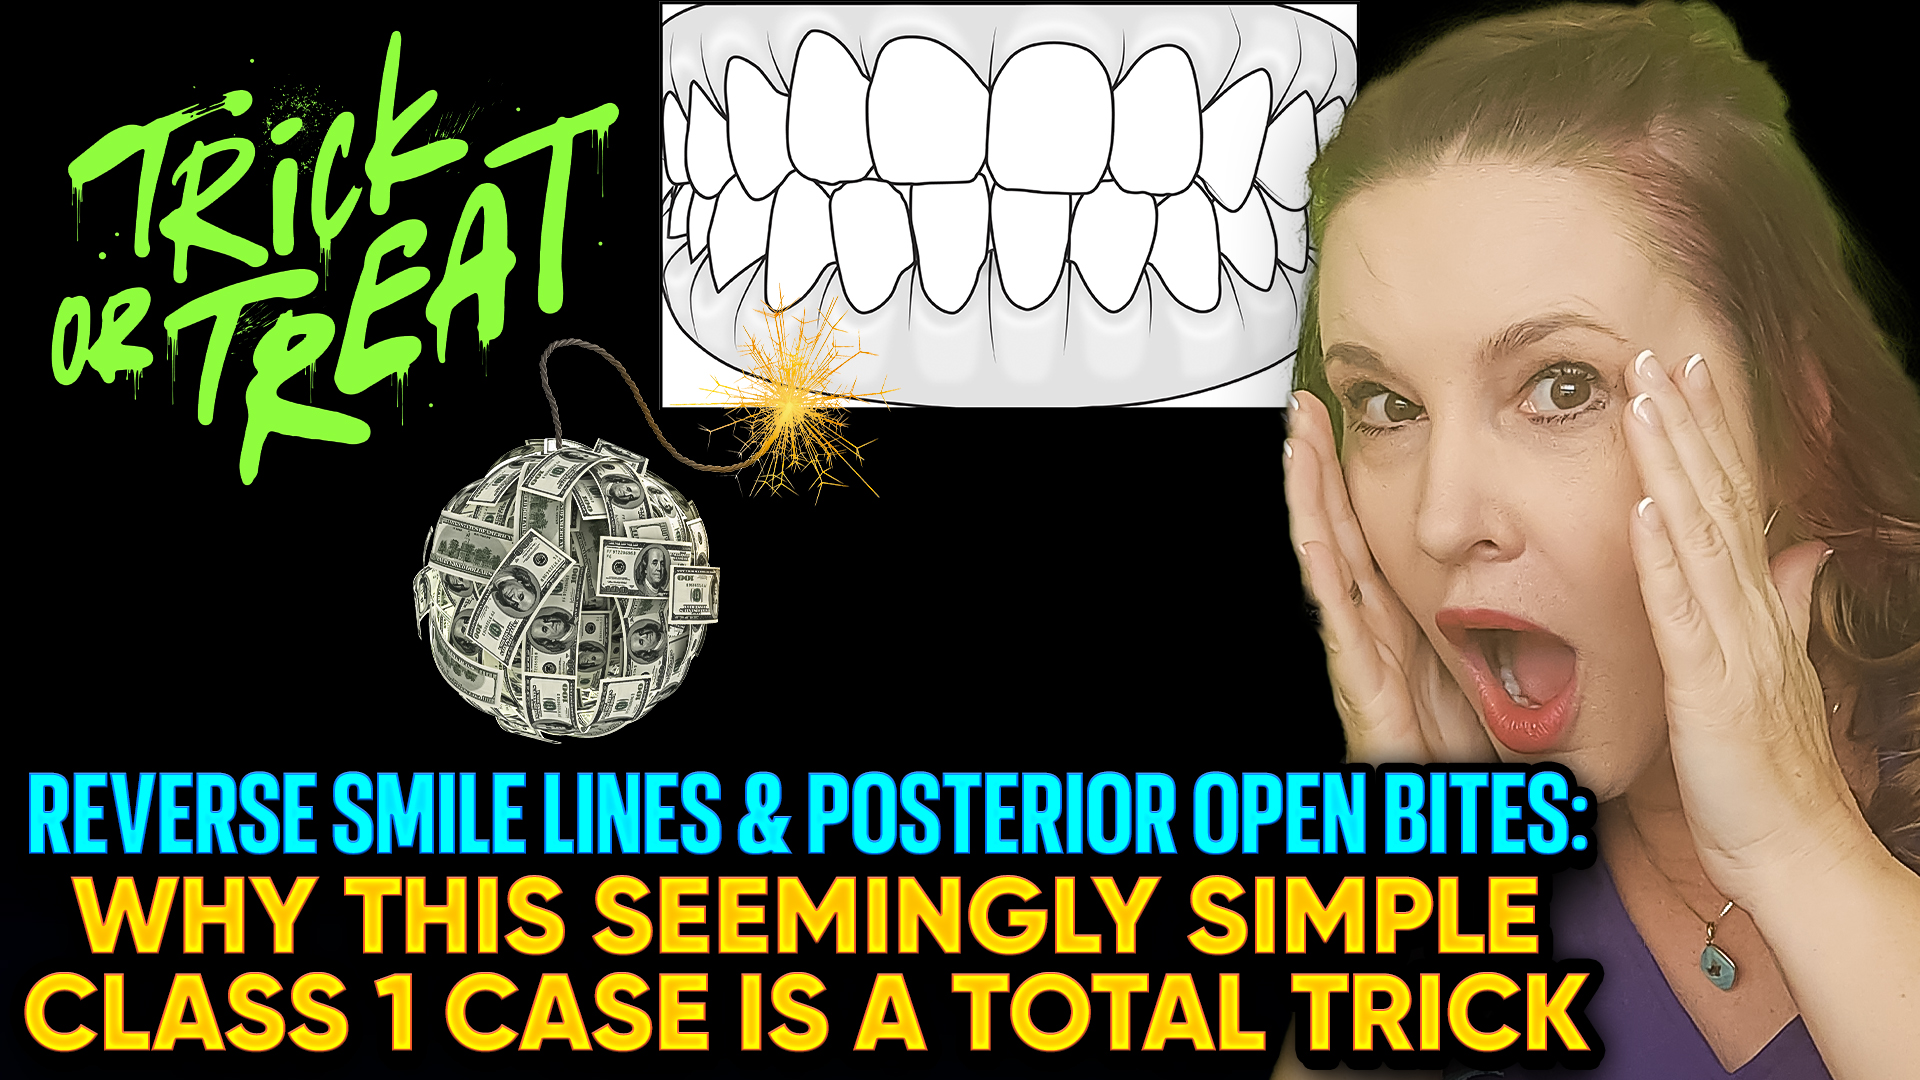
Reverse Smile Lines: A Red Flag? Associated with Class III, POBs, and Myo
I. Introduction
- Dr. Amanda from StraightSmile Solutions flags the reverse smile line as a major red flag in orthodontic diagnosis.
- Unlike a normal smile arc (curving upward), a reverse smile arc curves downward, showing more back teeth than front.
- It looks unusual, often ages the smile, and signals underlying problems.
II. What Causes a Reverse Smile Line?
- Genetics and skeletal growth patterns can play a role.
- Most commonly associated with a CLASS III tendency (even mild) or actual underbite.
- Lower anterior teeth hit the upper incisors, preventing them from erupting fully or pushing them back up.
- Wear from the Class III contact can also contribute.
III. Red Flags That Come with Reverse Smile Lines
- Almost always a Class III component (Class II would be syndromic and rare).
- Frequently associated with POSTERIOR OPEN BITES (POBs), even partial ones.
- Often linked to MYOFUNCTIONAL ISSUES, such as a tongue thrust that pushes the posterior teeth upward.
- Potential CR-CO shifts, interferences, and envelope of motion issues.
IV. Diagnostic Requirements
- Never start orthodontic treatment on a reverse smile line without a thorough workup:
- CEPHALOMETRIC X RAY to assess skeletal relationships.
- CBCT to evaluate condyles, airway, and potential pathology.
- Check for occlusal interferences, CRCO discrepancy, and envelope of motion.
- These cases are unpredictable; weird things happen during treatment if the cause isn’t identified.
V. The “Foreign Object” Interrogation
- Always ask patients (or parents): “Does anything go in your mouth that isn’t food?”
- Common culprits:
- Store bought mouthguards or snore guards
- Old retainers (from decades ago)
- Snap on smiles or cosmetic appliances
- Habits like chewing pens or pencils on one side
- If a foreign object is present, discard it, wait 2-3 months, then rescan and reassess.
VI. When to Walk Away
- If you see a POB even on a few teeth that should be touching, DO NOT start treatment until the cause is found.
- Reverse smile lines that are skeletal or due to arrested growth in a non-growing patient cannot be fixed with orthodontics alone; they may require jaw surgery.
- Attempting to force correction with aligners or braces often makes things worse.
VII. The Bottom Line
- A reverse smile line is never a “simple” case.
- Proceed with extreme caution: full records, myo evaluation, and elimination of any oral appliances or habits.
- If you can’t identify and address the root cause, refer or defer.
- These cases are unpredictable, and failure is common. Don’t get trapped.
The Top 5 Ways Braces Can Ruin Faces and Teeth
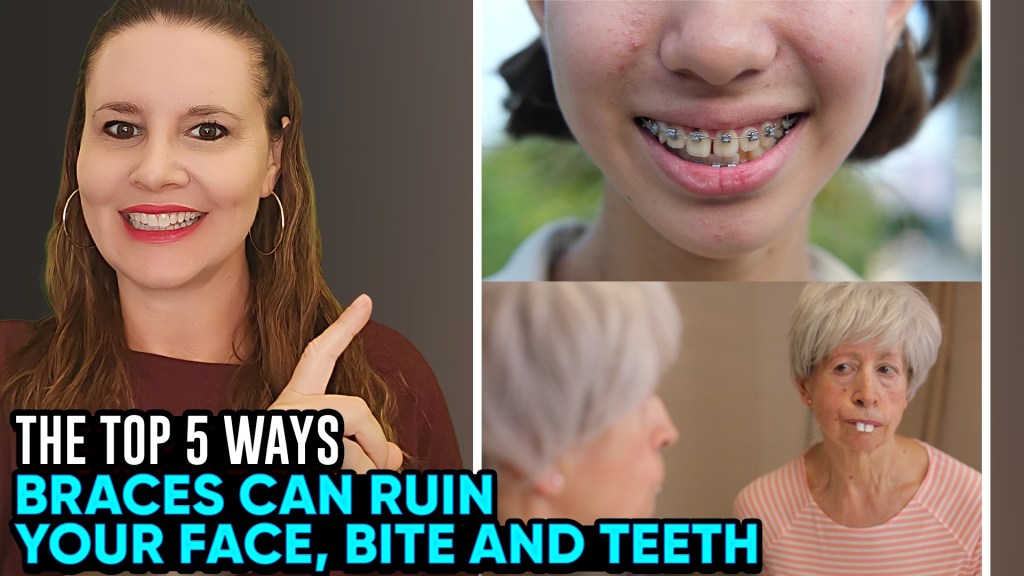
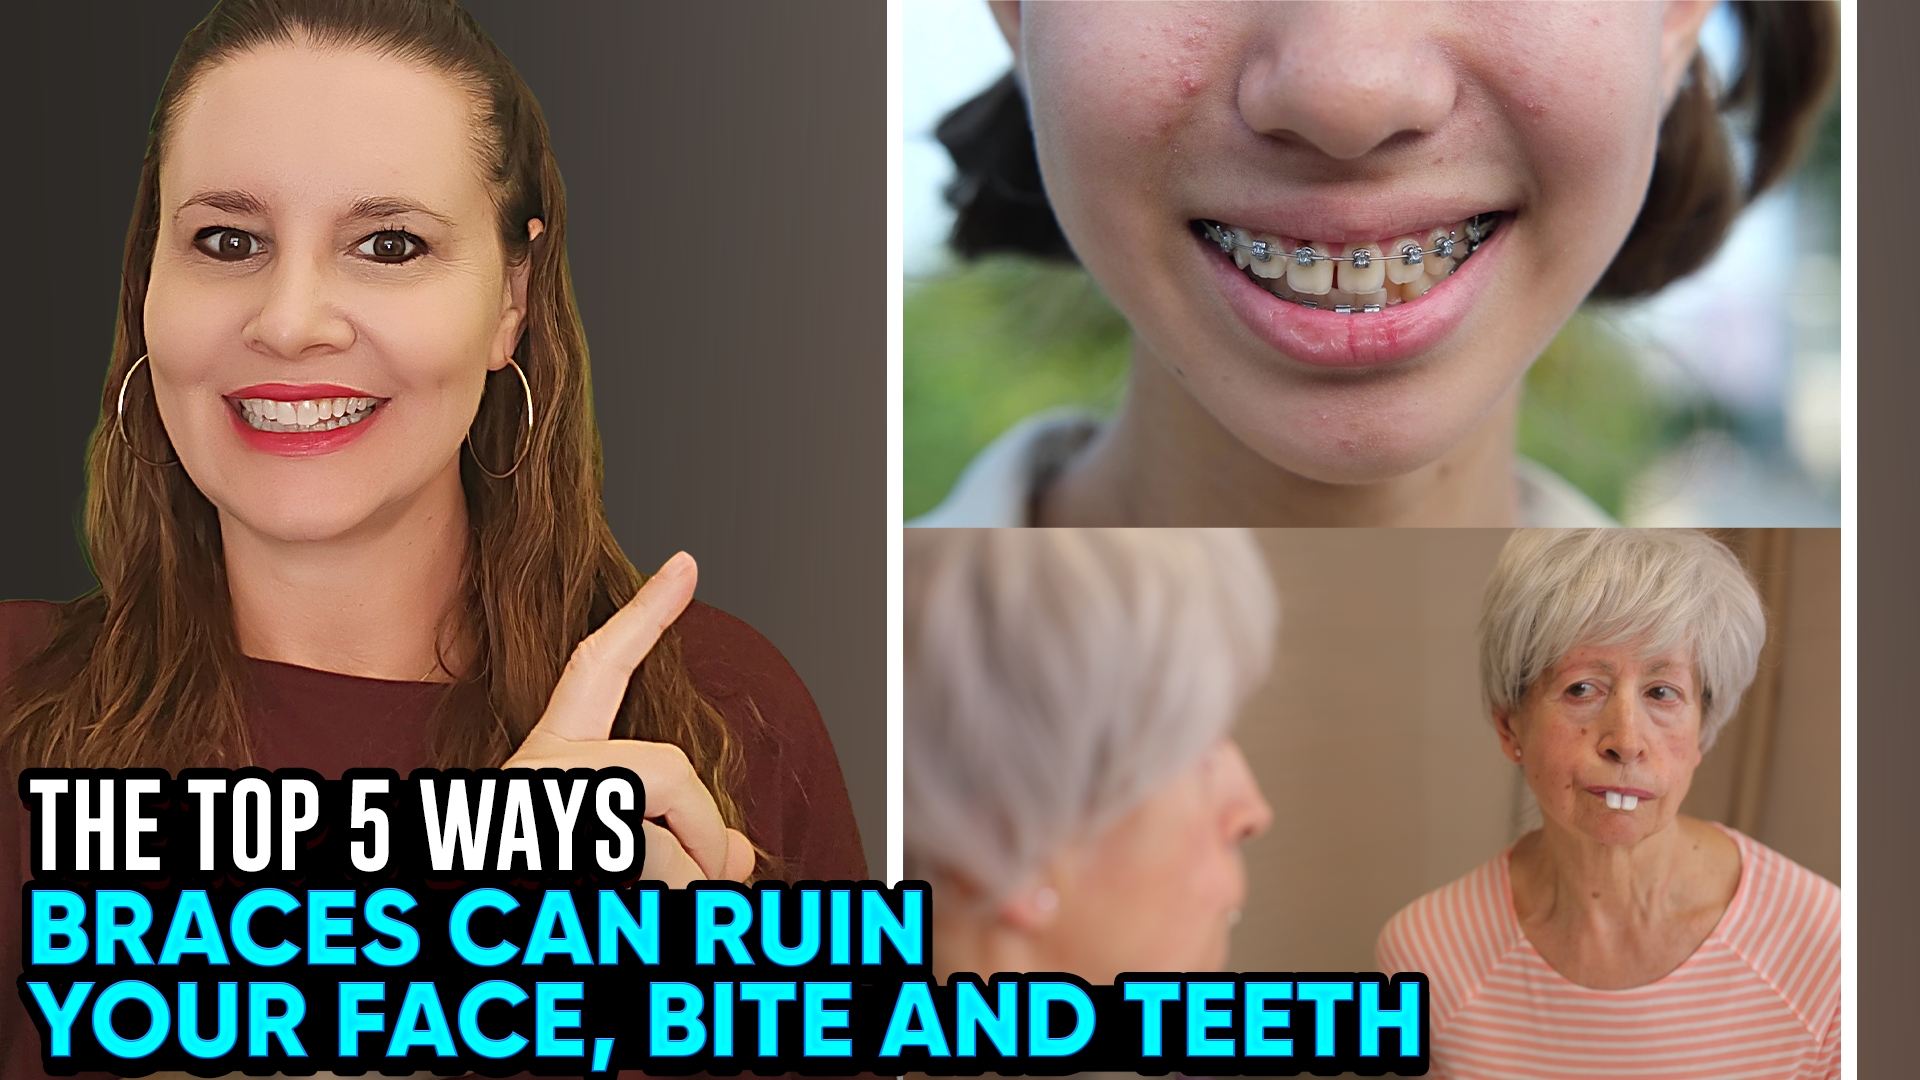
The Top 5 Ways Braces Can Ruin Faces and Teeth
I. Introduction
- Dr. Amanda from StraightSmile Solutions warns that orthodontic treatment done poorly can damage more than just teeth; it can ruin facial aesthetics, function, and long-term health.
- The problem arises when treatment is approached as a puzzle of moving teeth without considering the whole patient: airway, tongue posture, swallowing, and facial growth.
- Patients should ask their orthodontist how treatment will change their face, lips, breathing, and swallowing, and expect specific answers.
II. Facial Disharmony from Over-Retraction
- One of the most common problems: teeth pushed too far back, leaving insufficient space for the tongue.
- Results: flattened or “dished in” facial profile, difficulty swallowing, eating, and speaking.
- Teeth may look straight, but function suffers from a failure of holistic treatment planning.
III. Braces Left on Too Long
- Extended treatment times often stem from poor compliance or inefficient mechanics.
- When a case stalls for more than 2-3 months, braces should be removed—even if not finished.
- Doctors need compliance contracts with parents; continuing treatment without progress increases risks of root resorption, decay, and burnout.
IV. Increased Root Damage, Bone Loss, and Decay in Older Patients
- Treating teenagers with braces means working with denser bone, higher breakage rates, and busier schedules.
- Longer treatment windows increase risks: root resorption, bone damage, cavities, and poor oral hygiene.
- Patients often miss appointments and fail to communicate issues, leading to complications.
V. Pain, Discomfort, and Compliance Challenges
- Braces involve heavy forces and “tightenings” that cause days of pain, especially for teens.
- Compliance with elastics, food restrictions, and hygiene is often poor in middle and high schoolers.
- Aligners offer lighter, more continuous forces with fewer emergency visits, but still require patient buy-in.
VI. Why Phase One Interceptive Orthodontics Is the Solution
- Treating children at ages 6-8 avoids nearly all these problems.
- Young patients are compliant, the bone is pliable, and complex movements can be accomplished easily.
- Phase One sets the stage for an “easy breezy” Phase Two, eliminating the need for lengthy, high-risk adolescent treatment.
- Doctors who avoid young patients miss the easiest, most predictable window for success.
VII. The Bottom Line
- Braces are not inherently bad, but the timing, mechanics, and patient selection matter enormously.
- When treatment ignores airway, facial balance, and developmental timing, the results can be devastating.
- Ask the hard questions upfront. Choose Phase One when possible. And never treat a case as just a puzzle of teeth.
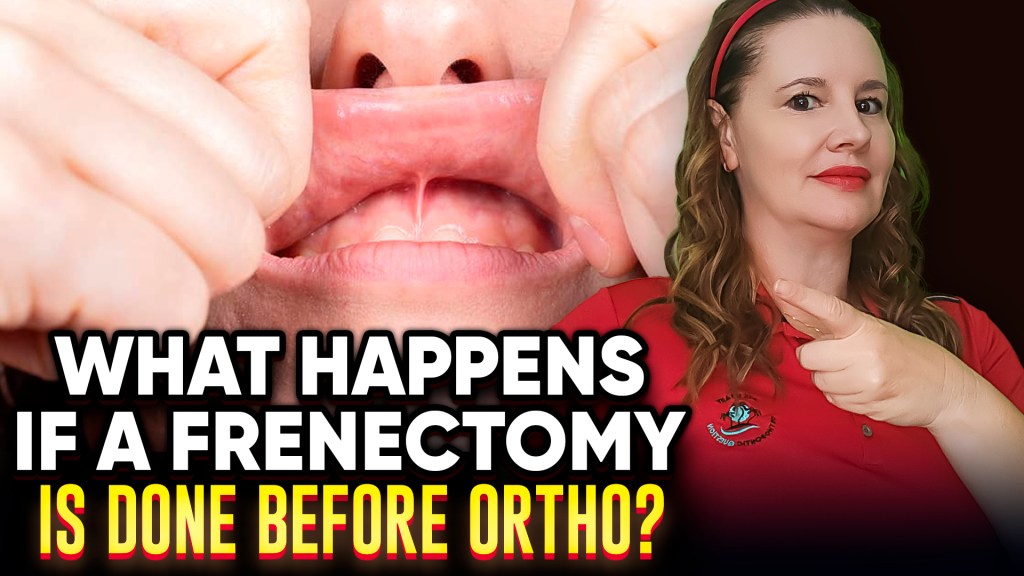
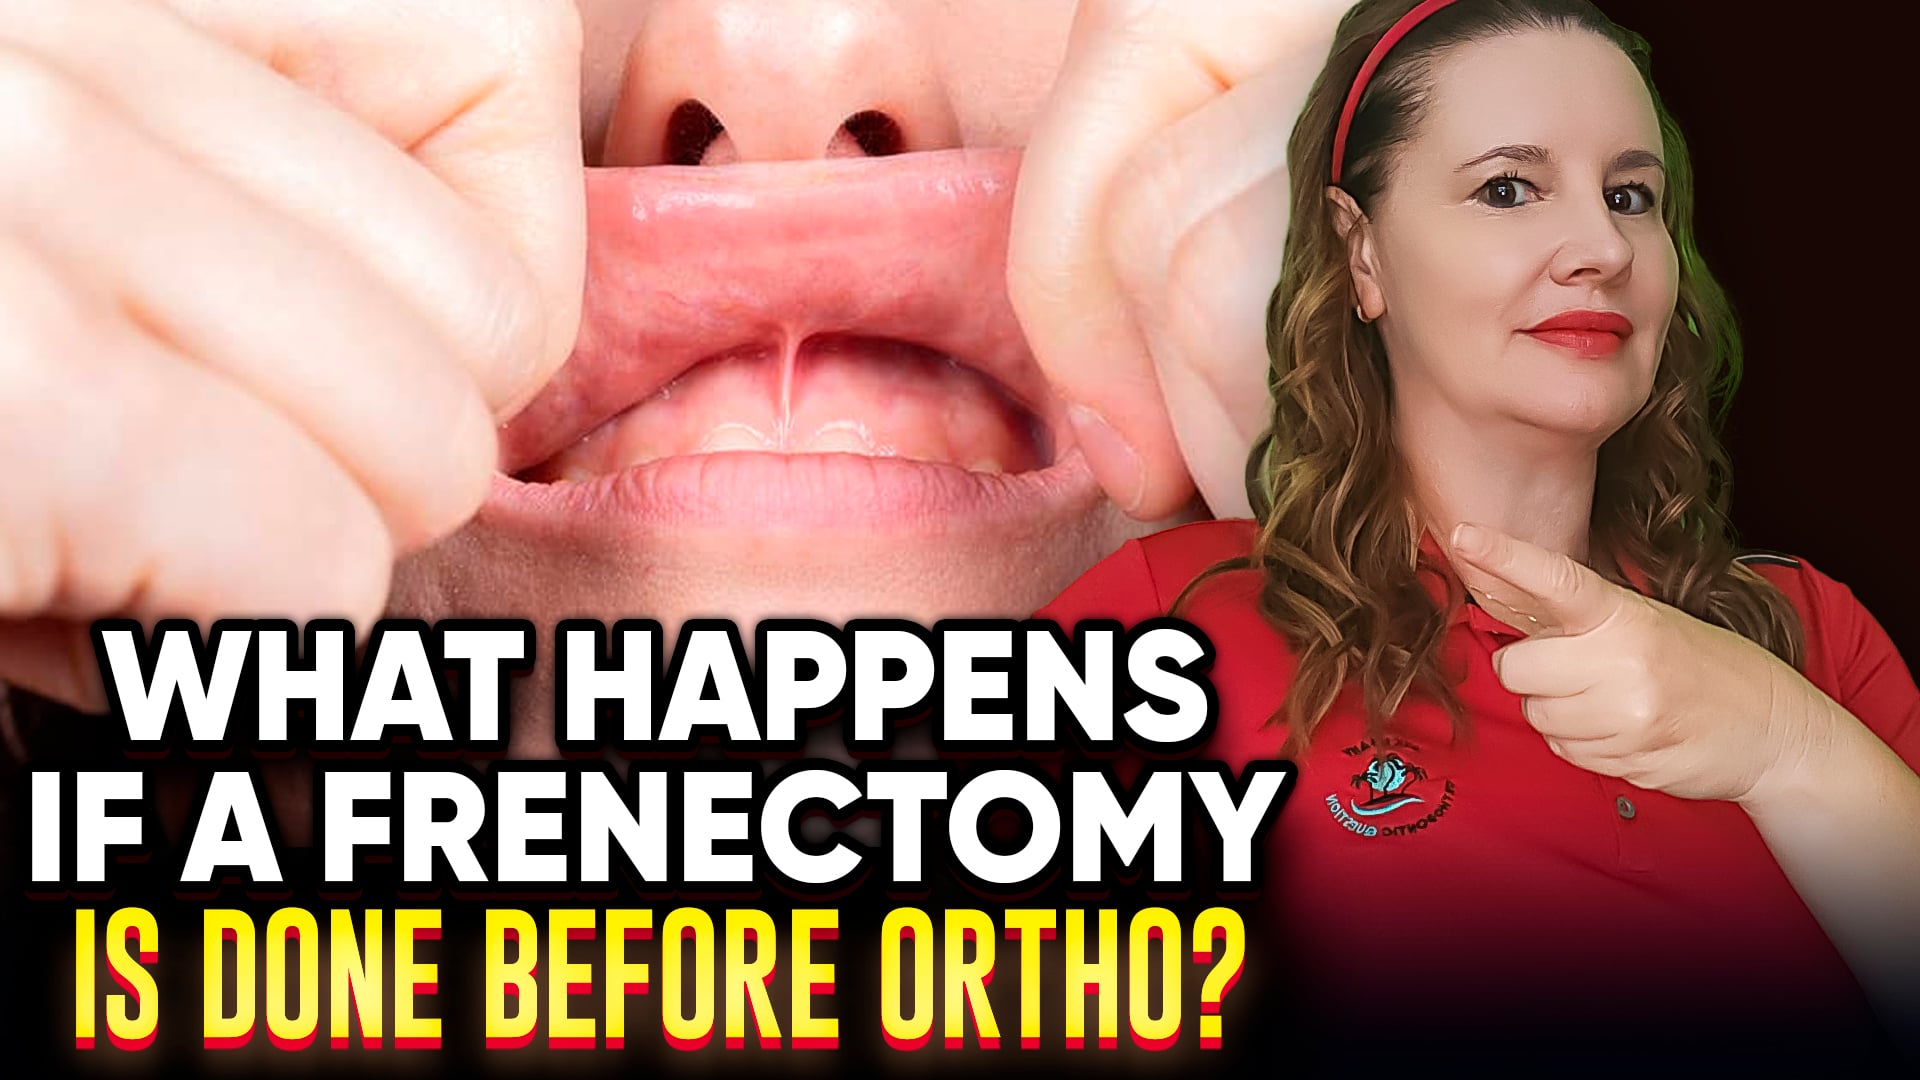
What Happens If a Maxillary Labial Frenectomy Is Done BEFORE Ortho in Braces and Invisalign?
What Happens If a Maxillary Labial Frenectomy Is Done BEFORE Ortho in Braces and Invisalign?
I. Introduction
- Dr. Amanda from StraightSmile Solutions tackles a surprisingly common scenario: patients who get a frenectomy before orthodontic space closure.
- Her firm stance: Frenectomies belong at the END of ortho once the space is fully closed.
- Doing it early creates scar tissue that can prevent the space from ever closing properly.
II. The Standard Protocol
- Frenectomy before ortho is not standard of care.
- The scar tissue that forms can act as a physical barrier, preventing the central incisors from moving together.
- When the procedure is done after space closure, the scar tissue forms in a space that’s already closed, with no interference.
III. Why Some Patients Do It Early
- Occasionally, a patient gets excited after the consult and goes off to have it done without a referral.
- Sometimes, a well-meaning oral surgeon or periodontist does it without checking with the orthodontist.
- Dr. Amanda has seen this happen multiple times despite it being “wacky” and outside standard protocol.
IV. The Scar Tissue Problem
- Laser frenectomies generally heal cleanly and cause minimal issues.
- Scalpel frenectomies often create thick, fibrous, keloid-like scar tissue.
- Moving teeth through that fibrous tissue is unpredictable.
- In one case, the scarring was so botched that space closure became impossible without revision.
V. Protecting Yourself: The Consent Add-On
- Dr. Amanda recommends a simple one-page supplemental consent for any patient with a pre-existing or pre-ortho frenectomy.
- Language should include:
- Space closure may not be fully possible.
- Additional surgical revision may be needed.
- Restorative fees may be required to close the space.
- These are patient expenses not covered by insurance or the orthodontic fee.
- Document it before starting treatment.
VI. The Bottom Line
- Frenectomy before ortho creates risk. Frenectomy after ortho avoids it.
- If a patient comes to you with an existing frenectomy (or had one done early), don’t automatically decline the case.
- Do add a supplemental consent. Manage expectations upfront.
- And if the space won’t close? You’re protected. The patient was warned. The fees are theirs.
Retreatment and Relapse: Why You Should Take Vivara and Essix Retention Photos at Delivery
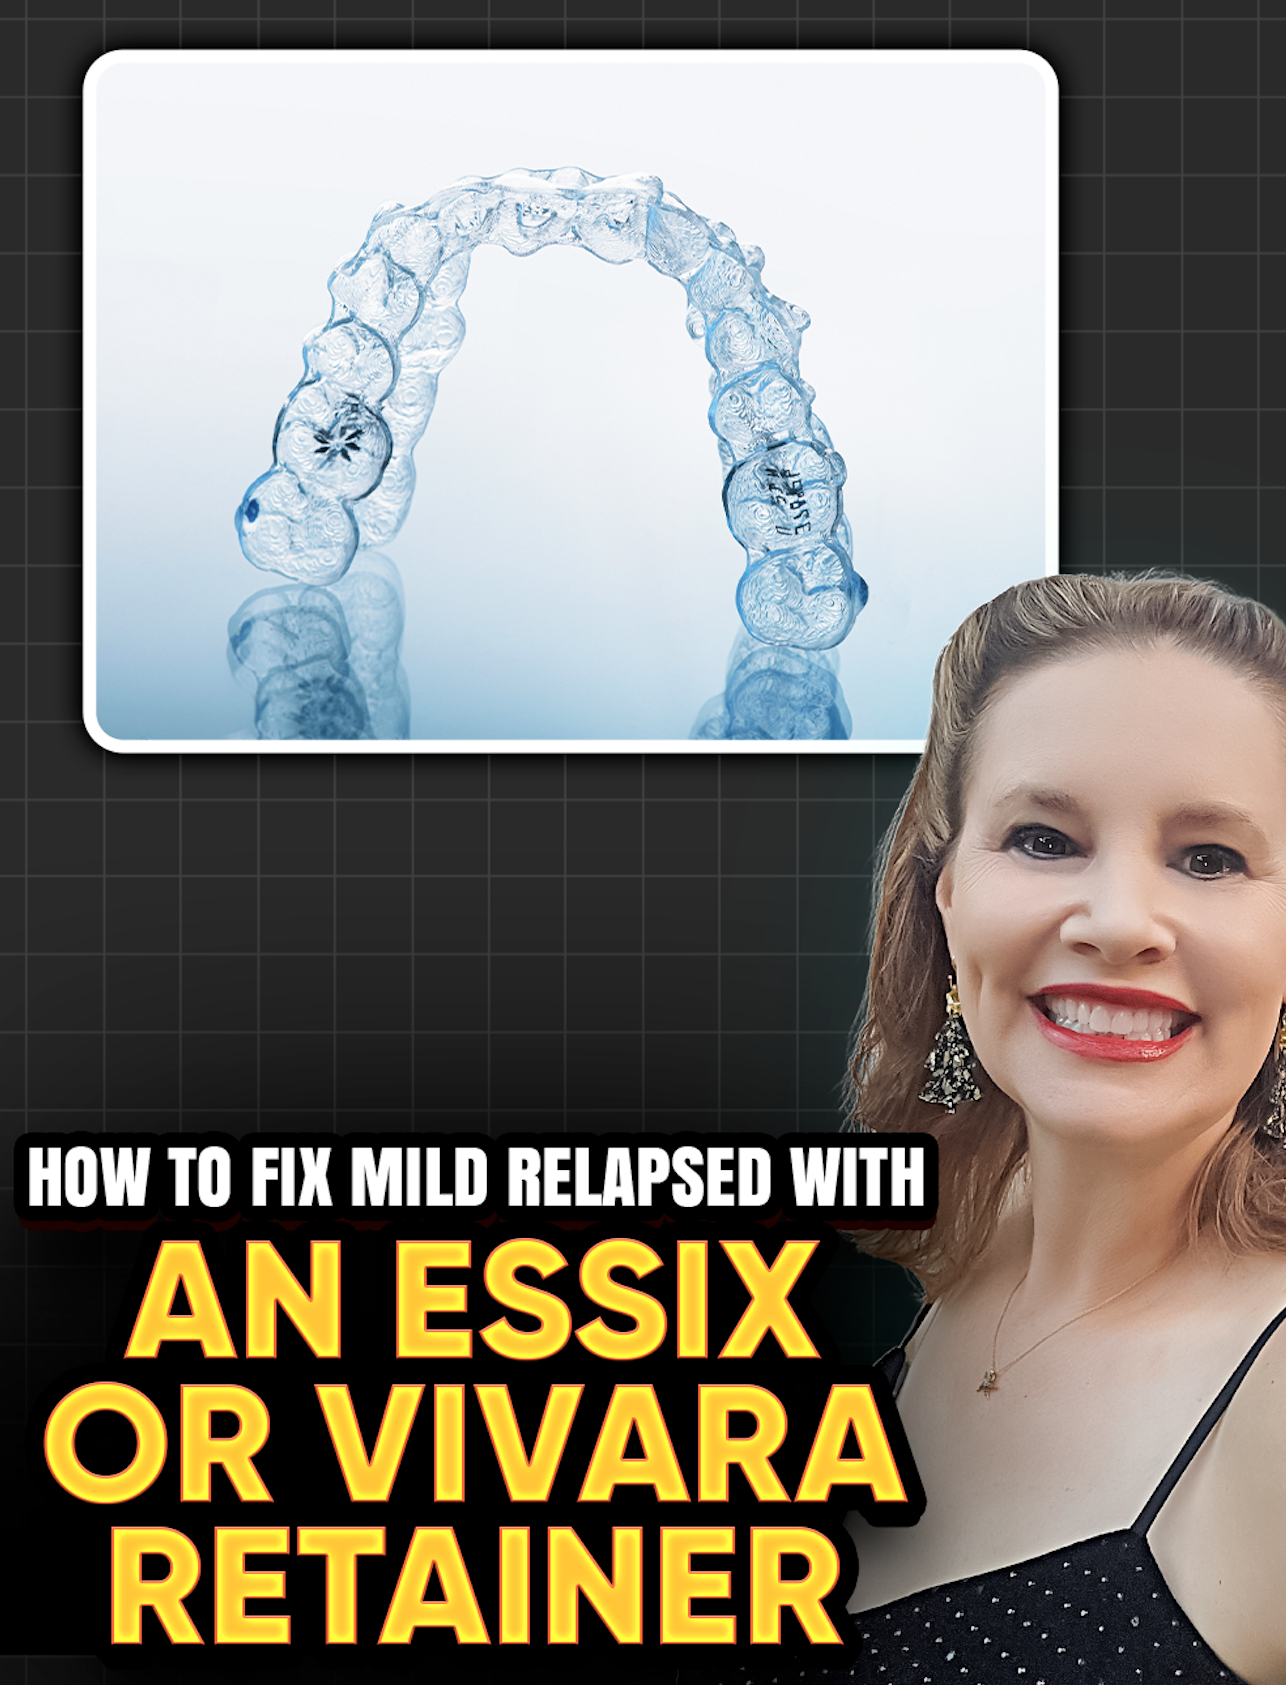 Retreatment and Relapse: Why You Should Take Vivara and Essix Retention Photos at Delivery
I. Introduction
Dr. Amanda from StraightSmile Solutions dives deep into retention and aftercare, the area where many GPs and pediatric dentists fall short.
Without a solid plan, you’re setting yourself up for relapse, finger-pointing, and free retreatments.
The solution? Documentation, clear contracts, and one critical photo.
II. The Retention Landscape Has Changed
Gone are the days of Hawley-only retention (though Hawleys have their place—they last decades).
Today, patients demand clear retainers (Essix, Vivara). But clear retainers wear out. Fast.
You cannot send a patient home with one set and call it done. They need multiple sets.
III. Why Multiple Sets Are Non-Negotiable
Clear retainers wear out, stain, crack, and break, especially with full-time wear, in the first 3-6 months.
Vivara comes in sets of FOUR for a reason. That’s at least enough to get through the first few years.
If you’re using a lab, buy bundles. If you’re making in-house, you’d better have top-tier equipment.
Bottom line: One set = relapse. Multiple sets = covered.
IV. The Photo That Saves You
At delivery, after placing the retainers, take HIGH-RESOLUTION PHOTOS WITH THE RETAINERS IN.
Front, left, right, with retractors showing the retainers fully seated on every tooth.
Why? Because when a patient returns with relapse and claims “my retainers never fit,” you have proof they did.
Without these photos? He said, she said. You lose. Dental board? You lose. Free retreatment? You lose.
V. The Contract Framework
Before treatment starts, patients need to know:
How many retainers are included
What full-time wear means (3-6 months minimum)
How weaning to nights works (gradual, patient-dependent)
Fees for lost/broken retainers
Discounted retreatment fees within the first year
Optional membership programs for ongoing coverage
Have them sign it. Both parent and patient (if minor).
VI. Handling Relapse When It Happens
Step 1: Ask honestly. “Have you been wearing them full-time?” Most patients admit the truth.
Step 2: If they admit non-compliance → discounted retreatment (per contract).
Step 3: If they claim full compliance → have them insert retainers. Compare to the delivery photos.
Step 4: If retainers don’t seat fully → prescribe a fresh set + chewies/OrthoMunches full time for 3-4 weeks.
Step 5: Mild cases often self-correct. Moderate cases may need re-treatment (discounted, per contract).
VII. The Membership Model
Consider an annual retainer membership ($50-80/year) for unlimited or discounted replacements.
Auto-bill yearly. Patients love the peace of mind. You love the recurring revenue.
Most patients won’t use it. Those who do are covered. Everyone wins.
VIII. The Bottom Line
Retention is not an afterthought; it’s part of treatment.
Document everything. Photograph everything. Contract everything.
One photo at delivery can save you thousands in free retreatments and angry Yelp reviews.
Clear retainers are great. But they require clear expectations, clear communication, and crystal-clear photos.
Retreatment and Relapse: Why You Should Take Vivara and Essix Retention Photos at Delivery
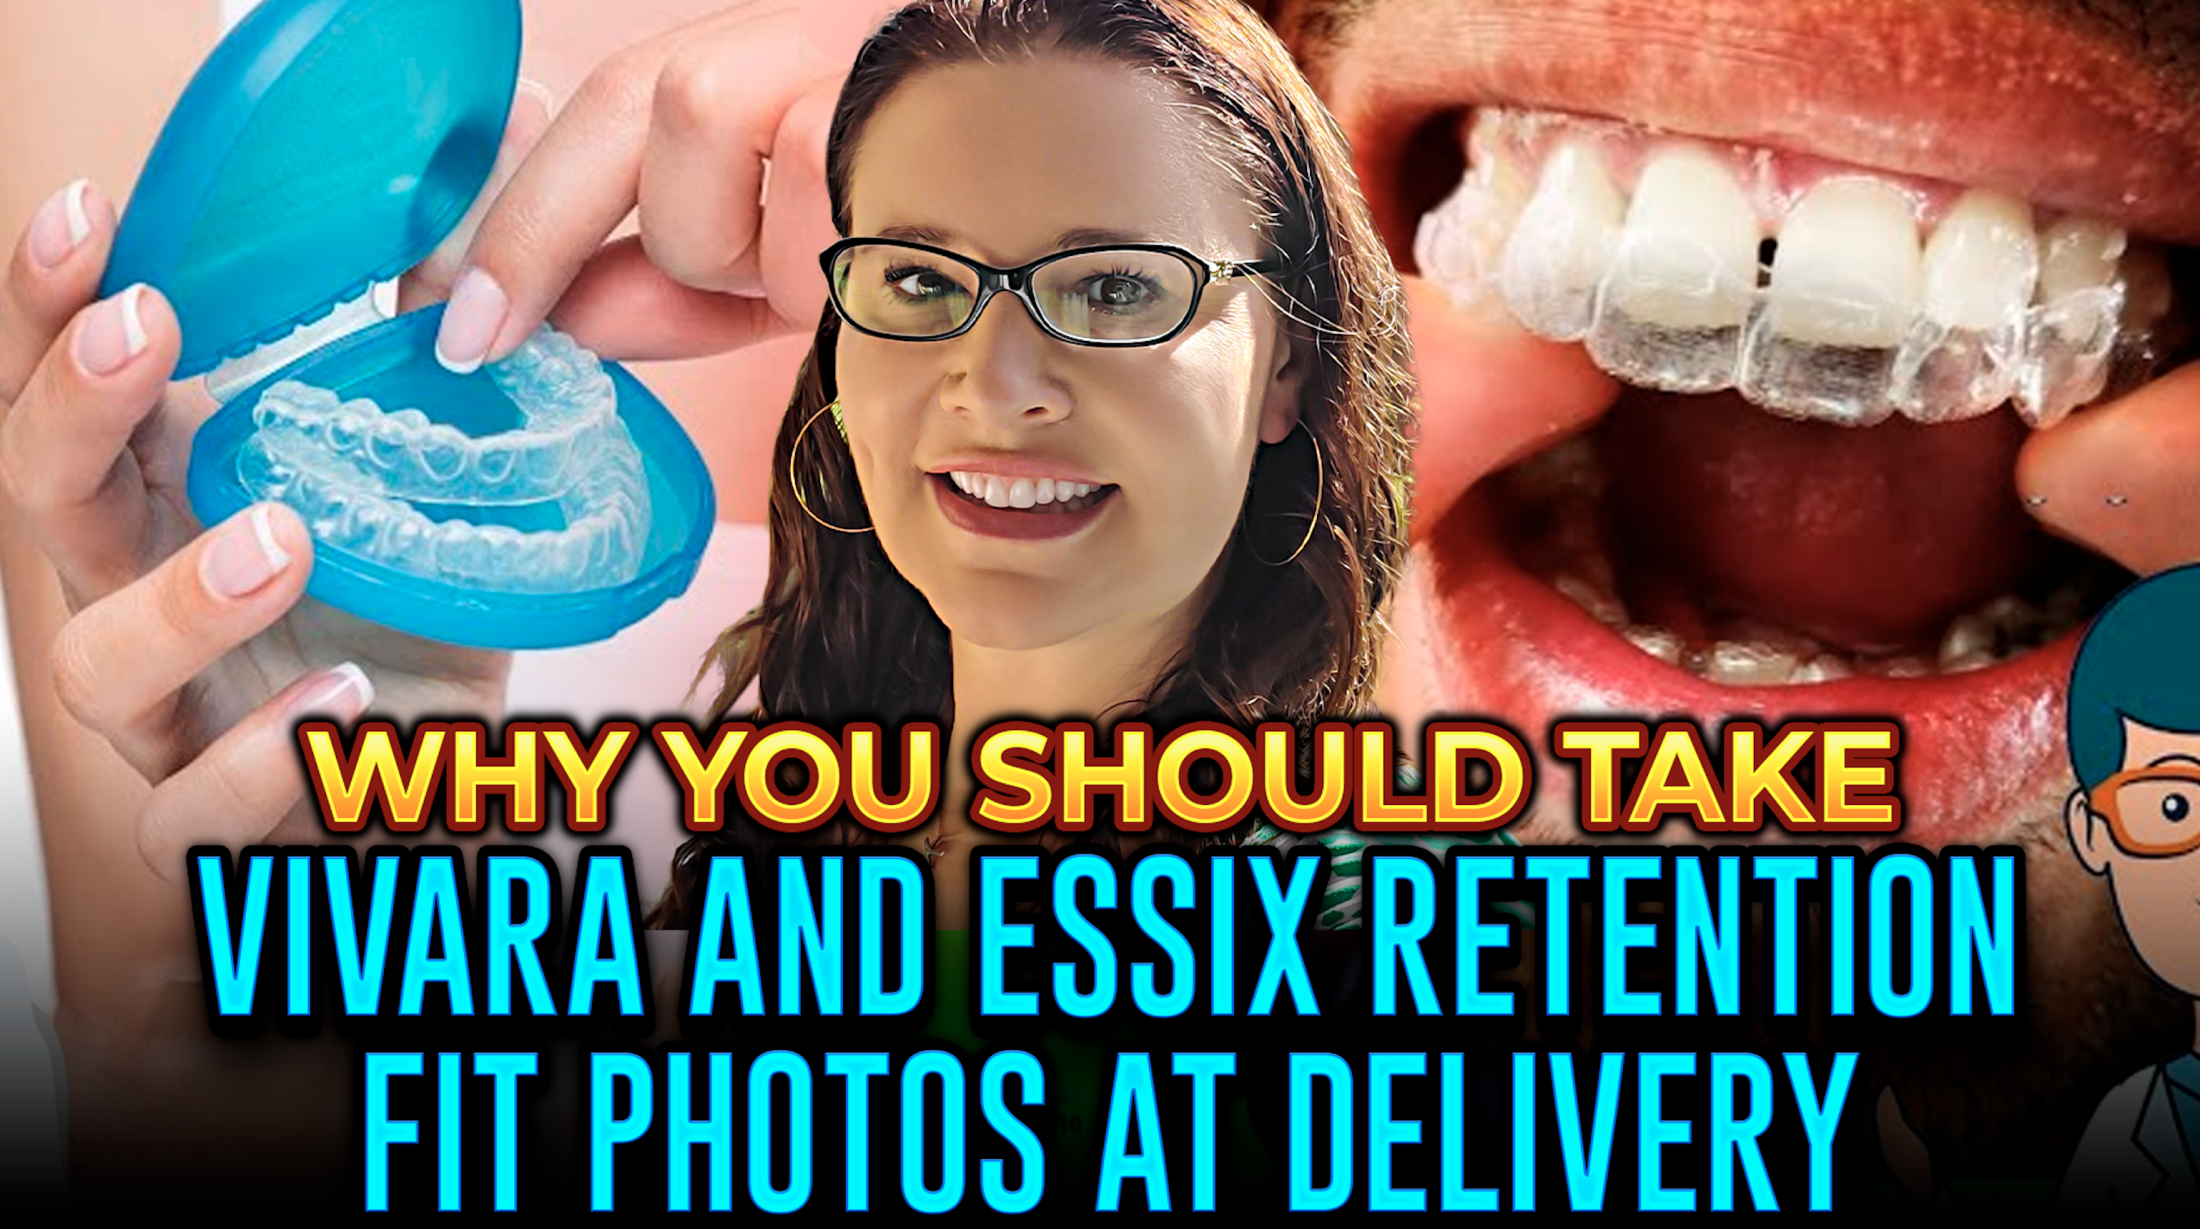 Retreatment and Relapse: Why You Should Take Vivara and Essix Retention Photos at Delivery
I. Introduction
Dr. Amanda from StraightSmile Solutions dives deep into retention and aftercare, the area where many GPs and pediatric dentists fall short.
Without a solid plan, you’re setting yourself up for relapse, finger-pointing, and free retreatments.
The solution? Documentation, clear contracts, and one critical photo.
II. The Retention Landscape Has Changed
Gone are the days of Hawley-only retention (though Hawleys have their place—they last decades).
Today, patients demand clear retainers (Essix, Vivara). But clear retainers wear out. Fast.
You cannot send a patient home with one set and call it done. They need multiple sets.
III. Why Multiple Sets Are Non-Negotiable
Clear retainers wear out, stain, crack, and break, especially with full-time wear, in the first 3-6 months.
Vivara comes in sets of FOUR for a reason. That’s at least enough to get through the first few years.
If you’re using a lab, buy bundles. If you’re making in-house, you’d better have top-tier equipment.
Bottom line: One set = relapse. Multiple sets = covered.
IV. The Photo That Saves You
At delivery, after placing the retainers, take HIGH-RESOLUTION PHOTOS WITH THE RETAINERS IN.
Front, left, right, with retractors showing the retainers fully seated on every tooth.
Why? Because when a patient returns with relapse and claims “my retainers never fit,” you have proof they did.
Without these photos? He said, she said. You lose. Dental board? You lose. Free retreatment? You lose.
V. The Contract Framework
Before treatment starts, patients need to know:
How many retainers are included
What full-time wear means (3-6 months minimum)
How weaning to nights works (gradual, patient-dependent)
Fees for lost/broken retainers
Discounted retreatment fees within the first year
Optional membership programs for ongoing coverage
Have them sign it. Both parent and patient (if minor).
VI. Handling Relapse When It Happens
Step 1: Ask honestly. “Have you been wearing them full-time?” Most patients admit the truth.
Step 2: If they admit non-compliance → discounted retreatment (per contract).
Step 3: If they claim full compliance → have them insert retainers. Compare to the delivery photos.
Step 4: If retainers don’t seat fully → prescribe a fresh set + chewies/OrthoMunches full time for 3-4 weeks.
Step 5: Mild cases often self-correct. Moderate cases may need re-treatment (discounted, per contract).
VII. The Membership Model
Consider an annual retainer membership ($50-80/year) for unlimited or discounted replacements.
Auto-bill yearly. Patients love the peace of mind. You love the recurring revenue.
Most patients won’t use it. Those who do are covered. Everyone wins.
VIII. The Bottom Line
Retention is not an afterthought; it’s part of treatment.
Document everything. Photograph everything. Contract everything.
One photo at delivery can save you thousands in free retreatments and angry Yelp reviews.
Clear retainers are great. But they require clear expectations, clear communication, and crystal-clear photos.
Which Anterior Open Bite Is a TRICK? (Will Relapse) And which is a POTENTIAL TREAT? (Will Stay Nice)
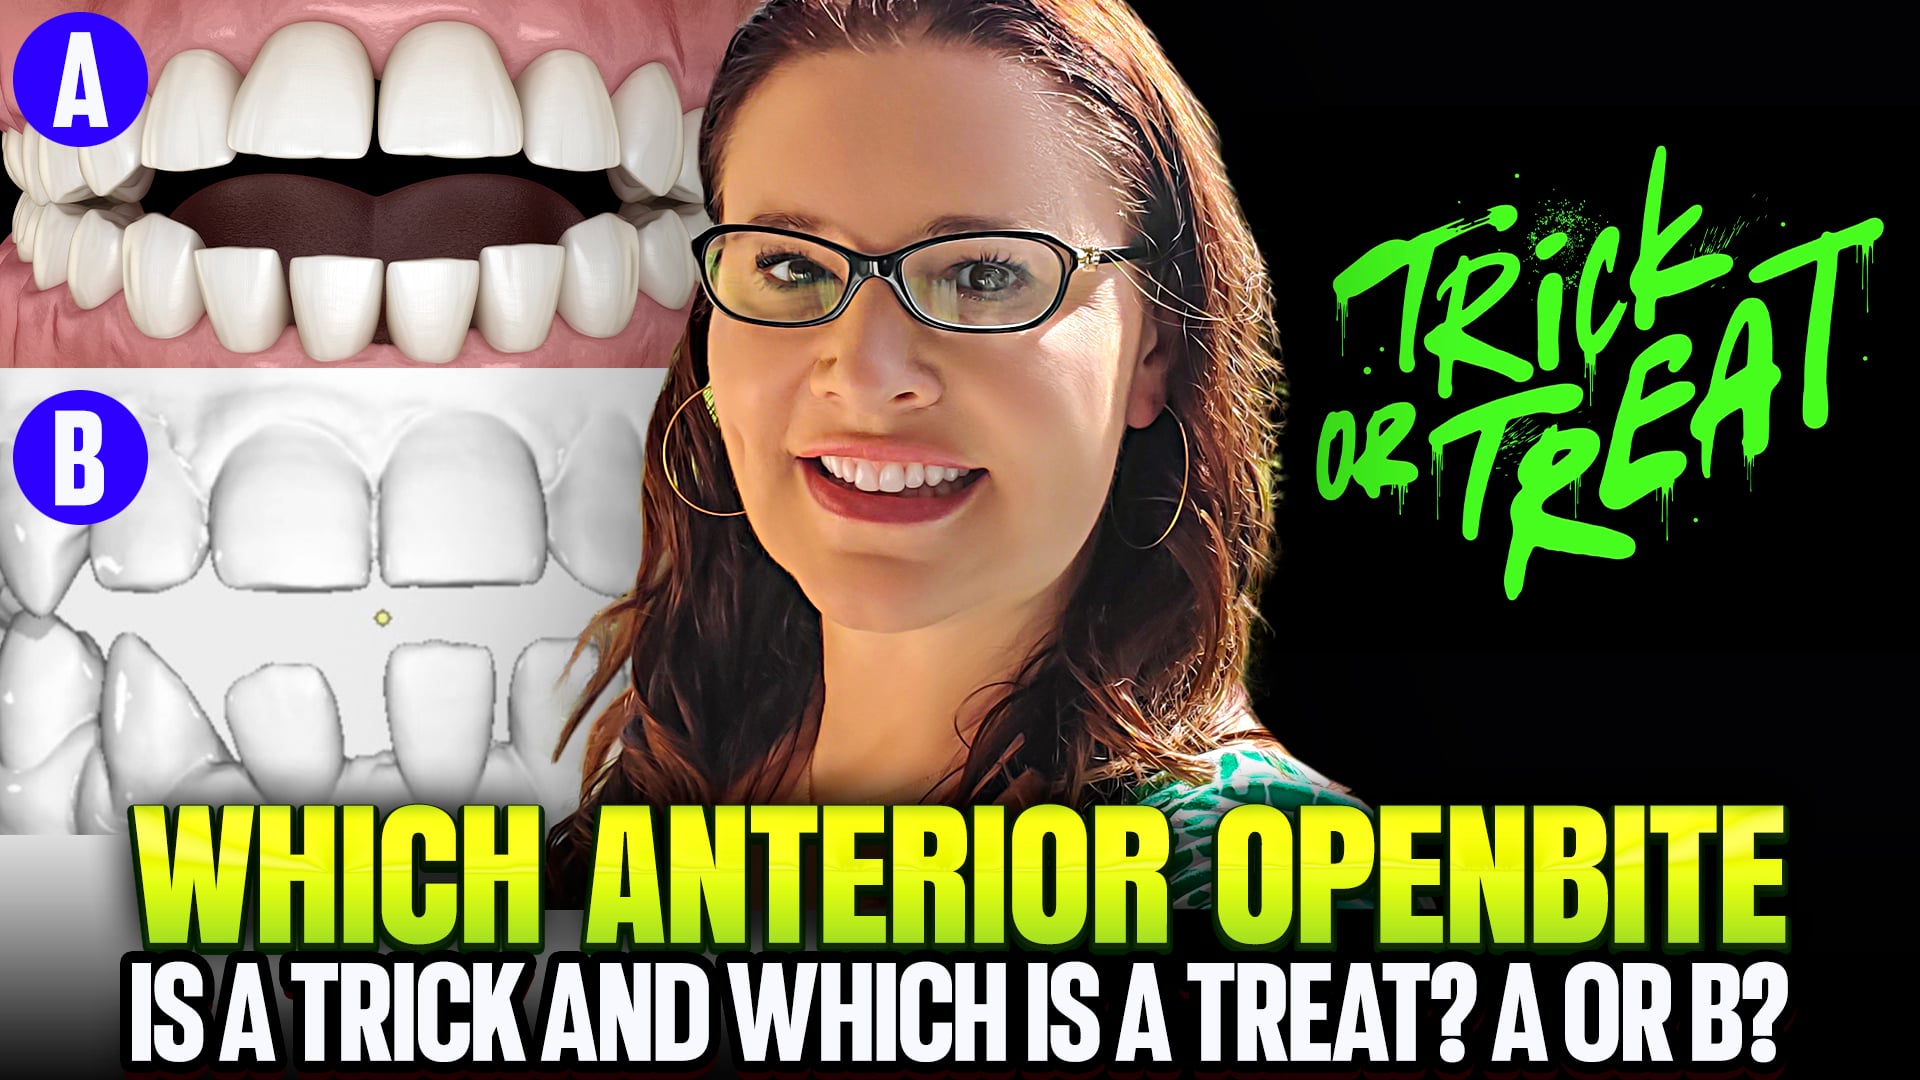 Which Anterior Open Bite Is a TRICK? (Will Relapse) And which is a POTENTIAL TREAT? (Will Stay Nice)
I. Introduction
Dr. Amanda from StraightSmile Solutions presents a “trick or treat” diagnostic challenge.
Two anterior open bite cases with the same SNA, SNB, and incisor position, same patient, just different front teeth.
One is a trick (guaranteed to relapse). One might be a treat (potentially stable).
Which is which?
II. The Setup
Both cases: 10mm interarch distance, identical cephalometrics.
Key difference: One is a SPACING case. One is a CROWDING case.
That changes everything.
III. The Mechanics of Open Bites
When you close spaces, teeth retract. Retraction closes open bites naturally.
When you resolve crowding, teeth flare. Flaring opens bites further.
Spacing case = treat (potentially). Crowding case = trick (definitely).
IV. Why the Crowding Case Is a Trick
Fixing crowding will flare incisors and make the open bite worse.
Even if you somehow close it mechanically, the underlying cause remains.
If the original habit or myofunctional issue is still active, it will pop back open.
Bonded retainers, Essix, Hawley, doesn’t matter. It will relapse.
Patient will be pissed. You’ll be giving a refund at best.
V. Why the Spacing Case Might Be a Treat
Closing spaces retracts teeth, which helps close the bite.
Mechanics work WITH you instead of against you.
But, and this is critical, only if the underlying cause is GONE.
VI. The Real Issue: Open Bites Don’t Just Happen
95% of dentists rely on patient history: “They said they stopped thumb sucking.”
Patient said it doesn’t work. Not objective. Not evidence. Not defensible.
Will that stand up in court? No. Dental board? No.
You need objective screening. In-house myo assessment. Referral to a myofunctional therapist if needed.
VII. The OMT Requirement
Before touching an AOB case, get clearance from a myofunctional therapist.
Therapy takes 6-18 months; it’s watching grass grow.
May involve surgery, periodontics, cervical chiropractor. Rarely covered by insurance.
Dr. Amanda spent $10-15K on her own OMT journey. Worth every penny.
Her speech, breathing, face, and health all improved afterward.
VIII. The Bottom Line
Don’t take AOB cases. Seriously. Just don’t.
If you must, the spacing case is your only shot and only with OMT clearance.
The crowding case? A trap. A trick. A lawsuit waiting to happen.
Document everything. Get specialists involved. And know that even then, relapse is common.
Some things are better referred to. Anterior open bites are one of them.
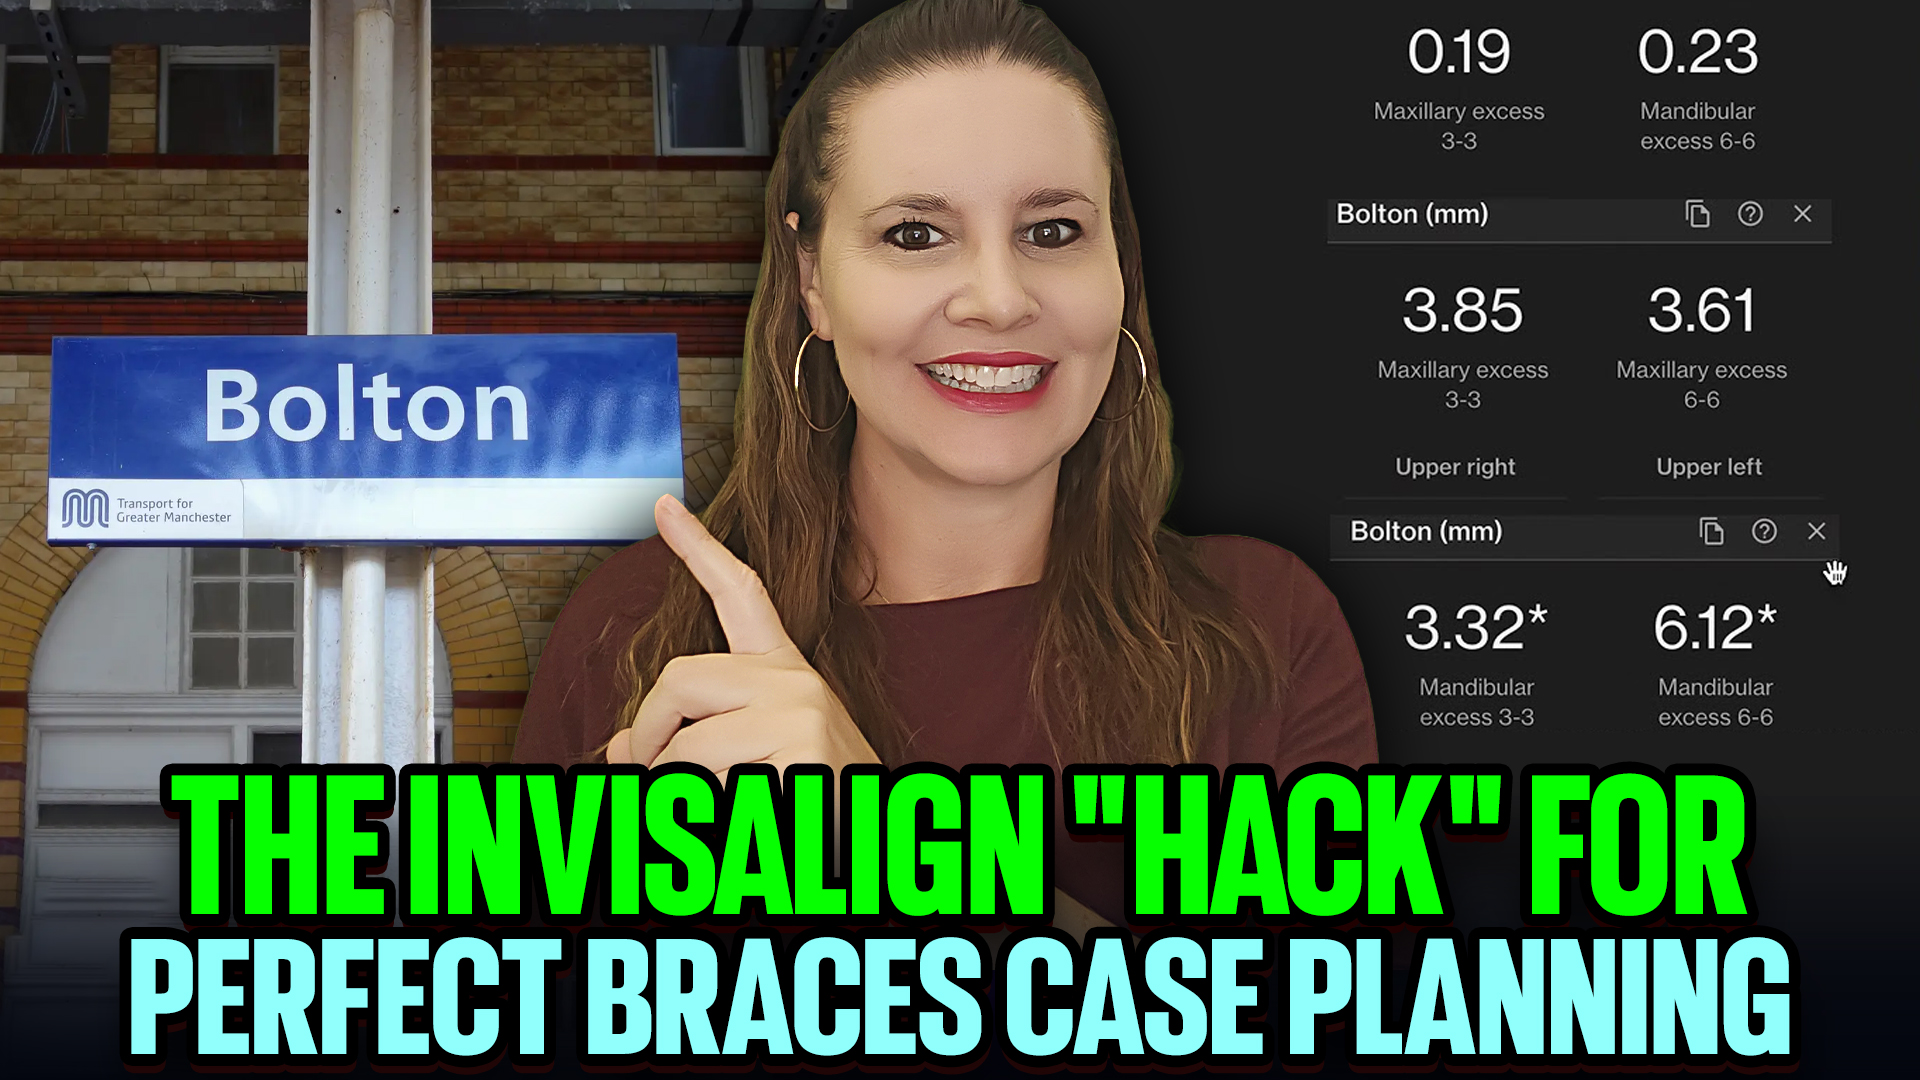
Using Invisalign’s Bolton Tab to Know if You Need IPR on That Braces Case (Try to Transfer Too!)
I. Introduction
- Dr. Amanda from StraightSmile Solutions highlights one of Invisalign’s most underutilized features: the Bolton tab.
- As far as she knows, no other aligner company offers this.
- It’s a game-changer for diagnosing tooth size discrepancies even if you’re treating with braces.
II. Finding the Feature
- On a desktop: top tabs, toward the right.
- On iPad or smaller screens: hidden under sub-tabs. Find it.
- Only works if the patient has all teeth 7-to-7, no missing teeth, no baby teeth, and no incomplete impressions.
III. The Numbers: 3-to-3 vs 6-to-6
- Ignore the 3-to-3 number. It’s for anterior-only treatment (six-month smiles style).
- Dr. Amanda doesn’t recommend anterior-only treatment because the results never look good.
- Focus on the 6-to-6 number. Molar to molar. That’s the real story.
IV. Maxillary Excess vs Mandibular Excess
- Maxillary excess: The top teeth are slightly bigger than they should be.
- Result: Slight overjet. Canines stay Class I.
- Option: Add upper IPR if the patient dislikes the overjet. Optional.
- Mandibular excess: Bottom teeth are slightly bigger.
- Result: Anterior collisions, edge-to-edge occlusion, and fremitus risk.
- Action: Lower IPR is usually required. Not optional.
V. Treatment Thresholds
- 0.2-0.3mm mandibular excess? Probably fine. Light occlusion, no big deal.
- 1mm? Might offer IPR as an option.
- 2-3mm? The patient will almost always choose IPR; it’s easy, fast, and fixes the bite.
- 4mm+? Now we have a problem.
VI. Severe Bolton Discrepancies
- 6mm mandibular excess? Can’t IPR that much.
- Hours in the chair. Tooth sensitivity. Enamel loss. Unpredictable.
- Options:
- Veneers on 7-10 (or 7-10)
- Extract a lower incisor
- The magic number: Beyond 3-4mm, IPR isn’t the answer.
VII. A Critical Check: Verifying the Clincheck
- Sometimes Invisalign screws up.
- Example: 3.6mm maxillary excess, but Clincheck adds lower IPR.
- Makes zero sense in a Class I patient.
- Bolton tab catches these errors. You can push back and get it fixed.
- Never fully trust a computer. Understand the why.
VIII. The Bottom Line
- Use the Bolton tab on every Class I case.
- It tells you if IPR is needed and where it’s needed.
- Transfer that knowledge to your brace’s cases too.
- Train your eyes over time, but until then, let the software guide you.
- And always double-check. Computers make mistakes. You’re the doctor.
Fixing Retainer Relapse with Vivara or Essix
I. Introduction
- Dr. Amanda from StraightSmile Solutions addresses a common post-treatment headache: mild retainer relapse.
- The fix exists, but only if you have the right systems, documentation, and retainers in place.
- This isn’t about re-treatment. It’s about smart recovery.
II. The Prerequisite: A Real Retainer Plan
- Don’t just remove attachments, hand over retainers, and say bye-bye.
- You need: a contract, a warranty, an aftercare program, and clear expectations.
- Vivara (Align Technology) comes in sets of FOUR for a reason: retainers wear out.
- Hawley retainers last decades but don’t prevent vertical relapse. Bonded retainers only cover front teeth. Everything’s a trade-off.
III. When This Works
- Mild relapse only. Not a major movement.
- Patient didn’t lose their retainers; they didn’t wear them for a few weeks.
- You have a BRAND NEW, unused retainer from their set.
- Or you have access to their stored STL file for 3D printing a new one.
IV. When This Doesn’t Work
- Retainers are worn out, distorted, or years old.
- Patient lost all four retainers with no backup.
- Relapse is moderate to severe; jamming a retainer on could devitalize teeth.
- No final records with retainers in place to prove original fit.
V. The Documentation Rule
- Always take final records WITH RETAINERS IN.
- Photos showing retainers fitting perfectly at delivery.
- Signed document from patient: “I received my retainers. They fit. No concerns.”
- Without this? He said, she said. You’re receiving it for free.
VI. The Fix Protocol
- Patient comes in. You assess: mild relapse, retainers fit before.
- Use a fresh Vivara or Essix from their set (or 3D printed from stored STL).
- Patient wears it FULL TIME for 2-3 months.
- Use chewies to seat it fully.
- Monitor. Usually, teeth track back into place. No new lab fee. No re-treatment.
VII. Who Pays?
- If retainers fit at delivery and suddenly don’t fit later? That’s on the patient—they stopped wearing them.
- If retainers never fit properly? That’s either a manufacturing issue or poor documentation.
- Spell this out in your contract upfront. Crystal clear expectations prevent complaints.
VIII. The Bottom Line
- Mild relapse happens. It’s not a crisis if you’re prepared.
- Store STL files. Take retainer-fit photos. Have a contract.
- Use fresh retainers and full-time wear to correct minor movement.
- And remember: The best relapse fix is the one you never need because your aftercare plan was solid from day one.


Turn Retention into Revenue: Reorder Vivera from Archived Invisalign STL Files
Turn Retention into Revenue: Reorder Vivera from Archived Invisalign STL Files
Introduction
In this discussion, Dr. Amanda from Straight Smile Solutions highlights an often-overlooked opportunity in orthodontics: turning retention into a long-term, patient-centered revenue stream. Instead of treating retention as an afterthought, practices can leverage archived digital records, especially with Invisalign, to provide ongoing care while generating additional income efficiently.
Retention Is a Lifetime Commitment
- Retainers are not a one-time solution they are for life
- Patients should not be:
- Given one set and forgotten
- Discharged without a long-term retention plan
- A structured retention program ensures:
- Stability of results
- Continued patient engagement
- Recurring revenue opportunities
Using Archived STL Data for Retainers
- Practices can reorder Vivera Retainers from archived cases
- Key insight:
- Retainers can be reordered up to ~10 years after treatment
- No new scan is required (case-dependent)
- Process involves:
- Unarchiving the patient
- Initiating a new order using prior arch form data
- This allows:
- Quick turnaround
- Minimal chair time
- Remote servicing of patients
Real-World Application
- Example scenario:
- Patient relocates far away
- Virtual check confirms retainers still fit
- Patient requests replacement set after years of wear
- Instead of:
- Forcing an in-office visit
- Charging excessive fees
- The practice can:
- Provide affordable replacement retainers
- Maintain goodwill and loyalty
Monetizing Retention Aftercare
- Retention can become a consistent revenue stream through:
- Replacement retainers
- Subscription-style programs
- Periodic virtual check-ins
- Benefits include:
- Low overhead
- Minimal clinical time
- High patient satisfaction
- Even small fees above lab cost can:
- Add up significantly over time
- Create passive income opportunities
Limitations and Considerations
- Archived data may be deleted after ~10 years
- Always verify:
- Fit and stability (virtually or in-person if needed)
- Avoid:
- Blindly reordering without clinical judgment
- Consider long-term solutions:
- Cloud storage for STL files
- Maintaining digital records beyond platform limits
Operational Efficiency and Team Involvement
- This process can be delegated to trained staff
- Ideal for:
- Administrative days
- Filling schedule gaps
- Practices can:
- Incentivize team members to identify opportunities
- Reconnect with past patients for retention services
Conclusion
Dr. Amanda emphasizes that retention is not just a clinical responsibility; it is a long-term relationship and business opportunity. By leveraging archived STL data and tools like Vivera Retainers, practices can deliver convenient, cost-effective care while generating ongoing revenue. The key is shifting mindset: retention isn’t the end of treatment, it’s the beginning of lifetime care.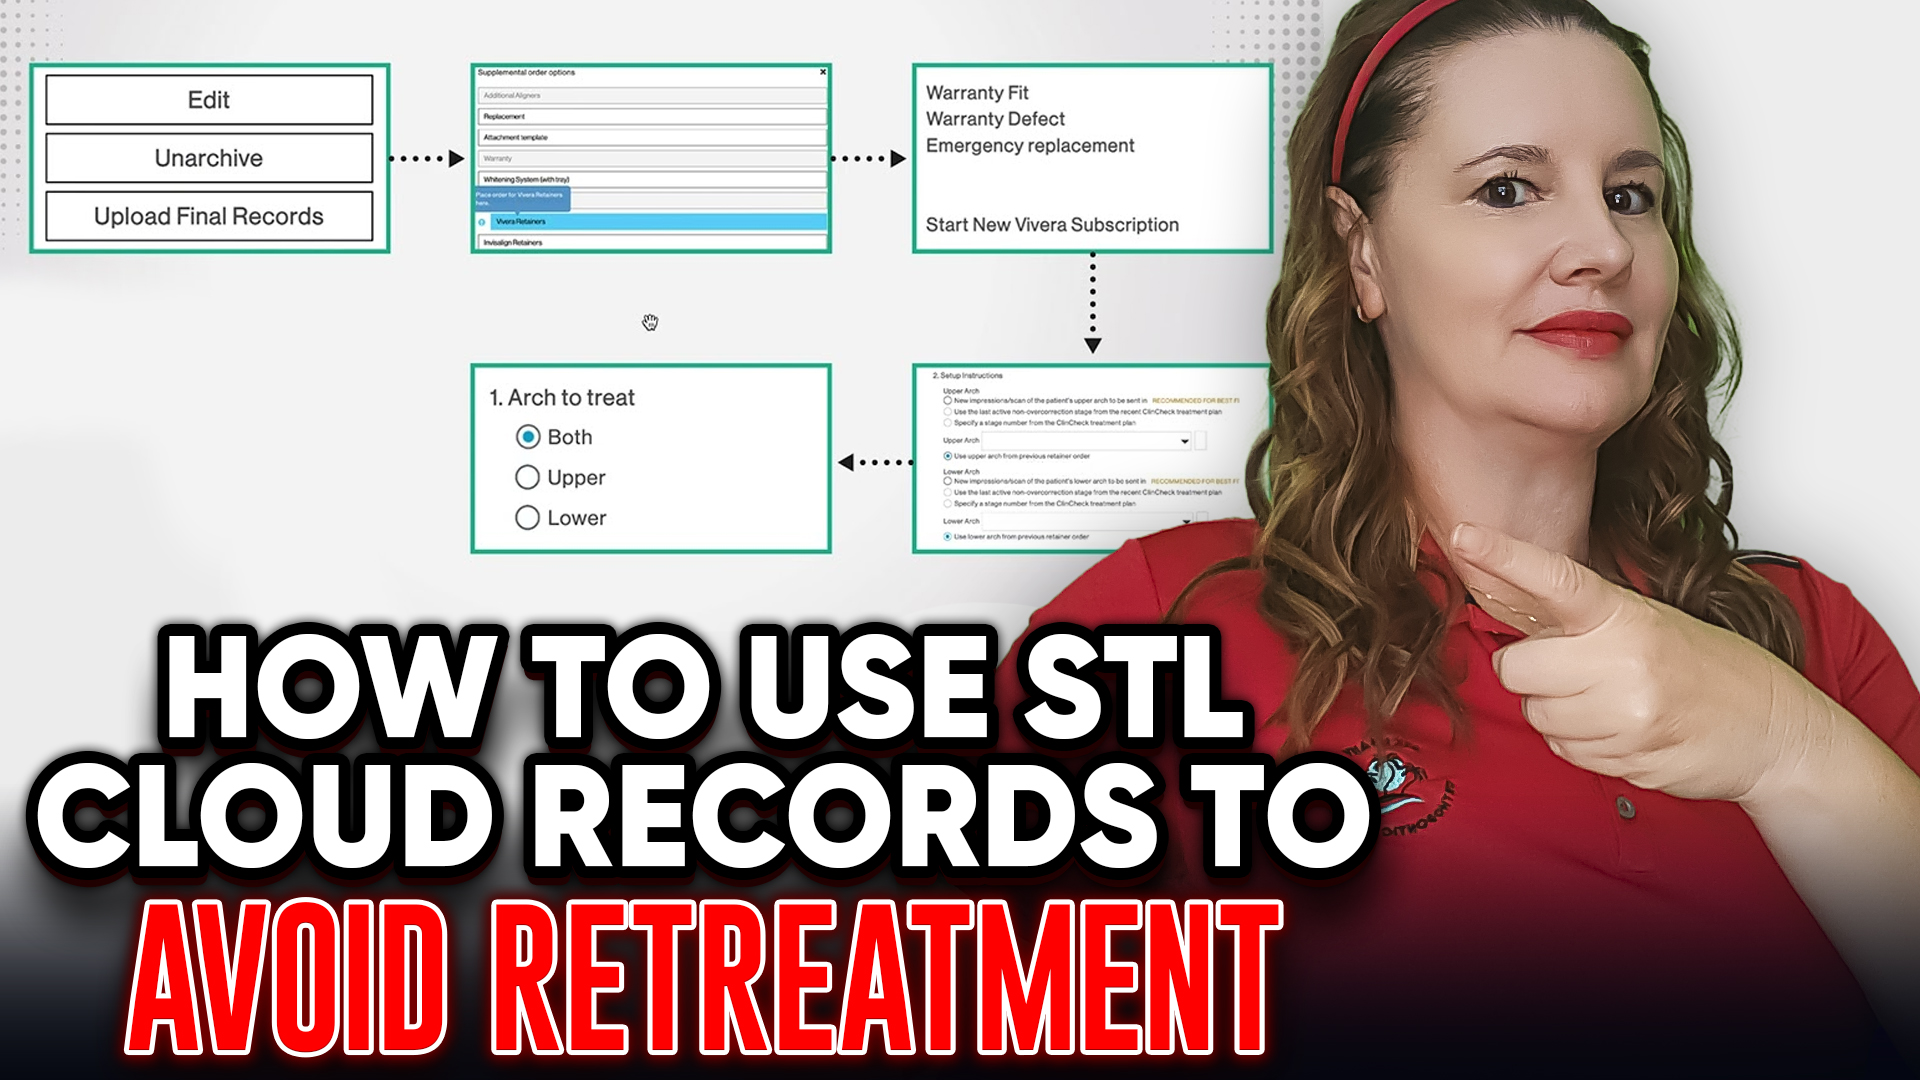
StraightSmile Solutions Blocks Foreign Aligners – Collaborates with American Aligner Companies
StraightSmile Solutions Blocks Foreign Aligners – Collaborates with American Aligner Companies
I. Introduction
Dr. Amanda from StraightSmile Solutions delivers a straightforward message about who she collaborates with and who she doesn’t.
Her choice: American companies only. No exceptions.
II. The Foreign Company Problem
● Too much bad luck with foreign-based companies.
● Some have led even her most trusted clients astray.
● When approached by treatment planning services based overseas, her answer is simple: “Yeah. No.”
● Caution isn’t just preference it’s protection for her clients.
III. What “American-Based” Means
● Vertically integrated American operations from manufacturing through treatment planning.
● Aligner companies that produce and manage most functions within the US.
● This isn’t nationalism it’s practical risk management.
IV. The Tariff and Trust Factor
● With tariffs and global trade complications, keeping it stateside keeps her fees predictable.
● Foreign companies may be cheaper, but cheaper isn’t always better.
● Dr. Amanda won’t refer to companies she can’t fully trust.
V. The Confidence Difference
● When she reviews an Invisalign or Clear Correct plan: “Yes, this will work—as long as the patient complies.”
● With some foreign companies? “Might work, might not. I’m not sure.”
● She won’t stake her reputation or her clients’ outcomes on uncertainty.
VI. Conclusion
● This isn’t about refusing to work with doctors who use foreign aligners.
● It’s about where she places her referrals and her trust.
● American-based companies, American manufacturing, American accountability.
● It’s a choice born from experience, and she stands by it.