StraightSmile Solutions®
Master Straightwire Braces in 18 Months – No TADs, No Elastics
Master Straightwire Braces in 18 Months – No TADs, No Elastics
I. Introduction
● Dr. Amanda from StraightSmile Solutions drops a bold claim: If your braces cases are taking more than 18 months, you’re doing something wrong.
● She calls out the orthodontic industry for gatekeeping efficient treatment methods.
● The goal isn’t just to get from A to Z—it’s to do it efficiently, predictably, and without unnecessary complications.
II. Why Cases Drag On
● Often, extended treatment times are blamed on patient compliance.
● But Dr. Amanda argues that’s on you—you picked the wrong patient, failed to set boundaries, or aren’t managing compliance effectively.
● Compliance management isn’t optional; it’s standard of care.
● If you’re relying on stainless steel wires, TADs, or funky bends routinely, you’ve missed the mark.
III. The Real Solution: Proper Diagnosis and Phase One
● The need for TADs, loops, and gable bends disappears when you do Phase One orthodontics correctly.
● These “nightmare” adult cases are often the result of dropping the ball on early intervention.
● If you catch and treat issues early, you shape the arch naturally and avoid complex mechanics later.
IV. The Problem With Outdated Teaching
● Many orthodontic courses are still taught by “super old people” pushing stainless steel wires as the norm.
● Stainless steel should be a rare exception—not a routine tool.
● The industry has gatekept efficient, modern approaches for too long.
● Social media is breaking down those walls, but clinicians need to seek out better education.
V. How Dr. Amanda Teaches
● She trains clinicians exactly like residents are trained—through doing, learning, and referencing the literature.
● No gatekeeping. No fluff. Just practical, case-based learning.
● Whether you work with her for one month or eighteen, you’ll walk away with a simpler, faster approach to tough cases.
VI. Call to Action
● Ready to stop overcomplicating orthodontics? Visit StraightSmileSolutions.com.
● Bring your hardest cases—Dr. Amanda will show you how to make them significantly easier.
● Stop letting cases drag on for years. Master straightwire braces in 18 months or less.
Complex “Multitasking” Invisalign Clinchecks: Why They Often Lead to POBs (Posterior Open Bites)
I. Introduction
● Dr. Amanda from StraightSmile Solutions issues a warning: complex, multitasking Clinchecks can unravel into messes that take years to fix.
● The software says it can happen, but that doesn’t mean it actually can in a real mouth.
● Trusting AI or overseas treatment planners with your livelihood? Risky business.
II. The Problem with Multitasking
● This week alone, Dr. Amanda saw multiple Clinchecks trying to do too much at once.
● Uprighting molars, distalizing, closing spaces, fixing midlines, and correcting transverse all simultaneously.
● When you ask aligners to do everything at once, something has to give.
● That “give” is often the posterior bite, hence posterior open bites (POBs).
III. The Braces Analogy: Why Sequential Matters
● In braces, you never do everything at once. Ever.
● First step: align and level. That’s it. No space closure, no AP changes, no midline work.
● Once leveling is complete, you move to the next phase, then the next.
● That sequential approach takes 18-24 months—but it works predictably.
IV. What Aligners Need to Learn from Braces
● For complex cases, don’t try to do it all in aligners alone.
● Use hybrid approaches: expanders first, fixed bite plates for deep bites, other appliances for vertical control.
● Aligners aren’t great for deep bites. They’re neither fast nor predictable in certain movements.
● If you must use aligners only, stage the treatment like braces: align and level first, then address AP, midlines, and closure later.
V. Why This Matters
● Invisalign’s software may allow complex staging, but biology doesn’t care about software permissions.
● Teeth need time and sequential force application.
● Trying to shortcut the process with a multitasking Clincheck is how you end up with POBs, frustrated patients, and refund requests.
VI. The Bottom Line
● Stop trusting the Clincheck to know what’s biologically possible.
● Learn braces mechanics even if you’re an aligner-dominant practice.
● Stage your complex cases like you would in braces: one thing at a time.
● Your posterior bites and your sanity will thank you.
Open vs Closed Impacted Canine Exposure Surgeries with Braces or Invisalign
I. Introduction
● Dr. Amanda from StraightSmile Solutions breaks down the difference between open and closed canine exposure surgeries.
● This matters because how you prepare and execute treatment depends on which procedure your surgeon chooses.
● Remember: This is a Phase 2 or comprehensive concern—not Phase 1.
II. Open Exposure Explained
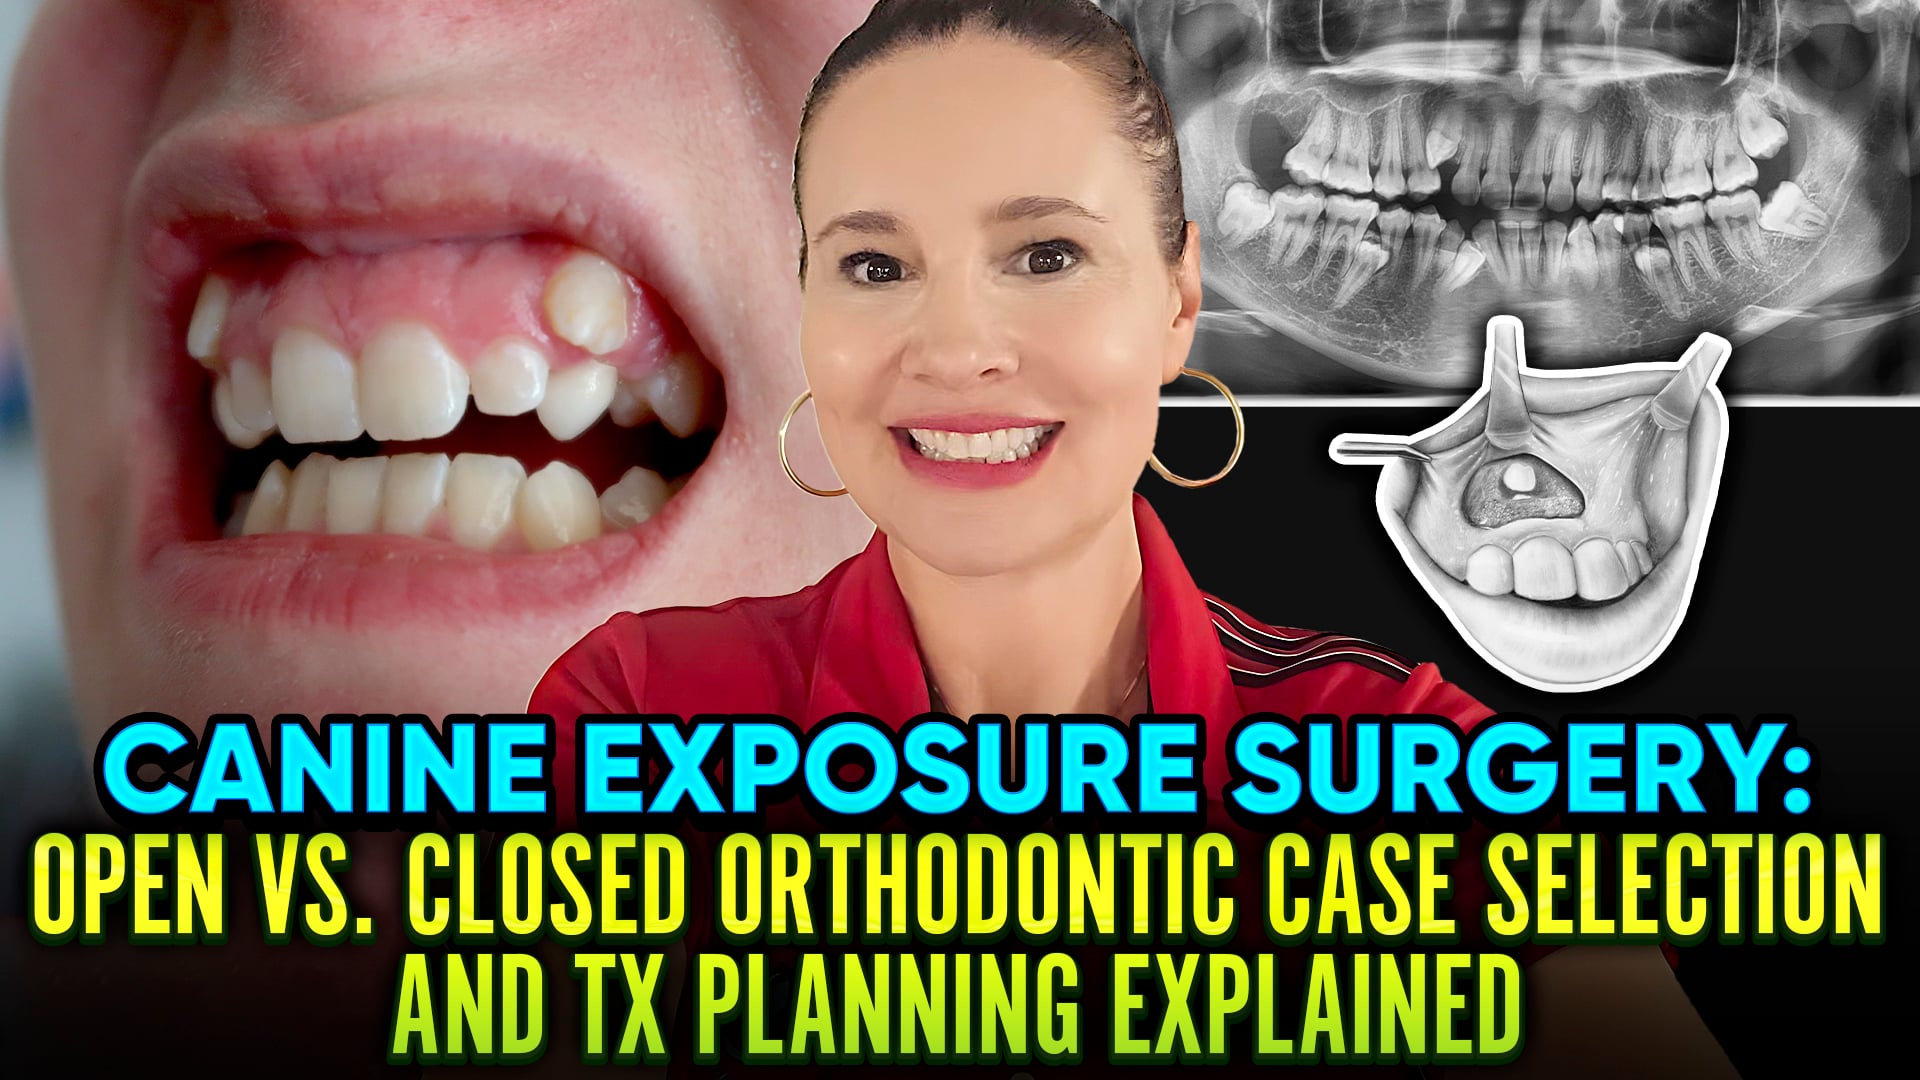
● Open exposure is typically for canines that are superficial, just under the attached gingiva.
● You’ll often see a visible bump or bulge on the buccal (or occasionally palatal).
● The surgeon creates a small window, removes a bit of tissue, and places a surgical pack.
● Once healed, you bond a bracket and start moving the tooth.
● These cases are more likely with periodontists than oral surgeons.
III. Closed Exposure Explained
● Closed exposure is for canines buried deeper within bone.
● The surgeon creates a trough, attaches a bracket with a gold chain, and sutures the tissue back closed.
● Only the tiny chain protrudes through the gum.
● This protects the bone from infection and necrosis.
● Most canine exposures are closed procedures.
IV. Who Decides?
● You don’t decide. The surgeon does.
● The position of the tooth—and how much tissue covers it—determines the approach.
● Always communicate with your surgeon beforehand so you know how to prepare and what post-op will look like.
V. Timing and Alternatives
● Before jumping to surgery, try creating space first.
● If the apex is still open and the tooth is blocked, space may allow spontaneous eruption.
● If it’s ankylosed or non-viable, surgery is your only path.
● Modern 3D imaging helps assess this far better than old-school panos.
VI. Implications for Braces vs Invisalign
● Open exposures may allow you to treat with Invisalign alone.
● Closed exposures almost always require braces—at least for the canine itself—due to the need for precise chain activation.
● If you’re a general or pediatric dentist without strong braces skills, a closed exposure case could mean a refund if you have to switch modalities.
● Pick your cases carefully.
VII. The Bottom Line
● Open exposures are windows; closed exposures are chains buried beneath the surface.
● Let the surgeon lead, but know what’s coming so you can plan accordingly.
● And when in doubt, refer out. Some cases are best handled by those who eat, sleep, and breathe impacted canines.
“Nobody Died from a Little Class 2 Malocclusion” – The Truth and Risks of Over-Treatment
 “Nobody Died from a Little Class 2 Malocclusion” – The Truth and Risks of Over-Treatment
I. Introduction
● Dr. Amanda from StraightSmile Solutions addresses those subtle Class II cases—just a millimeter or two off on canines or molars.
● Sometimes a little elastic work works. Sometimes it doesn’t.
● And sometimes, the best move is to leave it alone.
II. When to Leave It: The Professor’s Wisdom
● Back in residency, one of Dr. Amanda’s professors said something that stuck: “Nobody died from a little Class II.”
● It’s true. A slight Class II isn’t a medical emergency.
● A slight Class III? Different story—zero canine guidance creates real functional issues.
● But a minor Class II? Who cares?
III. The Bolton Factor
● Always check for Bolton discrepancies before chasing perfection.
● In a subtle Class II, you might not know until you measure.
● Modern software makes Bolton calculations easy before you even start.
● If there’s a mandibular Bolton excess, forcing a Class I result can leave anterior contacts causing trauma, fremitus, and perio problems down the road.
IV. Profile and Incisor Position Matter
● Run the cephalometrics. What are the incisors doing?
● If they’re already upright, correcting that minor Class II means retroclining them further.
● That worsens the profile. It worsens the E-line.
● Trading a beautiful face for a textbook occlusion? That’s not a win.
V. The Heroic Mechanics Trap
● Trying to distalize molars into perfect Class I often requires:
● Two to three years of treatment
● Heroic mechanics that burn out roots
● Lower IPR that compromises enamel
● Restorations on front teeth afterward
● All for what? A photo in a textbook?
● That’s not excellent care. That’s borderline malpractice.
VI. The Board Case Problem
● Dr. Amanda calls out the optional orthodontic board certification process.
● The pursuit of “perfect finishes” for boards leads clinicians to put patients through years of unnecessary treatment.
● Cases get comped because roots get wrecked. Long-term outcomes suffer.
● Just because some “named angel” made a rule about what occlusion should look like doesn’t make it right for the patient.
VII. The Bottom Line
● A millimeter or two of Class II is not a disease.
● It doesn’t need curing.
● Forcing perfection creates real damage—root resorption, restored teeth, compromised profiles.
● Nobody died from a little Class II. Stop treating them like they did.
3 Keys to Success with Invisalign and Clear Aligners
 3 Keys to Success with Invisalign and Clear Aligners
Introduction
Dr. Amanda from Straight Smile Solutions shares why many doctors feel frustrated, burned out, or ready to quit clear aligners altogether and why most of those struggles are preventable. Clear aligner success isn’t about shortcuts, sales tactics, or relying on AI. It comes down to committing fully, getting your team aligned, and mastering a few core fundamentals that consistently separate profitable, predictable practices from those that struggle.
Key #1: Diagnose Everyone Every Time
Clear aligners must be integrated into routine care, not offered selectively
Every patient with teeth should receive a:
Functional occlusion or malocclusion exam
Avoid framing it as an “ortho consult” to reduce resistance
Focus the conversation on:
Bite stability
Tooth wear (attrition, abrasion, erosion)
Periodontal health
Alignment, habits, and airway
Present health and function first, not aesthetics
Only discuss cosmetic benefits if the patient shows interest
Check insurance benefits before the conversation whenever possible
Key #2: Learn to Properly Treat a Plan
Do not unthinkingly follow:
AI suggestions
Technicians
Lecture templates
Every treatment plan must be customized
True proficiency requires:
Hundreds (if not thousands) of cases
Trial, error, and mentorship
One-on-one orthodontic mentoring outperforms:
Generic courses
Outsourced AI-driven planning services
Poor treatment planning is one of the biggest causes of refinements and burnout
Key #3: Master Compliance and Aftercare
Strong compliance systems are non-negotiable
The doctor, not the staff, must lead compliance enforcement
Patients should:
Bring all aligners to appointments
Be willing to backtrack if needed
Refinements should be the exception, not the rule (especially in adults)
A solid retention and aftercare program is critical
Most patient dissatisfaction stems from:
Excessive refinements
Poor retention protocols
Conclusion
Dr. Amanda emphasizes that Invisalign success isn’t about selling harder or cutting corners; it’s about diagnosing consistently, treatment planning thoughtfully, enforcing compliance, and protecting results with strong aftercare. When these fundamentals are in place, aligners become predictable, profitable, and self-marketing. Most doctors don’t fail because aligners don’t work; they fail because the systems around them do.
OOPSIES Your Invisalign Clear Aligner Case Is Way Off Track. How to Fix It Without a Long Refinement
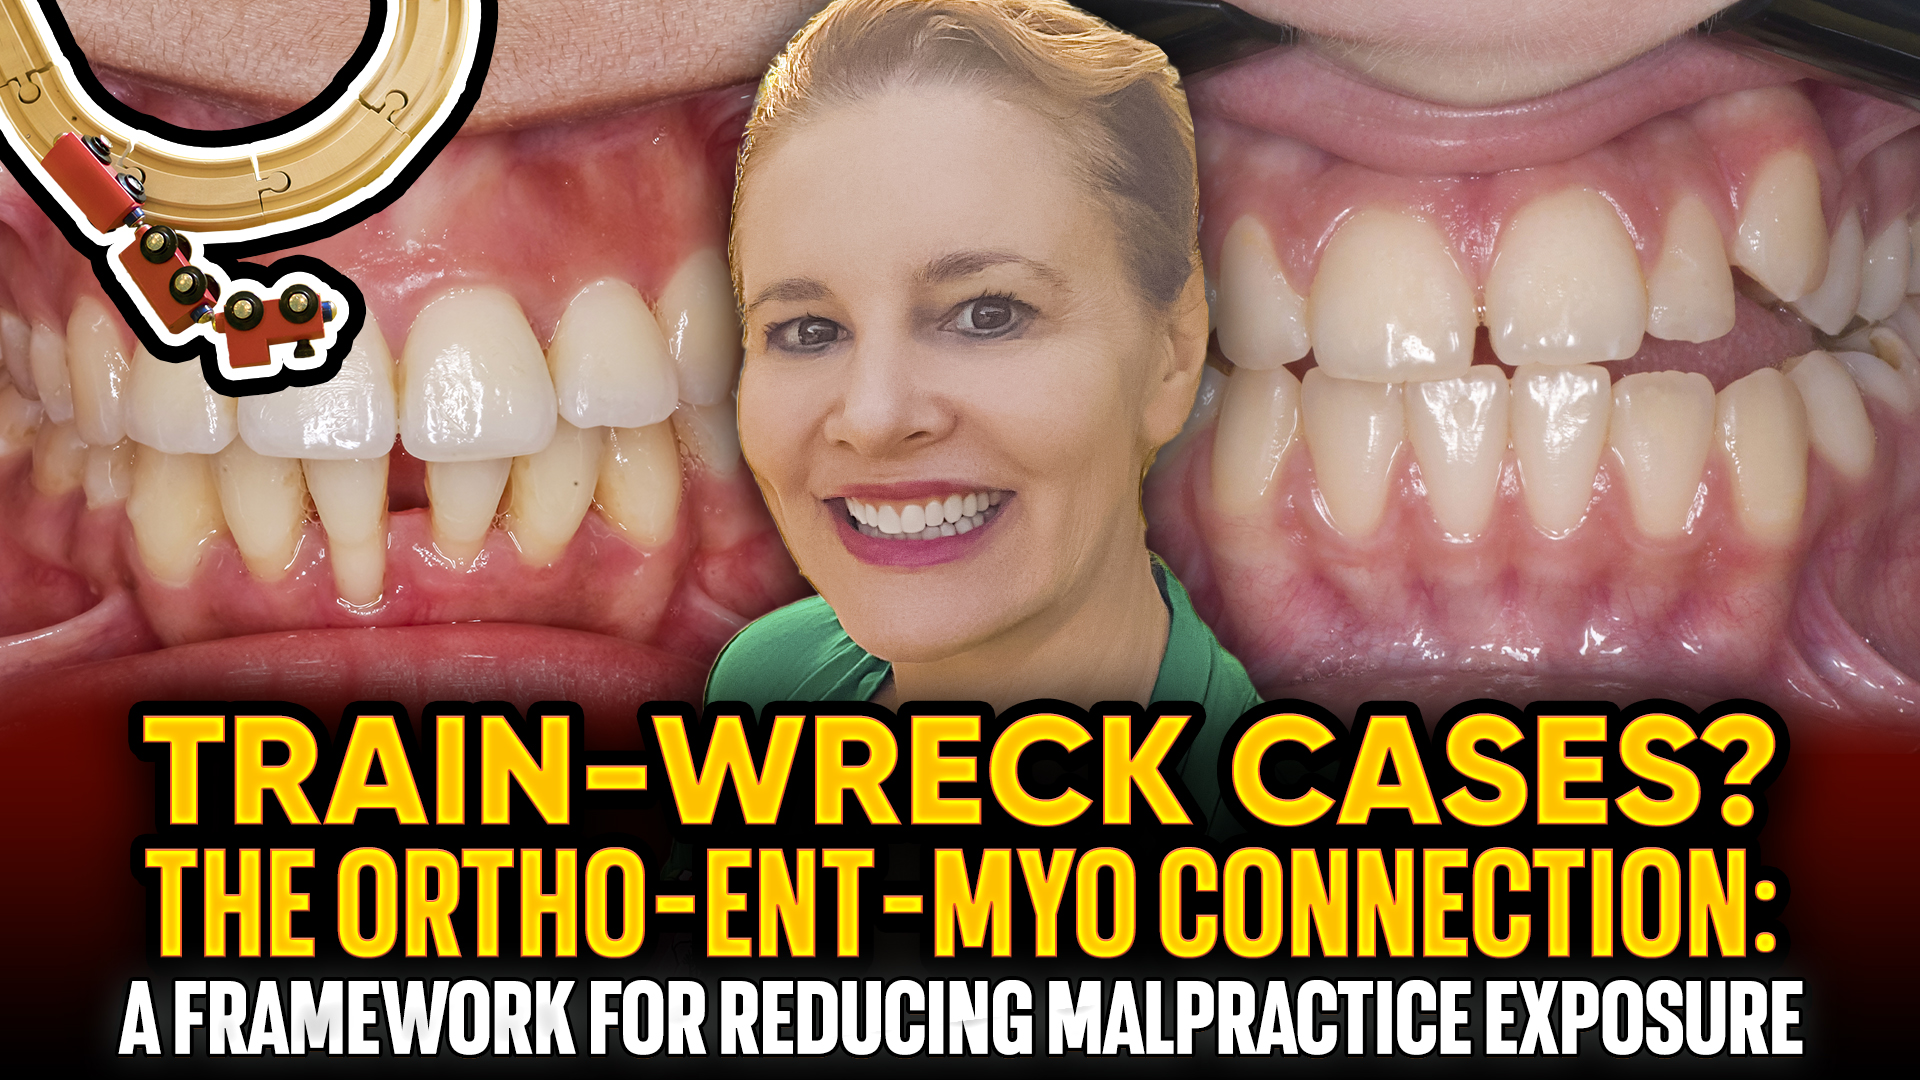
Introduction
Dr. Amanda from Straight Smile Solutions addresses a common but avoidable Invisalign mistake: cases going dramatically off track due to poor aligner distribution protocols. What often starts as a straightforward, short-term case can quickly spiral into a prolonged, expensive, and biologically risky situation. The core issue is not Invisalign itself but how doctors manage aligner delivery, monitoring, and accountability throughout treatment.
Why Invisalign Cases Go Off Track
- Doctors give out too many aligners at once
- Manufacturer guidance to “give the whole box” is misapplied
- Patients advance through aligners without proper tracking checks
- Bite changes occur before the doctor has a chance to intervene
Proper Aligner Distribution Protocol
- Initial delivery should be limited to:
- 2–3 aligners maximum
- If and only if the case is 100% tracking:
- Progress to 4–5 aligners
- Patients must:
- Keep all previous aligners
- Bring aligners to every appointment
Tracking Is Often Overestimated
- Many cases assumed to be tracking are not
- Doctors should:
- Seek second opinions if unsure
- Use strict tracking criteria (A+ level)
- Virtual monitoring should only be used after trust is earned
Consequences of Over-Dispensing Aligners
- Mild or moderate cases can become:
- Complex, unstable, multi-year treatments
- Increased risks include:
- Bite collapse
- Severe occlusal discrepancies
- Tooth devitalization
- Higher lab fees and refinements
How to Fix a Case That’s Gone Wrong
- Do not try to correct the bite in its distorted position
- Allow the dentition to:
- Relapse naturally for several months
- Achieve a stable occlusion (even if only 60–80%)
- Restart treatment once stability is restored
Conclusion
Dr. Amanda emphasizes that aligner failures are usually doctor-driven, not patient-driven. Clear aligner success depends on disciplined delivery, strict tracking, evaluation, and conservative decision-making. When mistakes happen, patience and biological reset, not aggressive refinements, offer the safest path forward. Ultimately, responsibility and liability rest with the doctor, making proper systems and protocols non-negotiable.
Analog vs Digital Methods of Diagnosing and Treatment Planning for CRCO Shifts in Phase 1 Interceptive Orthodontics
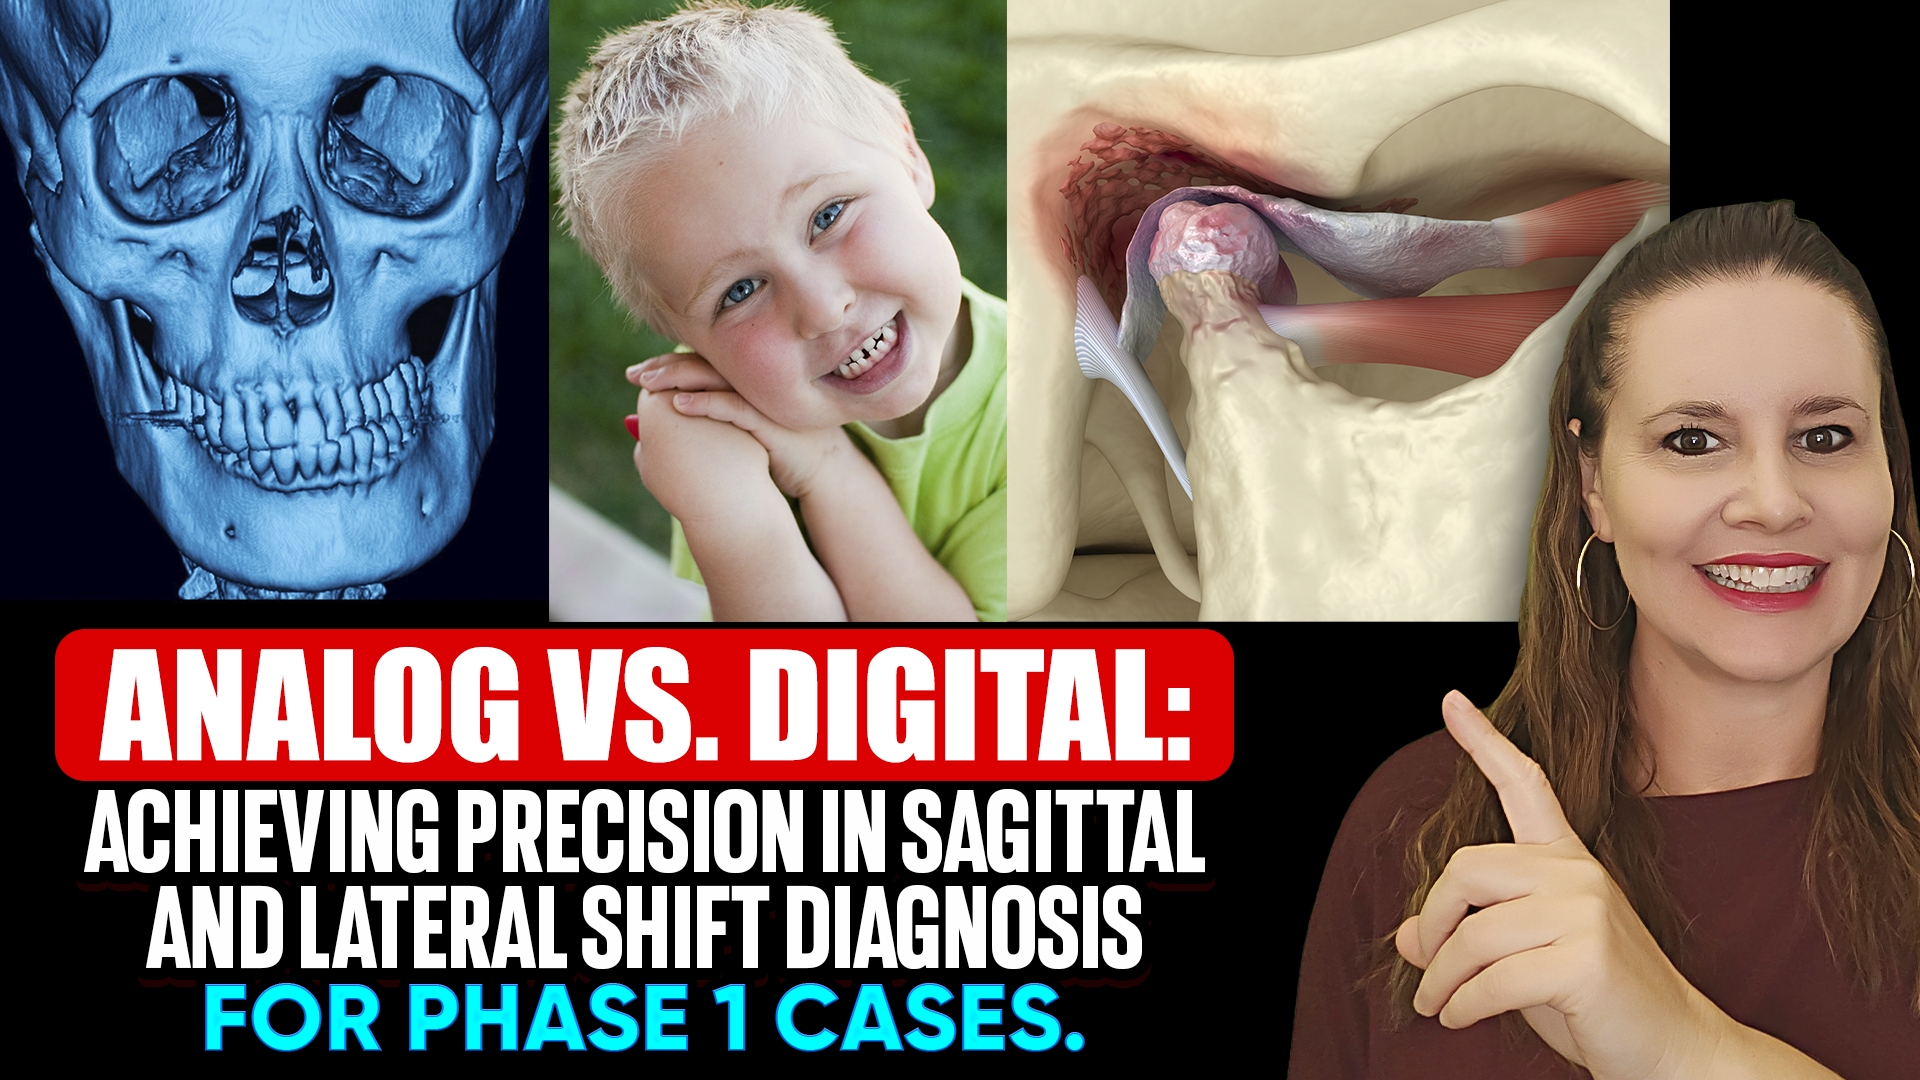 Analog vs Digital Methods of Diagnosing and Treatment Planning for CRCO Shifts in Phase 1 Interceptive Orthodontics
Introduction
Dr. Amanda of Straight Smile Solutions explores the ongoing divide between analog and digital methods for diagnosing CR–CO shifts in Phase 1 interceptive orthodontics. Having trained in an era before digital diagnostics, she highlights how traditional hands-on techniques and modern CBCT-based evaluations each play a role in accurately identifying shifts. Proper diagnosis is essential, as treatment planning without confirming true centric relation can lead to incorrect classifications and serious downstream complications.
Analog Diagnosis of CR–CO Shifts
Traditional training focuses on manually seating the condyles into centric relation
Requires working through the musculature to “unlock” the jaw
Can be slow, technique-sensitive, and difficult to teach
Particularly challenging in Phase 1 patients due to:
Loose primary teeth
Sharp or uneven baby teeth
Dental interferences
More predictable in adults than in young children
Helpful for identifying whether a shift is forward, lateral, or interference-driven
Challenges of Relying on Analog Methods Alone
Interferences can prevent accurate seating of the mandible
Space maintainers may obscure true occlusion
Difficulty confirming if condyles are fully seated
Risk of misdiagnosing skeletal relationships
Digital Diagnosis Using CBCT
Full CBCT allows visualization of condylar position in the joint
Radiologists can confirm whether condyles are seated in centric relation
Identifies posterior displacement or true mandibular shifts
Adds cost, but provides objective confirmation
Essential when analog methods are inconclusive
Impact on Treatment Planning
Incorrect diagnosis can result in:
Mislabeling Class II or Class III relationships
Improper expansion or alignment strategies
Unexpected bite changes after leveling and alignment
Unlocking the bite later can reveal a dramatically different occlusion
Conclusion
Dr. Amanda emphasizes that accurate shift diagnosis is non-negotiable in Phase 1 interceptive orthodontics. While analog techniques remain valuable, digital CBCT evaluation is often necessary when manual assessment is unreliable. Confirming true centric relation before treatment prevents misdiagnosis, flawed plans, and serious clinical or legal consequences, making a strong “shift game” essential for safe, predictable outcomes.
LLHA Band and Loop Complications – When Space Maintainers Cause Shifts and Poor Tx Plans
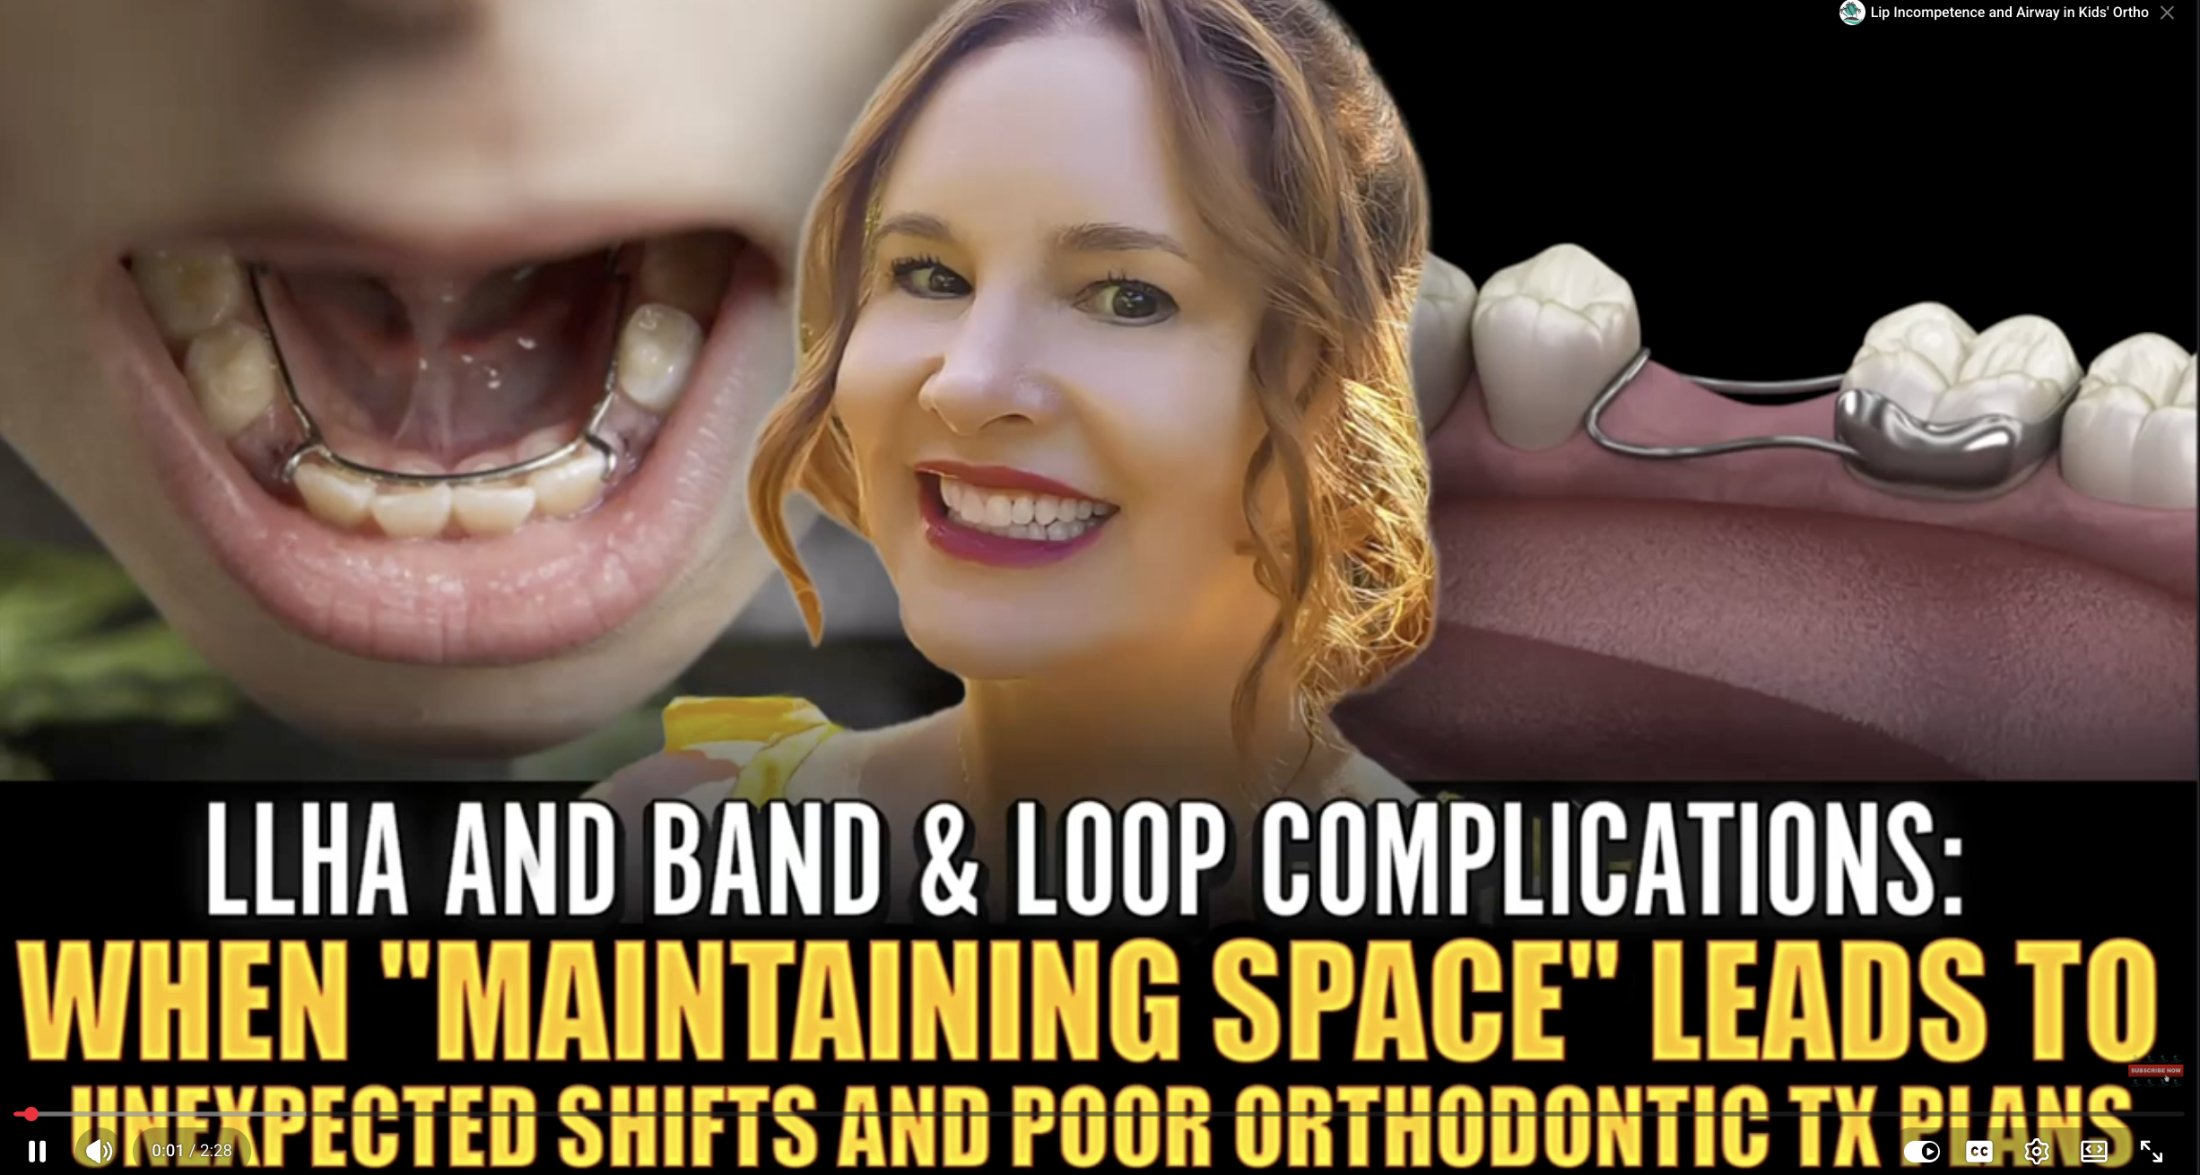
LLHA Band and Loop Complications – When Space Maintainers Cause Shifts and Poor Tx Plans
Introduction
Dr. Amanda of Straight Smile Solutions highlights a recurring concern from an orthodontic perspective: the routine overuse of space maintainers in pediatric dentistry. While these appliances can be appropriate in very young children after early tooth loss, their continued use in older children is often unnecessary. Without careful evaluation of radiographs and eruption timing, space maintainers can create occlusal issues that complicate orthodontic diagnosis and treatment planning.
Overuse of Space Maintainers in Older Children
- Space maintainers are frequently placed in children aged 6 to 8, and even in 11-year-olds, without proper indication
- Primary teeth such as C’s, D’s, and sometimes E’s are maintained even when permanent successors are already developing
- Radiographs often show that space maintenance is not required, yet appliances are still placed
Orthodontic Downsides and Occlusal Impact
- From an orthodontic perspective, space maintainers often cause more damage than benefit
- Common problems include:
- Posterior open bites
- Occlusal discrepancies
- Bite instability
- Unwanted tooth shifting
Design and Fit Issues With Band-and-Loop Appliances
- Ideally, a band-and-loop should sit passively and be well-adapted
- In reality, most appliances are:
- Too thick or positioned too high
- Poorly adapted to the tooth surface
- Impinging on the gingival tissue
- These design flaws make the appliance something the patient bites and pivots on
Midline Shifts and Growth-Related Concerns
- Improperly fitted space maintainers can cause:
- Anterior midline shifts
- Lateral shifts
- Repeated functional pivoting increases the risk of long-term growth and occlusal complications
Interference With Orthodontic Diagnostics
- Space maintainers often need to be removed before accurate diagnostics can be completed
- The appliance frequently causes heavy contacts seen on articulating or occlusion paper
- Leaving them in place can distort bite records and treatment planning
Need for Interdisciplinary Communication
- If the orthodontist is not the primary or general dentist, removal requires coordination
- Dentists must communicate before appliance removal to avoid professional and legal issues
Conclusion
Dr. Amanda stresses that space maintainers should not be placed automatically. Careful case selection, proper appliance design, and radiographic evaluation are essential. When unnecessary or poorly constructed, band-and-loop space maintainers can disrupt occlusal stability, interfere with diagnostic procedures, and lead to flawed treatment plans. Increased awareness helps clinicians prevent avoidable orthodontic complications and deliver better long-term outcomes.
The Only Anterior Open Bite Treatment That Is Predictable in the Absence of Myo Issues
The Only Anterior Open Bite Treatment That Is Predictable in the Absence of Myo Issues
Dr. Amanda from Straight Smile Solutions explains why anterior open bite (AOB) is one of the least predictable orthodontic problems unless the case is selected correctly. The key to success is identifying the true etiology of the open bite and understanding when orthodontics alone can, and cannot, deliver stable results.
- Identify the True Cause First
- Every anterior open bite must be classified as skeletal, myofunctional, or both.
- Myofunctional issues (tongue posture, cheeks, airway) often cause skeletal changes.
- A full diagnostic workup is mandatory: CBCT, ceph analysis, airway screening, and formal myofunctional therapy evaluation (not just in-office screening).
- Why Most AOB Treatments Fail
- Treating the teeth without addressing myo or airway issues leads to instability and relapse.
- Posterior intrusion and anterior extrusion are slow, unpredictable, and can devitalize teeth.
- Fixing skeletal relationships does not automatically resolve underlying myofunctional habits.
- When Orthodontics Becomes Predictable
- The only predictable scenario is when all myo and airway issues have been fully resolved.
- The patient presents with:
- Class I skeletal and transverse relationships
- No sagittal or anterior interferences
- A mild residual anterior open bite
- In select cases with significant incisor flaring, the wedge effect (retraction mechanics) can close the bite only if airway considerations allow.
- The Most Stable Solution
- Instead of forcing extrusion or intrusion, Dr. Amanda recommends:
- Aligning teeth conservatively
- Preserving tooth vitality
- Using restorative dentistry (veneers or additive restorations) to finalize incisal display and closure
- This hybrid ortho–restorative approach offers the highest predictability and stability.
- Instead of forcing extrusion or intrusion, Dr. Amanda recommends:
Conclusion
Anterior open bite cases should be approached with extreme caution. Unless myofunctional and airway issues are fully corrected, orthodontic treatment alone is unlikely to succeed. The most predictable option when biology allows is conservative alignment followed by restorative correction. Without this clarity, Dr. Amanda’s advice is simple: do not treat anterior open bites; they will disappoint you.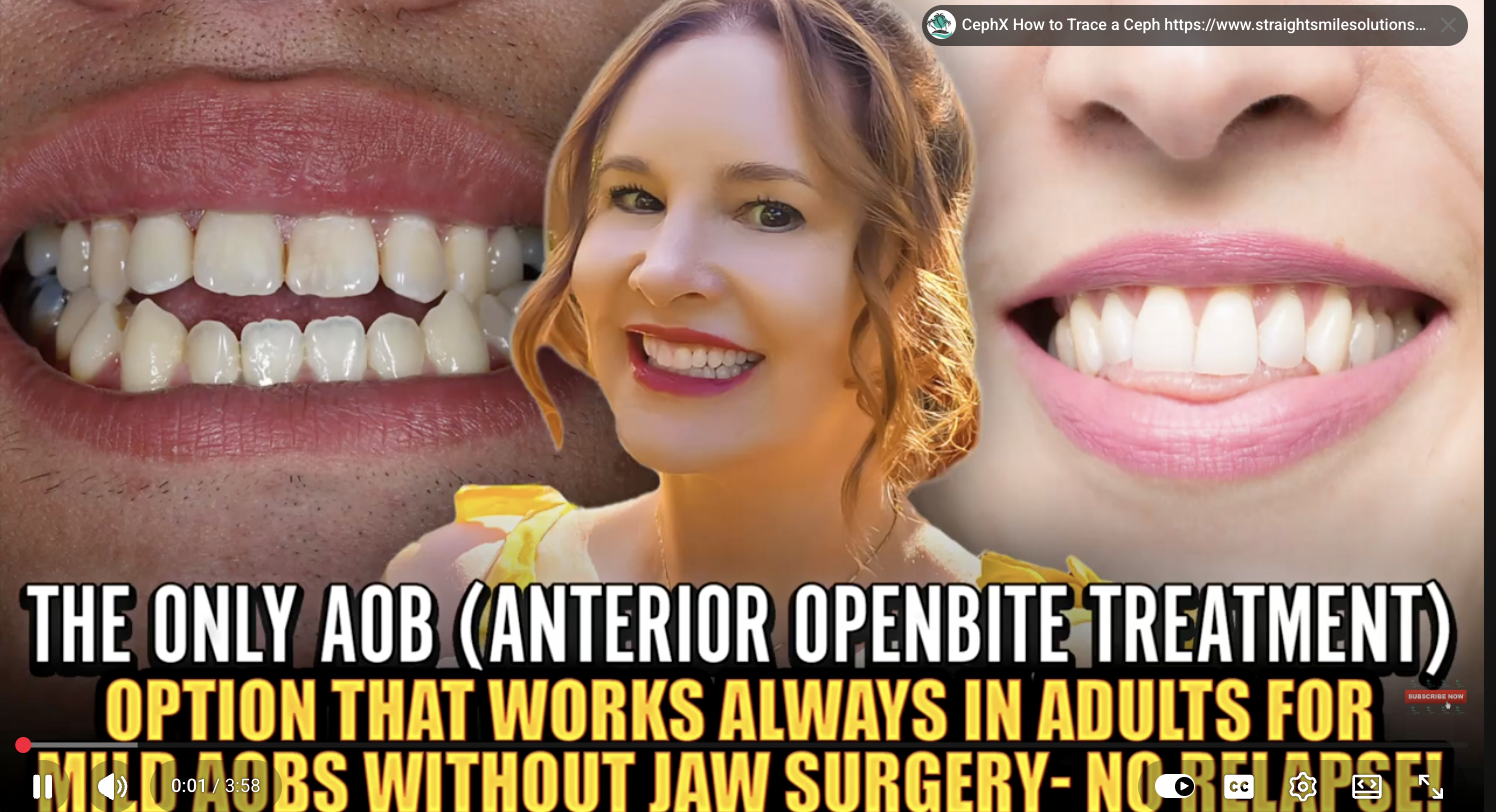
Why I Don’t Like Light Stainless Steel Wires (16×16, 18, and 16×22)
Introduction
Dr. Amanda of Straight Smile Solutions explains why she strongly advises against using light stainless-steel wires such as 16×16, 18, and 16×22. Speaking primarily to general and pediatric dentists, she highlights how these wires create inefficiencies, increase chair time, frustrate patients, and ultimately compromise treatment outcomes. From an orthodontic workflow and profitability standpoint, Dr. Amanda considers these wires unnecessary and counterproductive in modern straight-wire and indirect bonding systems.
Lack of Clinical Purpose
- No clear orthodontic indication for light stainless-steel wires
- Often used out of habit or because “someone said to use them.”
- Do not effectively align teeth or maintain control
- Not suitable for power chaining or meaningful tooth movement
Designed for Techniques Most GPs Don’t Use
- Intended for wire-bending techniques learned in orthodontic residencies
- General and pediatric dentists typically do not bend wires
- Indirect bonding eliminates the need for most wire adjustments
- Stocking these wires adds unnecessary inventory
Better Alternatives Exist
- Heavy stainless-steel wires (e.g., 18×25 or 19×25) have real applications
- Useful for sliding mechanics, arch coordination, and occasional step-down bends
- Modern indirect bonding reduces the need for finishing bends altogether
- Clear aligners are a faster, cheaper, and more patient-friendly finishing option
Patient Comfort and Compliance Issues
- Light stainless-steel wires bend easily during normal eating
- Everyday foods like pizza or tacos can distort the wire
- Bent wires cause unwanted tooth movement and loss of control
- Leads to additional visits and wire replacements
Time, Cost, and Efficiency Concerns
- Increased chair time and doctor time
- More emergency visits due to bent wires
- Slows treatment progress instead of advancing it
- Reduces patient satisfaction and confidence in treatment
Conclusion
Dr. Amanda’s message is clear: light stainless-steel wires offer no meaningful benefit in modern orthodontic workflows for general and pediatric dentists. They compromise efficiency, increase complications, and frustrate both doctors and patients. With indirect bonding and affordable aligner finishing options available, these wires are unnecessary and best left out of clinical practice altogether.