- Introduction
Dr. Amanda continues the discussion on RPE jack-screw selection and proper Phase 1 expansion protocols. This content builds on prior lessons in her Phase 1 playlist, and a course’s foundational knowledge is needed first. The focus here is on understanding correct screw size placement and avoiding poor expansion outcomes.
- Why Jackscrew Position Matters
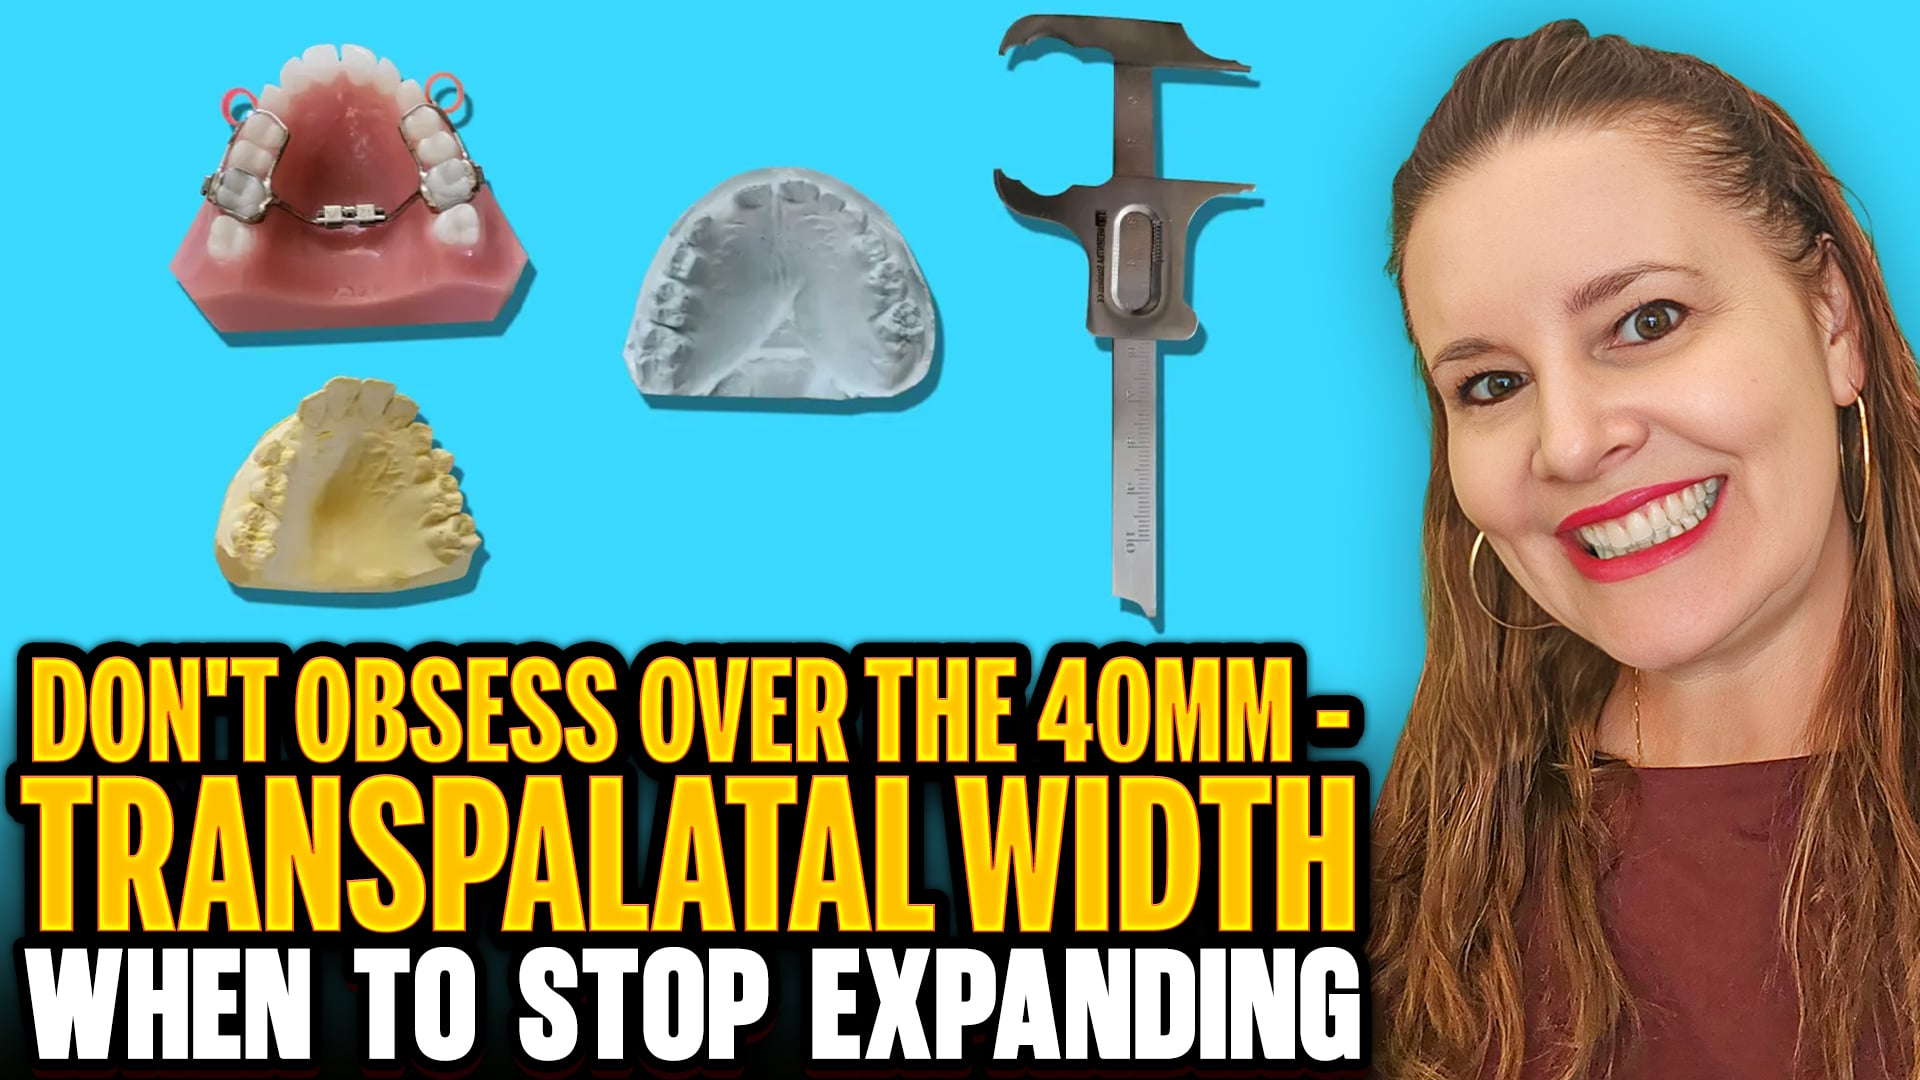
- The jackscrew must sit close to the palatal suture’s center of mass. This is basic biomechanics.
• In patients with very narrow, vaulted palates, a 7mm jackscrew may be necessary to fit correctly.
• If the screw sits too low near the tongue, problems follow:
– Incorrect tongue posture and swallowing
– Excess tipping in posterior teeth
– Expansion only in the back, not the front
– Poor arch shape and minimal airway or skeletal benefit
• Bottom line: If the jackscrew isn’t centered properly, you lose the whole point of RPE expansion.
III. Communication with the Lab
- Labs should understand this, but sometimes assume a dentist will push back on needing multiple appliances.
• Don’t “cheap out” on the wrong screw size, which gives a junky outcome with compromised function and airway benefits.
• If needed, use serial or sequential expansion, even if that means two appliances.
• Yes, two sets take time: activate, hold, remove, scan, remake, refit… but it’s the correct protocol.
- Cost & Practical Considerations
- Traditional RPE units may cost $150–250, but two sets quickly add up to $500+ anyway.
• The goal is proper skeletal expansion, predictable airway and palate development, and long-term stability.
Conclusion
Correct RPE jackscrew selection isn’t optional; it determines whether the case succeeds or collapses into tipping, poor airway changes, and bad arch form. Work closely with your lab and orthodontic partners, accept when two appliances are necessary, and always prioritize correct biomechanics over convenience or cost.