
StraightSmile Solutions®
Attachmentless Aligners, Single Arch Treatments, and Using Them
Attachmentless Aligners, Single Arch Treatments, and Using Them
Ever wondered about attachmentless aligners and how to use them? Custom aligners can offer numerous benefits, but it’s important to consider whether attachmentless aligners really work for your needs. Luckily, our experts at Straight Smile Solutions can help you learn more about using aligners for the best results.
What are Attachmentless Aligners?
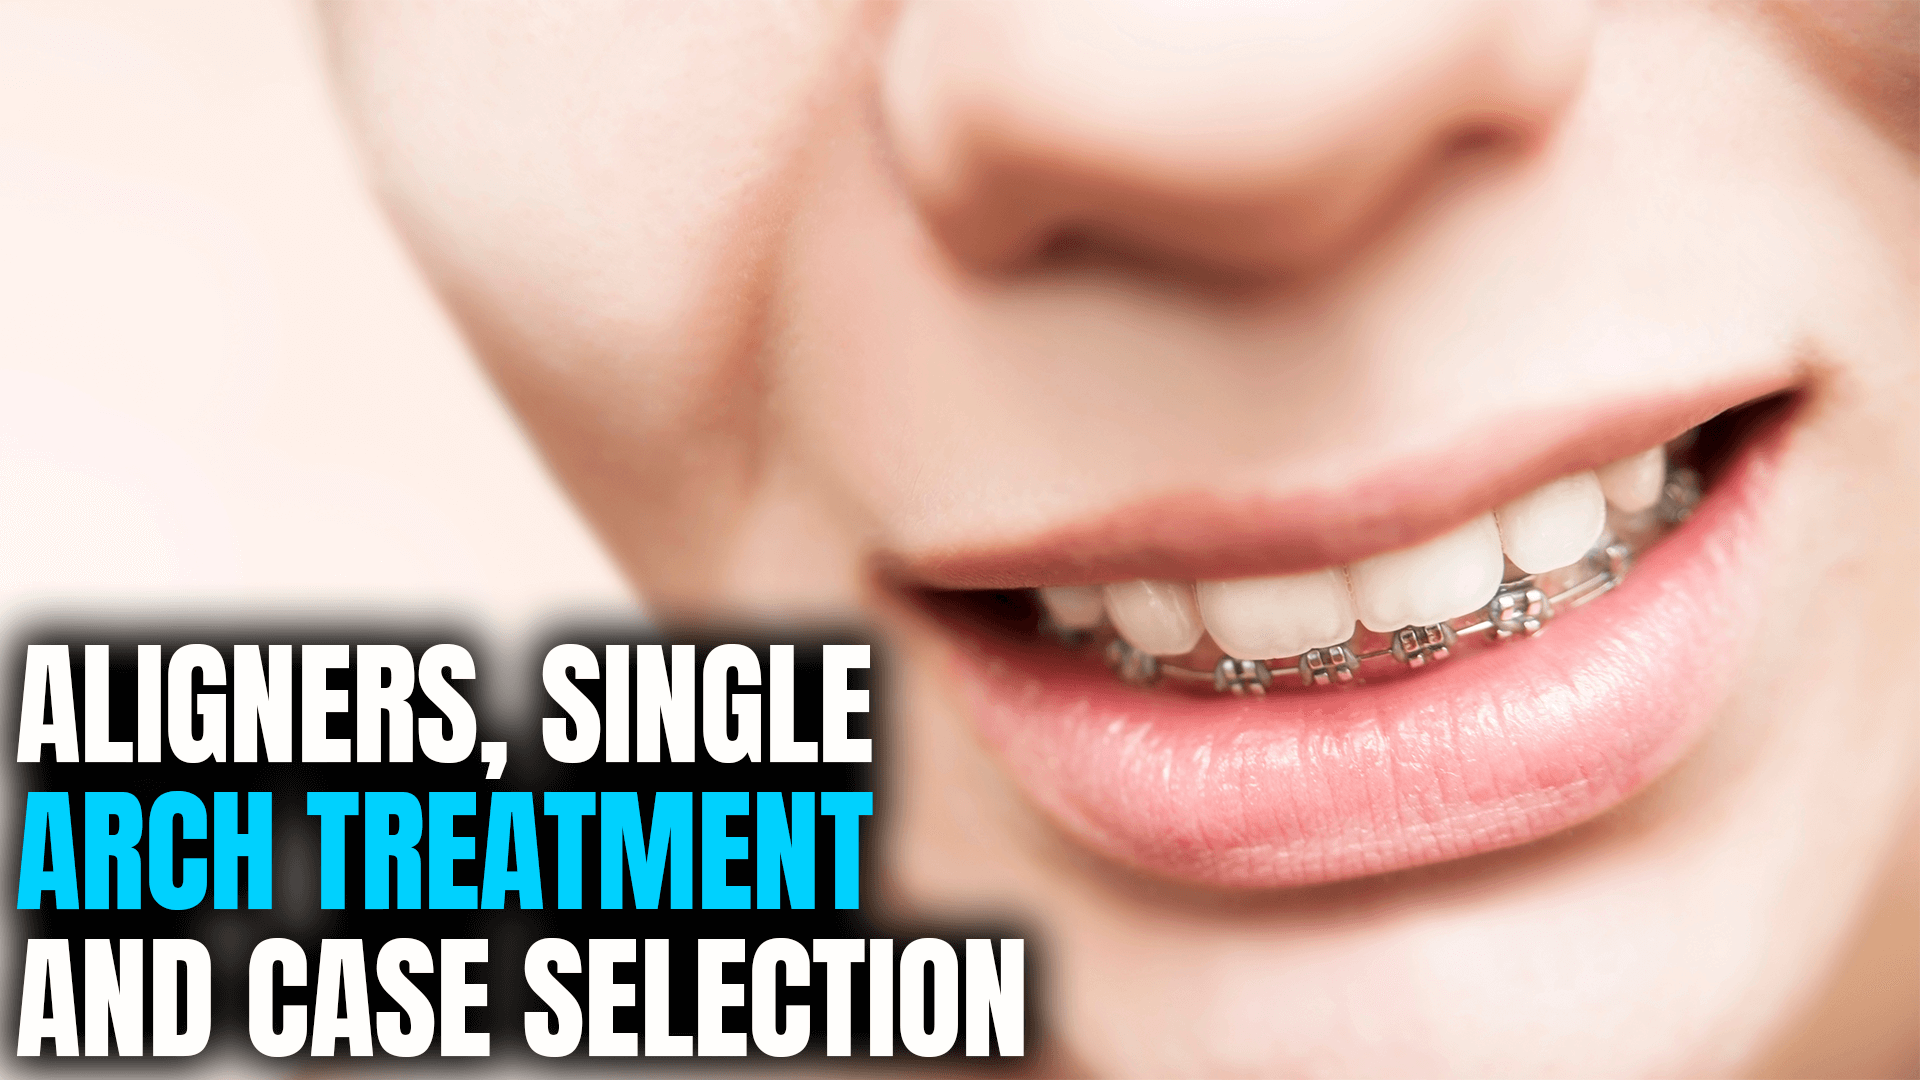
Attachmentless aligners, as the name suggests, are custom aligners that don’t have attachments like regular aligners. Usually, aligners serve as handles to guide complicated movements.
If you go for attachmentless aligners, high trim can work better and may be more aesthetically pleasing. However, some clients may find these more uncomfortable.
Should I Use Attachmentless Aligners?
Generally speaking, attachmentless aligners won’t be as effective as regular aligners. However, in a handful of cases, clients may refuse to accept regular aligners; if this is the case, you may need to consider whether it’s worth a go.
Make it clear to the client that they may not get the results they want from an attachmentless case; if you don’t begin to notice changes after several goes, you may need to then upgrade the client to a comprehensive case or otherwise leave the case unfinished. As such, this could be a risk. Ensuring you have a good consent form is vital to ensure the client knows and acknowledges the risk in writing.
What About Single Arch Treatments?
Single arch treatments are possible, but they usually don’t work out, as they can cause unexpected results with the bite. These are generally only useful in very straightforward cases, and if you do go ahead with this, make sure you again provide a very clear consent form so that the client knows the likely results.
Get Case Selection Support First
If you’re just starting out with custom aligners and ortho work, always partner with a professional orthodontist – such as our team here at Straight Smile Solutions – to get guidance. This is especially handy if you’re starting your first one hundred or so cases, so make sure that you get support to develop your career effectively.
What You Need to Know About Virtual Power Chain and Digital Power Chain

What You Need to Know About Virtual Power Chain and Digital Power Chain
Ever thought about using virtual power chain with Invisalign or digital power chain with ClearCorrect? Both of these tools can be highly useful functionalities, so using these can offer an excellent option to help reduce revisions and refinements in your orthodontics cases.
What are Virtual Power Chain and Digital Power Chain?
Virtual power chain (VPC) and digital power chain (DPC) are highly useful tools for patients who are having lots of IPR or spacing. It’s vital to supervise patients with VPC or DPC closely to ensure good results.
There are numerous benefits of these. Notably, they can save on refinements for spacing patients or if too much IPR was done initially. However, VPC or DPC may cause additional crowding in some cases.
How to Get VPC or DPC
If you need to get VPC or DPC, you’ll likely need to ask for these from your chosen provider. Remember: these are optional kits, so you will need to ensure that you opt in to these when ordering. You can set VPC as a preference, but you likely won’t need them if you do accurate treatment plans in the first place.
And don’t forget: the VPC or DPC will usually be used right at the end of your ClearCorrect or Invisalign course, so remember that they could be unnecessary if the patient’s treatment plan goes well. Use them one at a time and have the patient check in between to work out the most effective approach.
Using Overcorrection Aligners: What You Need to Know
Using Overcorrection Aligners: What You Need to Know
Overcorrection aligners aren’t always the easiest to use, but there are plenty of options you could consider in this regard – and today, we’ve outlined some of the key things you should know about overcorrection custom aligners to help inform your choice.
What are Overcorrection Aligners?
First of all, we need to clarify what overcorrection aligners are. As the name suggests, overcorrection aligners are specialist custom aligners that overcorrect for a case. However, it’s not always necessarily a good option to consider; ideally, you should be optimizing your treatment plans properly first.
There are two types of overcorrection aligners you could consider. The first is virtual power chain (VPC); the second is overcorrection of other issues, such as overbite, overjet, and the like. Whether you will need to do this will depend on the specific case.
One of the main reasons people end up using overcorrection custom aligners is that they’ve started out with an unoptimized treatment plan. Make sure your treatment plans first to create a predictable treatment plan and reduce the risk of needing overcorrection aligners.
Where Can I Get Overcorrection Custom Aligners?
If you need to get overcorrection custom aligners made for a client, there are several options you could potentially consider. Invisalign publicly advertises that it offers overcorrection custom aligners. However, if you usually work with another custom aligner provider, you may be able to contact them to see whether they’re able to provide these.
What Should you Charge for Braces or Invisalign Re-treatment Case, or How much Refund to Give?
What Should you Charge for Braces or Invisalign Re-treatment Case, or How much Refund to Give?
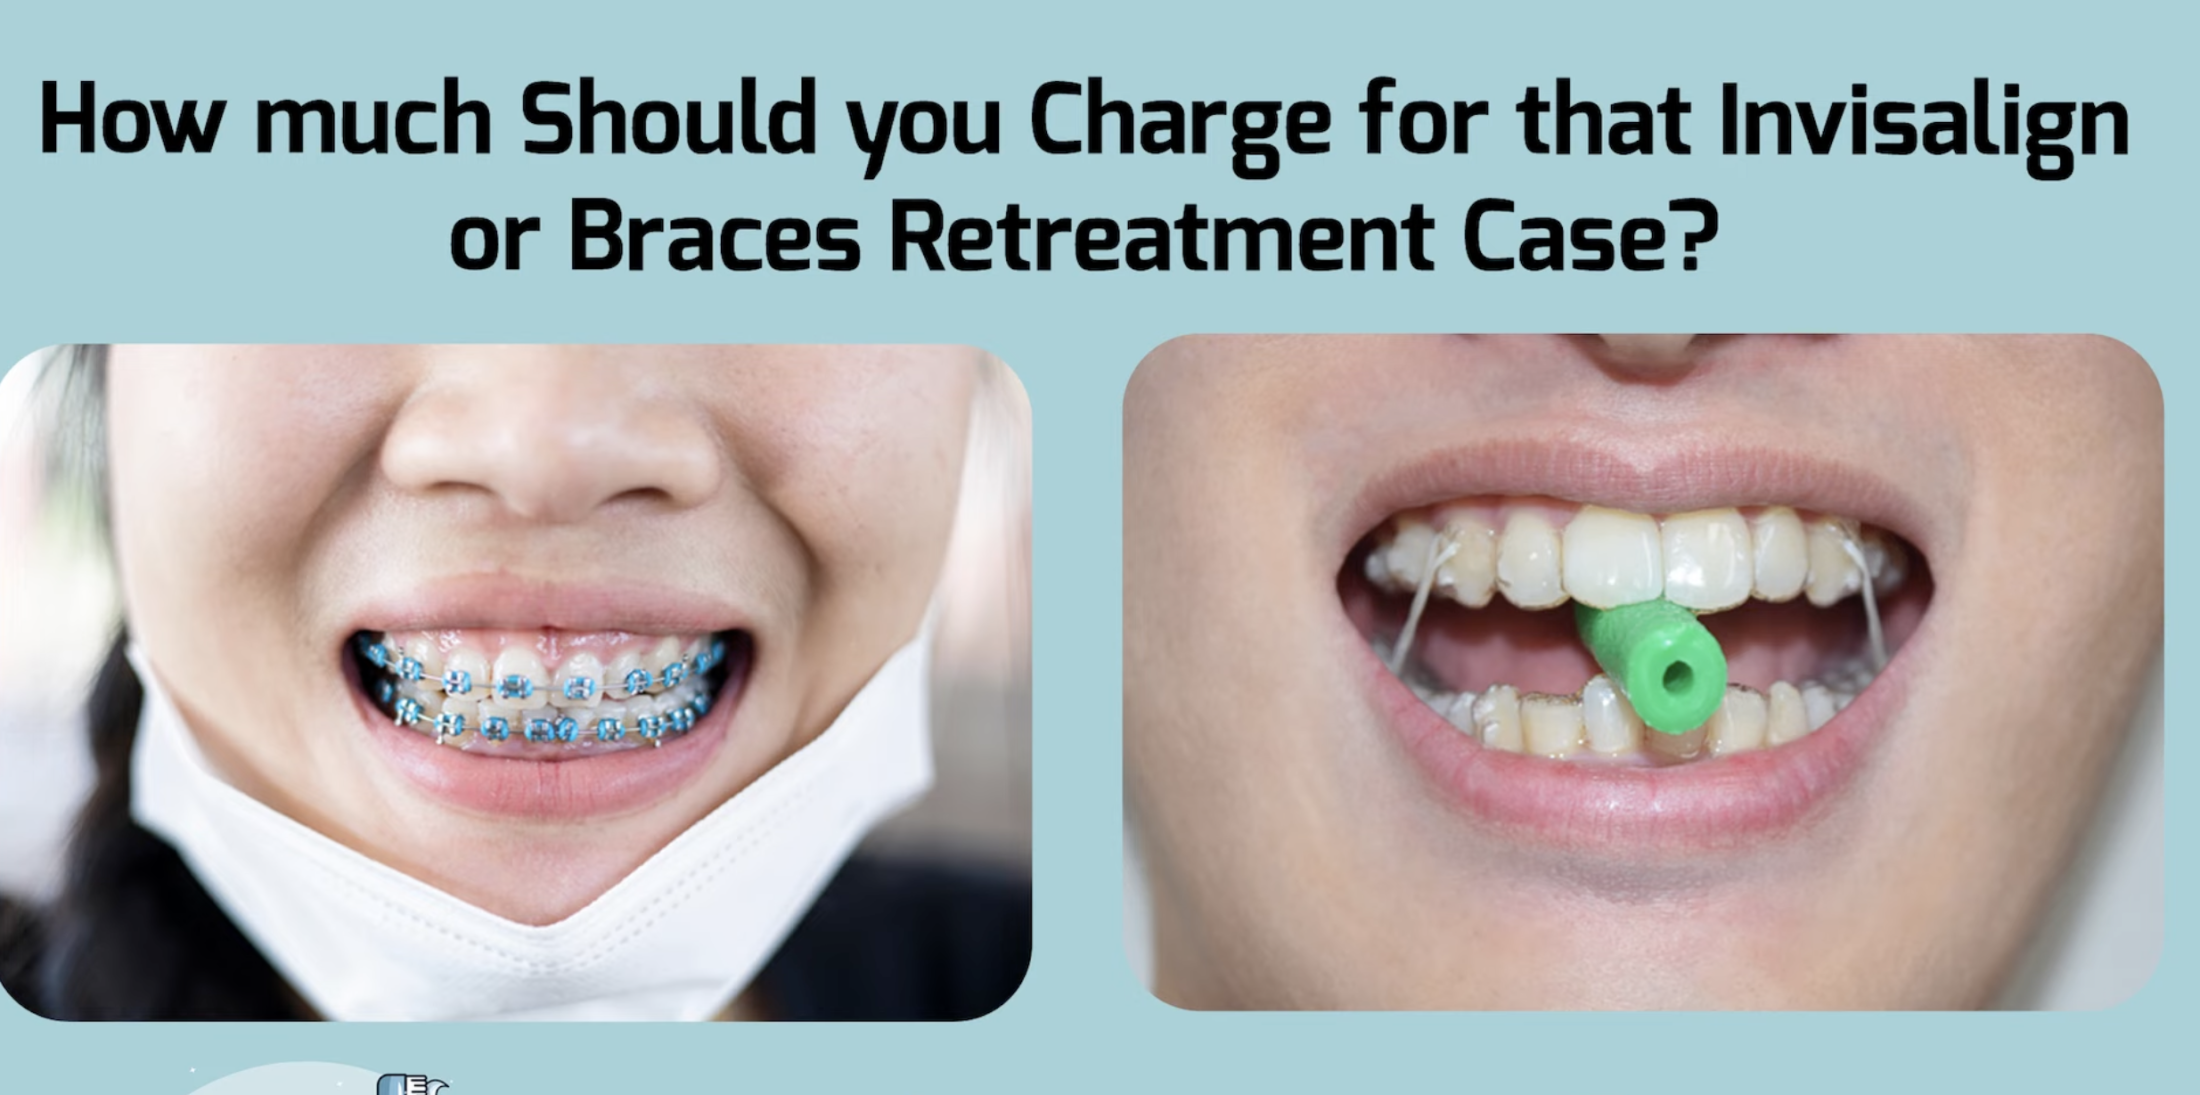
Determining the appropriate cost for braces or Invisalign re-treatment cases and navigating refund amounts requires a thoughtful approach. Balancing factors such as the case’s complexity, treatment duration, materials used, and the practitioner’s expertise is essential. Equally important is considering patient satisfaction and maintaining a fair business relationship. Striking the right balance ensures both the orthodontist and the patient are content with the outcome.
When you have your patient seeking re-treatment after finishing Invisalign or braces due to relapse or dissatisfaction, there are several factors to consider when determining the appropriate charges. Remember that each case’s details will influence your decision, and it’s important to handle it carefully to avoid potential conflicts.
Timing of Treatment Completion
The timing of when the patient completes their initial treatment matters. If it was very recent, you might be more lenient with charges compared to cases where more time has passed since their initial treatment.
Patient Agreement Documents
Check if the patient signed a statement of satisfaction or a debond/congratulations form at the end of their initial treatment. These documents can help establish the patient’s understanding and acceptance of the treatment outcome.
Retainer Agreement
Review whether you had a clear retainer agreement in place with the patient. This should outline the retainer schedule, expectations, and any associated fees. If you have this documented and signed by the patient, it will help determine responsibility.
Appointment Compliance
Consider whether the patient consistently attended their scheduled retainer appointments. If they missed appointments or did not adhere to the retainer instructions, your decision on charges could be impacted.
Documentation and Records
Ensure you have photographic evidence of the retainer fit at the time of delivery. This documentation can be crucial in establishing whether the fit was proper initially and if any changes occurred over time.
Treatment Complexity
Evaluate the complexity of the initial treatment. If the case was simple, you might offer more affordable re-treatment options, such as express aligners, which can be cost-effective for minor adjustments.
Liability Insurance
If the situation seems complex or uncertain, it’s recommended to consult with your liability insurance company. They can help guide you in making the right decisions while protecting your practice.
Patient Relations and Social Media
Recognize the importance of maintaining positive patient relations. Disputes can escalate on social media platforms, potentially damaging your practice’s reputation. Offering reasonable solutions and ensuring signed agreements can mitigate these risks.
Choosing Re-treatment Options
Depending on the situation, you might consider re-treatment with options like White label aligners to address minor concerns without a high lab fee.
Know When to Let Go
In some cases, it might be in your best interest to provide a refund or re-treatment and have the patient sign a document that releases you from any further obligations. This could help prevent future complaints or legal issues.
Summary
Every situation is unique, and these variables should guide your decision-making process when determining charges for your patient seeking re-treatment. Balancing patient satisfaction, fairness, and your practice’s integrity is key to handling such cases effectively. Consulting with professionals or experts like Amanda Wilson from StraightSmile Solutions can provide additional clarity if you are unsure.
Overjets in Non-Growing Adults: Should You Fix Them?

Have you ever had an overjet case and felt unsure of how to treat it? In many cases, it can seem a little difficult to know how to approach these before ortho starts, especially when the treatment plan needs to account for the fact that the patient is no longer growing. Nevertheless, we’ve outlined some of the main things you need to know about overjets as part of your dentist consultation service.
Should You Fix an Overjet in Non-Growing Adults?
Overjets are relatively simple to fix in growing patients, but non-growing cases can require an entirely different treatment plan. As such, it’s not necessarily easy to tackle at the outset – however, there are things you can consider to help you work out whether you should be taking on a particular overjet case and the right treatment plan.
So, what should you consider in these cases? Well, you’ll need to consider the following factors:
– Screen for OSA before attempting any cases
– Check whether the patient experiences sleep apnea
– Draw an E-Line before ortho starts; the lower lip should be at or behind the line and the upper ahead of the line
Just because a patient is asking for a particular treatment does not mean you should necessarily do it. This is especially true in cases where the requested treatment plan will compromise health.
Overall, elastics and aligners or braces generally won’t give good results in non-growing adults. Thus, it’s important to keep this in mind, as the results will often vary for adults compared to what you might expect from a mixed dentition dentist consultation.
Don’t forget that some cases may be covered by medical insurance. Make sure to check this if the patient is struggling financially. Alternatively, if the patient isn’t suitable for fixing overjets in non-growing adults, they could consider lip fillers to help fix the profile.
Get Professional Support
If you need professional support from your dentist consultation, our professional team here at Straight Smile Solutions can help. Don’t compromise; contact us today to learn more about starting an overjet treatment plan right.
Esthetic Plane, E-Line, Lip Position in Orthodontics, Naso-Labial Angle
Esthetic Plane, E-Line, Lip Position in Orthodontics, Naso-Labial Angle
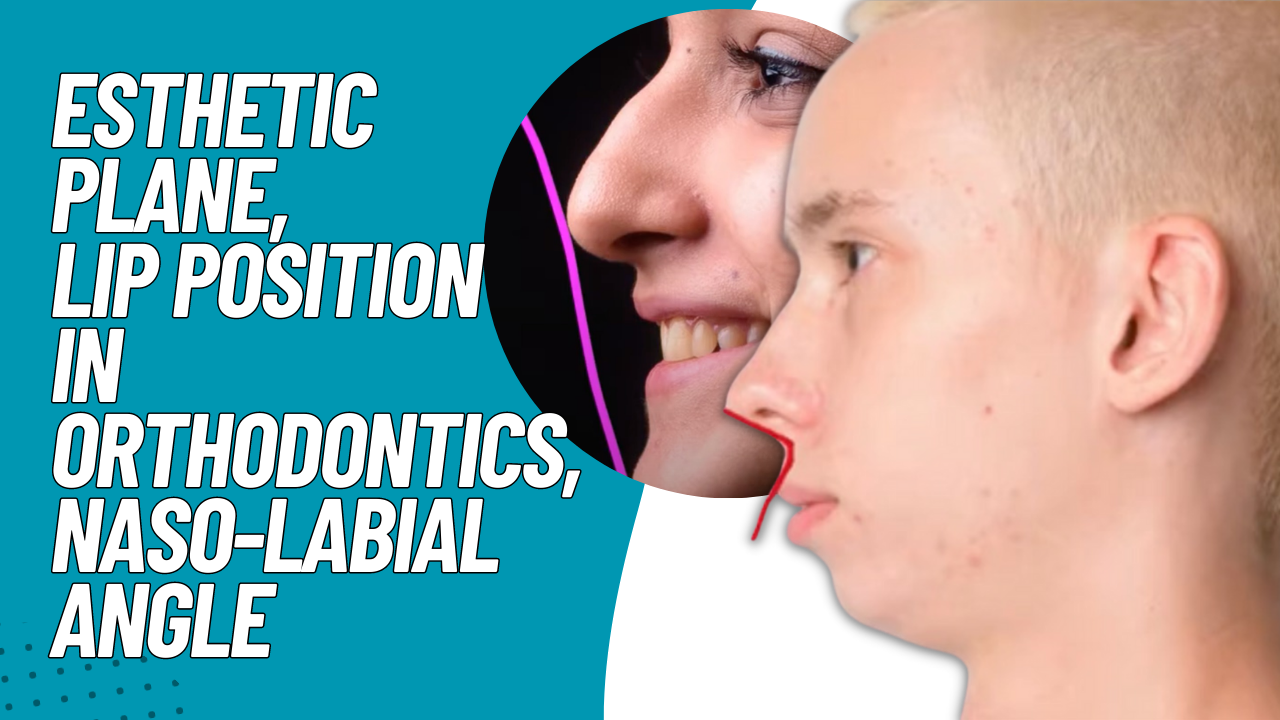
“Profiles” is the silhouette of a person’s face as seen from the side. This aspect holds immense importance when setting up an orthodontic case, regardless of whether it involves braces, clear aligners, or other orthodontic treatments.
Understanding the impact of profiles, both short-term and long-term, is crucial in orthodontics. However, comprehending this facet comes with experience and a deep understanding of the consequences of different movements on facial aesthetics. Often, general and pediatric dentists need to be made aware of these intricacies, and even aligner technicians might not fully grasp them.
My name is Dr. Amanda from Straight Smile Solutions.
Here are a few patient profiles:
Prominent Features with Underdeveloped Chin: If a patient has strong features but an underdeveloped chin, avoiding any orthodontic strategy could further recess the lips is essential. Instead, aim to enhance their profile, possibly suggesting lip-enhancing treatments like dermal fillers. Steer clear of extractions that could exacerbate the concave appearance of their facial structure.
Enhanced Lips with Weak Chin: A patient with enhanced lips but a weak chin might require a different approach. Consider orthognathic surgery or alternative solutions after a comprehensive assessment. With the potential of obstructive sleep apnea, conduct a sleep questionnaire to ensure comprehensive care.
Balanced and Harmonious Profile: A patient with a balanced and harmonious profile presents a prime example of an ideal profile. Avoid any unnecessary changes and focus on maintaining the existing balance. This patient might not require significant alterations, as their natural features are already harmonious.
Straight Profile with Potential Bite Issues: When evaluating a patient with a straight profile, Examine their mesial labial angle and nasolabial angle. These angles can provide insight into potential bite issues or airway concerns. This is especially true when there’s a class-3 bite or other discrepancies.
Understanding the concept of the Aesthetic line (e-line)
This line connects the nose tip to the chin and helps assess the lips’ position. While variations are expected, achieving a balanced upper and lower lip position relative to the e-line is essential. This knowledge guides us in devising the most appropriate treatment strategies.
For younger patients, an early treatment phase (Phase 1) becomes crucial. Detecting developmental discrepancies early allows you to intervene and guide the growth of facial structures. This not only enhances aesthetics but can also positively impact airway function and overall well-being.
Summary
Patient profiles hold immense value in orthodontics. You are responsible for communicating openly with patients about their preferences and understanding the potential implications of different treatment approaches. By aligning your strategies with their expectations, you can deliver comprehensive care that enhances smiles, boosts confidence and comfort. Remember, orthodontics isn’t just about straightening teeth; it’s about transforming lives.
Measuring Fixed and Removable Expander Compliance with Jackscrew Threads
Compliance is a vitally important component when it comes to your fixed and removable expander treatment plan success. With this thought in mind, making sure that you have looked at some of the different aspects of a successful expander treatment plan is vital, and ensuring your patients are compliant is essential for finishing cases while reducing revisions and refinement.
How to Measure Compliance with Your Treatment Plan Through Jack Screw Threads
Turning the expander can be a little tricky for a patient who has never done so before, so compliance isn’t always easy to measure; indeed, even patients who swear they’ve done the turns may be accidentally non-compliant due to turning in the wrong direction. Thus, measuring compliance is crucial, no matter how confident the patient is that they followed the treatment plan carefully.
Luckily, you can measure jackscrew threads to monitor compliance. At the start, the screw head will be at zero. However, each time you see an additional screw thread, this indicates that four turns were done. As such, if there are three screw threads visible, you can assume that twelve turns have been done.
Key Considerations
Always remember that you will always have a small amount of relapse, especially if the expanders are removables. You should also monitor the number of jackscrew threads that are visible from visit to visit. If the number of jackscrew threads doesn’t change between visits, it’s likely that the patient may not have been doing their turns.
However, it’s important to consider why expansion might be needed. Always check that:
- the palate is still vaulted
- the eruption planes are still there
- the upper arch is at least 50% wider than the lower arch
Get Professional Support Today
If your patient is struggling to remain compliant with their orthodontics treatment plan, there’s a good chance that finishing cases may take longer with more revisions and refinement. Luckily, if you need more support with finding the right treatment plan or training parents and patients on how to complete successful turns, contact our experts here at Straight Smile Solutions today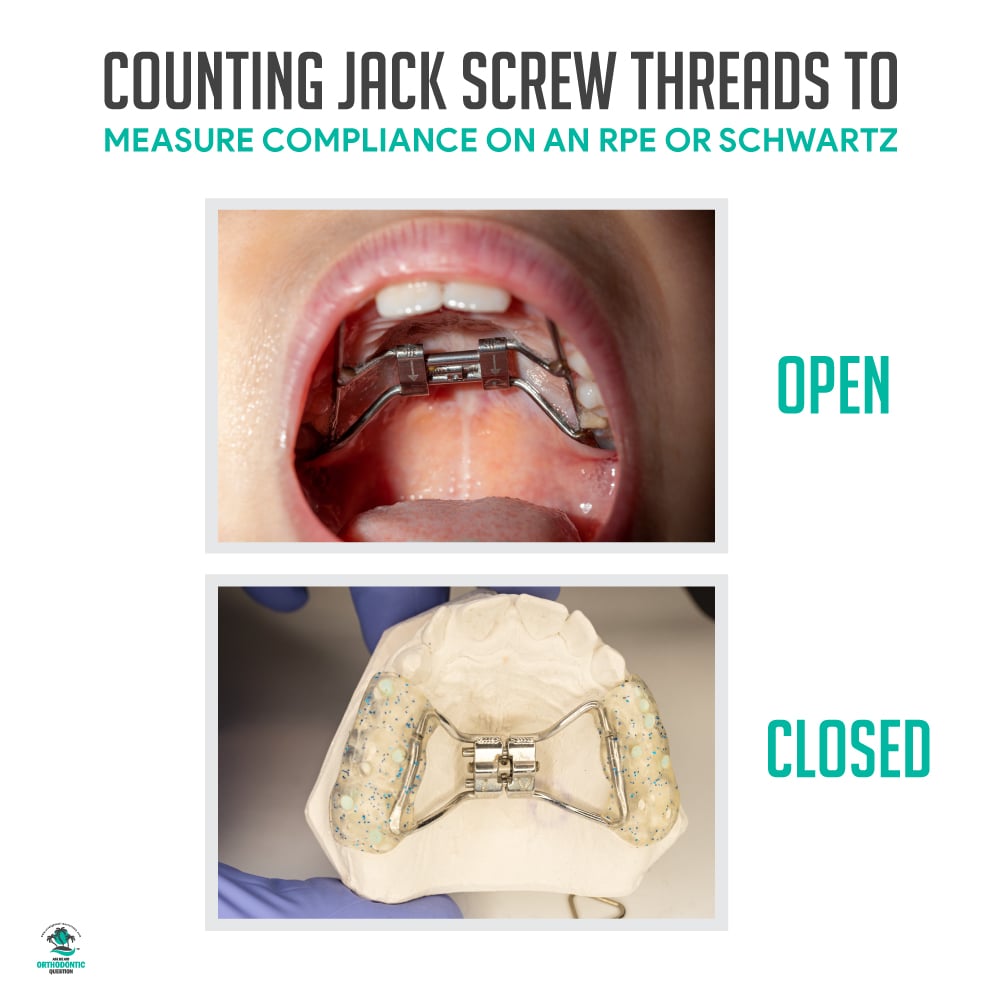
Advanced Protraction Face Masks for Class 3 Maxillary Retrognathic Growing Patients
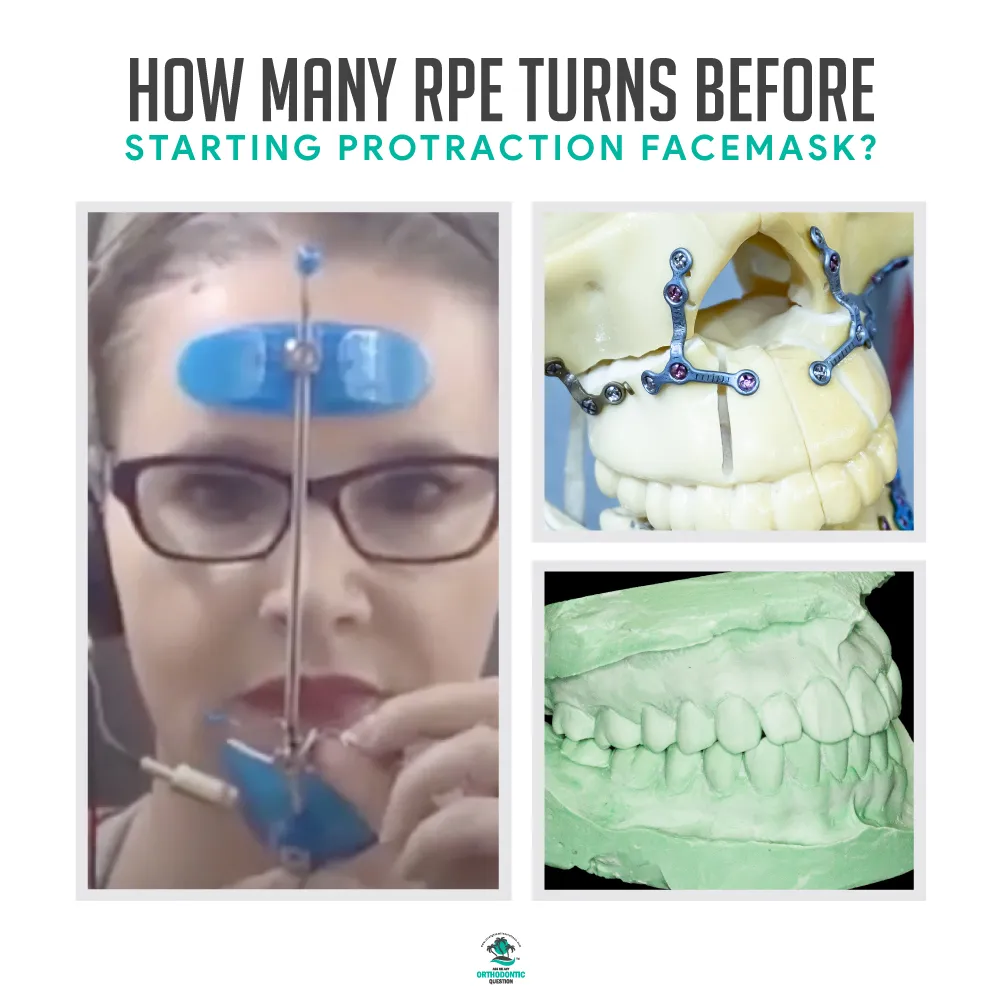 Ever wondered about how to create a treatment plan for class 3 retrognathic growing patients? In many cases, this can be a little tricky to define – but luckily, we’ve outlined the main things you need to know about how to tackle these case first to help. However, make sure you’ve checked our other ortho classes before starting on this to ensure you know how to approach the treatment plan.
Do Expansion Before Using a Protraction Facemask
Before ortho starts on a class 3 retrognathic patient, one of the first things you’ll need to do is expansion since constricted maxillas can be common. Even patients with constricted maxilla may still need expansion, so this is important to keep in mind.
Before starting the treatment plan, advance the maxilla to a class 1 or class 2 in a simulation to see how much expansion is needed. The expansion loosens the sutures in the maxilla, provided the patient isn’t post-pubertal.
How Long Should the Protraction Face Mask Be Worn?
The protraction face mask needs to be worn for around 14-16 hours each day. Because of this, it’s important that ortho starts when the child is young and able to meet this; in many cases, older post-pubertal kids won’t be compliant, making finishing cases successfully hard.
Get Support for Further Guidance
If you need further guidance for your class 3 maxillary retrognathic growing orthodontics patients, don’t hesitate to contact our experts here at Straight Smile Solutions today. We can help you understand a little more about using expansion as part of the treatment plan for protraction face masks.
Compromised Overjet Cases- Avoiding Liability
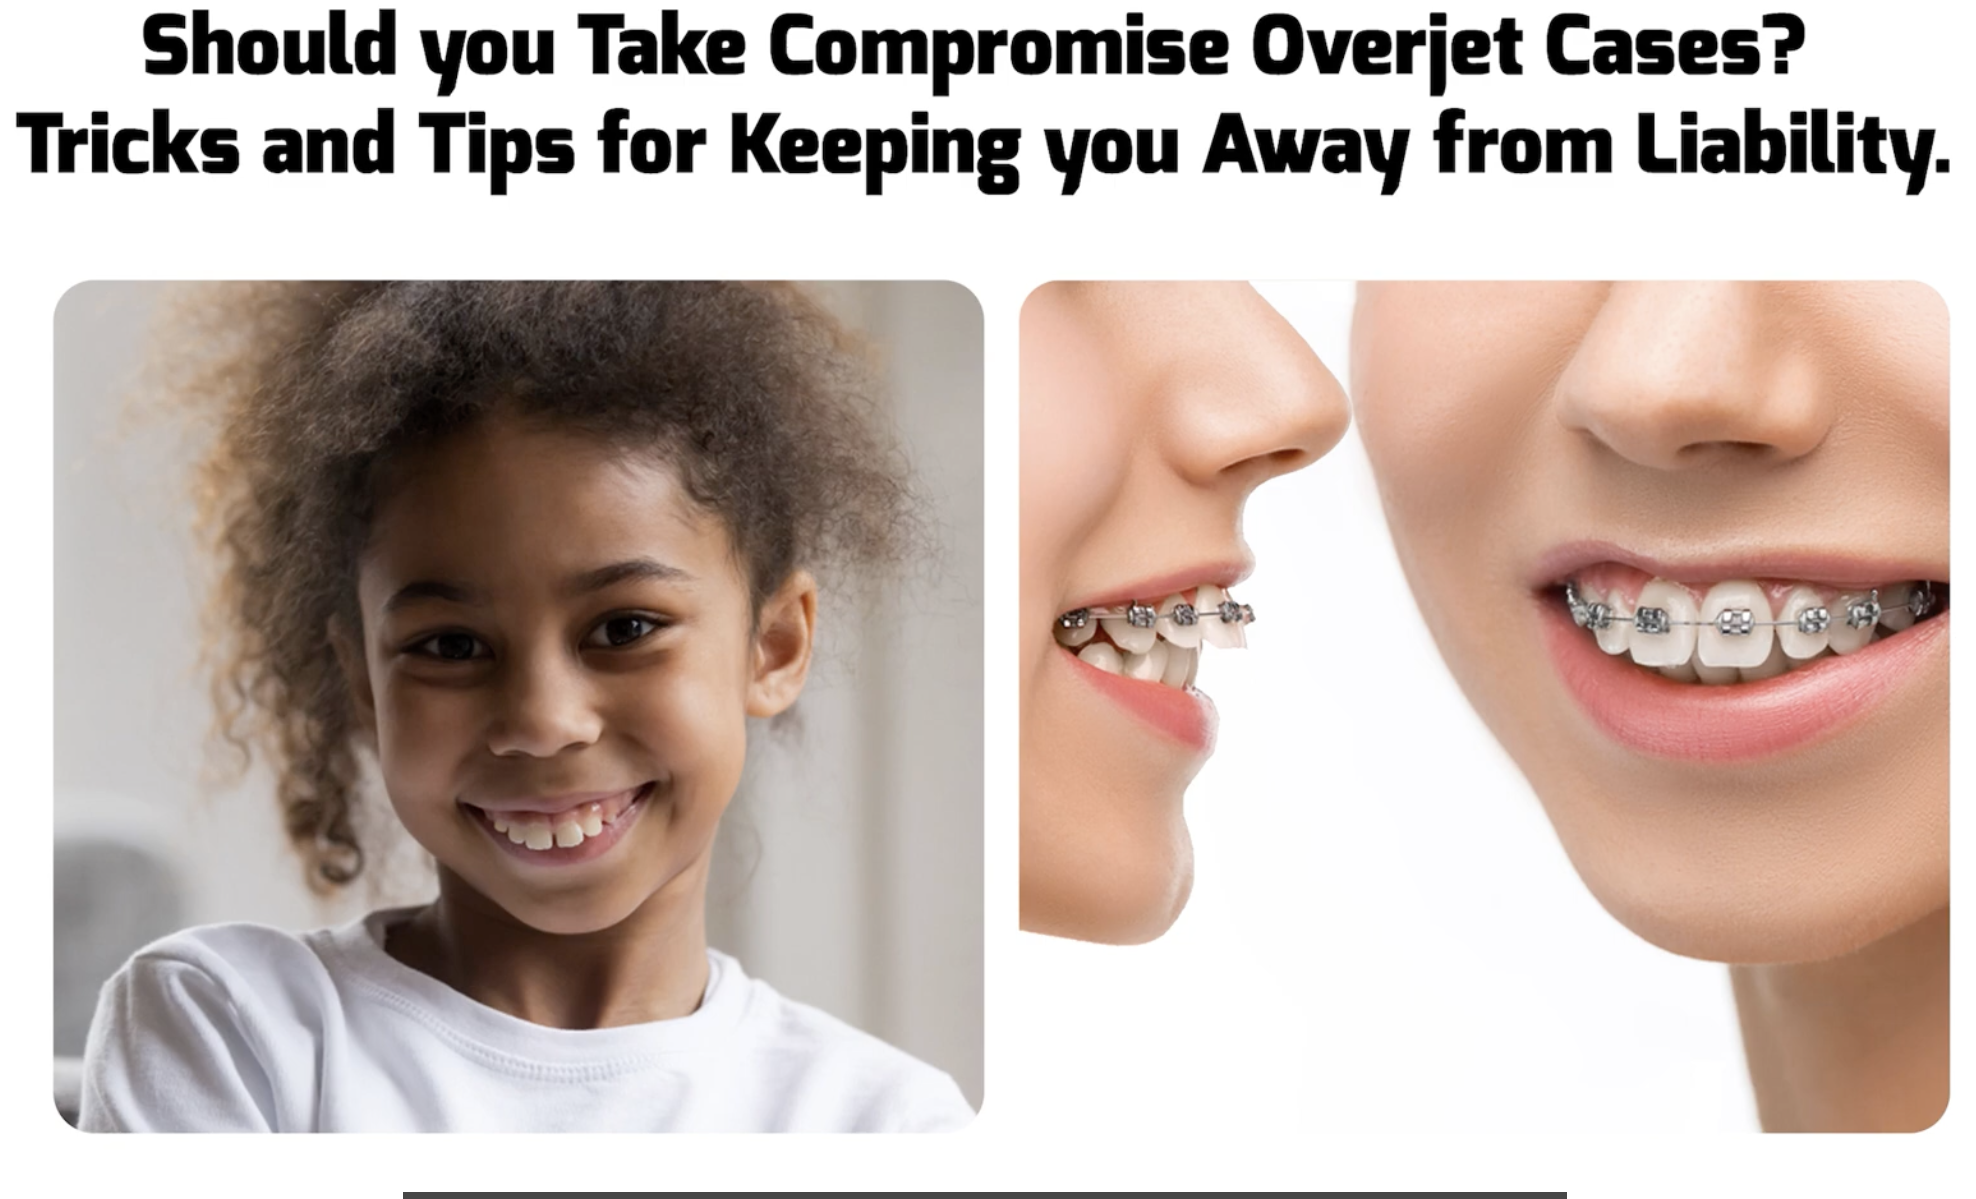
Compromise Overjet Cases: How to Avoid Liability
Have you ever wondered about how to avoid liability in compromise overjet cases? Often, it can seem difficult to work out whether a compromised overjet case is safe to take, but there are several things you should consider here before ortho starts. Luckily, we’ve outlined a few key things you should know here to help.
Things to Consider Before Ortho Starts on Compromised Overjet Cases
Before ortho starts, there are several things you will need to know first. Remember, a compromised case means that the treatment plan won’t be finished to a perfect standard. While this can be an improvement still, it may leave a patient potentially unhappy with the results – leaving you at risk of liability.
First, check whether the patient is still growing. Girls tend to stop growing earlier than boys, but even between the ages of eight and seventeen years, growth is still possible. As a result, it’s worth considering whether it might be below standard of care to provide a compromised case to an under-eighteen-year-old. For us here at Straight Smile Solutions, any growing cases do not meet what we deem to be the minimum standard of care. Always do due diligence to check whether the patient is growing.
If the patient is over eighteen and isn’t growing, start by checking the chief complaint with the patient. The chief complaint doesn’t necessarily tie in with the treatment plan the patient has requested, you will need to explain this to them; sometimes, what the patient asks for could risk harming the profile or giving a result that the patient doesn’t expect. If you don’t feel comfortable with a treatment plan the patient asks for, don’t do it.
Always also check whether there are any health conditions that could put you at the risk of liability. For example, if there’s a risk of it compromising the airway and the patient has sleep apnea, it may not be a safe treatment plan to pursue.
What Options Are There?
There are numerous treatment options for overjet cases. These may include Invisalign and clear aligners, braces, extraction, anterior IPR, IPR on the maxillary arch, mandible advancement, and so on.
Get Professional Support for your Orthodontic Cases
Every case is unique. So, if you need further guidance, ideas, or support regarding your own orthodontic cases before they start, please don’t hesitate to contact our friendly experts here at Straight Smile Solutions to book your consultation. We’re here to help!
When Braces Cases need Max Anchorage
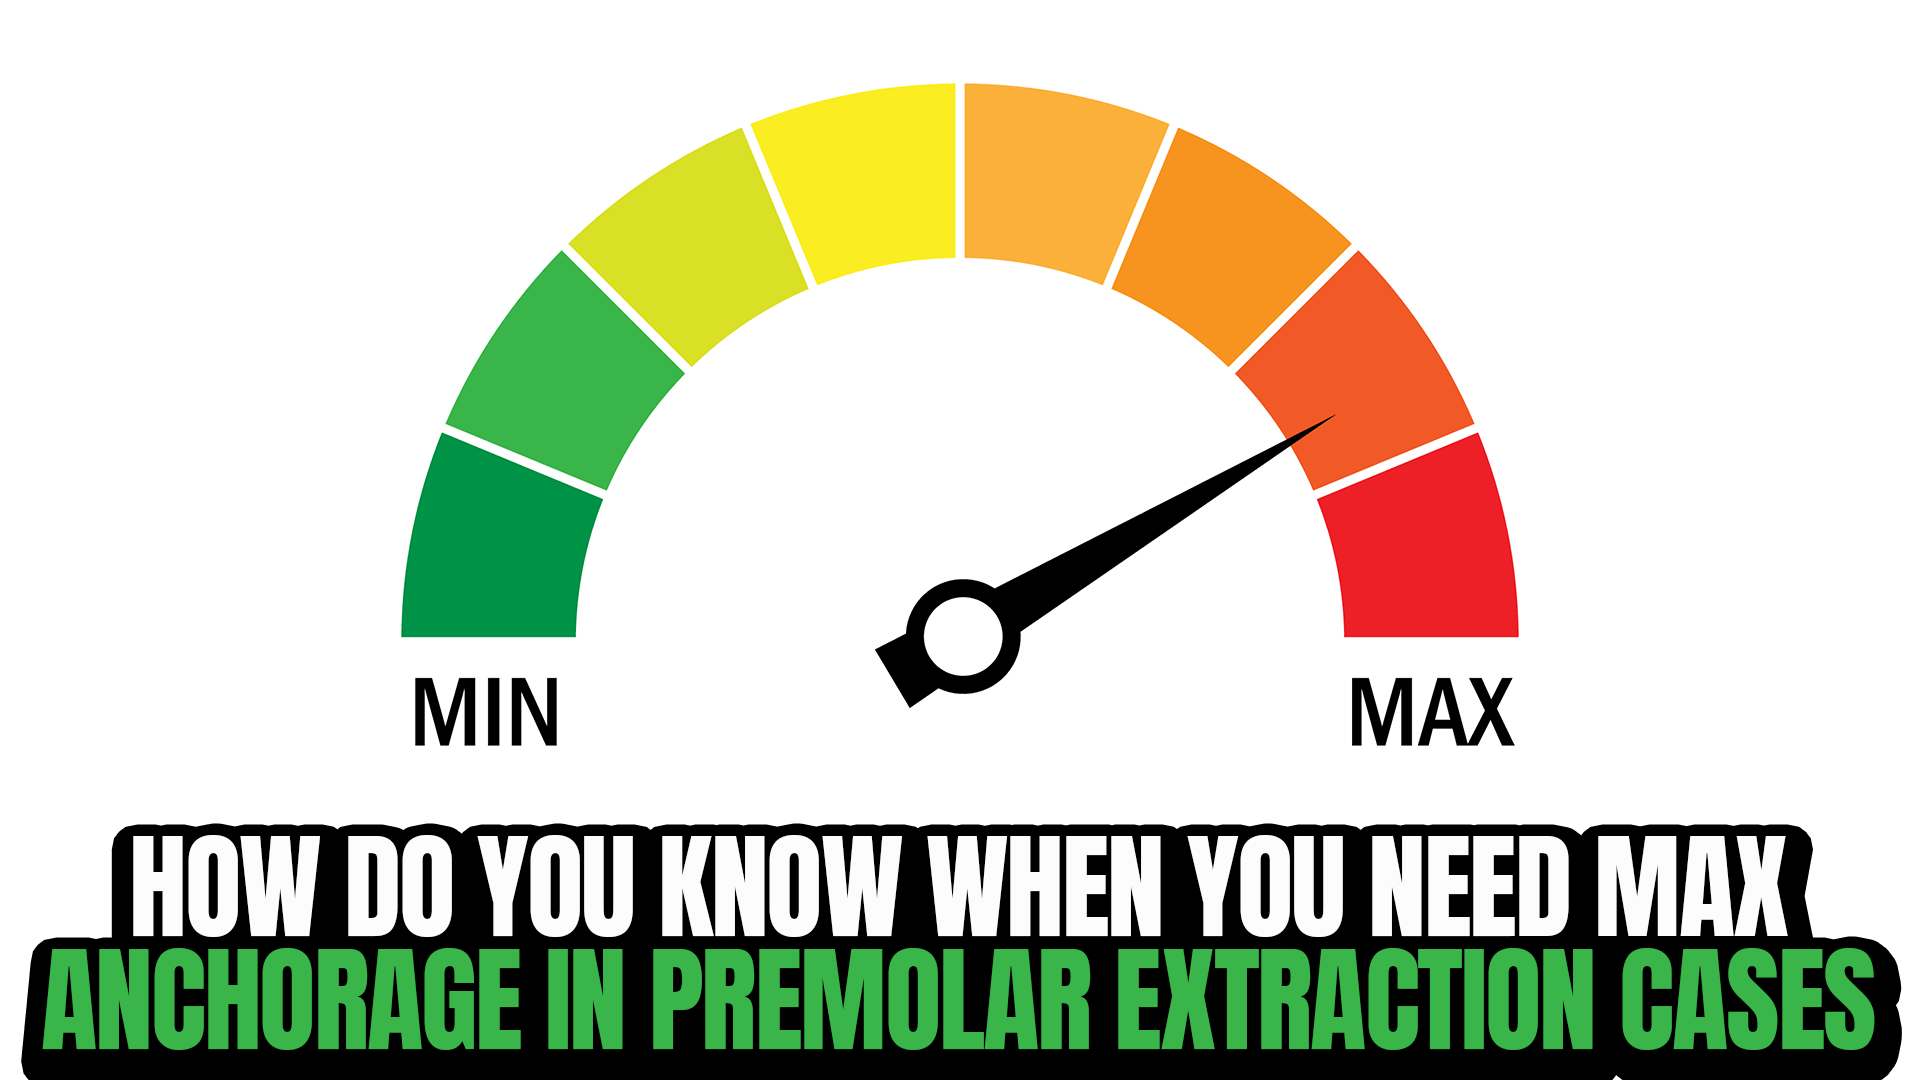
When Braces Premolar Extraction Cases Need Max Anchorage
Have you ever wondered about when your braces premolar extraction cases might need max anchorage? It’s not always easy to determine how much anchorage a braces treatment plan might need, but there are several things you can consider as part of this decision – and we’ve outlined some of the key things you need to know as follows.
When Do Braces Premolar Extraction Cases Need Max Anchorage?
It’s not always clear when premolar extraction cases need max anchorage at the outset, but there are a few things you can do to help work this out.
Notably, we should first stress that premolar extractions should only be done if they are absolutely necessary; this often won’t be the case in patients who are still growing. But if you have determined already that the patient is a good candidate for premolar extraction, you’ll then need to look at the anchorage you’ll need.
If the case isn’t particularly severe, you may not need max anchorage; in these scenarios, slip anchorage from both sides may be suitable. This is mainly true if you have a suitable 7mm space and you’re filling it from both directions; contrastingly, if you can only fill it in one direction with max anchorage, this will be a slower treatment plan.
Before approaching these cases, it’s important to first make sure you understand what BiMax Anchorage is to help. In these cases, we typically use internal anchorage (e.g. a lingual arch) on the bottom and either a Nance or Trans Palatal Arch on the top. When you remove the premolars, this in turn results in higher levels of anchorage to help fill a gap without the back teeth slipping forward.
Get Professional Support for Your Dental Case
If you have been having difficulties with your braces treatment plan, make sure you’ve considered today’s key points to help. However, if you have any further questions regarding your patients’ treatment plans, don’t hesitate to contact our experts here at Straight Smile Solutions to book a consultation with our team.