
StraightSmile Solutions®
When are Braces better than Invisalign?

Braces and Invisalign are viable options for achieving a stunning smile and correcting dental misalignments. Each method offers unique advantages tailored to individual needs. With their traditional metal or ceramic brackets and wires, braces excel in addressing complex orthodontic issues, such as severe crowding or significant bite problems. Their fixed nature ensures continuous adjustments for precise results. Conversely, Invisalign’s discreet, removable aligners appeal to those seeking a more inconspicuous treatment and added convenience. They work best for mild to moderate alignment problems. Deciding between braces and Invisalign involves considering factors like treatment goals, lifestyle, and personal preferences.
Every orthodontist may have a different take on this, but having worked extensively with Invisalign, Dr. Amanda from Straight Smile Solutions (straightsmilesolutions.com) offers some insights. Many orthodontists lack sufficient experience with Invisalign, which leads to confusion for patients seeking treatment. Some might dismiss Invisalign as unsuitable for certain cases, while others will readily embrace it. If you encounter conflicting opinions, consider trusting the orthodontist who can show you cases similar to yours and their outcomes.
One key point to remember is never to commit financially to treatment until you’ve seen your clincheck. The clincheck is a simulation outlining the treatment plan and expected results. Any reputable orthodontist should be willing to show you this without any upfront payment.
In specific cases, braces might be preferable. For instance, braces might be more suitable if you have an impacted molar, especially if you need exposed-on surgery to align it. However, even in such instances, it’s not that Invisalign can’t handle the case—it’s just more challenging and might require additional fees or time.
Other situations where braces might be considered include an impacted canine. However, even in these cases, it might be possible, to begin with braces and transition to Invisalign later.
Invisalign is generally superior to braces in most cases. While you need to keep the aligners in your mouth, it’s not as difficult as it might seem. If you’re worried about compliance, your doctor can adjust the treatment plan to make it more manageable. For example, wearing the aligners only while eating might lead to slower progress but is still a viable option.
When choosing an orthodontist for your Invisalign treatment, look for someone with experience in plastic aligners, whether Invisalign or other clear aligner options. Ensure your doctor’s name is on the aligner bag, indicating they have the necessary expertise. Be wary of those who crowdsource or use another doctor’s account, as it may indicate a lack of experience and could lead to potential liability issues.
Conclusion
Research and find a qualified orthodontist who can guide you through your Invisalign journey. Don’t hesitate to shop around and ask questions before making financial commitments. Remember, your smile is worth investing in, so take your time and find the best treatment option and doctor for you.
How to Upright a Stubborn Molar with Invisalign
How to Upright a Stubborn Molar in Invisalign Cases
When it comes to creating an ideal Invisalign treatment plan, there’s a lot you may potentially need to consider. One such process you may need to try is straightening a molar to help make it more upright, and this can be a ltitle tricky if you’re new to orthodontics. Luckily, we’ve briefly outlined how to use ortho and clear aligners like Invisalign as follows to upright a stubborn molar.
How to Upright a Stubborn Molar in Invisalign Cases
If you’ve got an Invisalign case that requires molar uprighting, knowing how to approach this topic can be hugely important. These include the following points.
– Remove any 8s or wisdom teeth that are in the way before uprighting – trying to upright a molar with another tooth behind it likely won’t work well.
– Use attachments (buccal, lingual, and/or palatal) – the more handles you’ve got, the easier the case will often be. Without attachments, uprighting may not work.
– Don’t try Invisalign for a tooth with a crown – it’s often just not going to work unless you can cut the crown off.
– Check the crown to root ratio – if the roots are short, there’s a good chance the tooth may fall out during the clear aligner treatment plan. A minimum of a 1:1 ratio is important (ideally more). Get periodontist support with a prognosis in writing to help.
– Considering recontouring or spacer technique – if the neighboring tooth is too close and the height of contour doesn’t suit your case, you may want to consider recountouring or using the spacer technique as part of the treatment plan.
– Check occlusion – if needed, doing occlusal equilibration may be important to help prepare the tooth for an ortho clear aligner treatment plan.
– Make sure there’s full coverage of the tooth – if the tray doesn’t have full coverage, you may need to give Invisalign a call to address the issue and get a revision.
– Take a CBCT – make sure that everything’s looking healthy on a CBCT scan before you start.
Of course, always choose your patients carefully and put them on a virtual accountability loop to ensure they’re actually wearing their clear aligners as outlined in the treatment plan. As part of the Invisalign service, this is called “Invisalign Virtual Care,” and it’s free to use. Without this, they won’t see improvement.
Does my Invisalign or Clear Aligner Case Need Refinements?
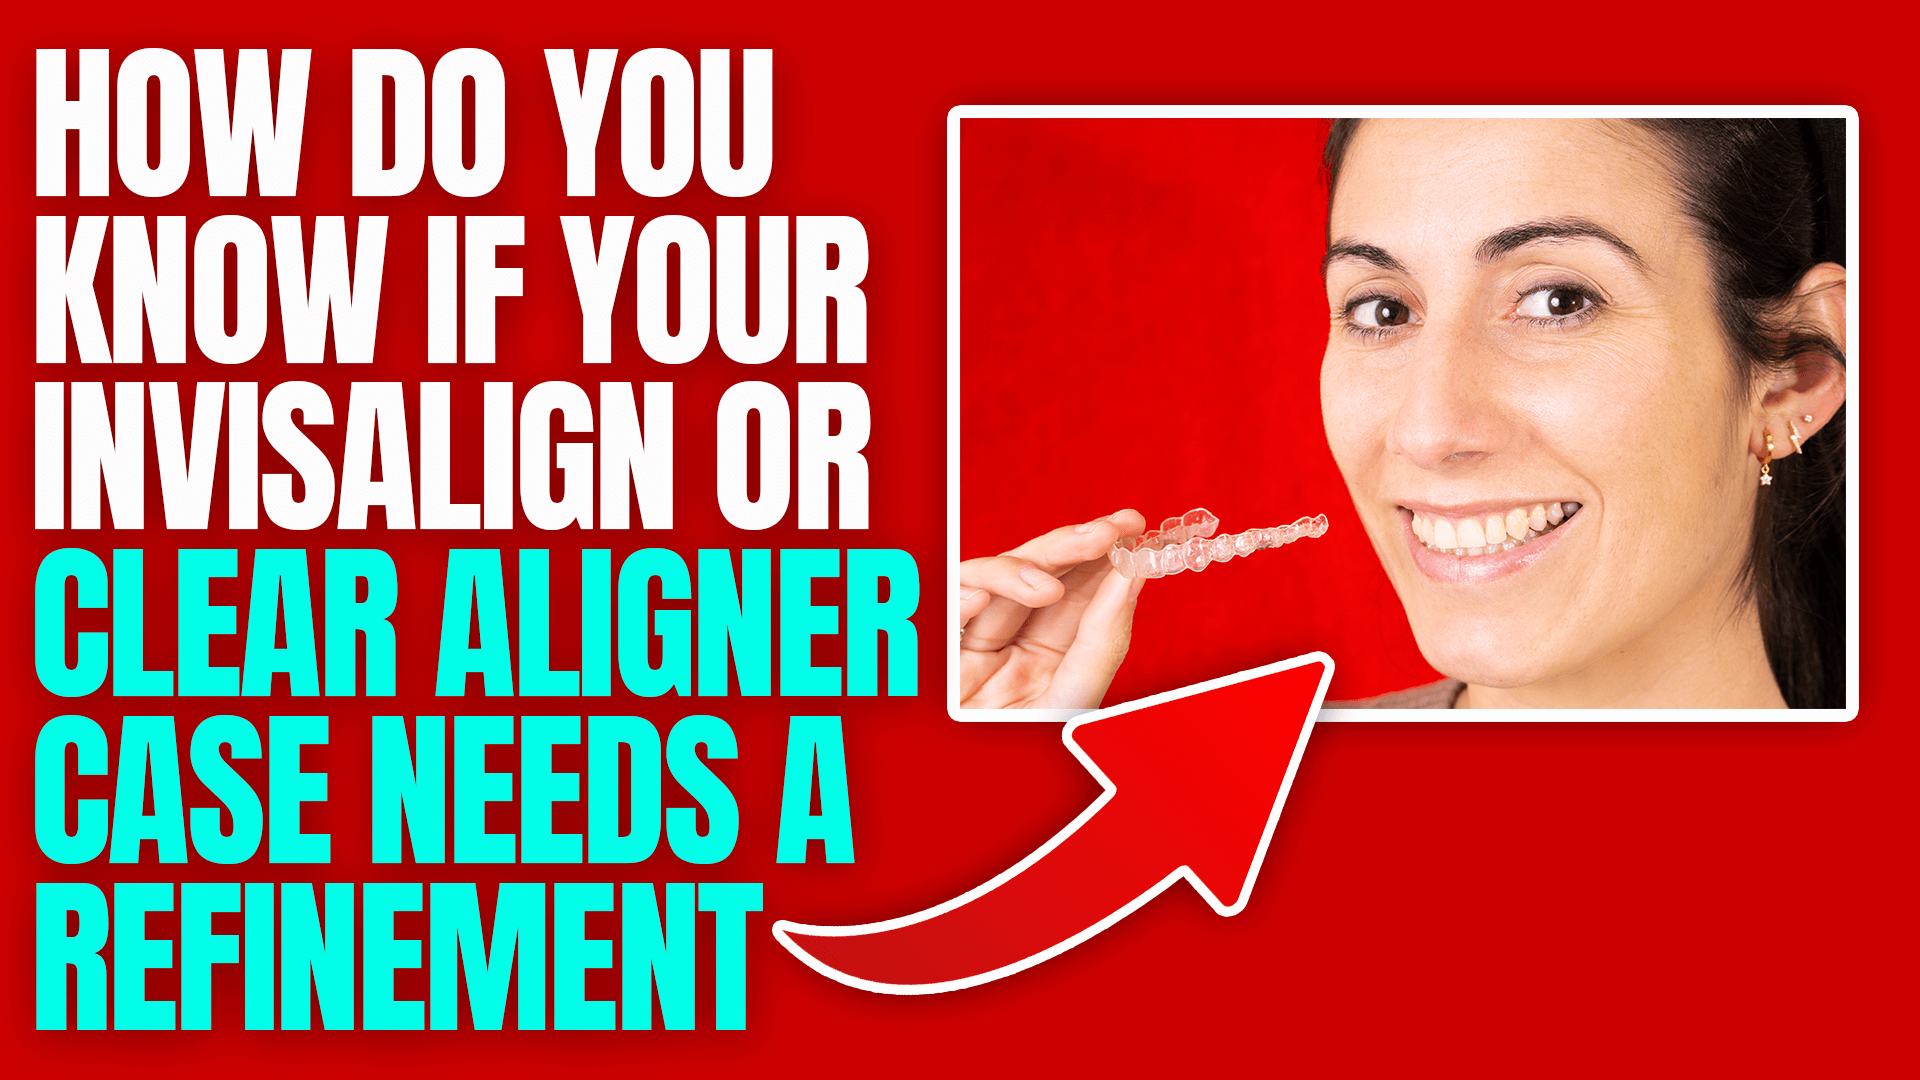
It’s not always easy to ascertain whether your Invisalign or clear aligner orthodontics case may need refinements. Ideally, if the treatment plan is managed properly at the outset, you won’t need to do revisions or refinements. However, working out whether you need to do further work after the treatment plan has finished requires a few steps.
Does My Patient Need Revisions or Refinements?
You may need to consider a few key things when deciding whether a case needs revisions or refinements. Notably, this falls into the category of either health-related refinements and aesthetic refinements.
Common health-related reasons to do a refinement include the following:
– Contacts on anterior teeth
– Inconsistent posterior contacts
– Perio traps or open contacts
There are also a few cosmetic (aesthetic) reasons to do revisions, depending on what the client wants, including:
– Non-symmetrical results
– Premolar rotation
Of course, this always depends on whether the patient is willing to do the revision. Make sure you allow the patient to have control and choose how they would like their treatment plan to progress if they want it to; giving them a mirror once you’re done is a good option in this case. So long as you stick with unlimited or comprehensive cases, refinements are usually free (or charged just at the shipping fee) within a certain window of time.
However, never do a refinement if it’s going to cause health complications for the client. Always educate the client properly to help them find the right solutions to their needs.
Start with the Right Treatment Plan
In order to cut back on the number of revisions and refinements you have to complete, it’s important to make sure you start off with a highly accurate ClinCheck. You also need to ensure that the patient adheres to the treatment plan with regular orthodontic check-ins.
How Does Early Diet Influence Orthodontics in Later Life?
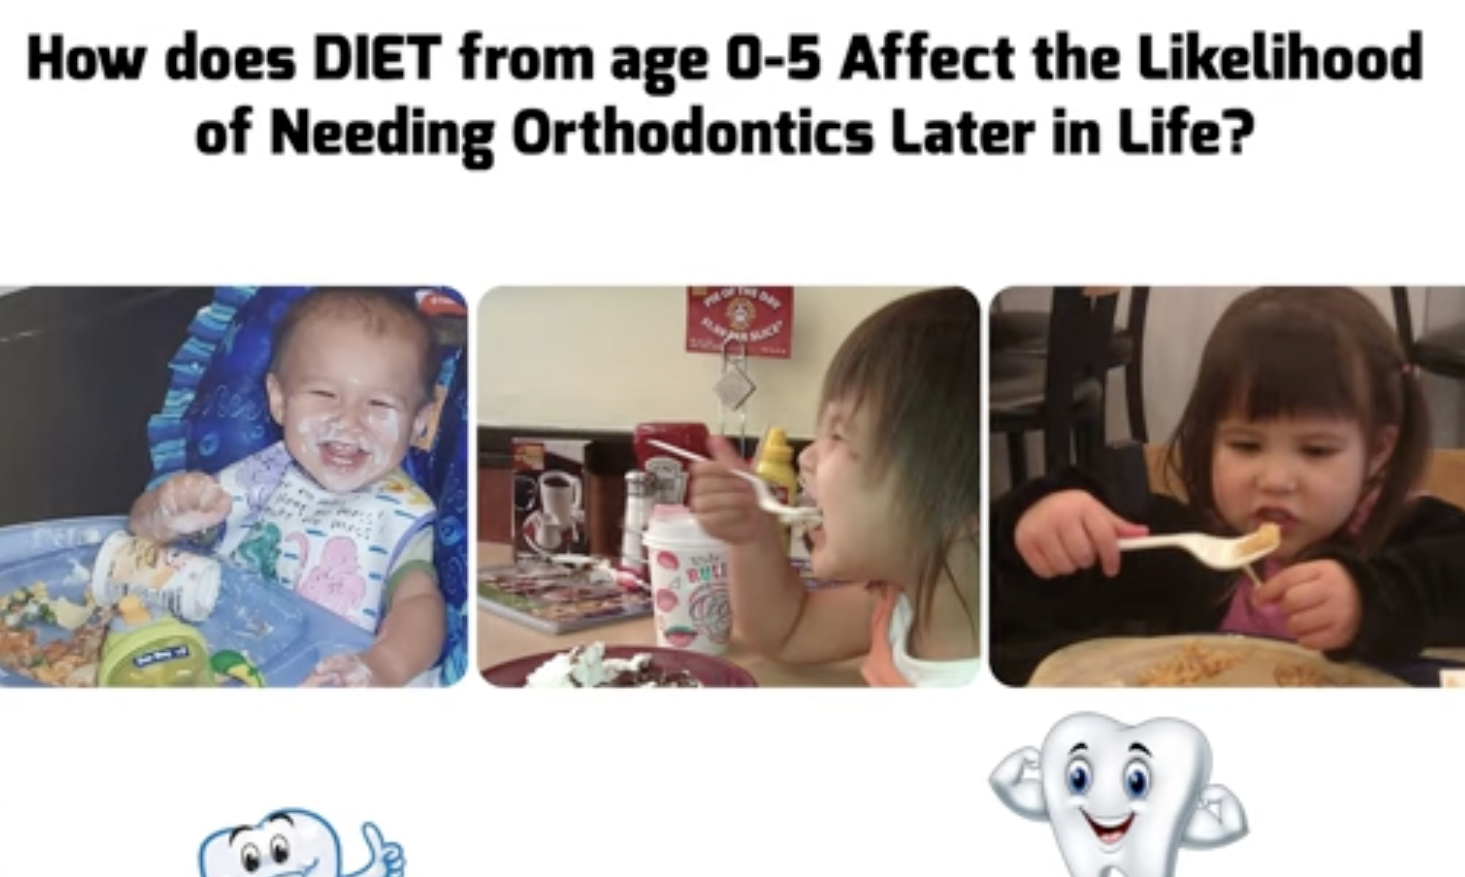
In many cases, a person’s diet can significantly influence their orthodontic treatment plans in later life. However, being aware of this can help dentists and orthodontists to guide parents on how to support their children’s overall oral health and structure.
How Does Early Diet Influence Orthodontics?
Many people overlook the fact that there may be a potential link between orthodontic treatment plans and early diet. Indeed, with such a long period of time between a child’s early diet and when they may need treatment, it’s easy not to think about this – but a growing number of orthodontists are noticing a trend between early diet and ortho treatment plans.
One of the problems that some children may have experienced with eating soft foods as a young child is that their diet doesn’t encourage the necessary jaw movements. As such, keeping this in mind can potentially influence whether a child needs orthodontics support for jaw movements and the like in later life.
However, this will always be the parent’s decision – so, letting them know about this from an early age can potentially allow them to make a choice based on their preferences.
How Dentists can Collab with an ENT
 Collaborating with an ENT
Have you ever thought about collaborating with an ENT (ear, nose, and throat technician) as part of your orthodontics work? In many scenarios, it’s easy to assume that collaborations will be limited to just other ortho professionals and the like, but this isn’t always the case, and sometimes you’ll need help from a wider pool of people.
Collaborating with an ENT
Collaborating with an ENT can be incredibly valuable for many patients and their treatment plans. However, it’s important to recognize that some ENTs may not be entirely open to orthodontics professionals, so you may need to find the right individual to help.
To begin the collaboration, it’s important to introduce yourself and explain how your field can overlap with the ENT’s specialty. Asking them in advance if they would be interested in a collaboration for referrals can really help – and keep in mind that you may need to contact quite a few before you get a positive response.
When you are working with the ENT, make sure you gather as much information as possible to make things easier for them. In addition, if you have any questions regarding airways (etc.), always get the specialist’s approval first before providing the orthodontics procedure. Remember, some patients may not be able to go through a particular treatment plan if it’s likely to impact their airways and so on.
Final Thoughts
If you’ve been thinking of collaborating with an ENT, it’s highly important to make sure you start out with professional support. Luckily, our experts here at Straight Smile Solutions can help if you have any questions for your dental treatment plan, and if we think support from an ENT might help, we’ll be able to let you know.
Should GP’s Treat Cleft Patients with Ortho?
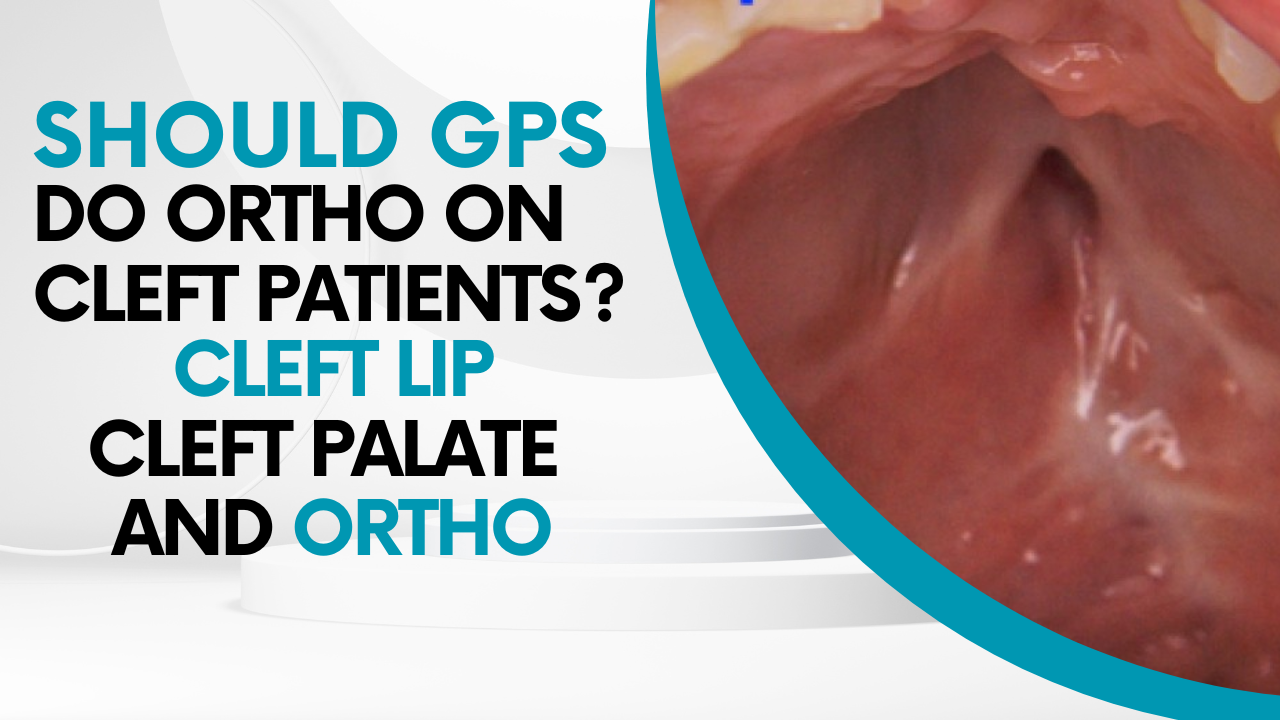
Should GPs Treat Clefting Patients?
Have you ever wondered whether orthodontics professionals and GPs should provide treatment plans for clefting patients? In many cases, cleft palates can seem like they’ll be outside of the scope of a general dentist’s orthodontics services. But how does this work? Should you attempt a cleft lip or cleft palate case? We’ve outlined the main things you need to know to help with this decision.
Should GPs Treat Clefting Patients?
If you’re a general dentist providing orthodontics services, you’ll likely want to avoid clefting patients in many cases. As a result, if you get a patient who has either a cleft palate or a cleft lip, it may be best to refer them to a specialist orthodontist for appropriate treatment. Failing this, you may want to refer the patient to a craniofacial team locally.
Of course, it’s worth noting here that the majority of cleft palate or cleft lip patients will have received surgery at a young age to resolve these symptoms. As a result, you may not see obvious signs, but there may be an abnormal ridge at the top of the mouth or missing teeth where the cleft was originally.
It’s worth noting that lip-only cases are generally less problematic than a full cleft palate, although these can still be much trickier to address – potentially being tighter or more likely to be a Class III case.
Get Professional Support
If you have trouble working out whether you should attempt a case or not, getting professional support can really help. So, don’t chance it; contact our experts for additional guidance in your own cases today.
The Value of Space Maintainers for Mixed Dentition Orthodontic Cases?
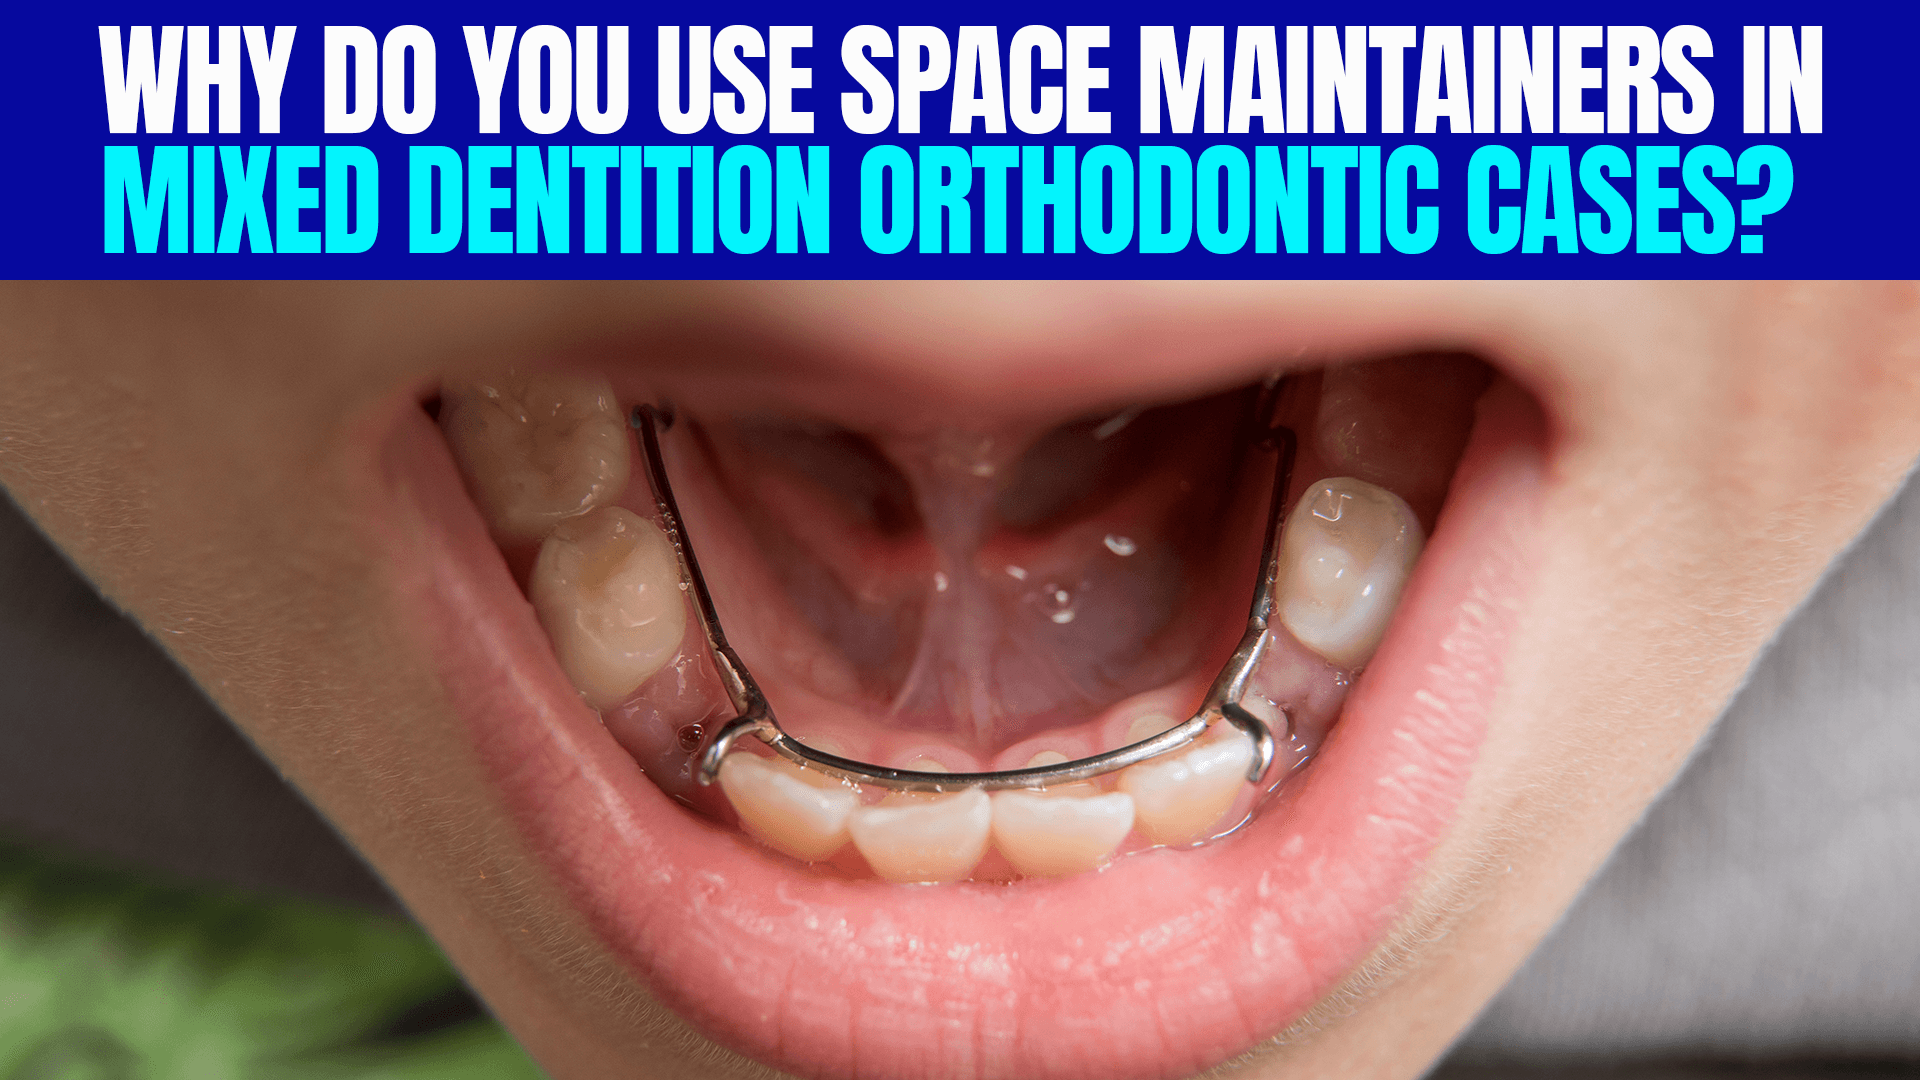
Have you ever wondered why you might want to use space maintainers for mixed dentition cases? There are several possible reasons to use these in your ortho cases, but it’s important to make sure that you’re still giving the patient the proper treatment plan – and these tools may not always be helpful.
What is a Space Maintainer?
First of all, we need to consider what a space maintainer is. Well, it’s really as simple as it sounds: a tool that’s used to help maintain the space between teeth. There are several options available here for orthodontics cases, such as lingual arches, nances, removables, and TPAs.
When to Use Space Maintainers
You might want to use space maintainers for numerous reasons, but the most common reason to use one is simply in cases where a patient has lost a tooth. In these scenarios, if a tooth is missing, using a space maintainer may help. In addition, patients with a very slight Class II or Class III where there has been marginal slippage may benefit from a space maintainer, depending on the scenario. If you have any questions about this, don’t hesitate to contact our experts here at Straight Smile Solutions for further support regarding when to – and when not to – use space maintainers.
It’s important to recognize that the transverse must always be correct at the outset before using space maintainers as part of a treatment plan. So, if there’s any crowding or the jaw is narrow, you probably won’t want to use space maintainers as part of the treatment plan.
How Much Pain is Normal During Palatal Expansion?
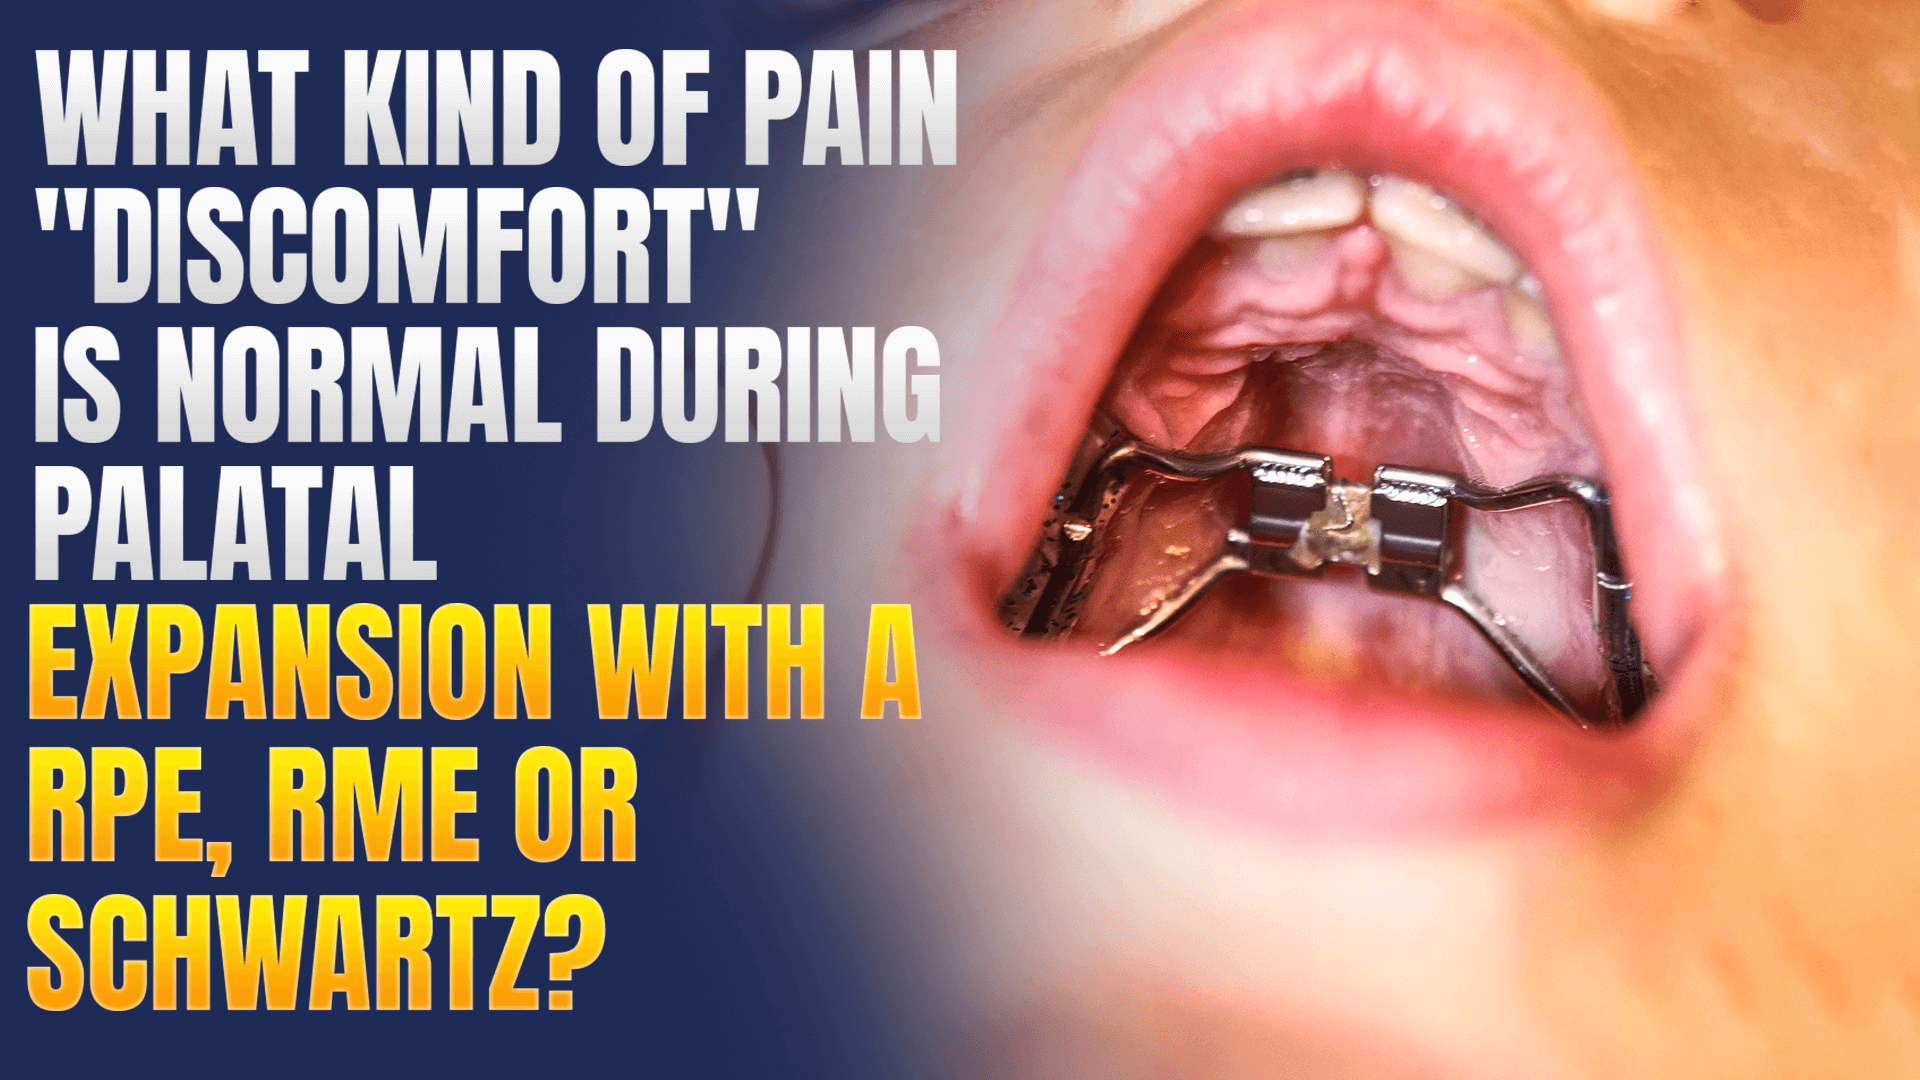
We all want to limit the discomfort our patients experience during their orthodontics cases — and this is especially important when dealing with palatal expansion. Fortunately, our experts are on hand today to help with this, so you know how much pain your patient is likely to experience (and whether or not their discomfort is normal).
How Much Discomfort is Normal?
Every patient’s response to palatal expansion may differ. As such, after fitting an expander – and this also applies to many other braces cases – try to call the patient to see how they’re getting on. After all, the next day especially can be a little rough.
Before doing any ortho case, you should always take precautions to try and limit the patient’s discomfort. Notably, an ortho expander case should not be incredibly painful. It may be very uncomfortable and strange for the patient, and you should explain this before the patient has their expander fitted.
However, the exception may be for fixed expanders, especially while eating, as the patient will likely knock the expander while chewing – which, in turn, can place pressure on the gums. Soft foods can help minimize the level of pain.
Of course, if the patient is experiencing extreme pain, it may also be worth looking at other potential problems. For example, you should always check before fitting an appliance that there are no cavities and the like that could be worsened by installing an expander.
When the Expander Doesn’t Fit
If you find that the expander doesn’t fit well, there’s a much greater chance that the patient may begin to experience pain (especially if the expander is knocking directly against the teeth or is too tight against the gums.
Inconsistent Use in the Treatment Plan
Another potential cause of pain or discomfort is inconsistency in the treatment plan. This is especially common for patients with removables who choose not to wear them for 24 hours per day, then try to shove the expander in without adjusting to it. Trying to do it too quickly can also be painful, as can cases where the patient experiences issues with their teeth (such as the molars being pushed through the buccal plate).
Get Professional Guidance for your Cases
If you find that your patients seem to be experiencing excessive discomfort with their palatal expansion, you may need to take a steadier approach. Fortunately, our team will be on hand if you need further guidance with your cases. Don’t hesitate to get in touch for your first dentist consultation!
Using a Black Light to Remove Stains on Teeth After Braces or Aligners
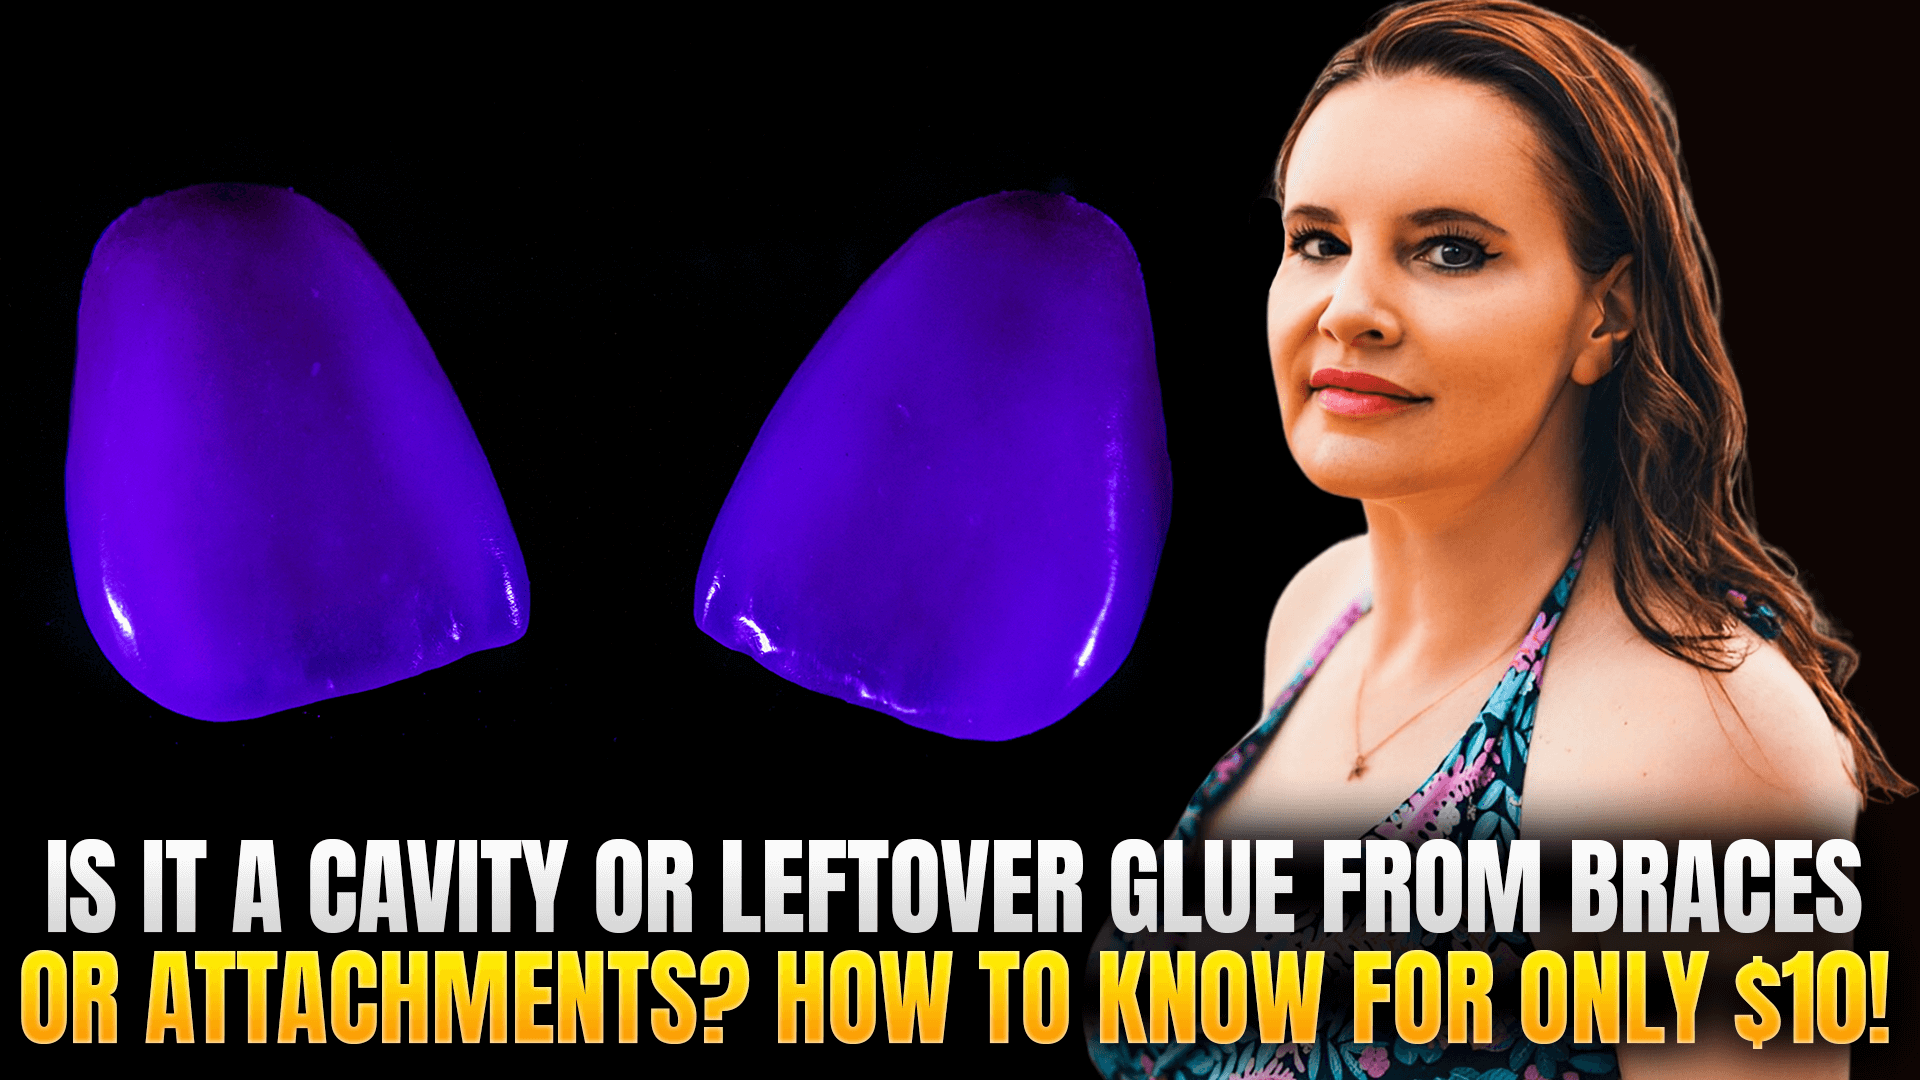
Using Black Light for Removing Flash at Braces and Invisalign Attachments
Have you ever wondered about the potential opportunities to help make your Invisalign and braces cases easier? Finding effective strategies to streamline the process can be incredibly effective, and luckily, there’s an incredibly easy hack you can use to help with removing flash for braces debonding or Invisalign attachments.
Making it Easier to Remove Flash at Braces and Invisalign Attachments
Removing flash at braces and Invisalign attachments can often be awkward, but black lights can help. Indeed, in a completely dark environment, a black light can highlight flash and help you remove it – especially for cases where you’re doing lots of revisions and refinements.
Using a black light makes it easy to highlight the flash with a black light, allowing you to ensure you’ve gotten it all off. This may also apply to braces cases when you need to clean up any excess cement, especially if your patient is complaining that they can still feel something on their teeth once you think you’ve finished the case.
Final Thoughts
Let’s face it – finding the most effective solutions for your Invisalign and braces cases can be hard. Luckily, a black light can be an incredibly easy way to tackle this, and better still, it’s exceptionally cost-effective to purchase online in many cases. However, you’ll need to have somewhere that’s completely dark to make it work easily.
When can you Phase Down your Essix or Vivera Retainers to Nights Only?
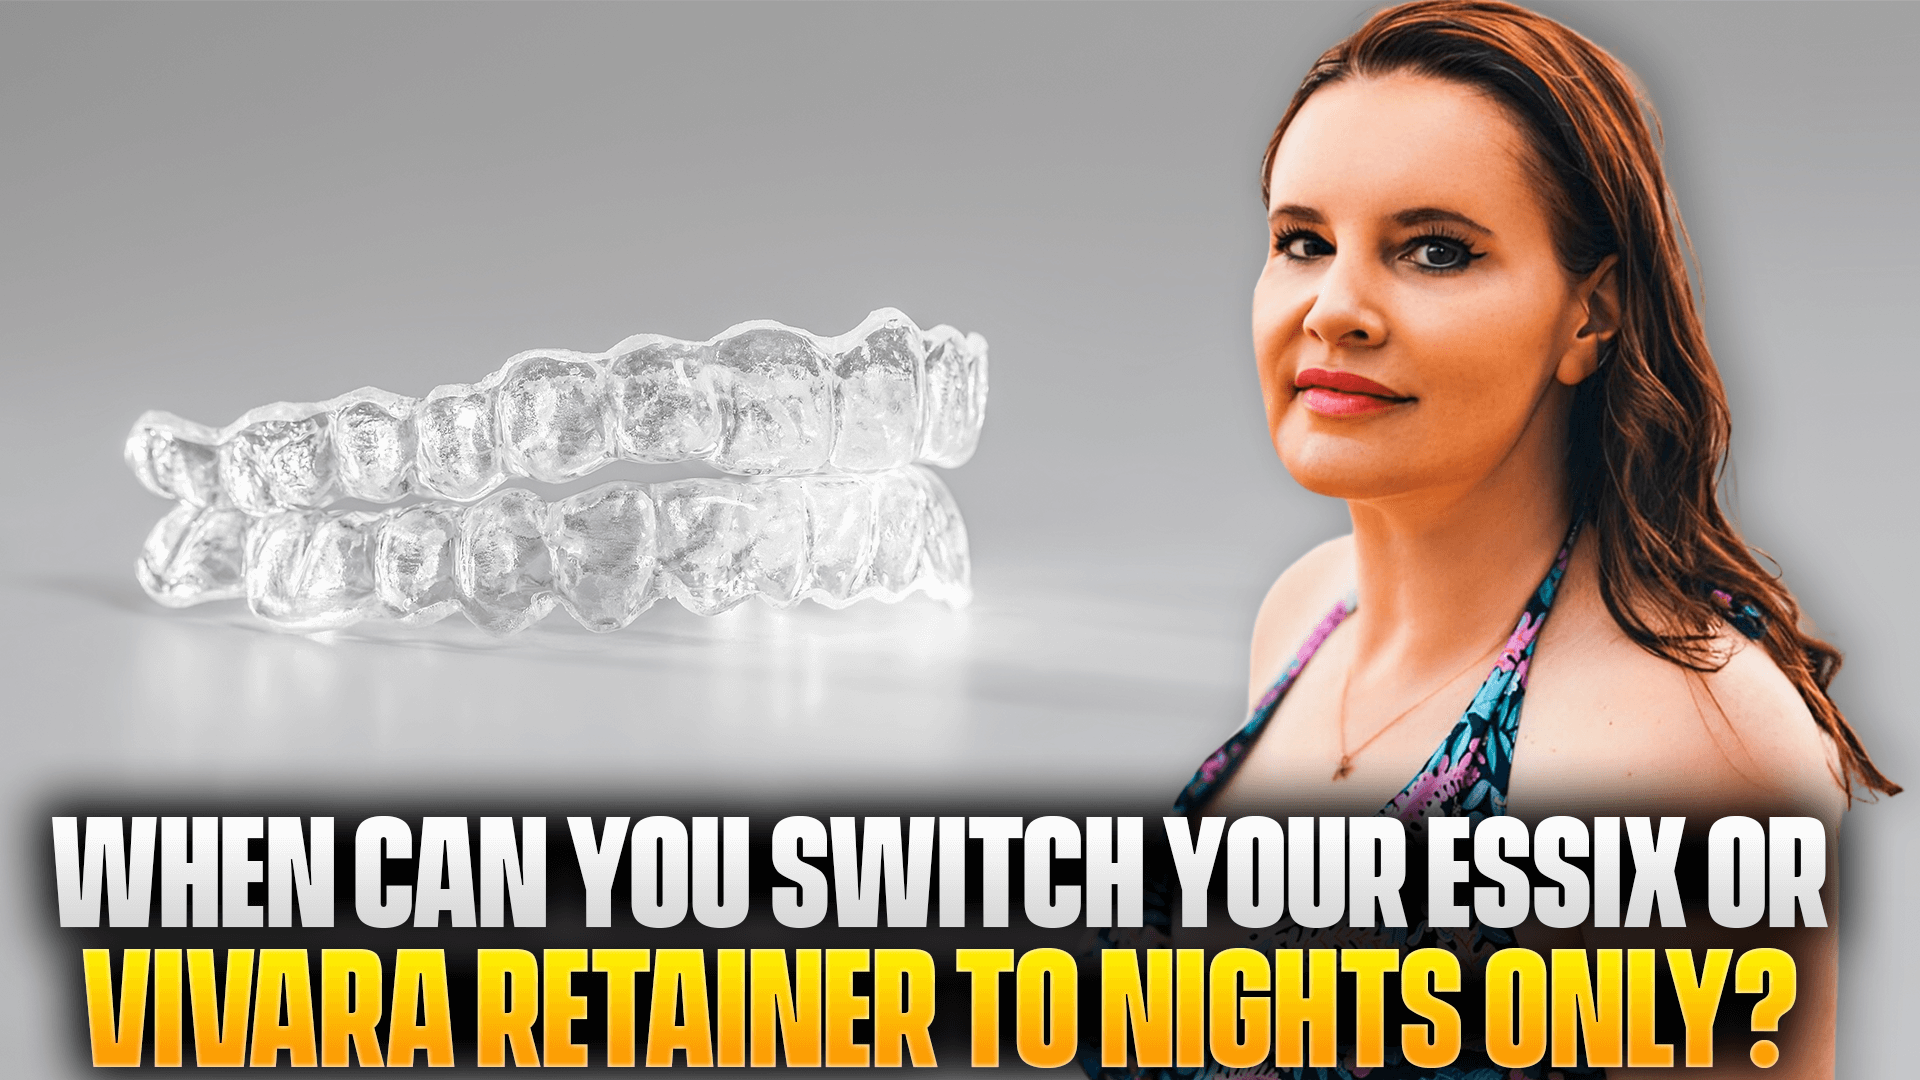
When can you Phase Down your Essix or Vivera Retainers to Nights Only?
● Recommended pre-requisite: Watch Dr. Amanda’s retention videos or read her blogs on her Straight Smile Solutions website for foundational knowledge.
● Retainer policy: A comprehensive retainer policy should be established, including a warranty and clear information on what is included in the retainers.
● Retainer options: Patients recommend one set of retainers, but additional sets are strongly recommended, especially for clear Essex or Vivera retainers.
● Labs and equipment: For in-house retainers, proper equipment like Biostar, mini star, or durable mat should be used. Otherwise, reliable ortho labs can provide sets of retainers.
● When to switch: The decision to switch from full-time to night wear depends on each patient. Bite stability is crucial, with solid posterior contacts on all teeth.
● Checking bite stability: Patients can use articulating paper to check for solid posterior contacts. Refinement, step-down bends, re-bracketing, settling elastics, or bonded retainers may be needed if contacts are not achieved.
● Full-time wear: Patients are advised to wear retainers full-time for three months, ensuring the bite is stable.
● Upgrading sets: Patients will likely need additional sets of retainers as the first set may warp or stretch out. Vivera instructions suggest wearing the first set full time for three months, then switching to night wear with the second set.
● Retainer warranty and policy: The importance of having a retainer warranty and policy in place is emphasized, including the requirement for additional sets of retainers for optimal outcomes.
● Retainer fit documentation: It is recommended to take photos of the patient wearing the retainers to show they fit properly, which can help address any issues or disputes in the future.
● Importance of regular switching and wear: Properly fitting retainers, when switched out regularly and worn as directed, help maintain straight teeth.