
StraightSmile Solutions®
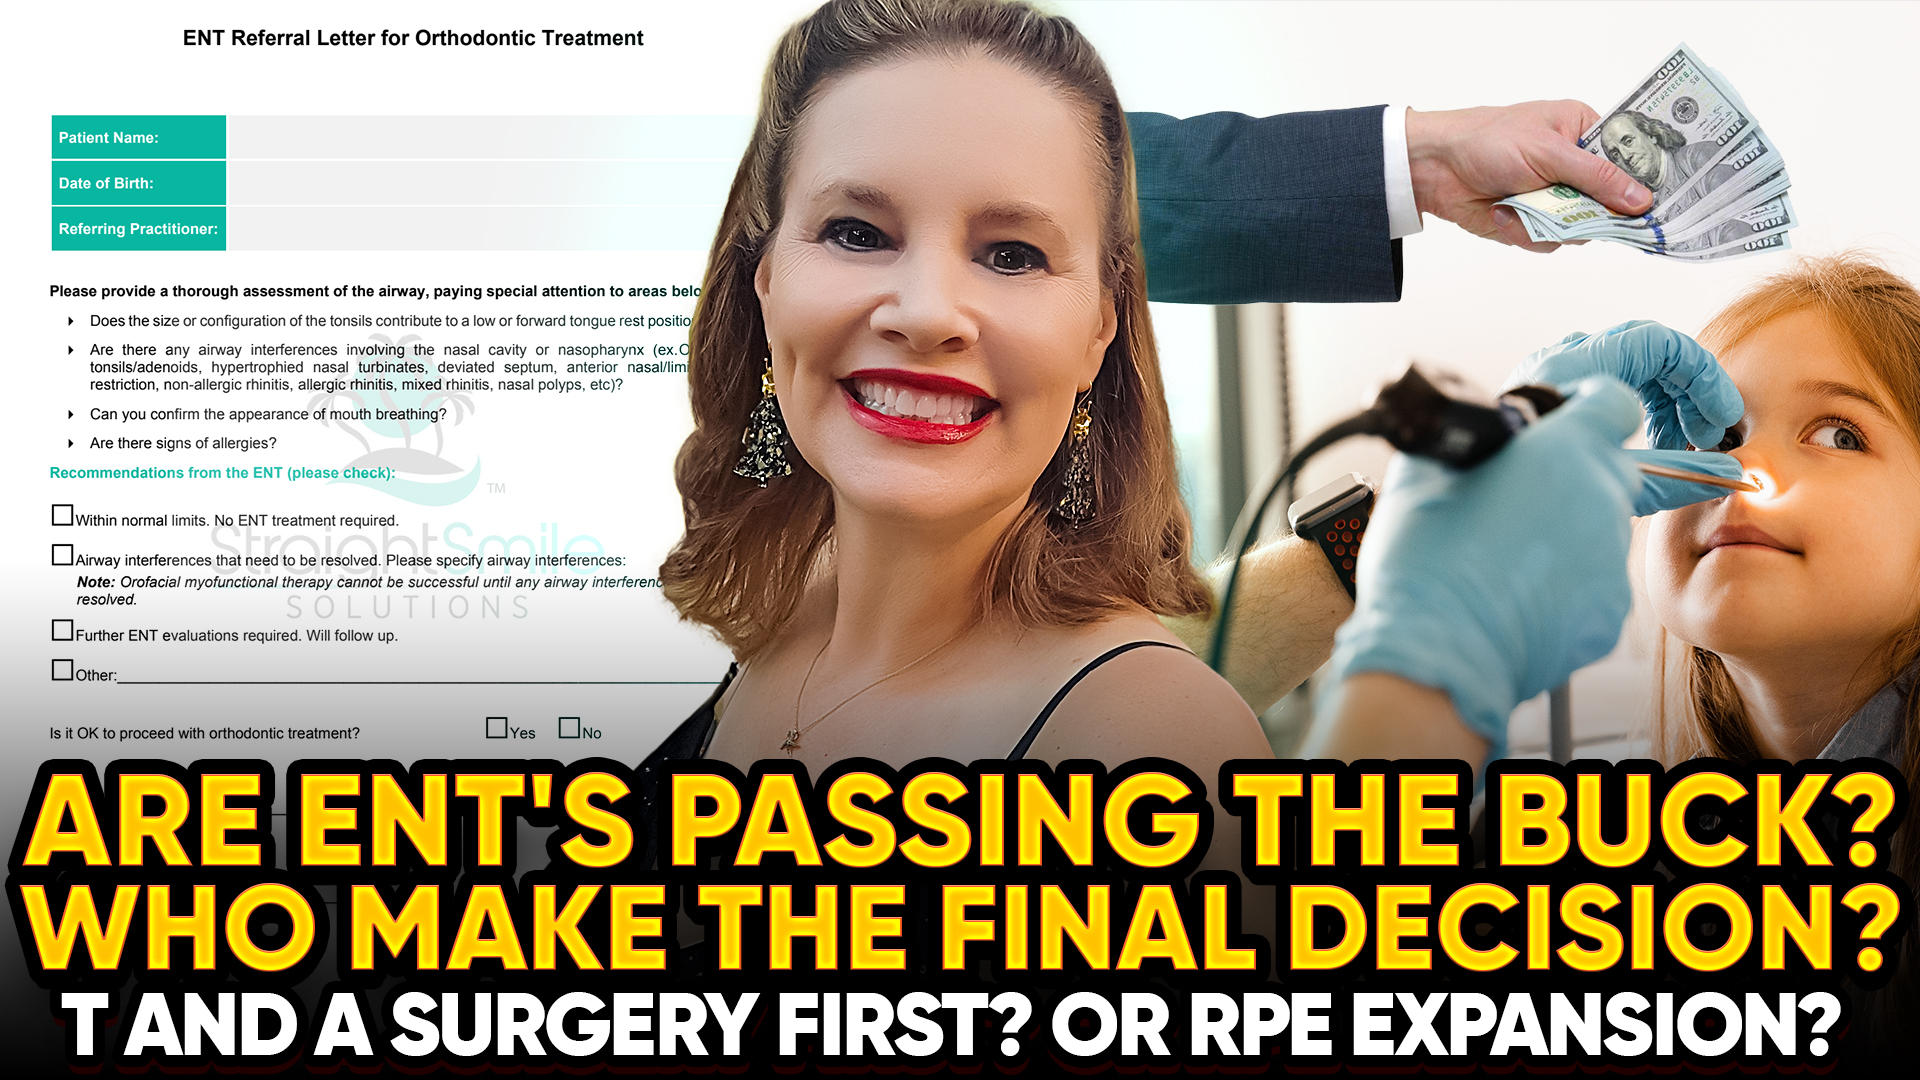
Working with ENTs on Airway and Expansion Cases: Are They Passing the Buck? The Importance of Documentation
Introduction
Dr. Amanda addresses a critical and increasingly common challenge in early orthodontic and Phase I cases: managing potential airway concerns while collaborating appropriately with ENT physicians. As awareness around airway health grows, orthodontists and dentists must balance orthodontic treatment, medical responsibility, and legal risk. Clear communication, proper referrals, and thorough documentation are essential, not optional.
Key Considerations When Collaborating with ENTs
Orthodontics vs. Medical Responsibility
• Orthodontists treat orthodontic problems, not medical airway conditions
• Suspected airway pathology requires physician (ENT) involvement
• Orthodontic treatment may incidentally improve the airway, but this cannot be promised
When to Delay Orthodontic Treatment
• Do not start expansion if a severe airway issue is suspected
• Fixed appliances can temporarily worsen the airway by reducing oral volume
• ENT diagnostics and treatment planning should come first
Hierarchy of Care
• ENTs determine medical and surgical necessity
• Medical and surgical decisions take precedence over orthodontics
• Orthodontic treatment may proceed only after ENT clearance
Get Everything in Writing
• Never rely on the patient’s verbal report
• Use a written ENT communication form or referral letter
• If the ENT defers or declines intervention, document that decision
Documentation Protects You
• Written confirmation reduces liability and risk exposure
• Document orthodontic indications separately and clearly
• Monitor orthodontic progress while the ENT monitors airway health
Removable Appliances and Airway Awareness
• Removable expanders (e.g., IP) may be safer during evaluation
• Inability to tolerate appliances, especially at night, may signal airway issues
• Do not force compliance when red flags appear
Professional Collaboration Matters
• Bulldozing ENTs damages trust and professional credibility
• Build referral relationships through education and communication
• Younger ENTs may be more open to collaboration and current research
Conclusion
Managing airway adjacent orthodontic cases requires humility, teamwork, and meticulous documentation. Dr. Amanda emphasizes that ethical care means collaborating, not competing with ENTs, respecting the medical hierarchy, and protecting patients through clear and accurate records. When in doubt: document, communicate, and prioritize patient safety above all else.
Part 2: Keyless Palatal Expanders Leaf Expander vs W-Arch vs Keyless RPE/RME (Picking the Right Appliance)
Introduction
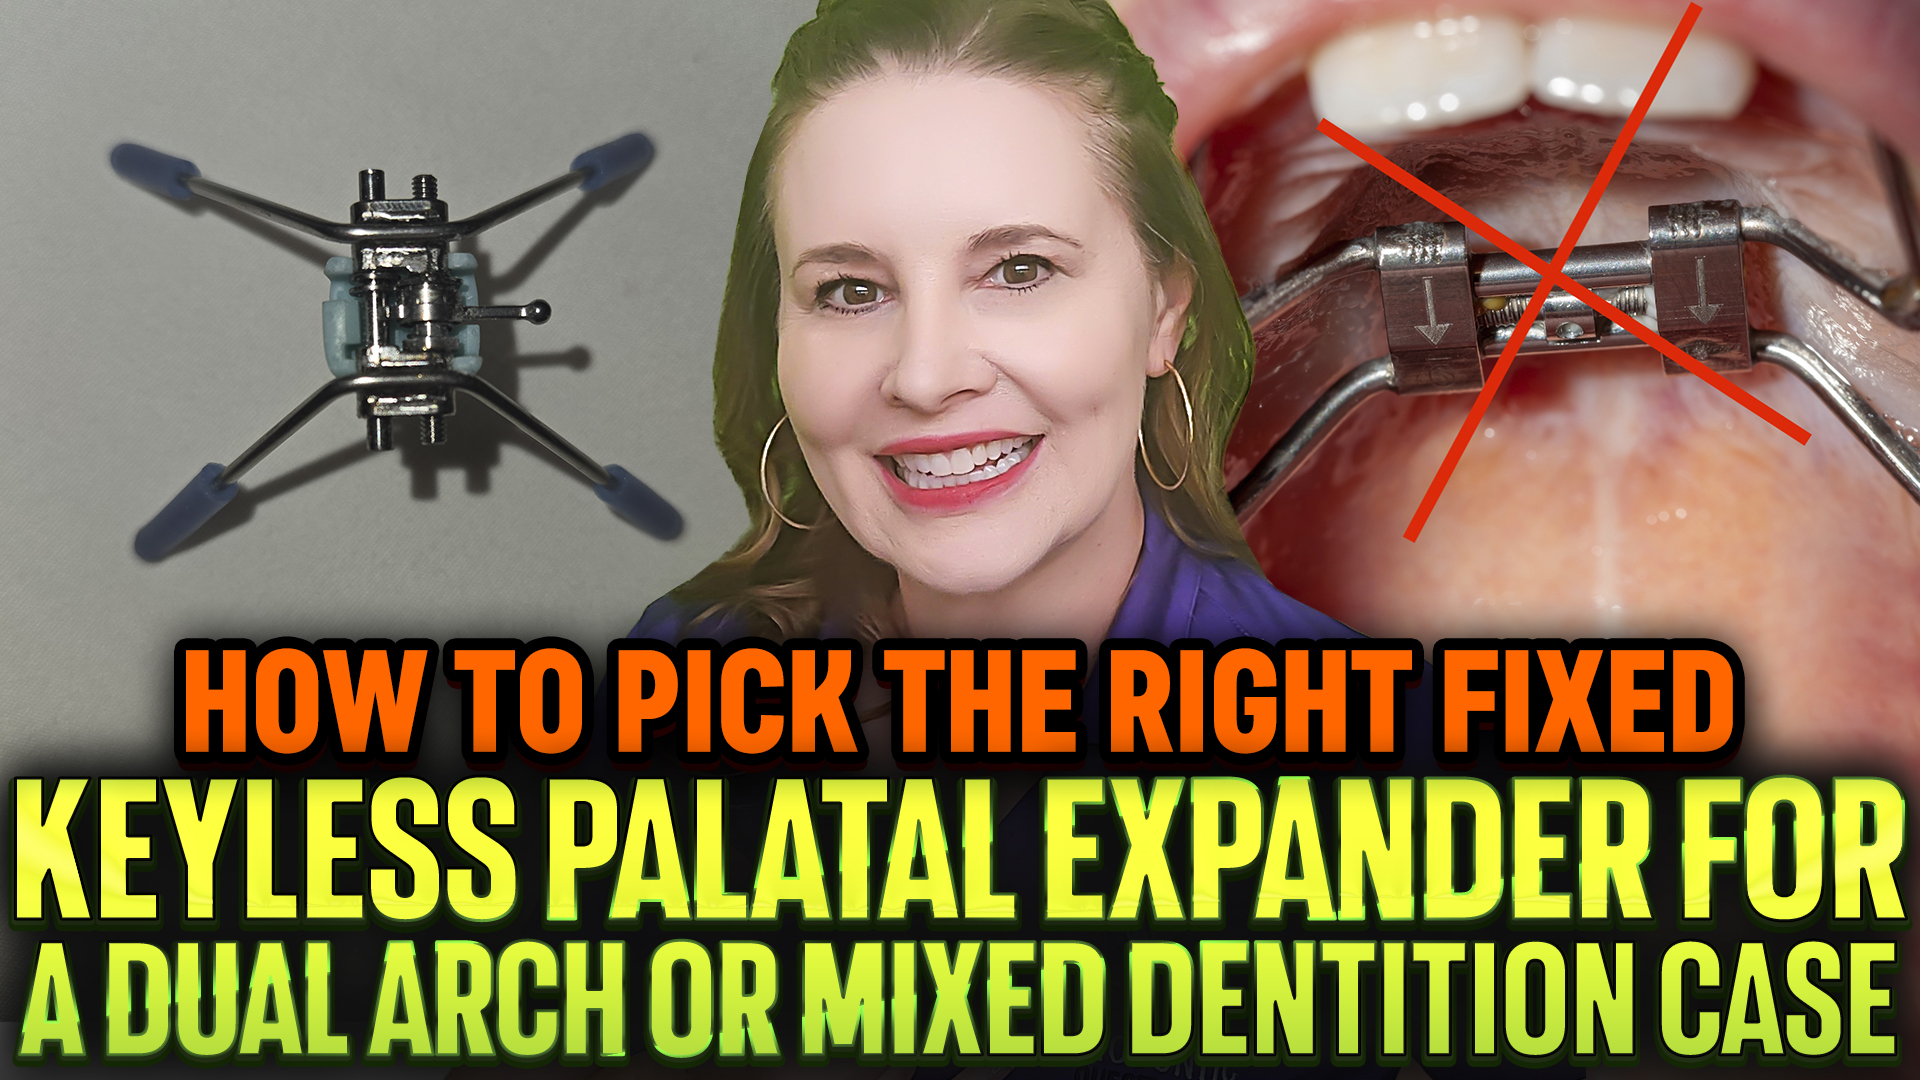
Dr. Amanda from Straight Smile Solutions follows up on her original discussion about keyless expanders to clarify an important clinical distinction: not all keyless palatal expanders are the same. In Part 2, she focuses specifically on fixed keyless RPE/RME options for dual-arch and mixed dentition cases, explaining why appliance control, activation timing, and liability are important considerations when selecting between leaf expanders, W-arches, quad helices, and button-activated keyless expanders.
Key Clinical Considerations
Fixed vs Removable Keyless Expanders
-
- This discussion applies to fixed appliances only
- Removable options (e.g., IP) can work, but are bulky and higher cost
- Lower-cost fixed options improve access for more patients
Categories of Keyless Expanders
Button-activated keyless expanders (e.g., KKE)
Clinician-controlled activation
Adjustable rate and frequency
Comparable to a Hyrax but without a key
Leaf expanders
Pre-programmed, spring-driven expansion
Cannot be reversed or paused
Limited flexibility once activated
W-arches / Quad Helices
Continuous, uncontrolled force systems
Expansion continues unless the appliance is removed
Why Control Matters
-
- Dual-arch and mixed dentition cases require coordination
- Uncontrolled expansion risks:
Over-expansion
Brodie bite/scissor bite
Upper arch outgrowing the lower
Occlusal trauma and instability
-
- Fixed appliances that “keep expanding” create liability if appointments are missed
Clinical Experience & Risk
-
- Overextended quad helix cases can cause severe occlusal damage
- Once an uncontrolled appliance is placed, monitoring is mandatory
- If something goes wrong, responsibility lies with the doctor, not the staff
Why Dr. Amanda Prefers Controlled Keyless Systems
-
- Same activation logic as a traditional key
- Expansion can be slowed, paused, or customized
- Better suited for mixed dentition and dual-arch treatment
Conclusion
Keyless does not automatically mean safer or better. Dr. Amanda emphasizes that control is the defining factor when choosing a palatal expander. While leaf expanders and W-arches are valid tools in select cases, uncontrolled expansion carries real clinical and legal risks, especially in mixed dentition and dual-arch treatment. Understanding the risks, benefits, and alternatives enables clinicians to select the appropriate appliance for each patient, thereby protecting both patient outcomes and liability.
Interceptive Orthodontics Under Scrutiny: Time for a Pediatric Dentistry Revolution
Interceptive Orthodontics Under Scrutiny: Time for a Pediatric Dentistry Revolution
Introduction
Dr. Amanda highlights a growing shift in public awareness around early orthodontic care. Parents across the U.S., Canada, and beyond are increasingly questioning delayed treatment models that postpone intervention until “Phase Two,” despite clear functional concerns such as breathing and sleep issues. While airway-focused orthodontics continues to evolve, she emphasizes a cautious, orthodontics-first approach grounded in evidence, experience, and patient safety.
Rising Consumer Awareness
- Parents are pushing back against delayed orthodontic care
- Increased attention to breathing, sleep, and functional concerns
- Media and emerging research are connecting orthodontics with systemic health
Orthodontics First, Airway Second
- Treatment is based on identifiable orthodontic problems
- Potential airway improvements are a secondary benefit—not a promise
- Ethical care avoids overclaiming outcomes not yet fully supported by data
Appropriate Timing for Treatment
- Preferred start: once first permanent molars erupt (around age 6+)
- Aligns with established systems like Invisalign First
- Lower clinical risk and clearer orthodontic indications
Very Young Children (Ages 2–5)
-
- Orthodontic treatment is generally not appropriate
- Focus instead on low-risk strategies:
- Breathing exercises
- Sleep positioning
- Habit awareness
- High liability and cooperation challenges with active appliances
Provider Gap in Early Orthodontic Care
-
- More pediatric dentists than orthodontists offering interceptive solutions
- Limited formal training in residency programs
- Knowledge often acquired independently, not systematically taught
Education, Transparency, and Resistance
- Resistance within the orthodontic community to open knowledge sharing
- Dr. Amanda advocates research-based, experience-driven education
- Emphasis on protecting facial development and long-term outcomes
Conclusion
Interceptive orthodontics is under increasing scrutiny and for good reason. Dr. Amanda calls for a thoughtful shift toward earlier, evidence-based intervention that prioritizes orthodontic necessity while acknowledging broader health benefits. As parents demand better answers, the future lies in ethical timing, proper training, and collaboration, particularly between pediatric dentists and orthodontists who are willing to evolve with the data.
Acceptable Phase 1 Interceptive Treatment Acceptance Rates
 Acceptable Phase 1 Interceptive Treatment Acceptance Rates
Introduction
Phase 1 interceptive orthodontic treatment acceptance rates are a critical KPI every doctor should understand and track. According to Dr. Amanda of Straight Smile Solutions, these cases are fundamentally different from traditional cosmetic orthodontics. Acceptance is influenced not only by patient demographics, but more importantly by how treatment is presented. When growth, airway, habits, and function are involved, the conversation shifts from “straight teeth” to long-term health and development, requiring a different clinical and communication approach.
Phase 1 Is Not Cosmetic Orthodontics
Unlike Phase 2 treatment, which is focused on aesthetics, Phase 1 addresses growth, airway, habits, and function.
These issues affect facial development, breathing, sleep, and long-term health.
Acceptance Rates Can Be Higher When Presented Correctly
Parents unfamiliar with interceptive care need education, not selling.
Families actively seeking early intervention often show very high acceptance rates.
Patients who previously saw orthodontists but felt underserved are especially receptive.
Presentation Is Standard of Care
Discussing interceptive options is required when problems are identified, regardless of acceptance.
Documentation and consistent communication are essential for risk management.
Declining treatment does not absolve the provider from ongoing presentation and monitoring.
Focus on Function First
Growth, habits, airway, and function should lead the discussion.
Straight teeth are part of the plan; airway benefits are secondary but relevant.
Emerging research continues to connect airway issues with broader health concerns.
Timing Affects Conversion
December is rarely a start month; it’s best used for records and data collection.
Starts typically cluster in January, tax season, summer, and late summer.
Annual complimentary treatment plans are reasonable; additional plans may carry a fee.
Professional Collaboration Matters
Educating pediatricians and referral partners builds long-term trust and awareness.
Even limited outreach can lead to meaningful professional alignment over time.
Conclusion
Low or variable Phase 1 acceptance rates are not a failure; they reflect education gaps, timing, and patient readiness. By consistently presenting interceptive care as a health-focused, growth-based standard of care, documenting discussions, and understanding timing patterns, clinicians protect patients, improve outcomes, and strengthen their practice.
How to Learn Clear Aligners from StraightSmile Solutions- Clear Aligner and Invisalign “Courses” for 2026
 How to Learn Clear Aligners from StraightSmile Solutions- Clear Aligner and Invisalign “Courses” for 2026
Why StraightSmile Solutions Doesn’t Offer a “Full Aligner Course”
One of the most common questions Dr. Amanda hears is:
“Why don’t you teach a full, clear aligner course?”
The answer is simple yet deeply rooted in the way orthodontics is taught. Dr. Amanda argues that one should not take a separate aligner course since clear aligners do not form the basis of orthodontics. They are a delivery system. Aligners can be unpredictable, challenging, and annoying without a clear understanding of how the teeth move.
Orthodontic residents do not start with aligners. They learn:
Straight-wire braces
Phase 1 orthodontics
Growth and airway principles
Only after mastering these fundamentals do they move on to aligners. When clinicians attempt to learn aligners first, comprehension takes longer, and outcomes suffer. StraightSmile Solutions was intentionally designed to mirror residency-style learning because that approach has proven effective.
Why Learning Orthodontic Fundamentals Comes First
Clear aligners are based on the same biological principles as braces. The teeth react to force, anchorage, and timing; software preferences are irrelevant. Clinicians are often not provided with the knowledge of straight-wire mechanics and interceptive orthodontics, and they end up making educated guesses about why aligner plans fail.
Dr. Amanda is confident that clinicians have to:
Learn the movement of teeth with braces.
Acquire orthodontic and airway at an early stage.
Establish orthodontic thinking preceding contact with Aligners.
This will enable aligners to be meaningful rather than appear like black box technology.
Why StraightSmile Solutions Is Aligner-Agnostic
Another reason StraightSmile Solutions does not offer a single, branded aligner course is the simple reality:
There are dozens of aligner companies, and they are constantly changing.
Features are added, removed, rebranded, or discontinued. Teaching a single aligner system inevitably leads to outdated education. Dr. Amanda chooses to remain aligner-agnostic, meaning:
She does not work for aligner companies
Non-disclosure agreements do not restrict her
She can openly discuss what works and what doesn’t
Some companies she discusses frequently because she sees consistent success. Others she does not mention due to legal or professional constraints. Silence does not mean failure, but transparency matters.
The Problem with Branded Aligner Courses
Many Invisalign and clear aligner courses are sponsored or co-sponsored by aligner companies. While these programs can appear comprehensive, they often prioritize:
Branding over biomechanics
Product promotion over fundamentals
Marketing outcomes over long-term predictability
Dr. Amanda has firsthand experience consulting for aligner companies and being discouraged from speaking openly about movements she felt were biologically questionable. This conflict is exactly why StraightSmile Solutions exists independently.
The goal is education and not sales.
The StraightSmile Solutions Aligner Learning Workflow
Step 1: Learn Straight-Wire and Phase 1 Orthodontics
The first step is always the same:
Learn braces and Phase 1 orthodontics.
StraightSmile Solutions offers:
Fully digital orthodontic courses
Phase 1 and airway education
Residency-style foundational learning
For clinicians who do not plan to place brackets clinically, the digital courses alone are more than sufficient and extremely affordable. For those who want hands-on experience, additional options and referrals are available.
There are 27 structured units, designed to be completed at your own pace.
Step 2: Choose Your Aligner Path (Scanner Determines Options)
Once fundamentals are learned, clinicians choose their aligner pathway, which is often dictated by the type of scanner used.
The iTero Route
Higher initial investment
Access to Invisalign and multiple third-party aligners
Exclusive tools like Outcome Simulator and Smile Architect
StraightSmile offices use iTero scanners, but also work with non-Invisalign aligner systems.
The non-iTero Route
Lower cost scanners
More limited Invisalign access in many regions
Still viable with strong orthodontic fundamentals
Scanner choice often determines the flexibility of aligners, so this decision should be made intentionally.
Step 3: Scan Every Patient (Not Just Ortho Cases)
One of the most important recommendations in this workflow is to scan every patient aged six and up.
Scanning becomes:
Routine documentation
Risk management
Patient education
Orthodontic opportunity discovery
Instead of asking patients if they want an orthodontic exam, scanning becomes a standard procedure just like probing or oral cancer screening. This approach creates opportunities that clinicians often overlook.
Step 4: Collect Proper Records
If using Invisalign, Dr. Amanda strongly recommends:
Invisalign Practice App for photos
Integration with Outcome Simulator
Access to Smile Architect and AI tools
For non-Invisalign workflows:
Standard 8-photo orthodontic series
Panoramic X-ray when available
FMX if a pano cannot be obtained
Cephalometric X-rays are not required initially and should be introduced later based on treatment goals. StraightSmile Solutions offers comprehensive Ceph education as a separate offering.
Step 5: Learn Aligner Features Through Free Education
Rather than paying for a branded aligner course, clinicians are encouraged to utilize Dr. Amanda’s extensive free educational resources.
Her Invisalign playlist includes:
Over 300 videos
Feature explanations
Movement analysis
Workflow guidance
While aligner features evolve, understanding how and why they are used remains consistent.
Step 6: Concierge and VIP Support
After data collection and initial learning, StraightSmile Solutions recommends a short-term concierge or VIP membership.
Most clinicians choose:
3 – 6 months of support
Case guidance and troubleshooting
Real-time confidence building
Doctors who implement the full workflow consistently report significant profitability, not because aligners are inherently profitable but because opportunities were already present and are now properly identified.
Why This Workflow Works
Clinicians who follow this workflow:
Understand when to treat and when to refer
Communicate orthodontic needs confidently
Improve restorative, implant, and cosmetic outcomes
Even when cases are referred out, clinicians benefit from understanding why referral is appropriate.
Orthodontics improves:
Comprehensive care
Airway awareness
Long-term treatment stability
Dr. Amanda has never seen an office fail after fully implementing this workflow.
Conclusion
Invisalign and clear aligners do not require learning a brand, but rather learning the basics of orthodontics. StraightSmile Solutions trains clinicians on how orthodontists can think, rather than on how software sells. Clinicians who first learn braces and Phase 1 orthodontics have the freedom, confidence, and predictability of any system of aligners.
This is not an aligner course. It is an orthodontic training on how it should be.
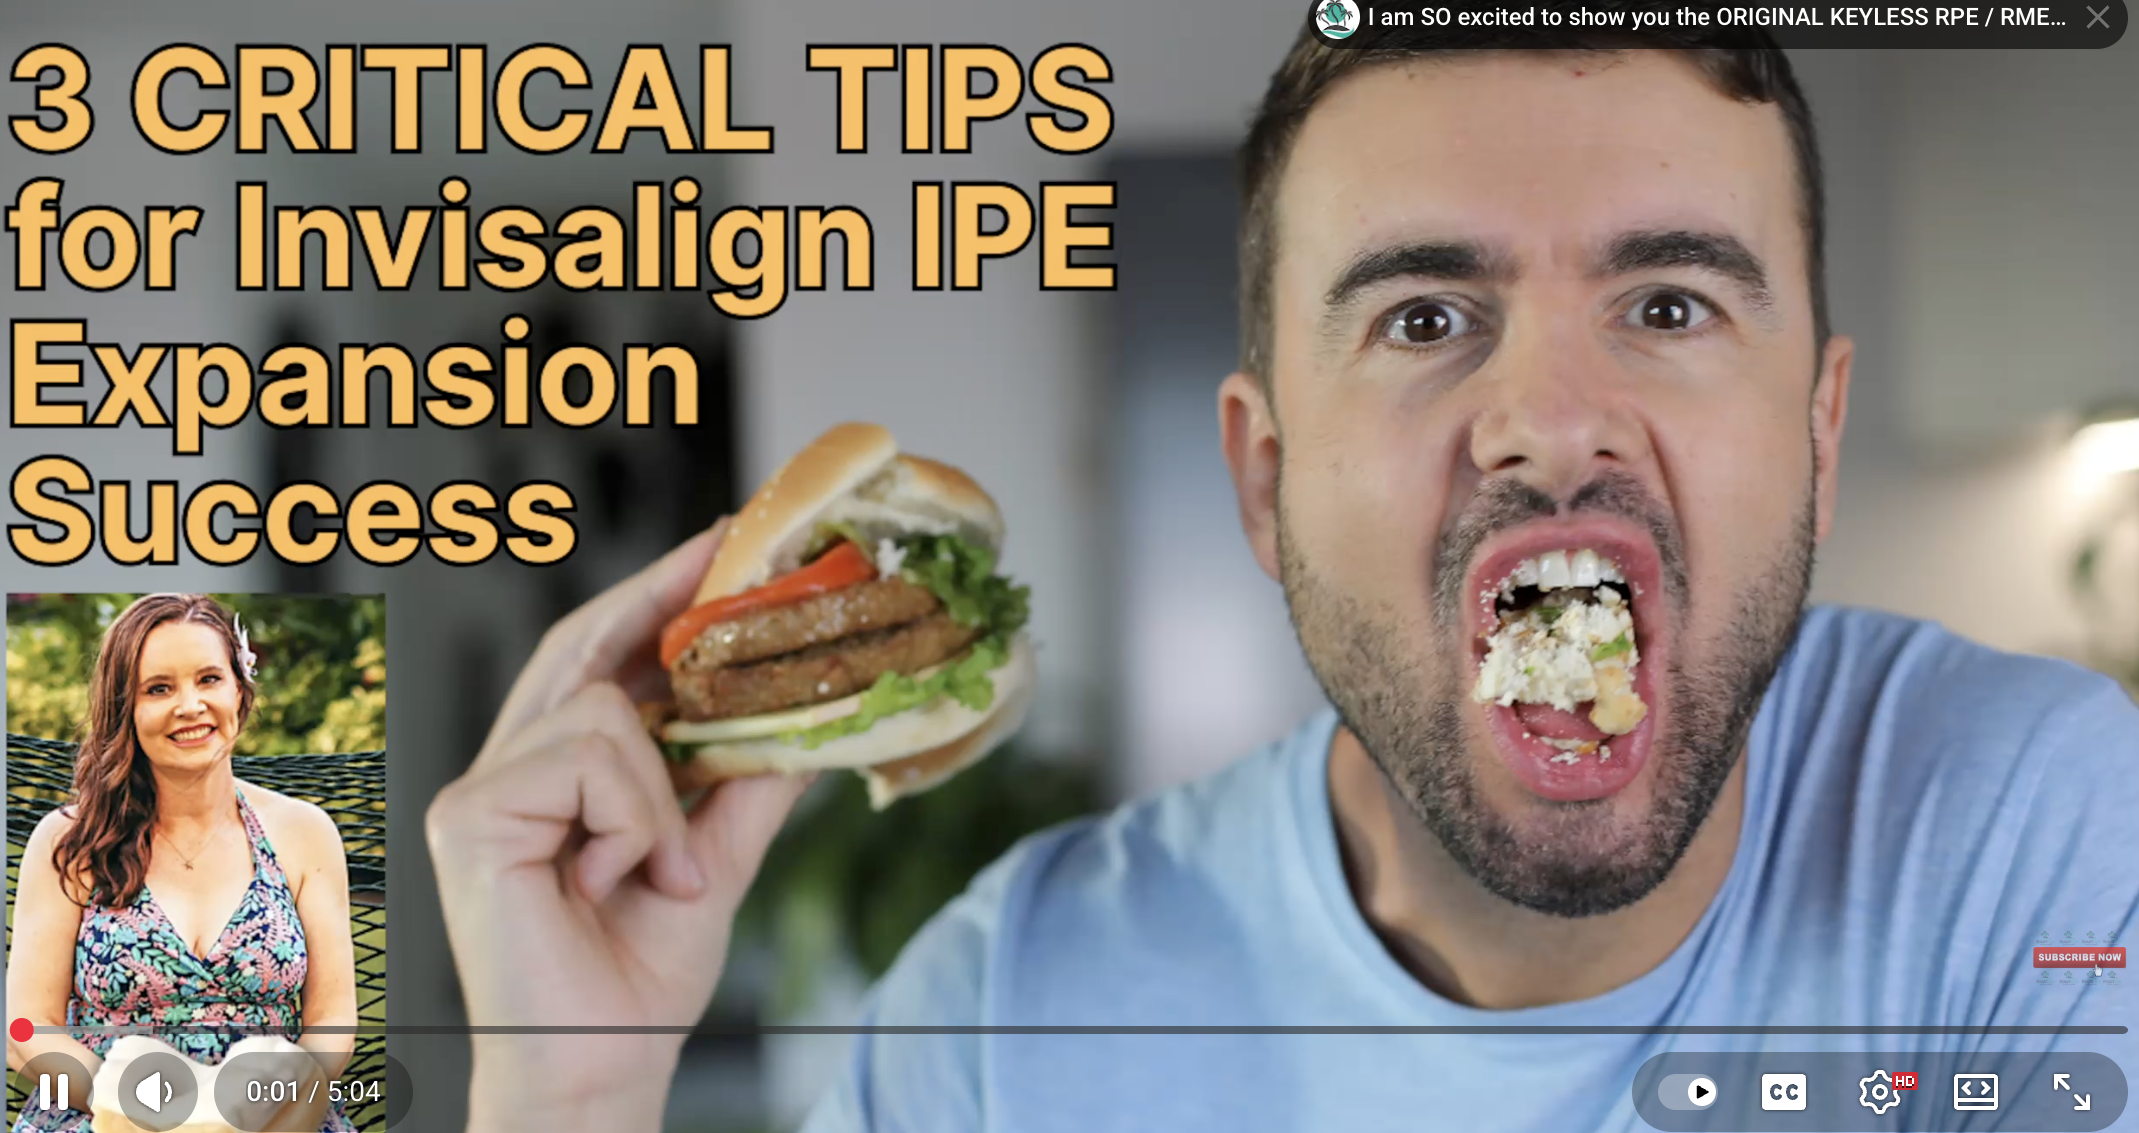
Dr. Amanda’s Top 3 IPE (Invisalign Palatal Expander) Tricks and Tips
Introduction
Dr. Amanda breaks down her top three real-world IPE tricks, highlighting the gap between official Invisalign instruction and what experienced orthodontists actually do. Her recommendations are based on collective clinical experience, rather than corporate guidelines, and aim to make IPEs more predictable and effective.
1. Eat With the Appliance In
- Absolute requirement for proper expansion and predictable outcomes.
- Research and clinical experience show that appliances like Schwarz expanders fail primarily because patients do not eat with them.
- IPEs are bulkier, so early-age patients (younger Phase 1 kids) respond best; teens often reject the bulk and speech changes.
- Must be worn 24 hours/day, including meals, speaking, and daily activities.
2. Parent-Controlled Insertion & Removal
- Only removed twice daily: morning and night.
- Parent (ideally mom) must remove, clean, and reinsert; kids cannot safely manage it alone.
- Prevents hygiene issues, decay, and failed wear due to difficulty removing the bulky IPE.
- Morning routine: parent removes appliance, brushes it, supervises child brushing, reinserts.
- Evening routine: same sequence after dinner, no additional removals allowed.
- If a child needs an athletic anterior mouthguard, IPE is not appropriate.
3. Select the Right Patient and the Right Parents
- Patient selection is critical for success.
- Homeschool children often do best with no social pressure, fewer speech concerns, and high compliance.
- Junior high/high school students rarely comply; consider fixed or 3D-printed expanders instead.
- Attachment breakage is usually not an emergency if the appliance still seats fully; eating with it in reduces breakage.
- Because IPEs are expensive, poor candidate selection leads to costly remakes and treatment delays.
Conclusion
Successful IPE treatment depends on eating with the appliance, adhering to strict parent-managed routines, and carefully selecting patients who are suitable for this treatment. When these three pillars align, IPEs can deliver strong, predictable Phase 1 expansion results.
Phase 1 Interceptive Straightwire Mistakes: “Smiley Wires,” “Lack-o-Cinch,” “Lack-o-Space”
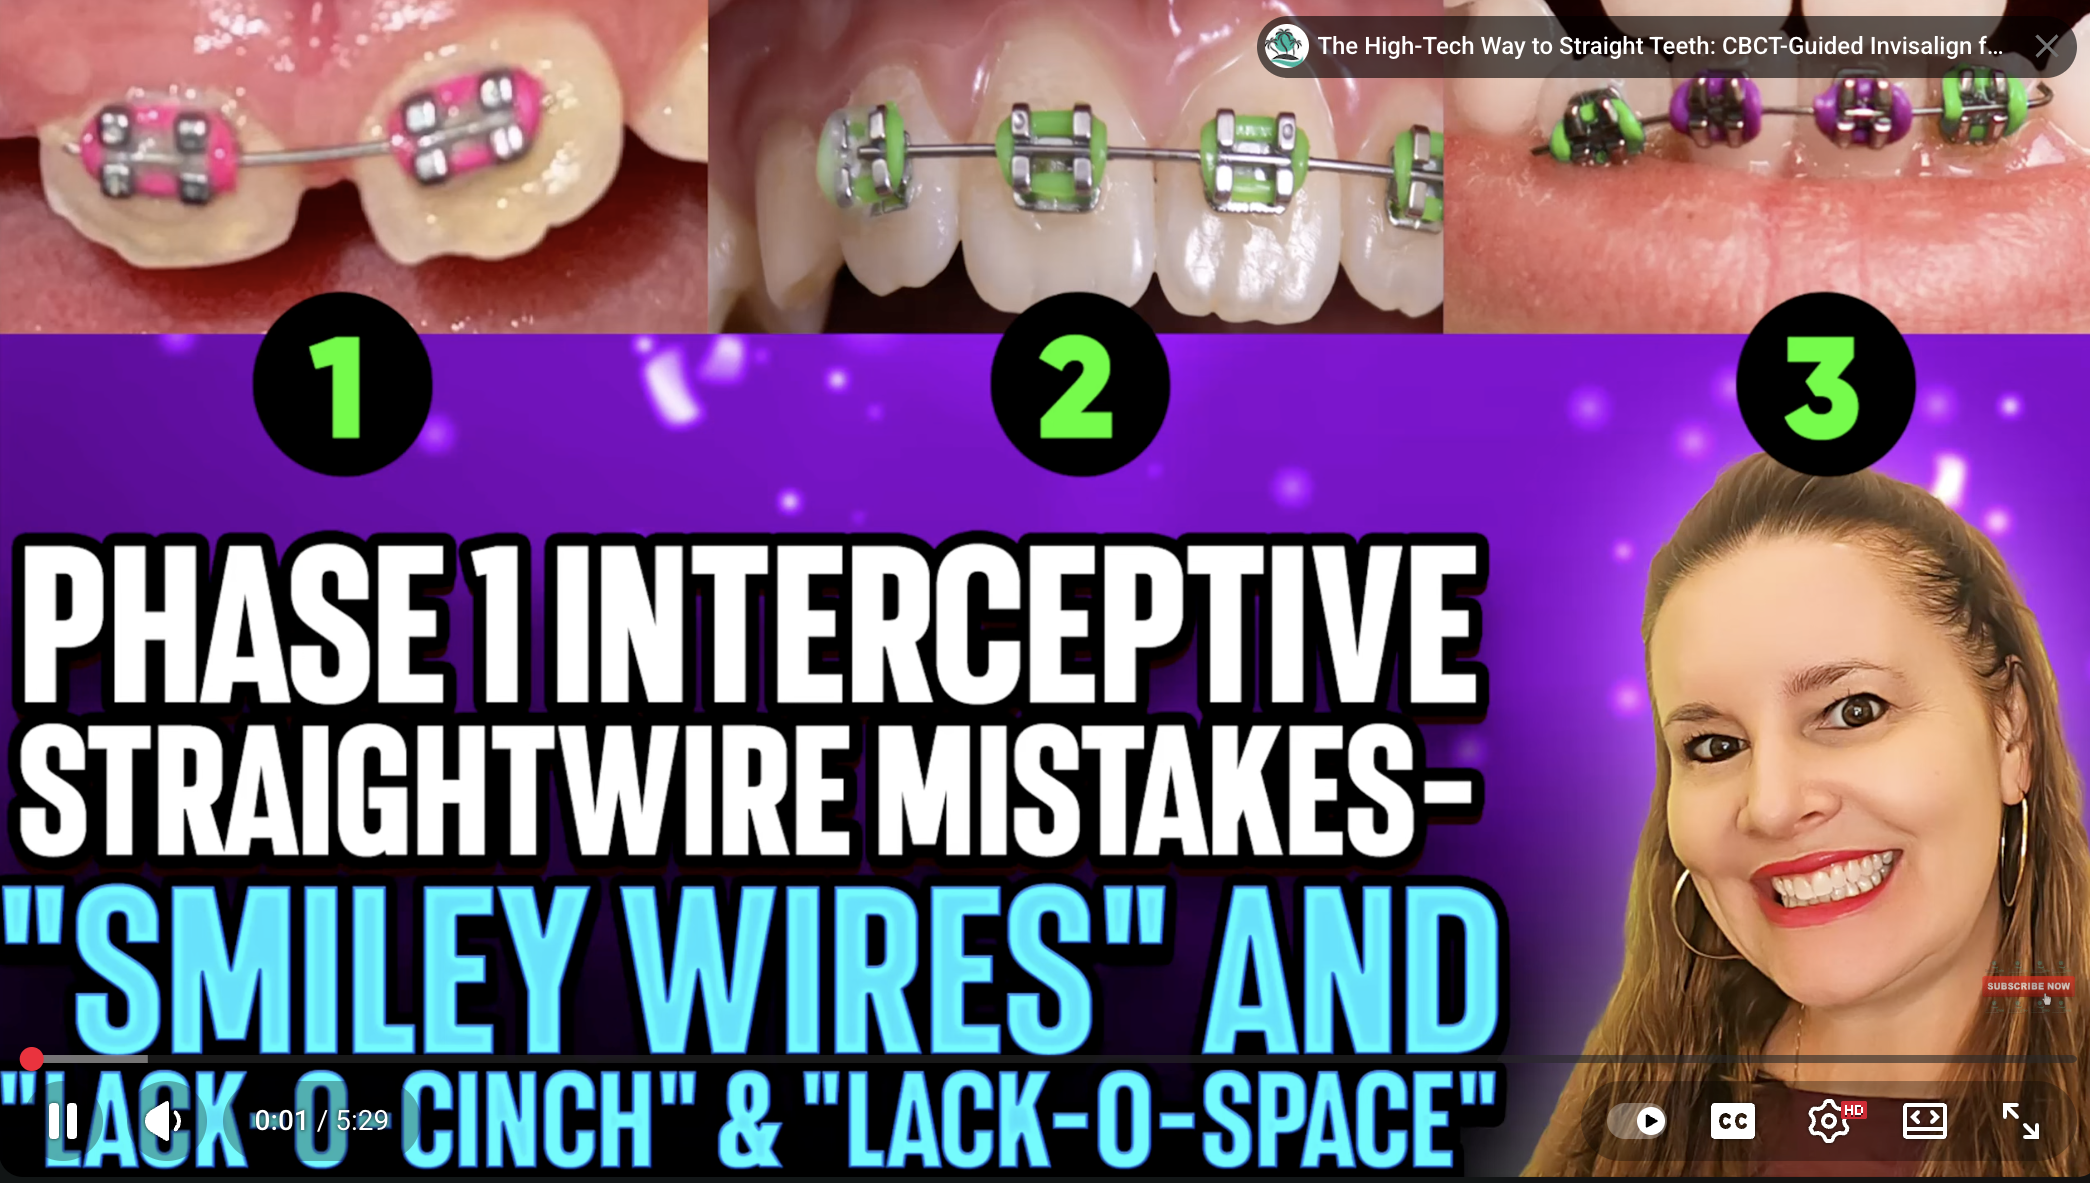
Phase 1 Interceptive Straightwire Mistakes: “Smiley Wires,” “Lack-o-Cinch,” “Lack-o-Space”
Introduction
Dr. Amanda reviews common mistakes clinicians make when using segmental straightwire mechanics in Phase 1 interceptive orthodontics. She emphasizes that the Phase 1 straight wire is very different from standard straight wire or comprehensive braces. She also recommends taking her Phase 1 course or watching her Phase 1 playlist to avoid procedural errors. Focus of the video: identifying three key mistakes, Smiley Wires, Lack-o-Cinch, and Lack-o-Space, and understanding why they cause treatment failure.
Smiley Wires (Cinch Error)
- A “smiley wire” happens when the clinician forgets to cinch the wire or the cinch breaks/slides.
- Round wires rotate easily; without proper cinching, they flip upward and distort the archform.
- Result: the arch looks “smiley” on one side and flat on the other, unbalanced and unstable.
- A flipped wire can push teeth buccally, sometimes severely enough to risk pushing roots outside the bone.
- Segmental 2×2 or 1×1 setups are especially vulnerable because they lack adequate anchorage.
- If a cinch error is ignored, the tooth can self-extract or become dangerously displaced.
Lack-o-Cinch (Incomplete Securement)
- Occurs when the wire is not fully seated, secured, or stabilized.
- Leads to uncontrolled wire rotation and unintended tooth movement.
- Cutting the wire after it has slid can worsen the distortion and accelerate buccal displacement.
- Proper anchorage and securement are essential for any segmental setup.
Lack-o-Space (Bracketing with No Space)
- Bracketing teeth in an arch without sufficient space is ineffective and can damage underlying permanent teeth.
- Interceptive brackets cannot create space when multiple baby teeth remain, and roots of permanent teeth are still developing.
- For Phase 1, expansion must precede bracketing.
- Dr. Amanda recommends 1.5-2 mm of extra space per tooth, plus additional room for eruption. Often, a space of 4-7 mm is missing when errors occur.
- Expansion devices (not braces) should be used first to avoid pushing on unstable or loose baby teeth.
Conclusion
Phase 1 straightwire requires precise mechanics, space creation, and proper cinching. Avoiding these three mistakes prevents complications, protects erupting teeth, and leads to predictable results.
How to Turn Little Asian Retrognathic Small-SNA Faces Into K-Pop Superstar Full-Broad-Smile Cases
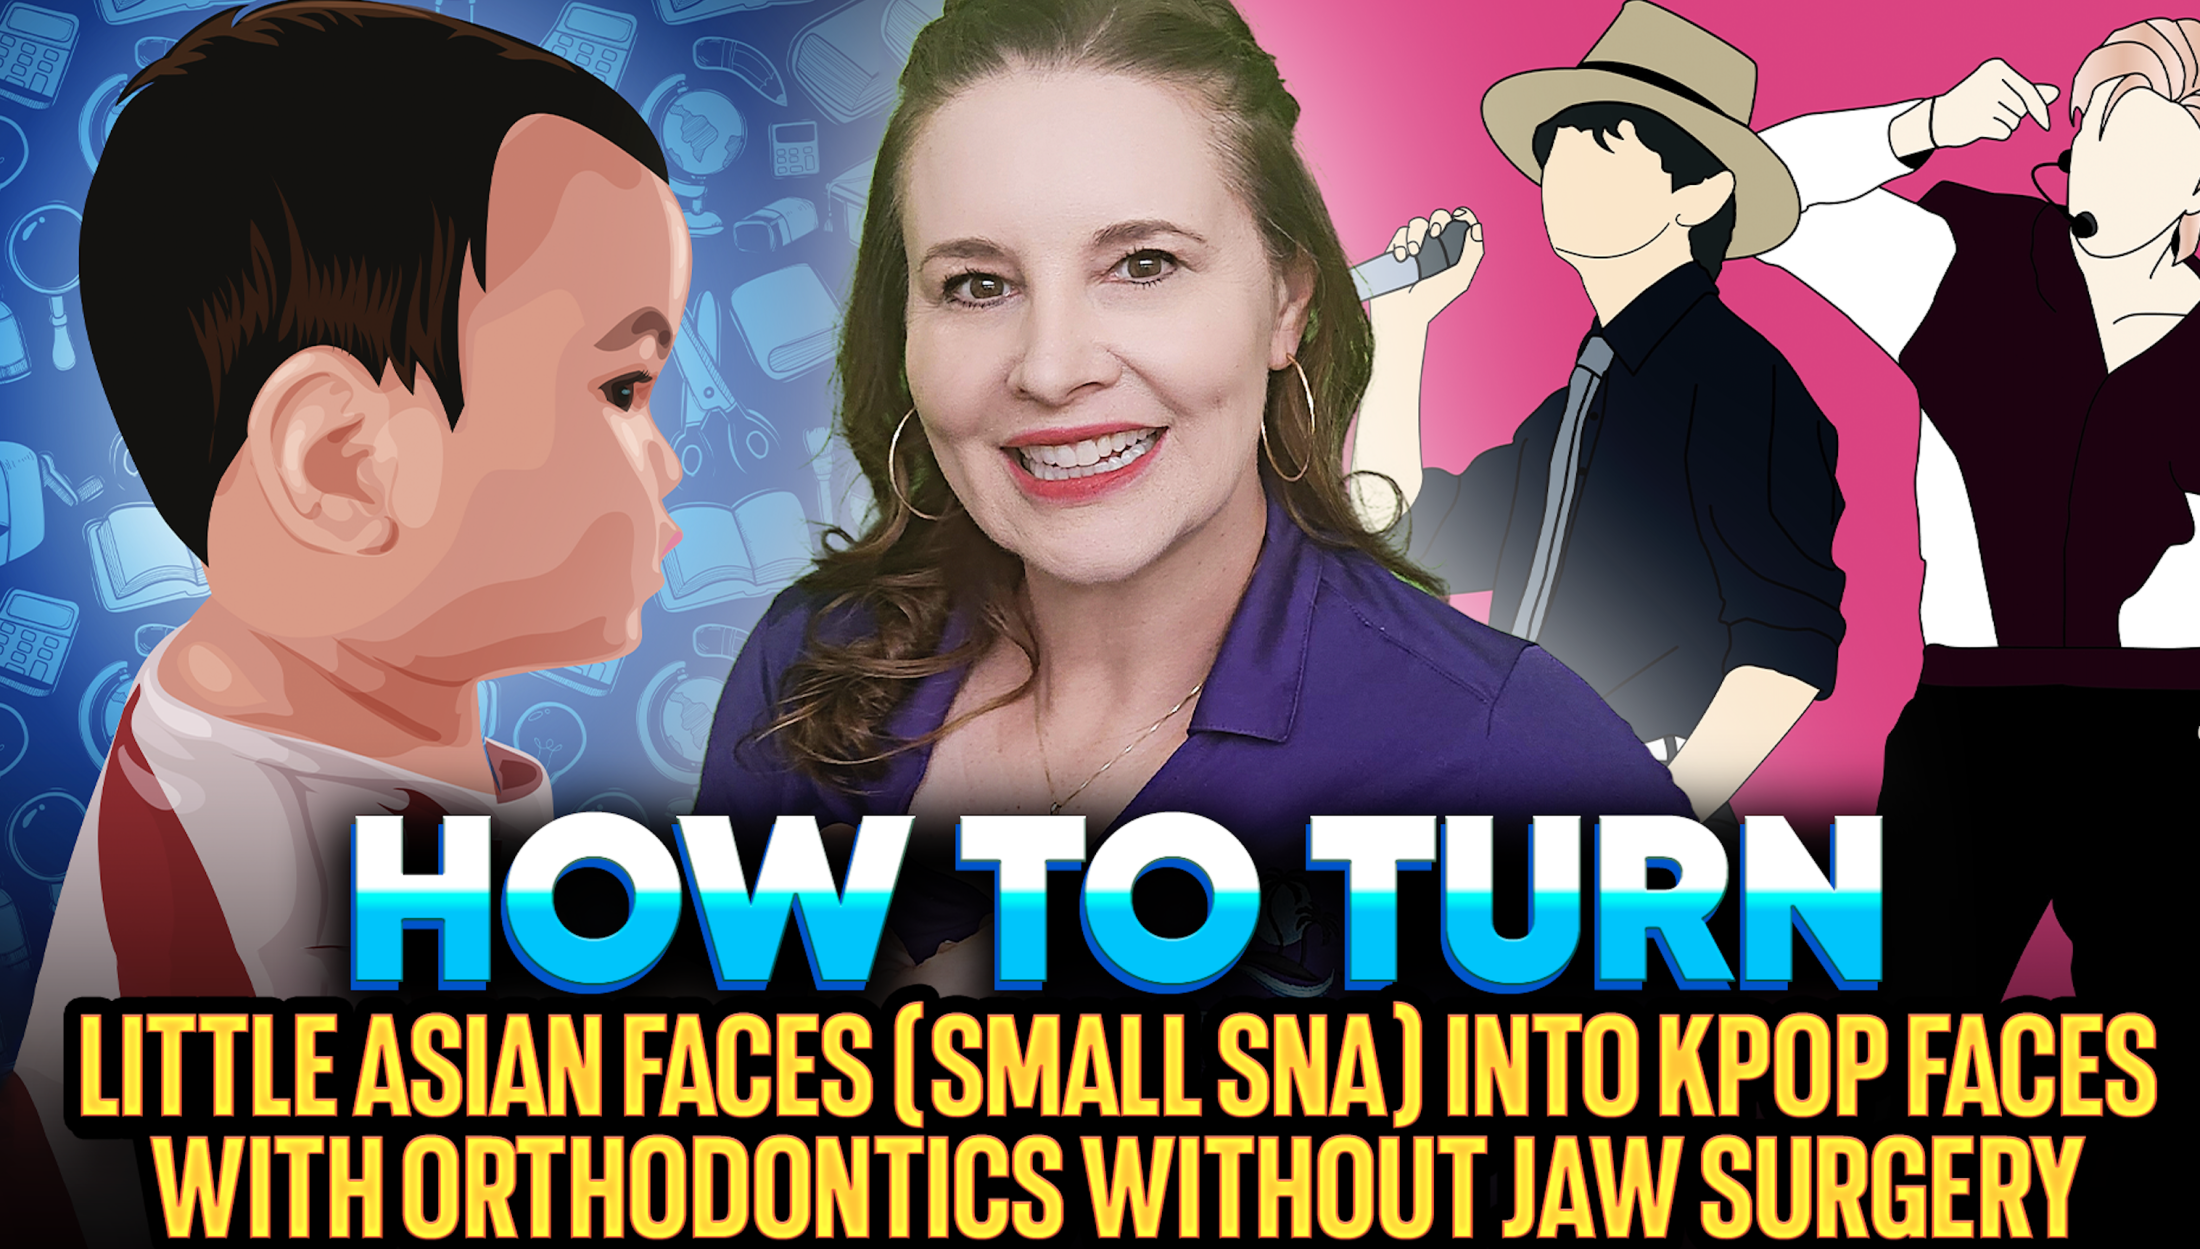
How to Turn Little Asian Retrognathic Small-SNA Faces Into K-Pop Superstar Full-Broad-Smile Cases
Introduction
Dr. Amanda explains a growing orthodontic trend among East Asian families seeking a broad, full “K-Pop style” for children who naturally have small SNA values and retrusive midfaces. She shares cultural insights, clinical considerations, and the ethical limits of creating facial fullness without surgery. Her guidance emphasizes sensitivity to cultural expectations, realistic growth potential, and the responsible selection of patients.
Understanding Cultural Aesthetics
- Many East Asian parents worry about teeth appearing too “bucky,” “toothy,” or excessively full.
- At the same time, the broad “K-Pop style” is seen as attractive and vibrant and is increasingly desired.
- These preferences vary, and discussing them insensitively can offend families unfamiliar with Western orthodontic ideals.
Clinical Realities of Small-SNA Faces
- Small SNA = retrusive maxilla; if the mandible is normal, this creates Class III patterns treatable with protraction face masks.
- The challenge arises when a child is Class I, functionally normal, but parents request more facial fullness.
- Creating a malocclusion to fix it later is risky, potentially unethical, and may lead to conflict if parents dislike the outcome.
What Growth Guidance Can and Can’t Do
- Orthotropics, posture work, and diet can influence facial development from ages 1-4; effectiveness decreases significantly after age 8.
- Expansion and forward growth stimulation can help, but cannot fully remodel a midface without innate growth potential.
- Advancing the maxilla electively introduces liability: forward growth cannot be reversed without surgery.
Compliance, Family Dynamics & Case Selection
- Phase I success requires a child who communicates independently, follows instructions, and is supported, not overshadowed, by the parent.
- Red flags: parent answering all questions, minimizing hygiene issues, or making excuses for lack of cooperation.
- Without reliable compliance, complex growth-modification plans are likely to fail.
Conclusion
Transforming small-SNA faces naturally into broad, “K-Pop style” requires cultural sensitivity, ethical judgment, and careful case selection. While some growth guidance is possible, elective maxillary advancement carries risks that must be communicated clearly. Ultimately, the safest and most successful outcomes result from selecting the right patients, setting realistic goals, and prioritizing long-term facial health over fleeting trends.
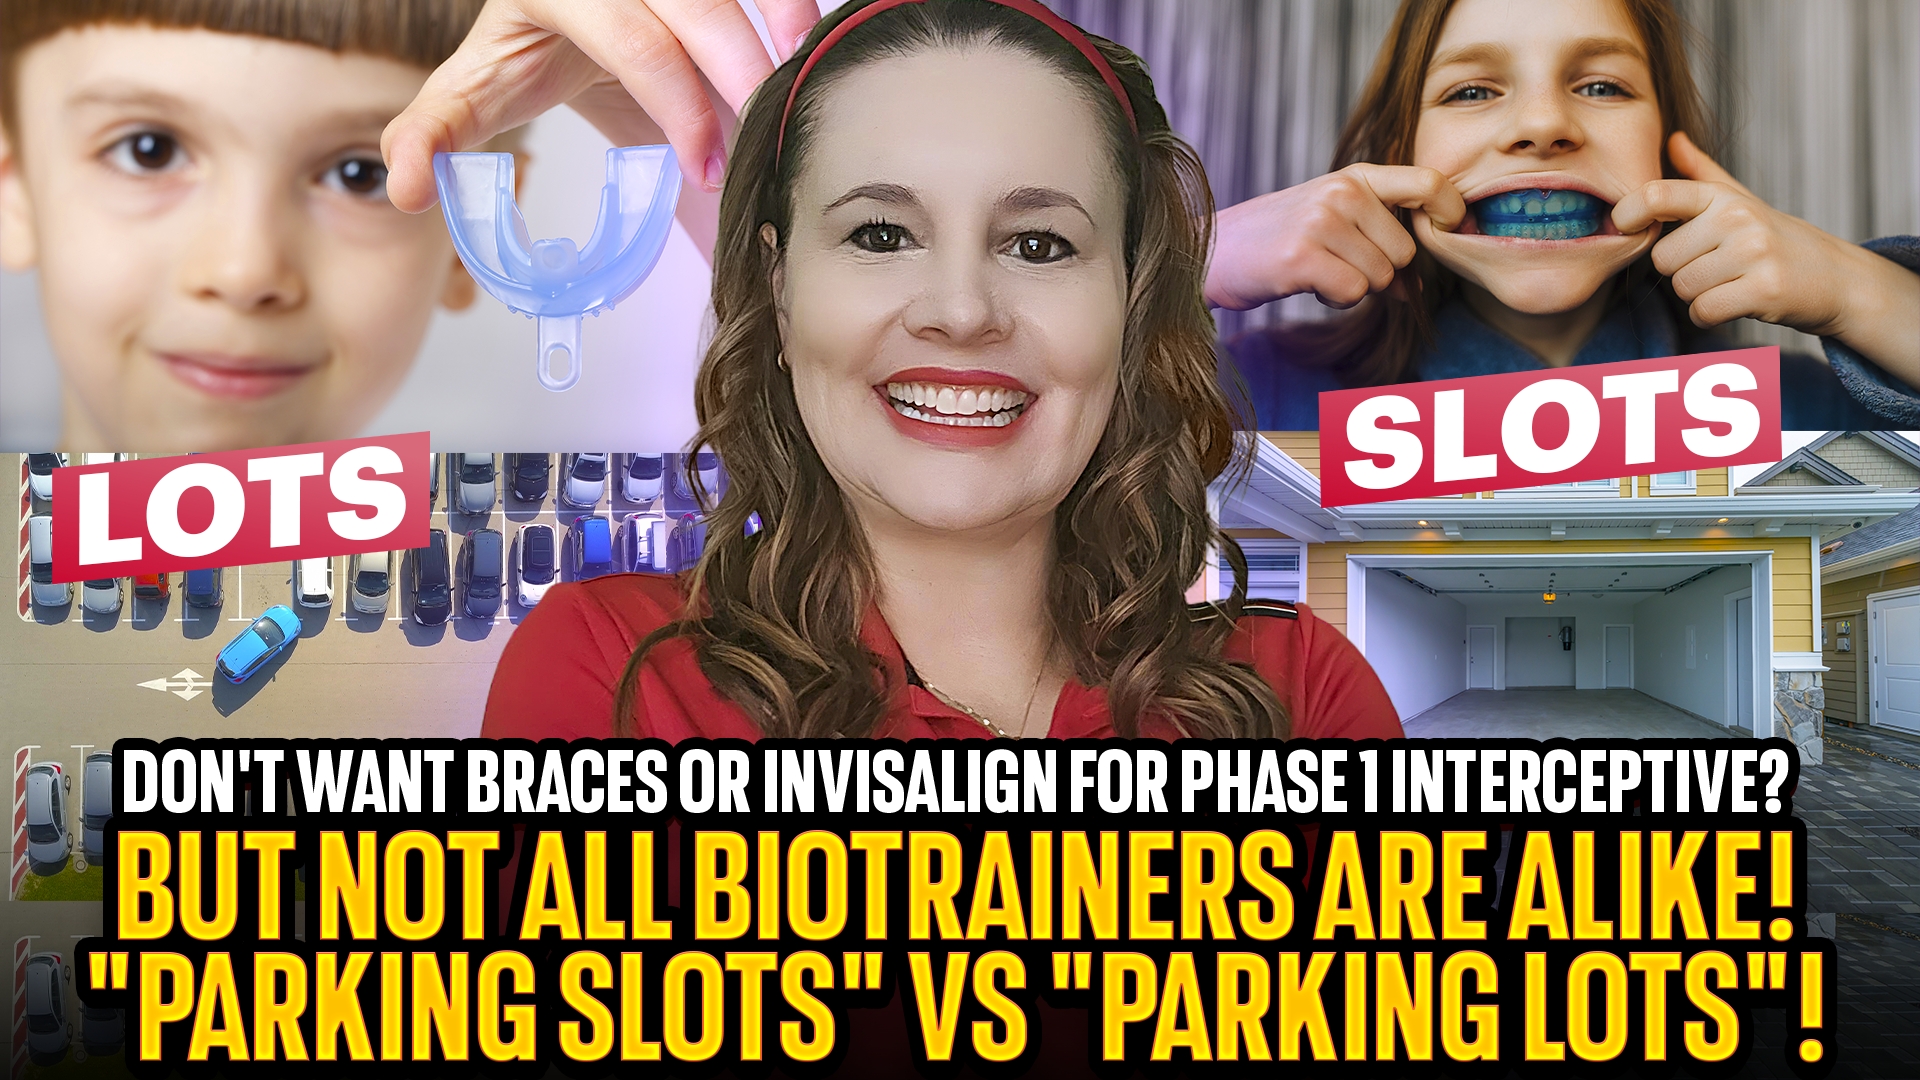
Not All MYO BioTrainers for Phase 1 Interceptive Are the Same: Slots vs. Lots
Mistakes in Edge-to-Edge Class III Adult Treatment Planning: Why Invisalign Incisor Extrusions Are Hocus Pocus
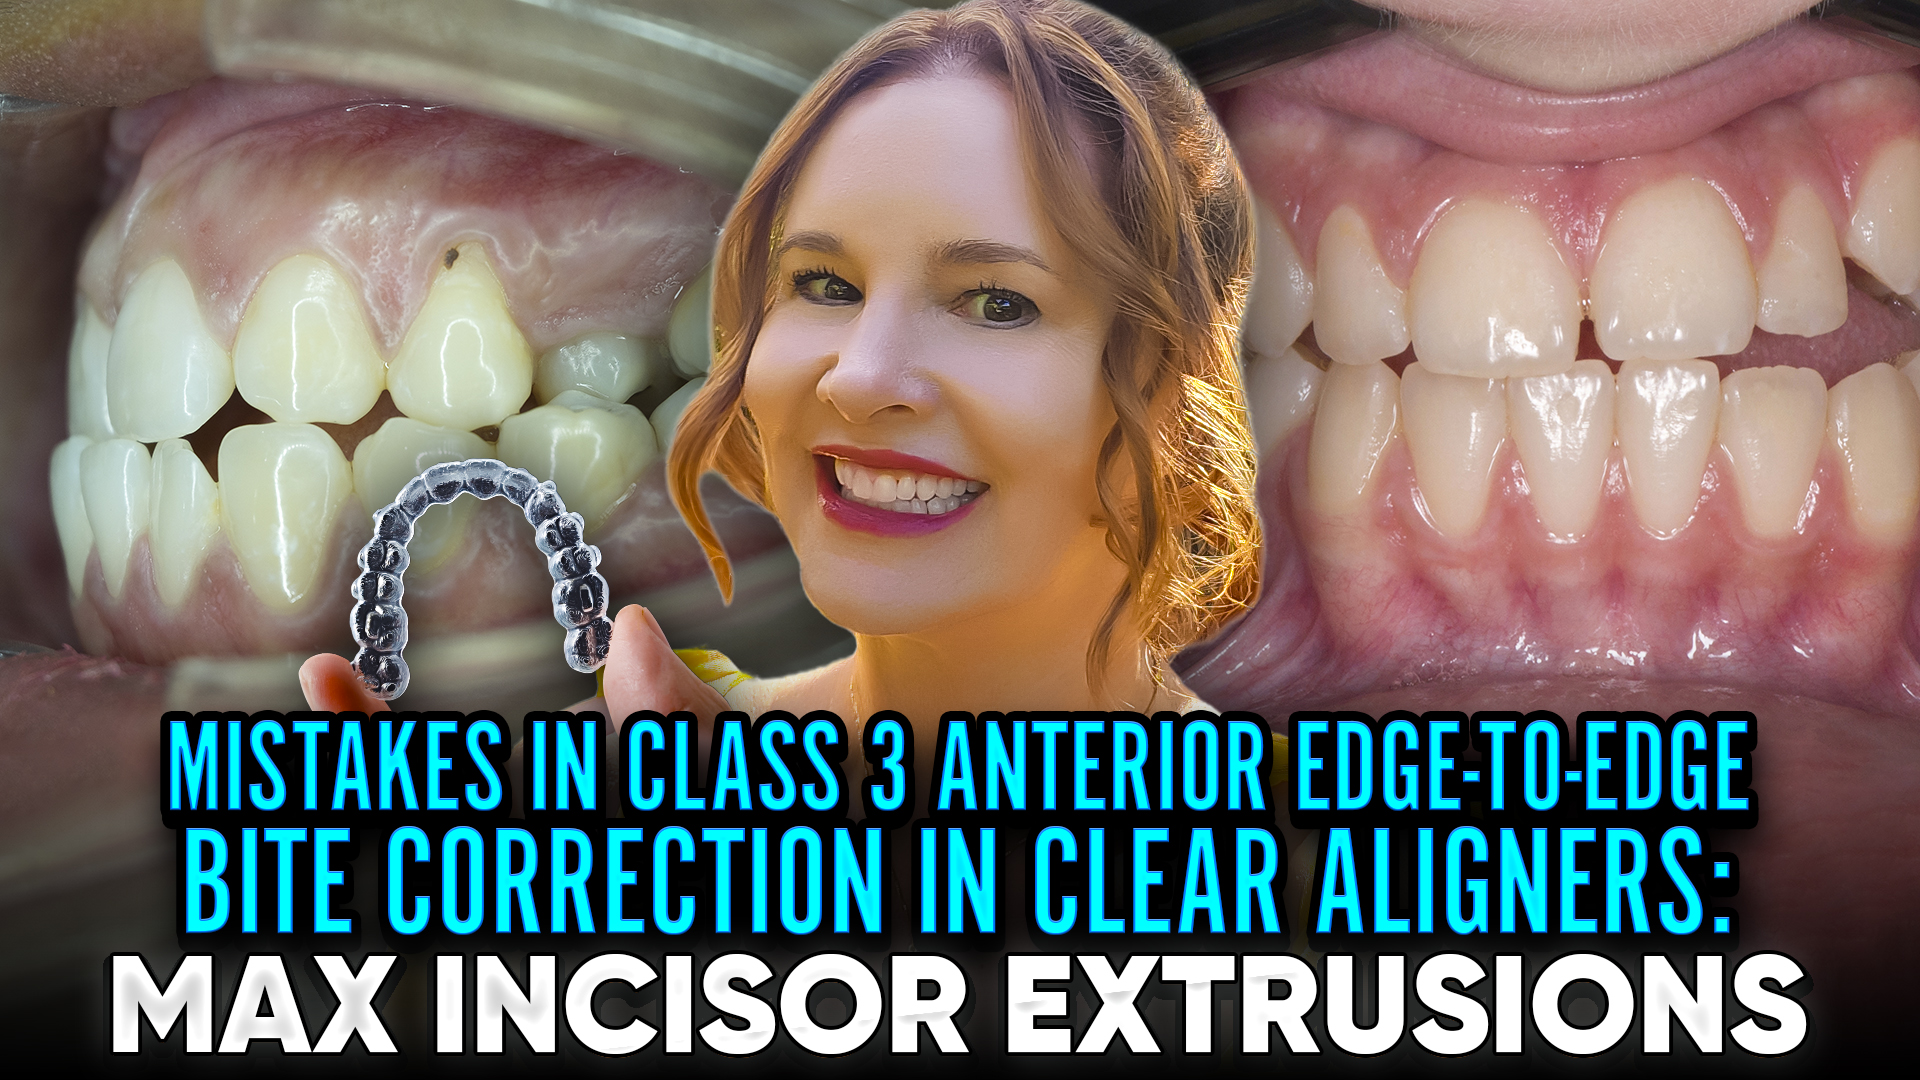
Mistakes in Edge-to-Edge Class III Adult Treatment Planning: Why Invisalign Incisor Extrusions Are Hocus Pocus
Introduction
Dr. Amanda highlights the most common mistakes clinicians make when planning treatment for adult Class III, edge-to-edge, or borderline Class III Invisalign cases. These errors often come from skipping diagnostic imaging, misunderstanding incisor position, or relying on automated “AI-bot” setups instead of guiding the plan with real orthodontic principles. She explains why these shortcuts lead to unrealistic movements, especially incisor extrusion “magic,” and how proper records prevent bone, stability, and aesthetic problems.
Why Mild Class III/Edge-to-Edge Cases Get Mishandled
- Many borderline Class III cases only require lower IPR to correct the bite.
- Instead, clinicians try to avoid IPR and hope software will “fix it.”
- Failing to check Bolton ratios, angulation, and sagittal relationships leads to incorrect assumptions about whether the case is even solvable without space management.
The Critical Role of Cephs and CBCTs
- A ceph shows incisor angulation relative to the cranial base, maxilla, soft tissue, and facial harmony.
- A CBCT only shows bone availability, not whether a movement is aesthetically or functionally appropriate.
- Without these diagnostics, clinicians cannot know whether incisors should be flared, uprighted, or maintained.
The “AI Cookie-Cutter Bot” Problem
- If you don’t give explicit instructions, the aligner company’s engine will attempt “Hocus Pocus” movements, typically extruding and flaring incisors to compensate for AP discrepancy.
- These movements push teeth out of bone, compromise periodontal health, and create unstable outcomes.
- Automated setups are not customized and lack clinical accountability; they produce outcomes that “look magical” but fail in real mouths.
Conclusion
Successful adult Class III and edge-to-edge cases require planning, proper imaging, and clear treatment directives, rather than reliance on automated setups. Cephs and CBCTs guide whether space, IPR, or controlled incisor movements are appropriate. Avoiding diagnostics and letting software improvise leads to unrealistic “magic tricks” that risk bone and stability. Thoughtful clinician-driven planning is essential for safe and predictable Class III correction.