StraightSmile Solutions®
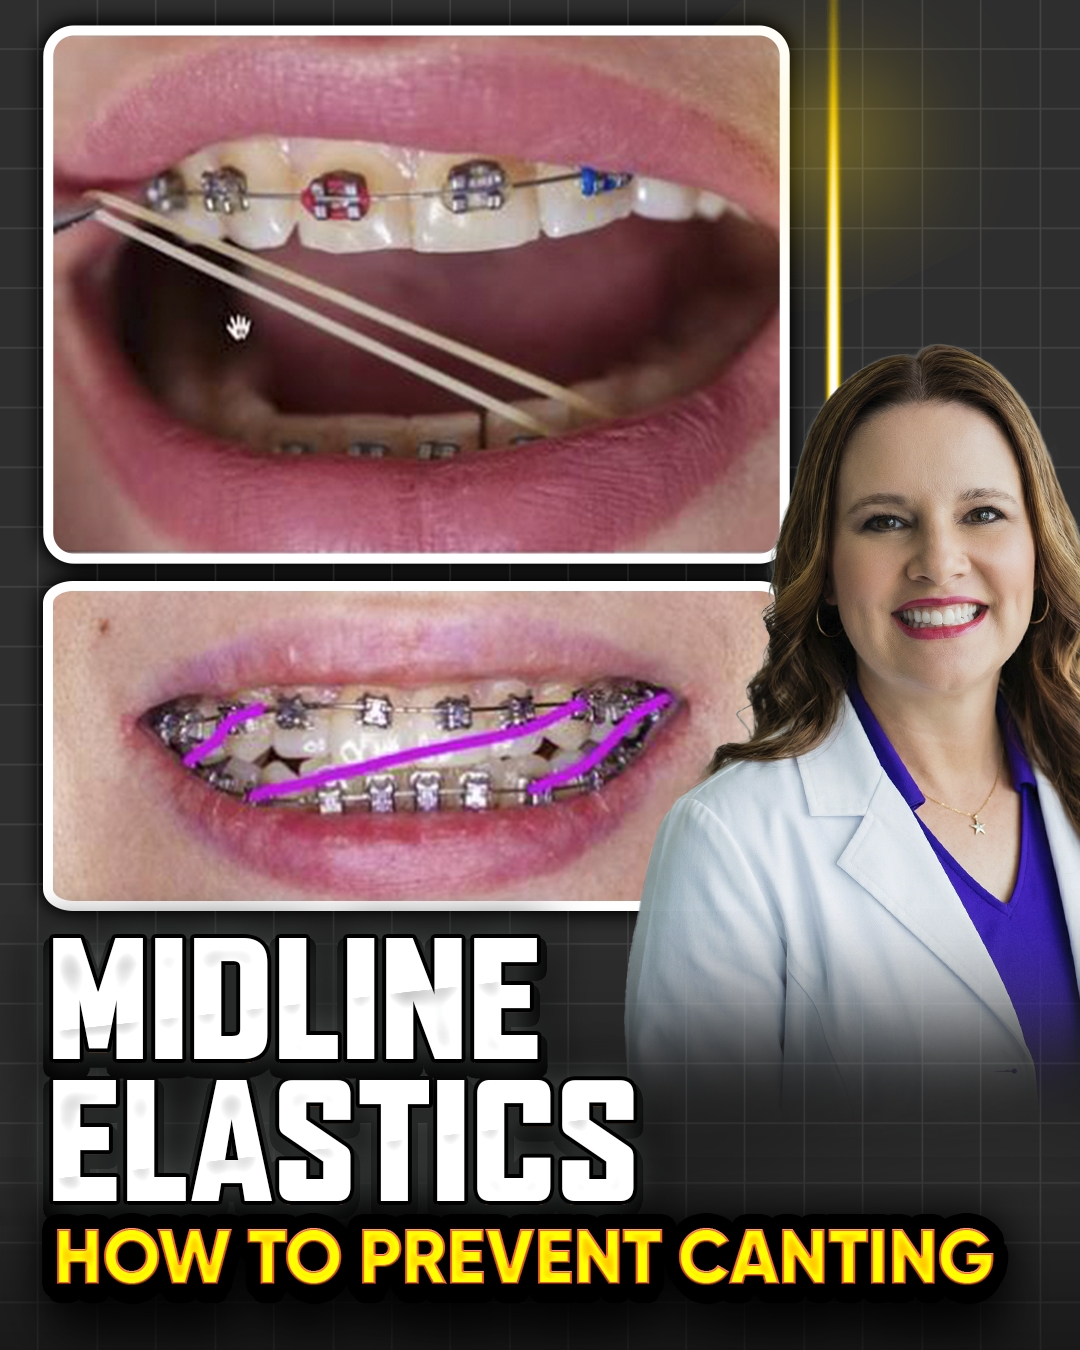
Midline Elastics and Canting – Why Dr Amanda Avoids Them
I. Introduction
Dr Amanda from StraightSmile Solutions addresses a common question: midline elastics and canting.
She has extensive content on midlines already; this video focuses specifically on why midline elastics are problematic.
Her bottom line: She does not recommend midline elastics in most circumstances.
II. The Problem with Midline Elastics
They are unpredictable.
They frequently cause canting (tilting of the occlusal plane).
Once canting occurs, it often creates more problems than you started with—and those problems may not be fixable.
The risks outweigh the benefits.
III. When Midline Elastics Might Be Considered (Rarely)
Only in the very last phase, after levelling and alignment are complete.
Heavy, stable wires must be in place.
Existing spaces between teeth increase the chance of success.
Even then, Dr Amanda still avoids relying solely on midline elastics.
IV. Better Alternatives
Use differential anchorage to shift the midline.
Sequential distalization works much better (especially in Invisalign).
In braces, you have fewer tricks, but midline positioning should be built into the initial plan.
V. Invisalign-Specific Advice
Use the Invisalign smile visualizer to set midline positioning into the plan from the beginning.
Don’t try to fix midlines at the end with elastics.
VI. The Bottom Line
Midline elastics are unpredictable and cause canting.
If you have spaces, alternative mechanics work better.
If you don’t have spaces, midline elastics probably won’t work anyway.
Dr Amanda’s strong advice: avoid midline elastics altogether.
How to Avoid a Lawsuit or Board Complaint for Impactions in Braces and Invisalign
How to Avoid a Lawsuit or Board Complaint for Impactions in Braces and Invisalign
I. Introduction
● Dr Amanda from StraightSmile Solutions continues her liability series, now focusing on impactions.
● These are the top reasons for board complaints and lawsuits, right up there with perio.
● The goal is not to avoid all problems (they will happen), but to be 100% prepared when they do.
II. The Golden Rule: Warn Before You Start
● If you see blunted, tapered, or damaged roots on the initial pano, document it.
● Ask about prior trauma, endo, or ortho. If uncertain, send to endo.
● Endo must clear the patient in writing before you start ortho. No exceptions.
● If the patient refuses, you don’t take the case. Losing a start is better than losing a lawsuit.
III. XRays: NonNegotiable
● You must take a pano before starting ortho. An FMX is not enough; you will miss things.
● Progress Xrays (pano or PA with shift) are required at least once a year. You cannot charge extra for them.
● If there is a known risk, take progress Xrays every 3-4 months. Standard of care.
● CBCT is powerful, but you are responsible for everything in the field. Pay a reader if needed.
IV. Documentation and Informed Consent
● Standard informed consents are insufficient. Create a supplemental consent for any patient with impaction or root resorption risk.
● Warn patients in writing. Have them sign. Document the warning at every progress visit.
● Keep copies of endo reports and clearances.
● If another dentist catches a problem you missed, you are toast.
V. When to Stop Treatment
● If you detect an impaction during treatment, stop.
● Remove braces or pause Invisalign. Send to endo. Get clearance before restarting.
● Be prepared to give a partial refund if needed. Build these scenarios into your treatment plan.
● You can always restart after specialist clearance.
VI. The Phase One Advantage
● Impactions and root resorption are extremely rare in Phase One interceptive patients (ages 6-8).
● Little kids have compliant bone, no perio, and minimal root risks.
● Once again, Phase One is the ultimate lawsuit prevention strategy.
VII. The Bottom Line
● Impactions will happen if you treat enough patients.
● Protect yourself with panos, progress Xrays, endo referrals, and signed supplemental consents.
● Never rely on verbal warnings. Document everything.
● And if you want to sleep at night, stick with Phase One interceptive ortho.
How to Avoid a Board Complaint or Lawsuit on an Ortho Patient with Periodontal Disease
How to Avoid a Board Complaint or Lawsuit on an Ortho Patient with Periodontal Disease
I. Introduction
● Dr. Amanda from StraightSmile Solutions continues her liability series, focusing on orthoperio cases.
● Periodontal disease is the #1 reason for orthodontic lawsuits and board complaints.
● There is zero excuse for a primary care dentist to get sued over perio—especially if you stick with Phase One interceptive (where perio is virtually nonexistent).
II. The Golden Rule: Get Perio Clearance in Writing
● For adult patients, obtain a signed perio clearance from their periodontist BEFORE starting ortho.
● If you are the patient’s periodontist (doing inhouse perio treatment), document all probing, bone levels, and treatment plans.
● The clearance must state that orthodontic treatment is safe. If the periodontist says no, you do not start. Period.
III. Maintenance During Ortho Treatment
● Patients with perio history require periodontal maintenance (PMT) every 34 months throughout ortho.
● If they refuse PMT or fail to keep appointments, you may dismiss them—without a refund if outlined in your contract.
● Progress Xrays (or CBCT) should be taken regularly, more often than the standard yearly interval.
IV. Documentation Is Everything
● Every perio patient needs a complete record: medical/dental history, chief complaint, Xrays, diagnosis, treatment plan, informed consent (general + supplemental perio consent), and documented discussion of risks, benefits, alternatives, and questions (P.A.R.?).
● Use HIPAAcompliant software; never put patient data into public AI tools like ChatGPT.
● If you refer to a specialist, keep written proof. You are the “paperwork collector.”
V. Map Out Potential Problems Ahead of Time
● Before starting, anticipate every way a perio case could go south (bone loss, recession, grafting needs before/after).
● Put all expectations in writing, including consequences for noncompliance.
● If you don’t know how a specific tooth movement will affect the perio status, phone a friend (periodontist) and get documented advice.
VI. The Bottom Line
● Perio risk is almost entirely avoidable by doing Phase One interceptive ortho on children.
● For adults, be ruthless about clearance, maintenance, and documentation.
● A patient who is scared off by these requirements is not a patient you want.
● Don’t let a perio case become a lawsuit. Protect yourself upfront.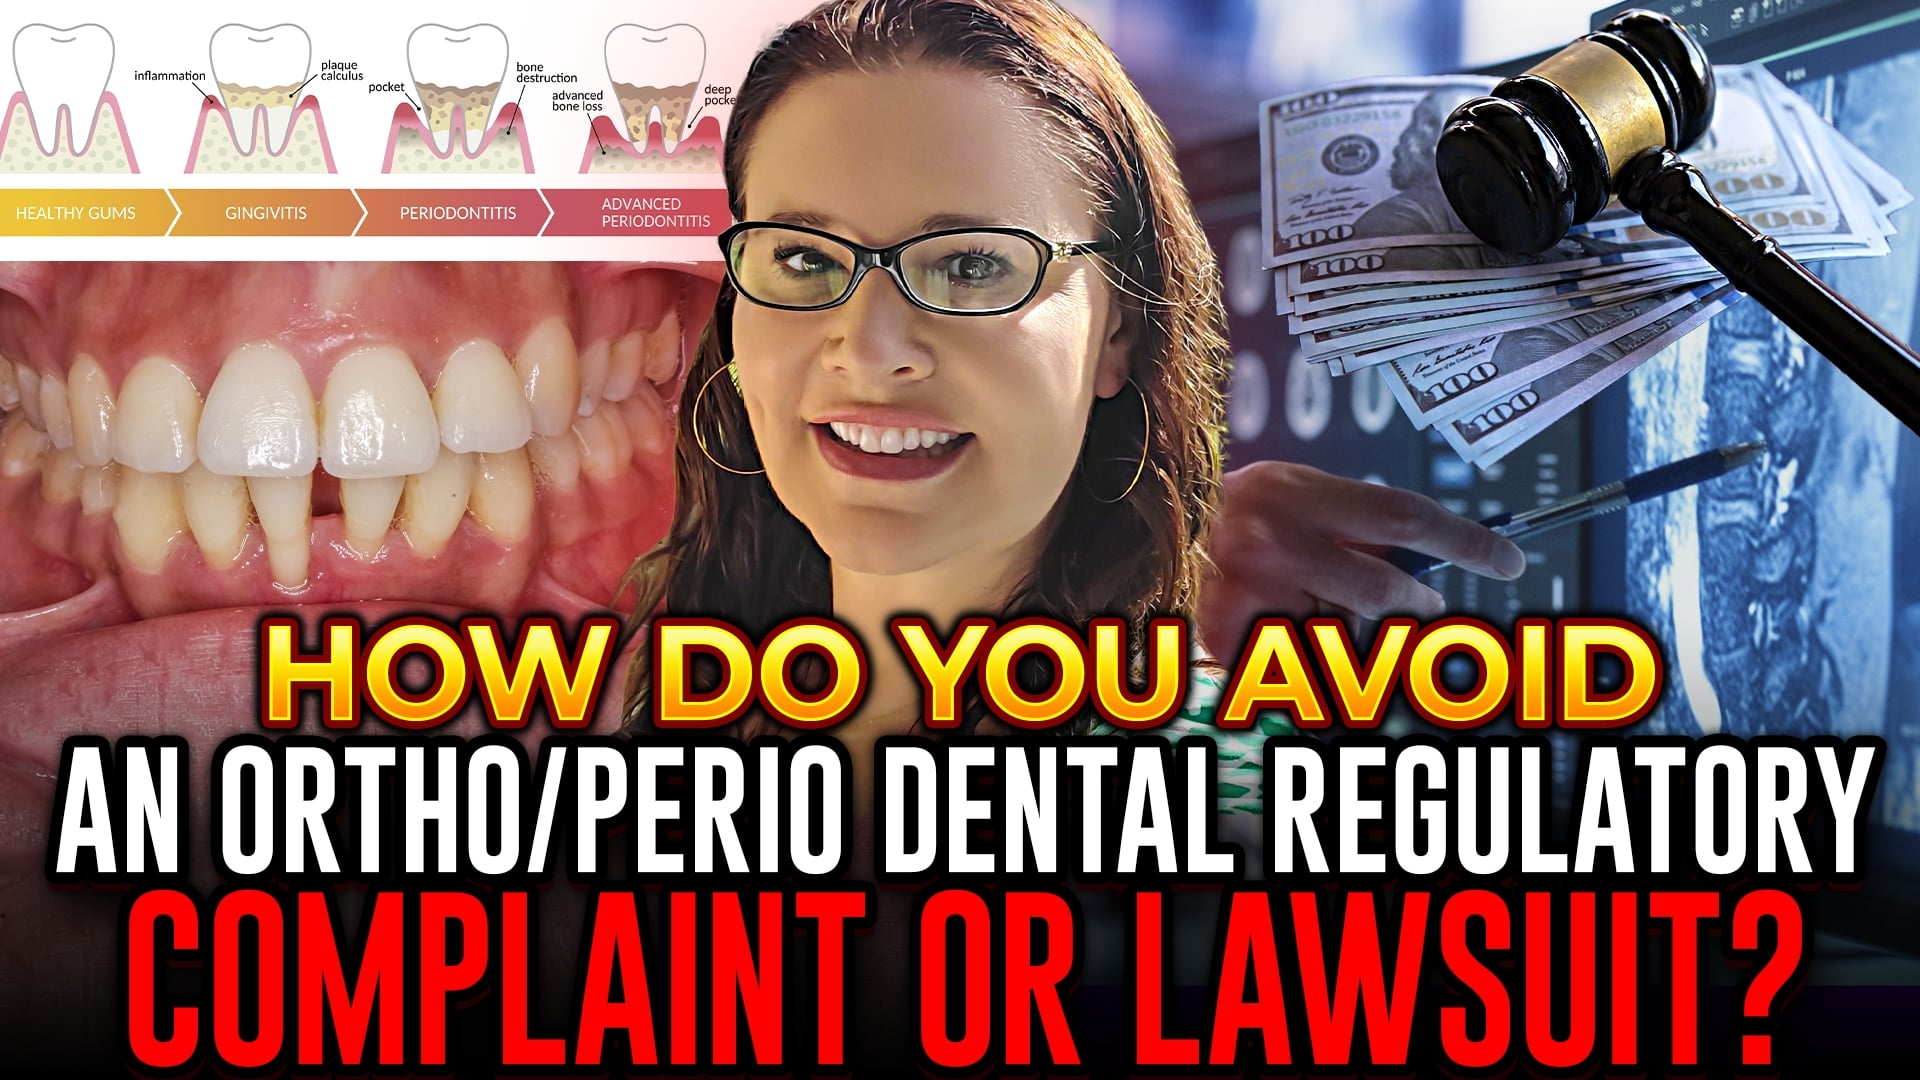
How to Avoid a Lawsuit or Board Complaint from Decalcifications or Caries in Braces or Invisalign
How to Avoid a Lawsuit or Board Complaint from Decalcifications or Caries in Braces or Invisalign
I. Introduction
● Dr Amanda from StraightSmile Solutions continues her liability series, now focusing on decalcifications and caries.
● Invisalign once claimed no white spot cases; she calls BS. Energy drinks + aligners = disaster.
● This is a major lawsuit risk. Protect yourself upfront.
II. The Aligner Problem: Worse Than Braces
● Energy drinks (acid + sugar) bathe teeth when trapped under aligners.
● Braces at least allow saliva to wash the teeth. Aligners trap the acid 24/7.
● Giving patients the entire box of aligners and checking virtually is dangerous. If they never come back and destroy their teeth, it’s on you.
III. Patient Abandonment: A Hidden Trap
● If something is glued on teeth (braces, bonded retainers) or the patient is wearing active aligners, you are legally responsible.
● You cannot “forget” about a patient. Follow your dental practice act: calls, emails, certified letters, then formal discontinuation.
● Once treatment is discontinued and a patient over 18 signs, you are released. Retainer checks are not required.
IV. Never Start a Case with Poor Hygiene
● Before gluing a single bracket or delivering any aligner, the patient must demonstrate good oral hygiene.
● If it’s iffy, don’t start. Don’t let an office manager or KPI pressure you into violating the standard of care.
● Get a cavity and hygiene clearance from the general dentist in writing. If you are the GP, you are legally responsible for hygiene throughout ortho treatment.
V. Monitoring and Consequences During Treatment
● Grade hygiene at every visit. Use incentive programs (wooden nickels, rewards) and clear consequences.
● If you see decals or white spots starting: supplemental fluoride, braces vacation (remove appliances), or stop aligners.
● Warn patients in writing ahead of time. Document every discussion. Parents should know that braces may be removed at any time without permission if hygiene fails.
VI. The Braces Vacation
● Sometimes you must stop treatment early to save the teeth.
● Parents may be angry, but you are beholden to your state dental practice act and your license.
● You may need to give a partial refund depending on your contract. If parents refuse to sign discontinuation, proceed anyway it’s early termination. They won’t win a complaint.
VII. The Financial Reality
● Severe decalcification leading to veneers or crowns on multiple teeth can cost $10,000 every 510 years × 40 years = $500,000 to $1 million lawsuit.
● This is entirely avoidable with proper hygiene monitoring and early intervention.
VIII. The Bottom Line
● Decalcifications and caries are preventable. Do not start a case with poor hygiene.
● Monitor constantly. Stop treatment when needed.
● Document everything. Use incentives and consequences.
● A little effort on hygiene saves you from a milliondollar lawsuit.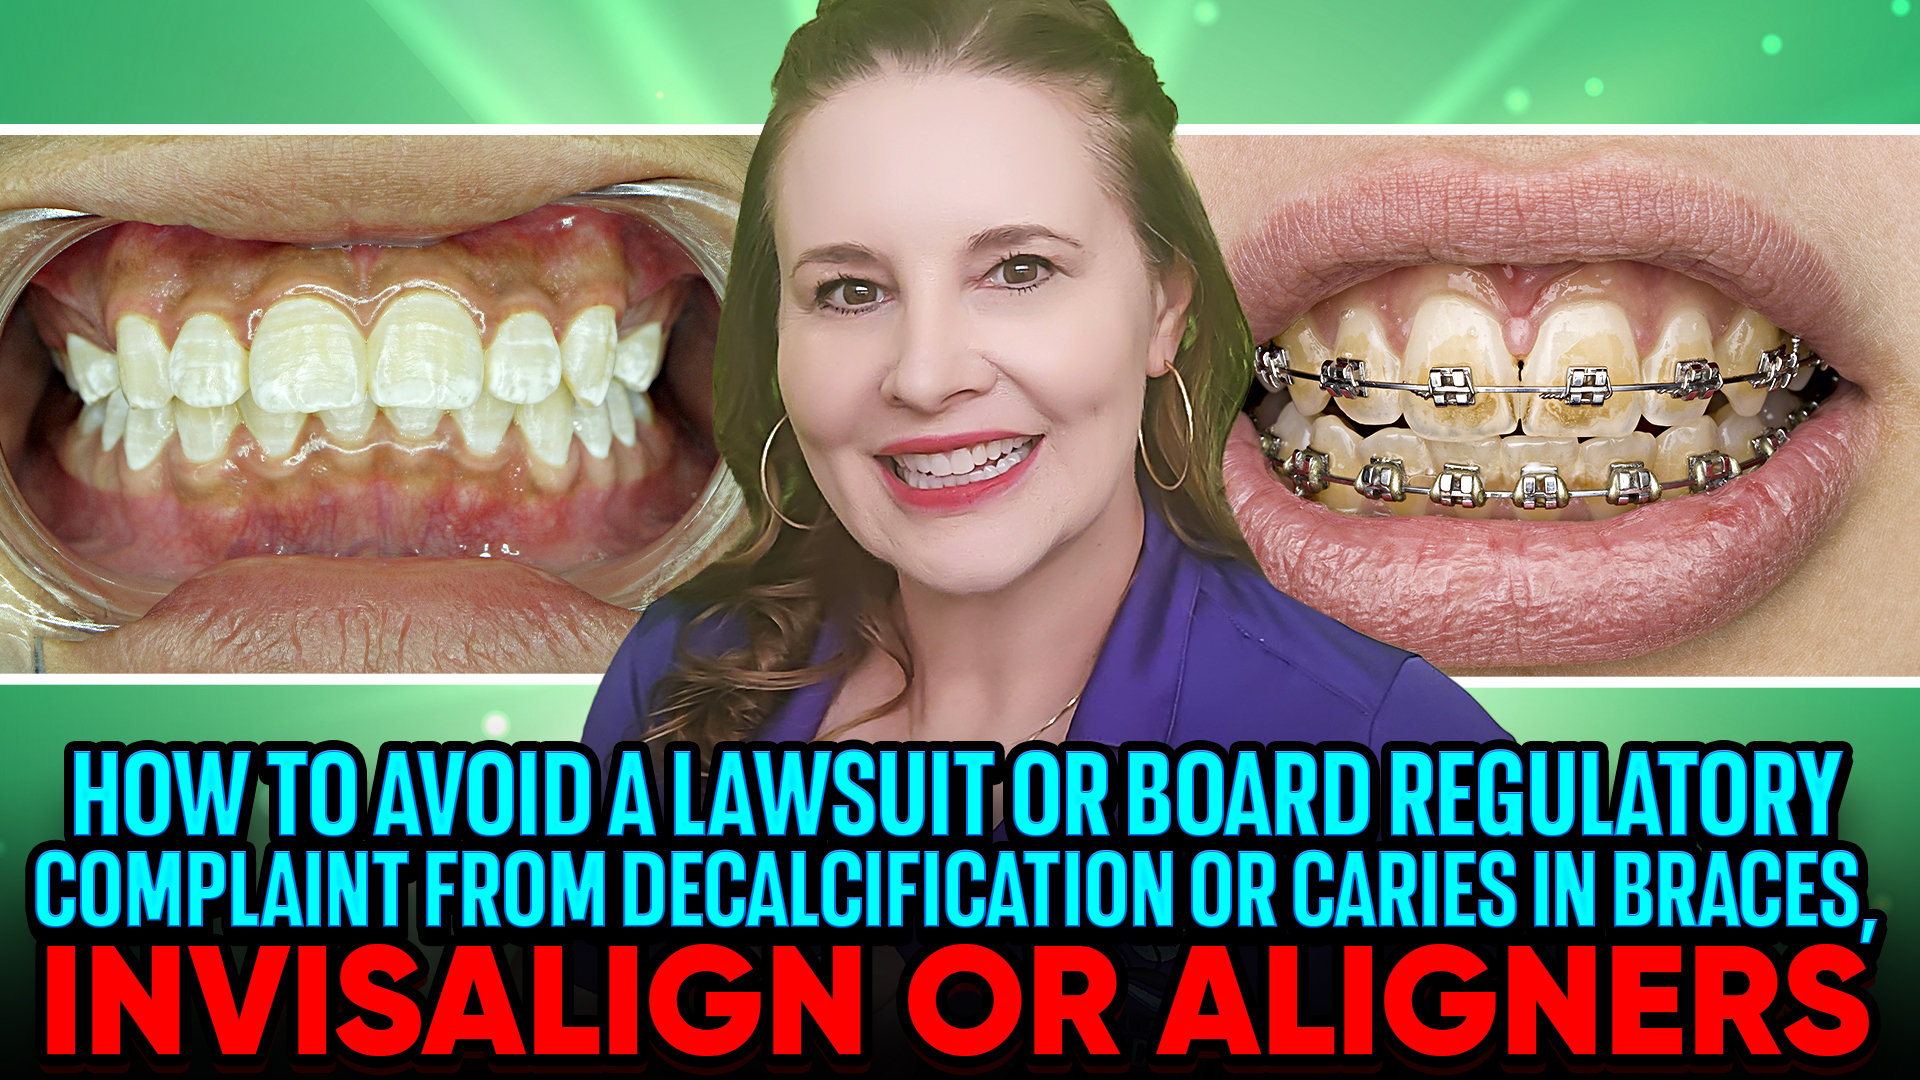
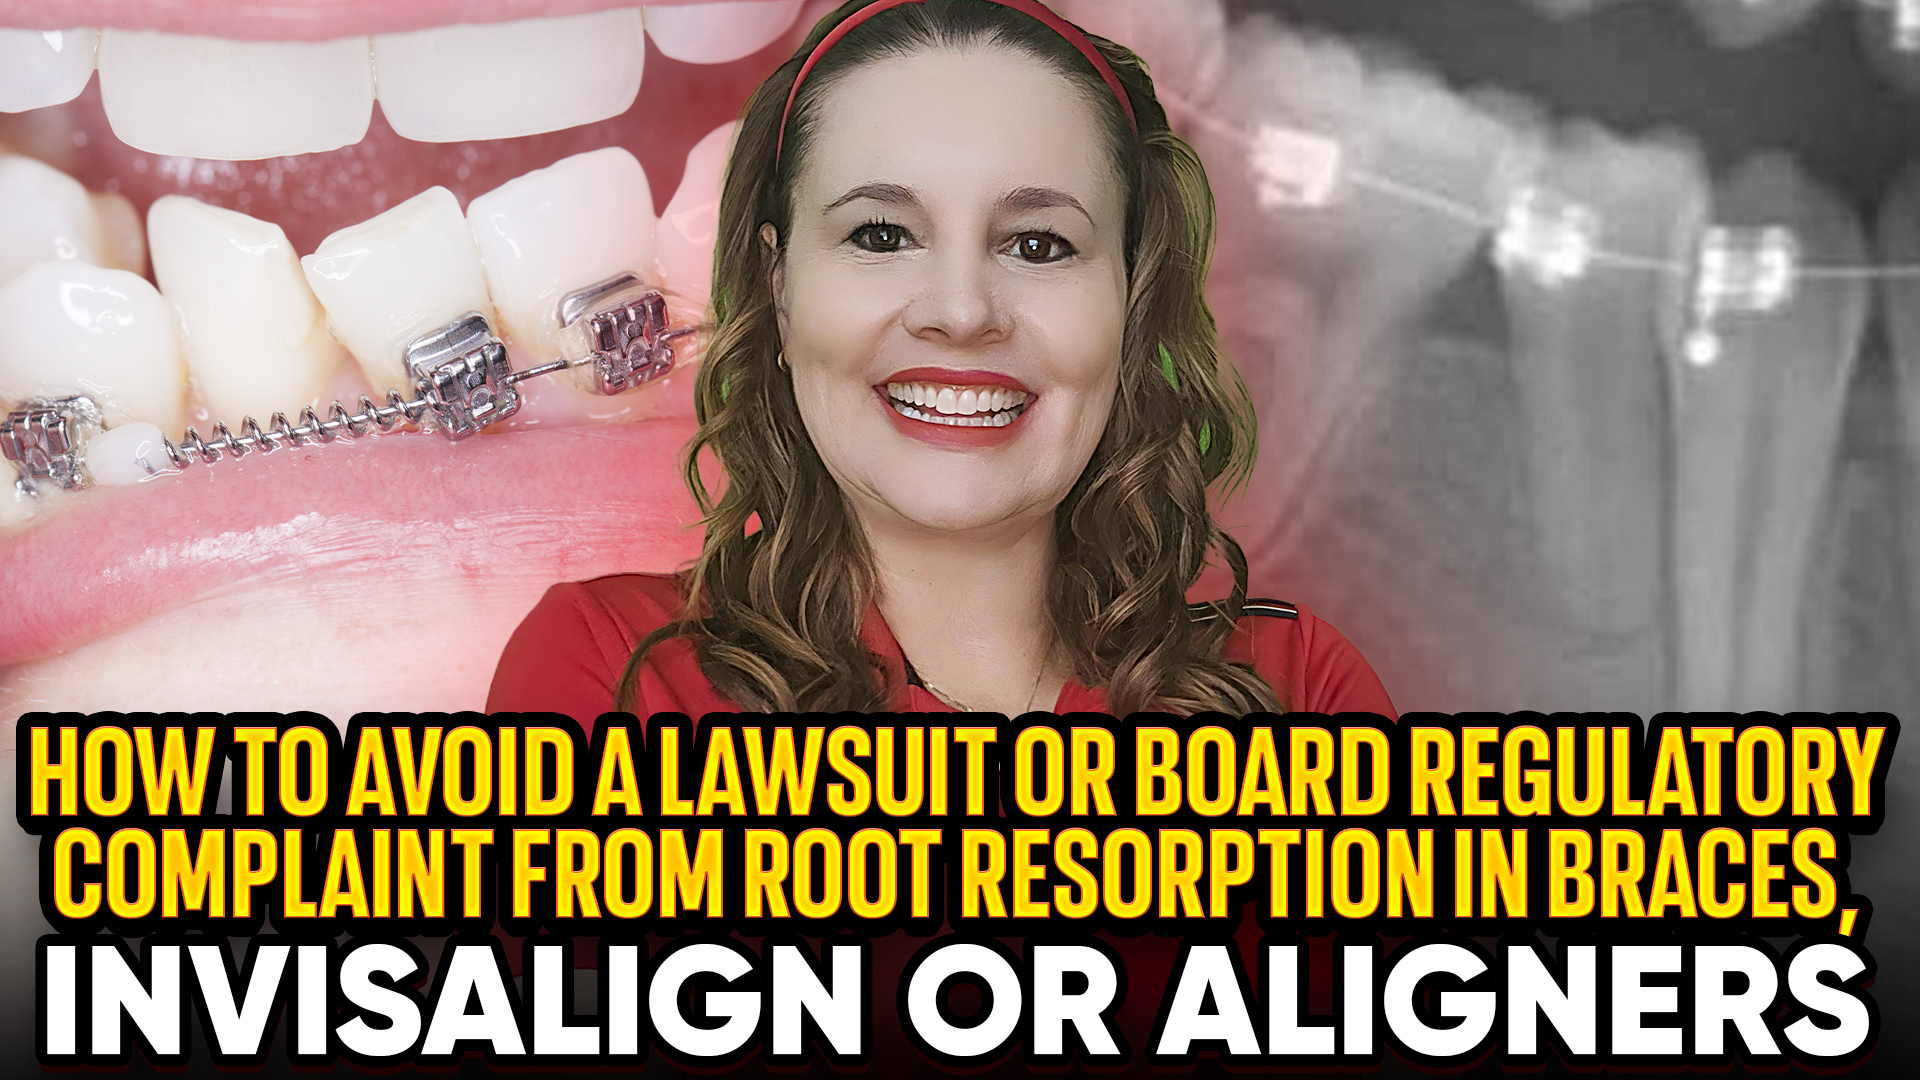
How to Avoid a Lawsuit or Board Complaint Root Resorption in Braces and Invisalign
I. Introduction
● Dr Amanda from StraightSmile Solutions continues her liability series, now focusing on root resorption.
● These are the top reasons for board complaints and lawsuits, right up there with perio.
● The goal is not to avoid all problems (they will happen), but to be 100% prepared when they do.
II. The Golden Rule: Warn Before You Start
● If you see blunted, tapered, or damaged roots on the initial pano, document it.
● Ask about prior trauma, endo, or ortho. If uncertain, send to endo.
● Endo must clear the patient in writing before you start ortho. No exceptions.
● If the patient refuses, you don’t take the case. Losing a start is better than losing a lawsuit.
III. XRays: NonNegotiable
● You must take a pano before starting ortho. An FMX is not enough; you will miss things.
● Progress Xrays (pano or PA with shift) are required at least once a year. You cannot charge extra for them.
● If there is a known risk, take progress Xrays every 3-4 months. Standard of care.
● CBCT is powerful, but you are responsible for everything in the field. Pay a reader if needed.
IV. Documentation and Informed Consent
● Standard informed consents are insufficient. Create a supplemental consent for any patient with impaction or root resorption risk.
● Warn patients in writing. Have them sign. Document the warning at every progress visit.
● Keep copies of endo reports and clearances.
● If another dentist catches a problem you missed, you are toast.
V. When to Stop Treatment
● If you detect root resorption during treatment, stop.
● Remove braces or pause Invisalign. Send to endo. Get clearance before restarting.
● Be prepared to give a partial refund if needed. Build these scenarios into your treatment plan.
● You can always restart after specialist clearance.
VI. The Phase One Advantage
● root resorption are extremely rare in Phase One interceptive patients (ages 6-8).
● Little kids have compliant bone, no perio, and minimal root risks.
● Once again, Phase One is the ultimate lawsuit prevention strategy.
VII. The Bottom Line
● Root resorption will happen if you treat enough patients.
● Protect yourself with panos, progress Xrays, endo referrals, and signed supplemental consents.
● Never rely on verbal warnings. Document everything.
● And if you want to sleep at night, stick with Phase One interceptive ortho.
What Are the TOP 6 Reasons for Orthodontic Lawsuits or Regulatory Complaints?
 What Are the TOP 6 Reasons for Orthodontic Lawsuits or Regulatory Complaints?
I. Introduction
● Dr. Amanda from StraightSmile Solutions begins a series on liability in orthodontics for general dentists and pediatric dentists.
● She is not a lawyer, but has spent years auditing CE courses and collecting data on common claims.
● Her advice: stick with Phase One interceptive cases when possible risk drops exponentially compared to adult treatment.
II. Reason #1: Failure to Diagnose or Manage Periodontal Disease
● The number one reason for orthodontic complaints almost always in adults.
● Even if you’re managing perio inhouse, there are specific protocols to follow.
● A full video will be dedicated to this topic.
III. Reason #2: Root Resorption
● Whether you caused it or not, the key is how you manage it.
● Past, present, or future root resorption must be documented and monitored.
● Another full video is planned.
IV. Reason #3: Impacted or Ankylosed Teeth
● Includes canines, premolars, second molars even if you didn’t cause the impaction.
● Failure to notice, diagnose, or manage an impacted tooth properly is a common trigger for complaints.
V. Reason #4: TMJ/TMD and Myofunctional Complaints
● Jaw joint issues and myo problems are a growing source of litigation.
● Dr. Amanda’s strong advice: don’t take these cases unless the patient has clearance from a specialist.
● If the case is a mess before you start, refer it out.
VI. Reason #5: Decalcification and Caries
● Unacceptable. Period.
● If a patient develops white spots or cavities during orthodontic treatment, it’s on you.
● You should not have started treatment on a highrisk patient, or you must remove braces if they can’t maintain hygiene.
● Managing this is standard of care.
VII. Reason #6: Miscellaneous Crap
● A catchall category for random oopsies, bad karma, and poor practice management.
● Includes appointment scheduling, staff errors, discontinuing treatment improperly, and patient communication failures.
● Much of this is basic dental school stuff unacceptable in any specialty.
VIII. The Bottom Line
● Adult orthodontics carries the highest risk. Phase One kids are much safer.
● If a patient needs ENT, myo, or perio clearance, get it before starting.
● Dr. Amanda is strict because she wants to sleep at night and she’ll drop clients who ignore red flags.
● Protect yourself: document, screen, and don’t take cases you shouldn’t.
2026 IPE Invisalign Palatal Expander: New Curve of Wilson Lower Arch Coordination Widget!
 2026 IPE Invisalign Palatal Expander: New Curve of Wilson Lower Arch Coordination Widget!
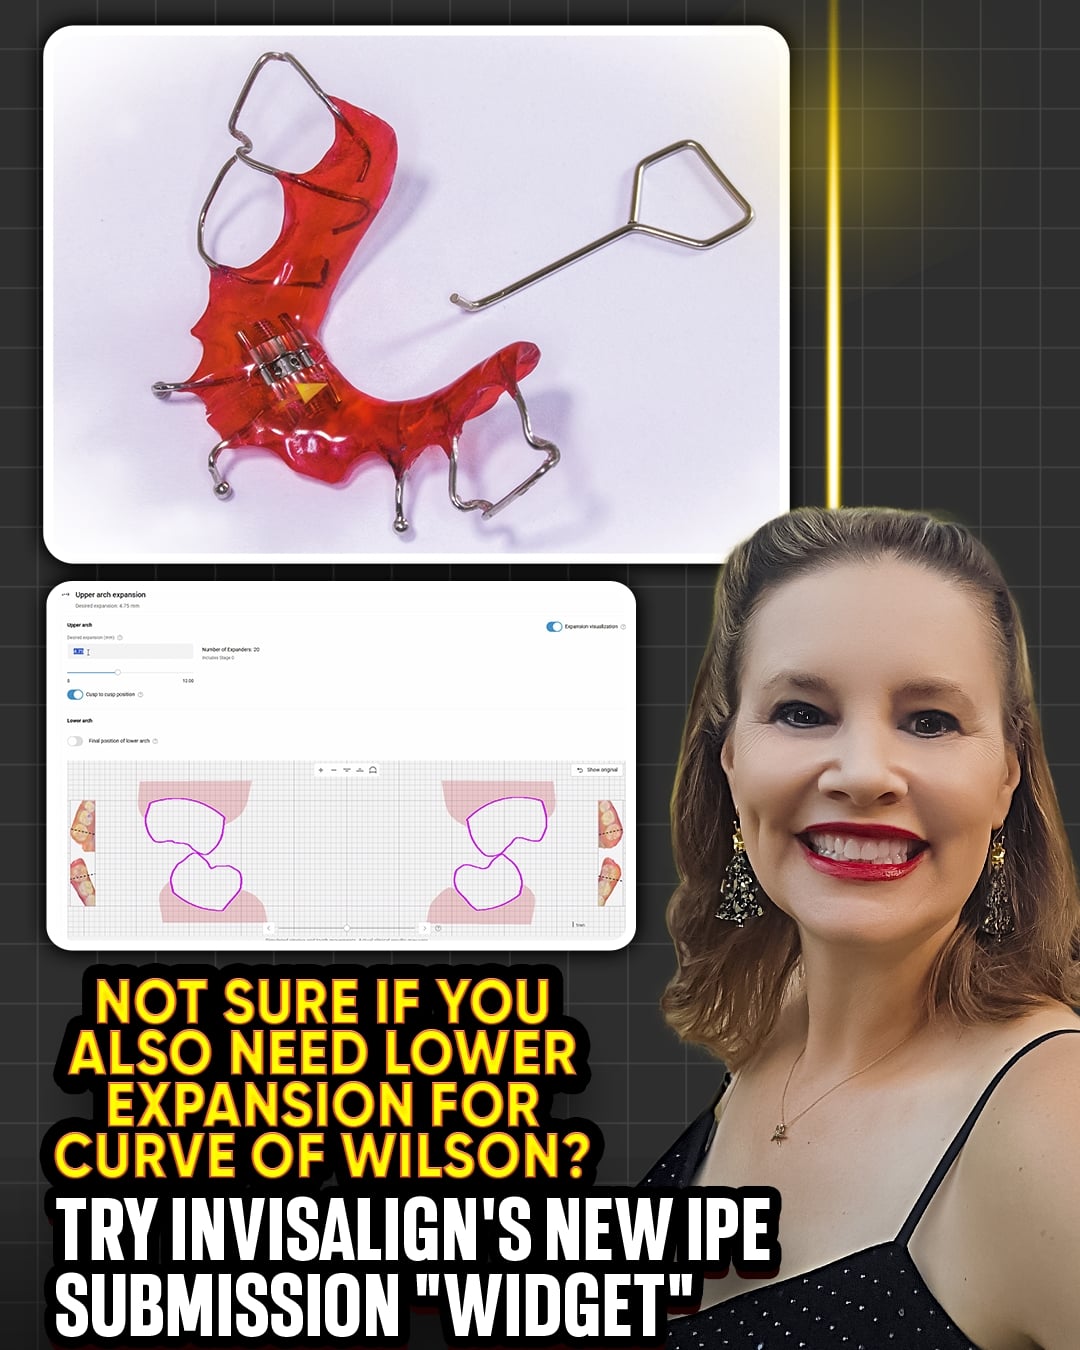
I. Introduction
Dr. Amanda from StraightSmile Solutions shares her updated 2026 approach to submitting Invisalign Palatal Expander (IPE) cases.
A new “widget” now appears in the ClinCheck submission process to help coordinate lower arch expansion and curve of Wilson up-righting.
While the widget is a smart addition, its accuracy is still unproven, so clinical judgment remains key.
II. The Old Way vs. The New Widget
Previously, the IPE submission required manual measurement and planning for lower arch coordination.
The new widget visually shows how upper expansion affects lower arch position and whether lower up-righting is needed.
If the lower arch is rolled in (curve of Wilson issue), it’s almost always accompanied by crowding, meaning the lower needs treatment, too.
III. Dr. Amanda’s Simple Rule: Slide It to 12
She advises maximizing expansion: “I wouldn’t pay $700 for an IP if I weren’t needing a lot of expansion.”
Sliding the widget to 12mm gives the greatest skeletal and airway benefit.
Cutting expansion short and finishing with aligners alone reduces airway and skeletal advantages, even if it creates some space.
IV. Lower Arch Coordination: Don’t Ignore It
Very rarely does a case require only upper expansion without lower intervention.
A constricted upper arch often causes the lower arch to roll in.
If the widget shows lower up-righting is needed, plan for lower treatment—whether with a removable expander, braces, or Invisalign First.
V. Why Invisalign for Phase 1 and Teens?
Dr. Amanda has swung back to favoring Invisalign for young patients because of its integrated tools (like IPE) and predictable outcomes.
She acknowledges the cost and closed ecosystem but maintains that for phase 1 interceptive and teen ortho, no other aligner brand matches the functionality.
Her goal is to educate doctors to use the product effectively, not to promote it unquestioningly.
VI. A Note on Her Independence
Dr. Amanda has never taken money from Align Technology and has walked away when they tried to control her content.
She invests her own time and money to learn, and her evolving opinions are based on clinical experience and what works best for her clients.
VII. The Bottom Line
The new widget is a helpful visual aid, but don’t rely on it unthinkingly.
Use it to identify whether lower arch up-righting is needed.
For maximum skeletal and airway benefit, expand fully and slide it to 12.
And always plan for the lower arch; isolated upper expansion is rarely enough.
Resetting Initial Invisalign and Clear ALigner Articulaiton
 Stop Chasing Red Dots: Why Your Aligners Need a Human Touch
When dentists see “red” on a virtual setup, the reflex is to click “fix.” But here’s the truth: the software is just solving a math problem, not treating a human being.
Our goal isn’t to let an algorithm push buttons; it’s to achieve balanced articulation. This requires a holistic view of the patient, not just a digital simulation. Not every red contact needs a “fix.” In fact, forcing the software to “level out” the screen often introduces unpredictable vertical movements that can make a stable bite worse.
The Golden Rule: If you didn’t diagnose the movement, it doesn’t belong in the plan. Every patient is unique—some need an adjustment, and some are better left exactly as they are. Let’s lead the technology, rather than letting the AI lead the treatment.
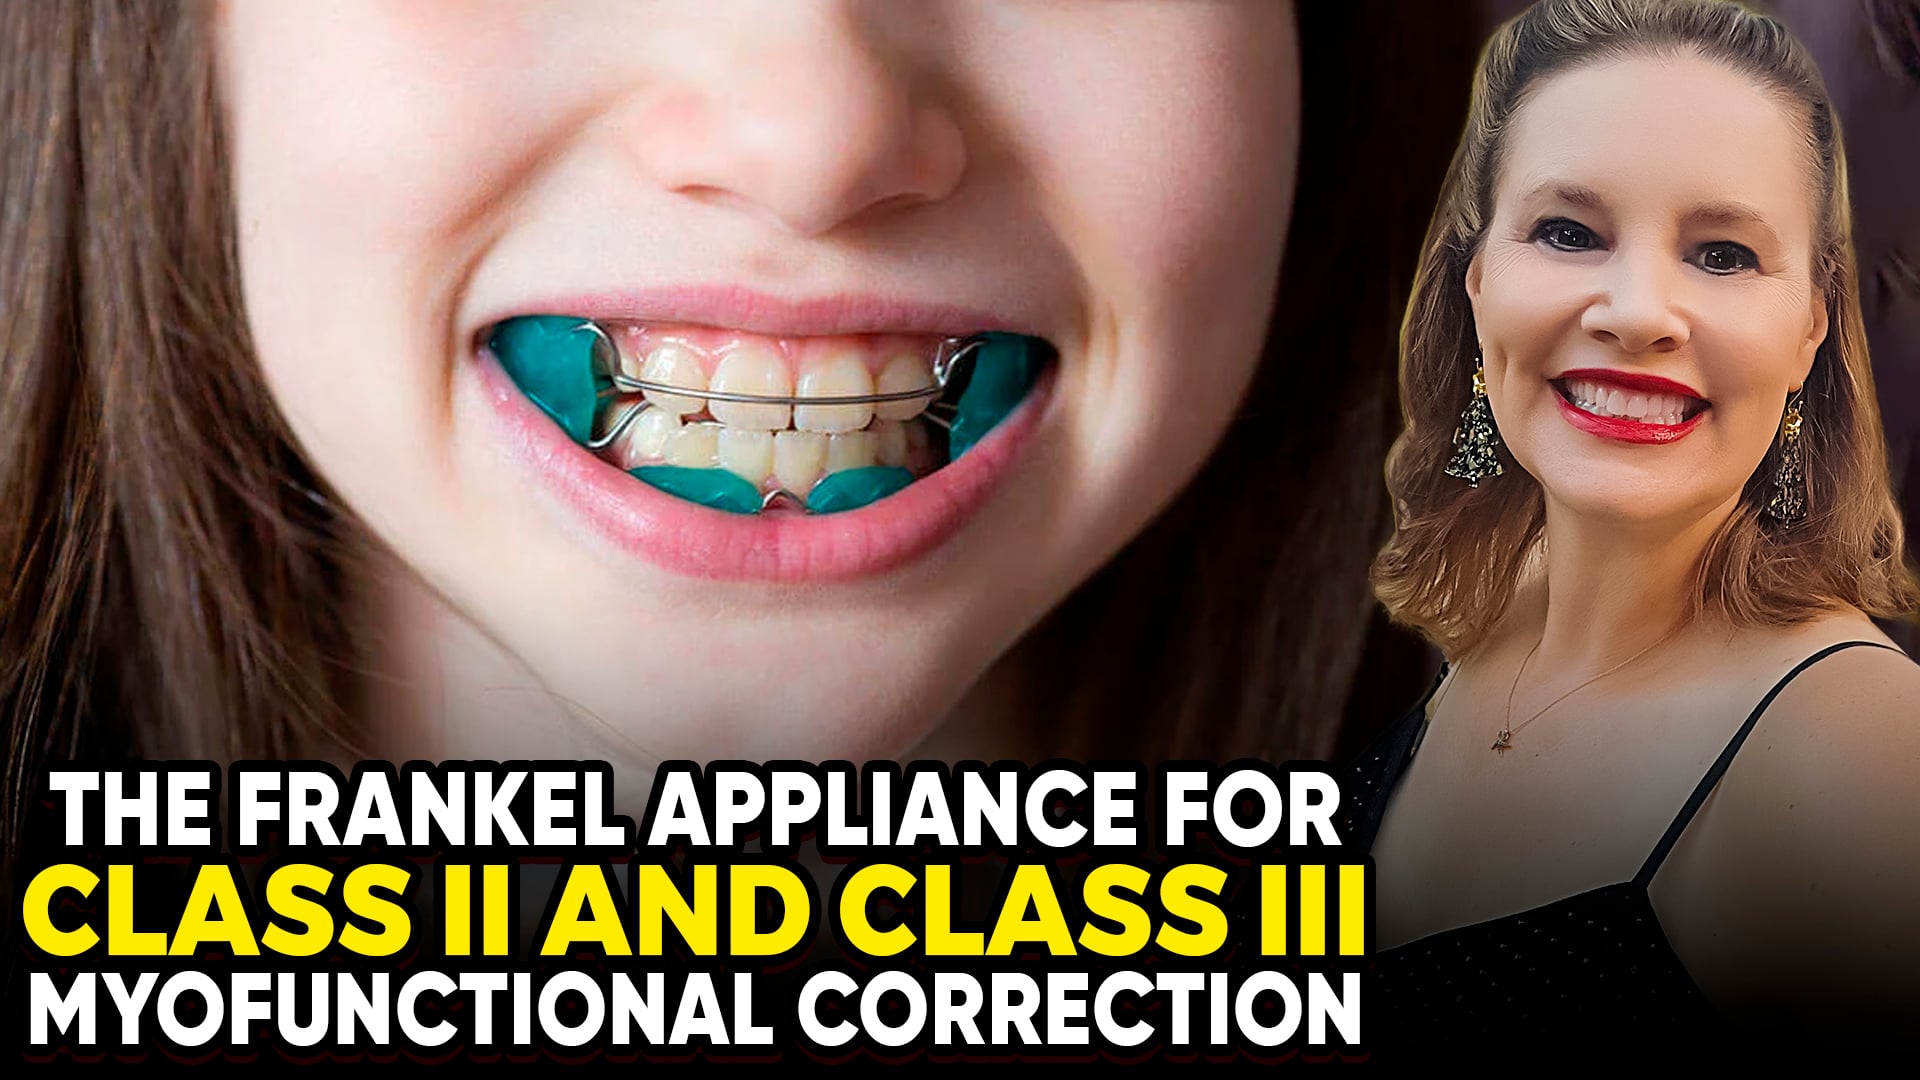
The Frankel Appliance for Class II and Class III Bites
The Frankel Appliance for Class II and Class III Bites
I. Introduction
- Dr. Amanda from StraightSmile Solutions revisits an old-school myofunctional appliance, the Frankel appliance.
- Developed around World War II, it remains a viable option for early Class II and Class III correction.
- While not her go-to, she acknowledges it works when used correctly.
II. The Philosophy Behind It
- Malocclusion exists because modern diets and habits lead to underdeveloped jaws.
- Soft foods, pacifiers, bottles, and a lack of prolonged breastfeeding prevent proper jaw growth.
- The Frankel appliance harnesses tongue pressure while reducing the negative forces of cheeks and lips.
III. How the Frankel Works
- The appliance uses acrylic shields to keep lips and cheeks away from the dental arches.
- This allows the tongue to expand the arches naturally.
- The labial bow prevents front teeth from moving forward, while the lower pad sits a few millimeters away, acting like a lip bumper.
- It places teeth in an edge-to-edge position, encouraging mandibular growth.
IV. Class II vs Class III Versions
- Class II Frankel (Frankel II):
- Labial bow at the upper front prevents proclination.
- Acrylic pads keep cheeks and lips off the lower arch.
- Encourages the lower jaw to grow forward.
- Class III Frankel (Frankel III):
- Pad is positioned in the upper vestibule, allowing upper incisors to flare.
- Lower bow prevents lower incisors from moving forward.
- Dr. Amanda still prefers reverse-pull headgear for Class III, but Frankel III remains an option.
V. Pros and Cons
Pros:
- One-piece, no attachments to braces.
- Cost-effective lab fee is around a few hundred dollars.
- Minimal office visits; no adjustments or rescans needed.
- Can achieve significant improvement in 6-9 months with compliance.
Cons:
- Extremely bulky. Difficult to speak, smile, or make facial expressions.
- Requires full-time wear for best results.
- Not comfortable for all patients; best for motivated, young kids (ages 7-9).
VI. Patient Selection and Compliance
- Ideal for homeschooled or younger children who may find the appliance “cool.”
- Compliance contract is essential: “This only works if you wear it.”
- Partial compliance yields partial results; finishing with braces is still an option.
- No guarantees, but it rarely makes things worse.
VII. Cost-Effectiveness
- Lab fee is roughly one-third that of Invisalign with MA.
- No monthly office visits, no rescans, deliver and monitor.
- A great option for budget-conscious families who need early intervention.
VIII. The Bottom Line
- Everything old is new again. The Frankel still works.
- Not the most comfortable or modern appliance, but for the right patient, young, compliant, and on a budget, it can deliver meaningful skeletal change
- Consider adding it to your Phase 1 toolkit alongside expanders, facemasks, and functional appliances.

Reverse Smile Lines: A Red Flag? Associated with Class III, POBs, and Myo

I. Introduction
- Dr. Amanda from StraightSmile Solutions flags the reverse smile line as a major red flag in orthodontic diagnosis.
- Unlike a normal smile arc (curving upward), a reverse smile arc curves downward, showing more back teeth than front.
- It looks unusual, often ages the smile, and signals underlying problems.
II. What Causes a Reverse Smile Line?
- Genetics and skeletal growth patterns can play a role.
- Most commonly associated with a CLASS III tendency (even mild) or actual underbite.
- Lower anterior teeth hit the upper incisors, preventing them from erupting fully or pushing them back up.
- Wear from the Class III contact can also contribute.
III. Red Flags That Come with Reverse Smile Lines
- Almost always a Class III component (Class II would be syndromic and rare).
- Frequently associated with POSTERIOR OPEN BITES (POBs), even partial ones.
- Often linked to MYOFUNCTIONAL ISSUES, such as a tongue thrust that pushes the posterior teeth upward.
- Potential CR-CO shifts, interferences, and envelope of motion issues.
IV. Diagnostic Requirements
- Never start orthodontic treatment on a reverse smile line without a thorough workup:
- CEPHALOMETRIC X RAY to assess skeletal relationships.
- CBCT to evaluate condyles, airway, and potential pathology.
- Check for occlusal interferences, CRCO discrepancy, and envelope of motion.
- These cases are unpredictable; weird things happen during treatment if the cause isn’t identified.
V. The “Foreign Object” Interrogation
- Always ask patients (or parents): “Does anything go in your mouth that isn’t food?”
- Common culprits:
- Store bought mouthguards or snore guards
- Old retainers (from decades ago)
- Snap on smiles or cosmetic appliances
- Habits like chewing pens or pencils on one side
- If a foreign object is present, discard it, wait 2-3 months, then rescan and reassess.
VI. When to Walk Away
- If you see a POB even on a few teeth that should be touching, DO NOT start treatment until the cause is found.
- Reverse smile lines that are skeletal or due to arrested growth in a non-growing patient cannot be fixed with orthodontics alone; they may require jaw surgery.
- Attempting to force correction with aligners or braces often makes things worse.
VII. The Bottom Line
- A reverse smile line is never a “simple” case.
- Proceed with extreme caution: full records, myo evaluation, and elimination of any oral appliances or habits.
- If you can’t identify and address the root cause, refer or defer.
- These cases are unpredictable, and failure is common. Don’t get trapped.
