
StraightSmile Solutions®
3D Printed Expanders- No Spacers!
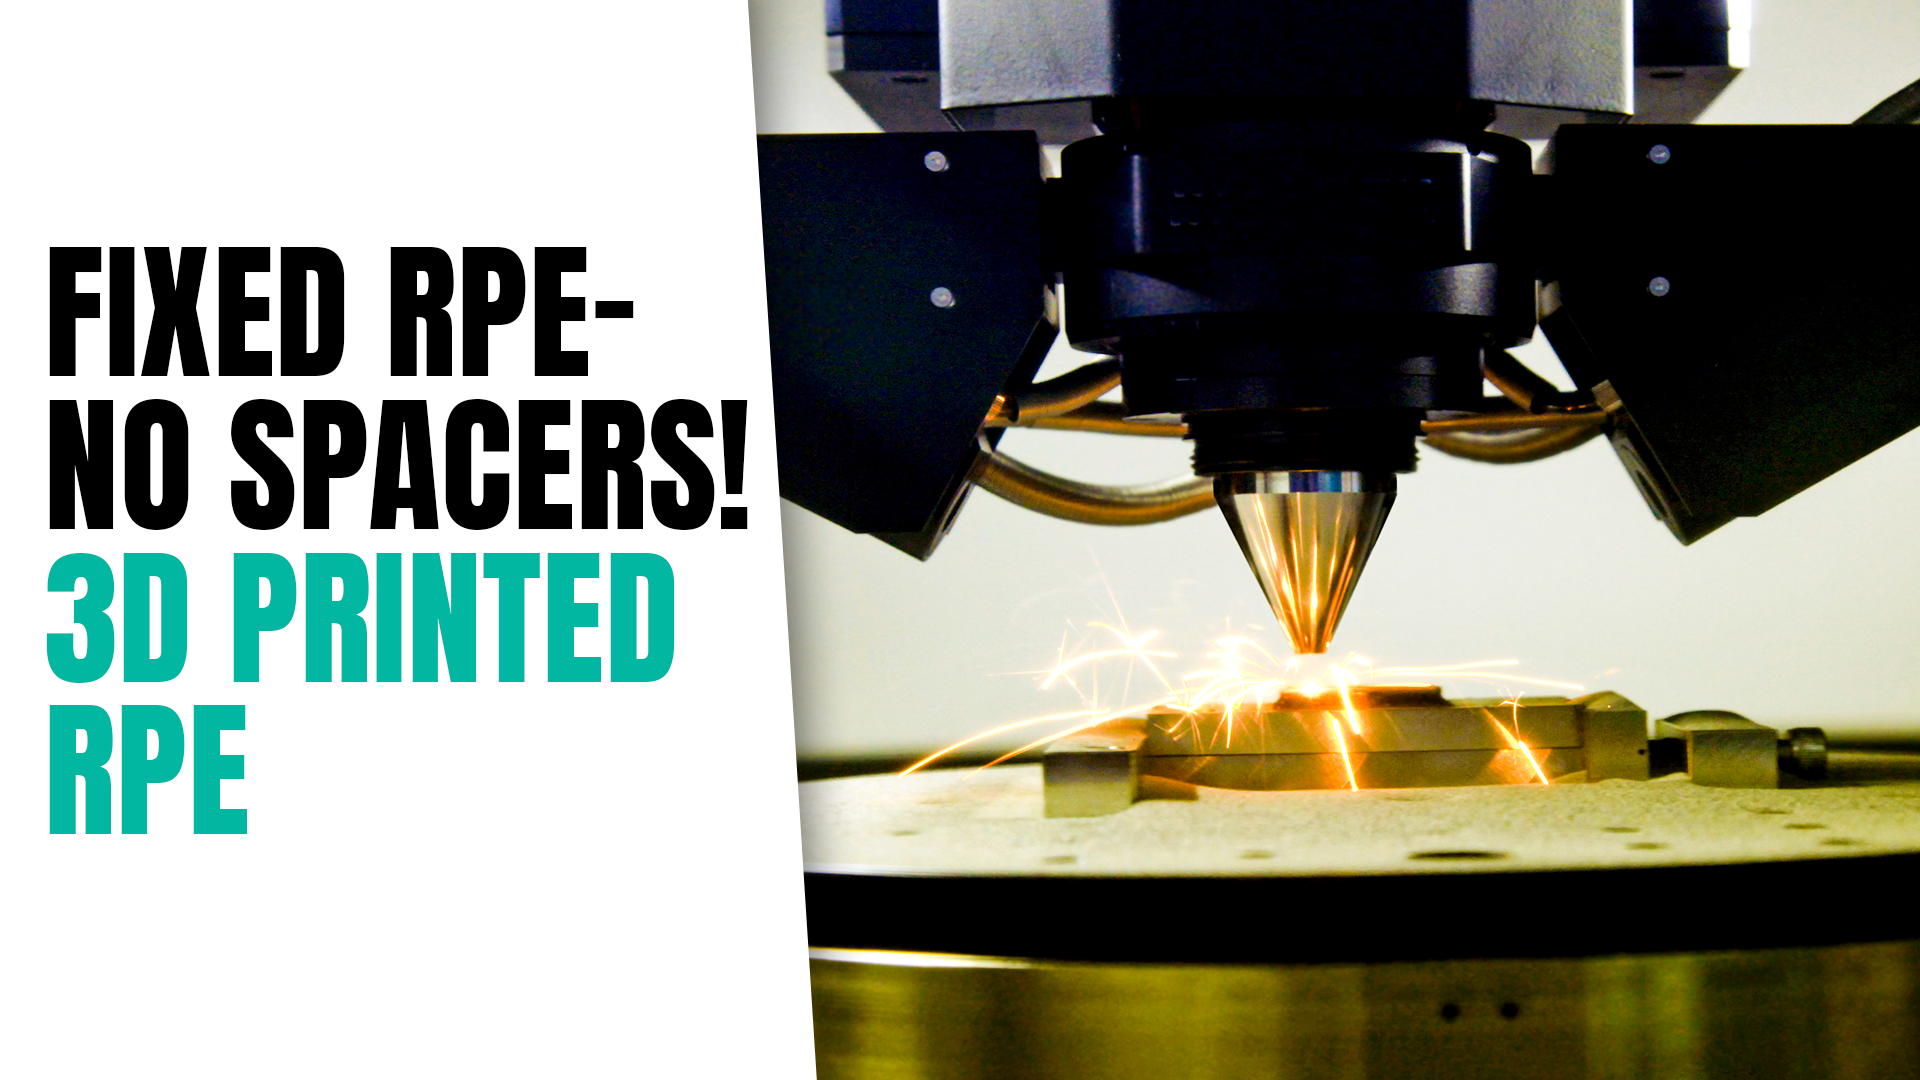
A lot of you are asking about 3D Printed Fixed Expanders. I haven’t done one yet, but I see the benefit, no spacers and great retention! It’s also potentially healthier for gums although it may increase the rate of caries.
Here’s more information from recent journal articles.
https://www.jco-online.com/archive/2021/09/571-the-cutting-edge-cementation-and-removal-of-3d-printed-expanders/
https://www.sciencedirect.com/science/article/pii/S1073874621000487
Here are some of the advantages of 3D printed expanders:
Direct mental printing saves time for both doctors and patients. There’s no need for two separate appointments. 3D printed expanders eliminate the need for uncomfortable separator visits prior to expander insertion! Since this appliance does not go in between the teeth, we no longer have to place uncomfortable separators between teeth to make space prior to the expander insertion. They are also directly adapted to the shape and curvature of your tooth anatomy, so they are less likely to collect bacteria and are smoother on your tongue. Since the entire process is digital from scan to manufacturing, there are less chances for fit errors.
The Benefits of Self-Ligating Brackets for Orthodontics Treatment Plans
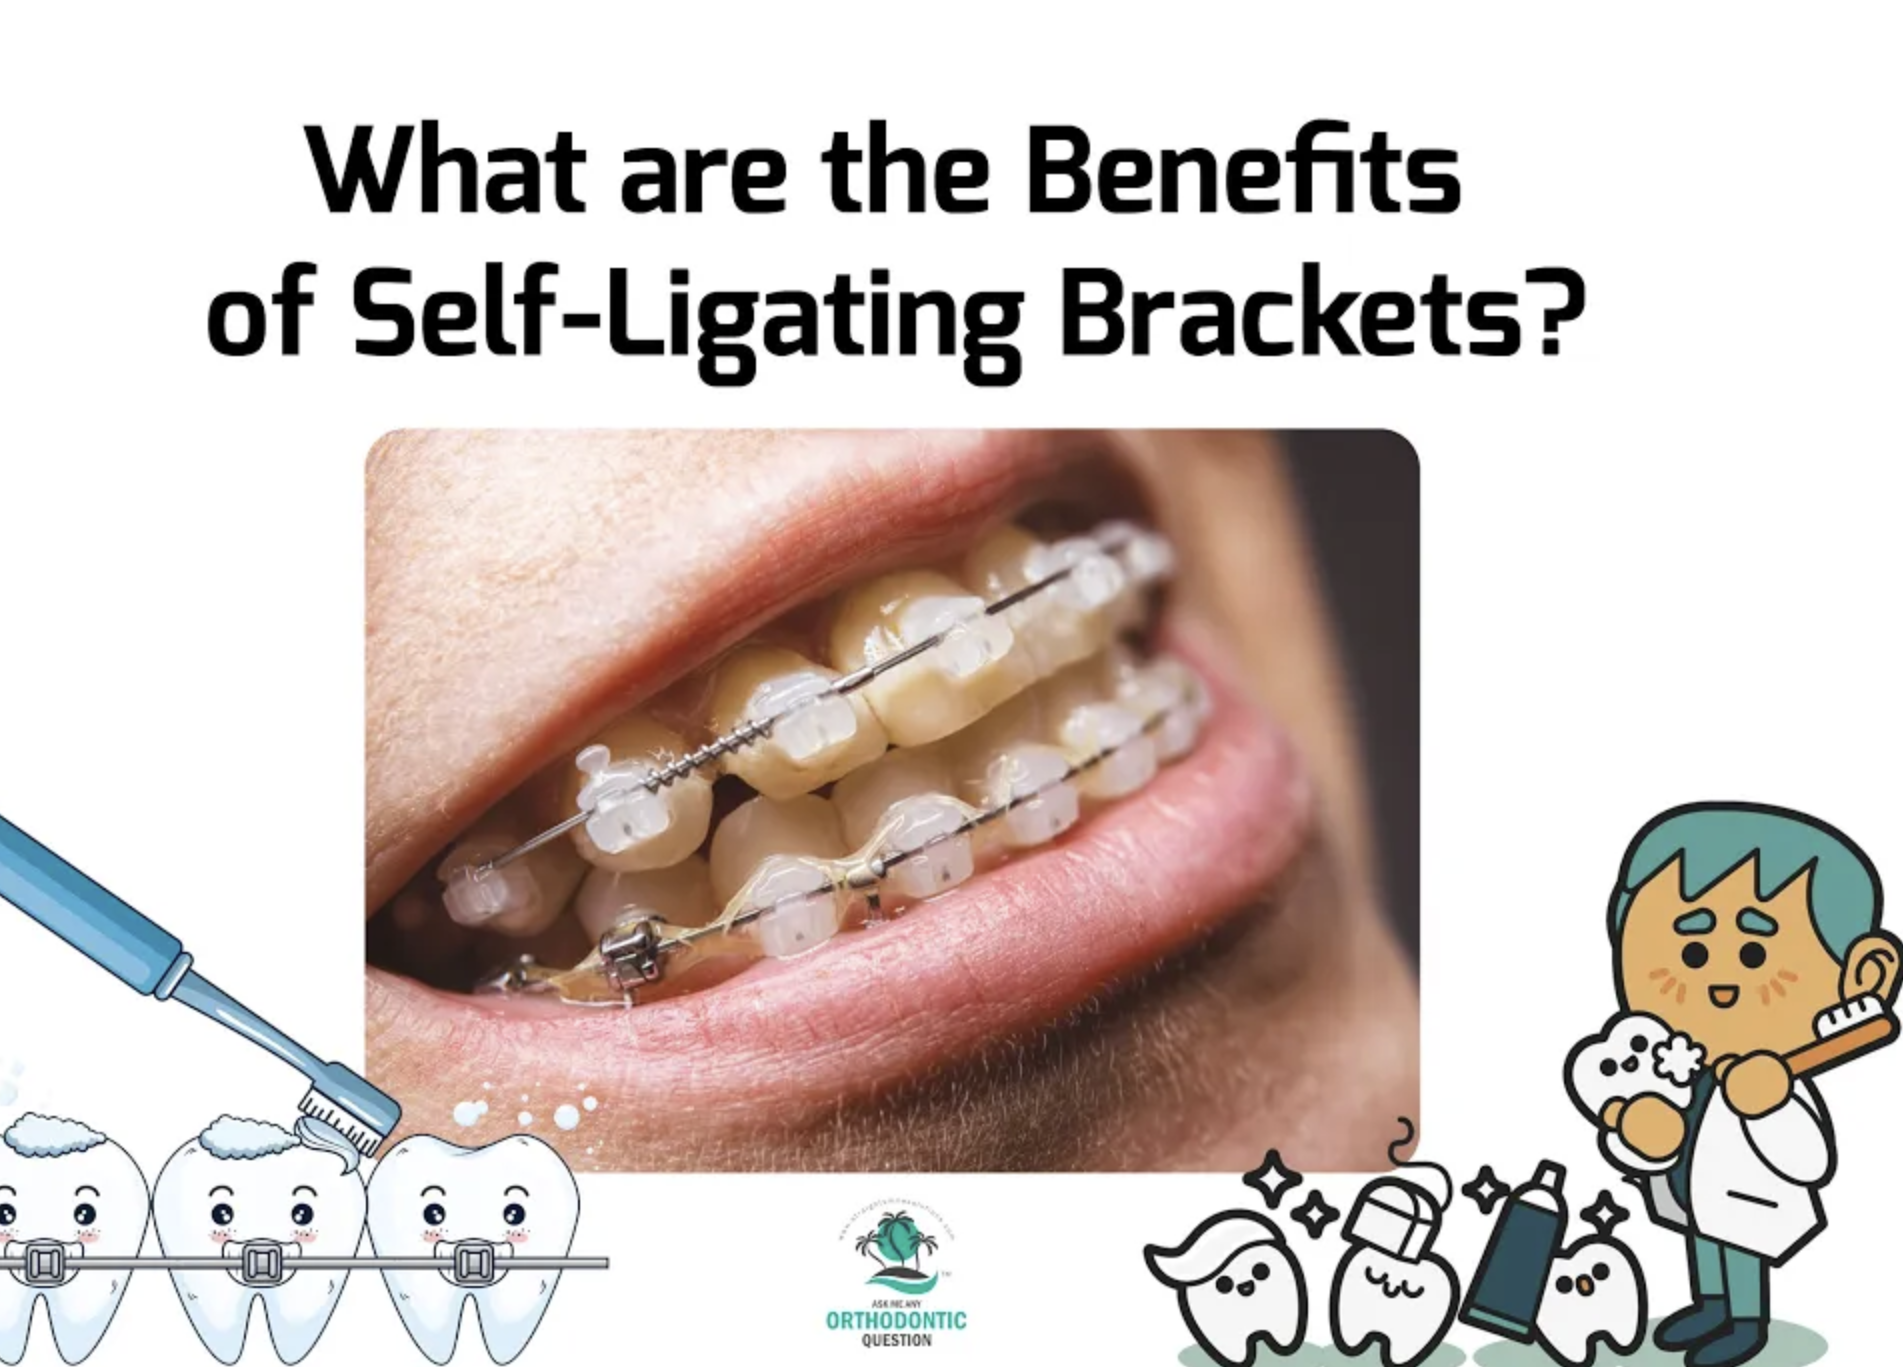
Benefits of Self-Ligating Brackets for Orthodontics Treatment Plans
Have you ever wondered about the benefits that self-ligating brackets could offer as part of your orthodontics treatment plans? It’s not always easy to find the ideal solutions for your patients, but self-ligating brackets can potentially be a valuable option in some scenarios.
The Benefits of Self-Ligating Brackets for Orthodontics Treatment Plans
Self-ligating brackets were an incredibly popular option before the rise of effective clear aligners, mainly because they negate the need to use rubber ties. Moreover, self-ligating brackets generally required fewer visits to the clinic as well. This made them popular for rapid solutions without as much force, especially in non-growing adults.
Are Self-Ligating Brackets Worth It?
While self-ligating brackets were excellent orthodontics solutions back in the day, most general dentists providing orthodontic services these days will just use clear aligners, such as Invisalign. It’s especially limited in cases where Power Chain is already being provided since you’ll invariably still need to see the patient regularly regardless. Why bother?
If you need help getting started with a clear aligner treatment plan, our experts here at Straight Smile Solutions can help. So, don’t delay; contact us for further ideas and support on your cases today! We’re here to help make sure you’ve got the orthodontics backup you need to really hone your skills once and for all.
Can you View Your ClinCheck?
Can you View your Invisalign ClinCheck BEFORE you Pay for Treatment?
● Dr. Amanda from Straight Smile Solutions discussed viewing your Invisalign ClinCheck before committing to treatment.
● Invisalign ClinCheck is a digital animation that shows how your teeth will shift during treatment.
● The ability to view ClinCheck animations depends on your orthodontist rather than Invisalign or Align Technology.
● The orthodontist bears the cost of obtaining a ClinCheck simulation based on the complexity of the treatment.
● There’s no upfront fee for ClinCheck; sharing with the patient depends on the orthodontist’s discretion.
● Dr. Amanda strongly recommended that patients insist on seeing their ClinCheck before starting Invisalign treatment.
● Paying for something without knowing what to expect, especially a medical procedure, is unwise.
● Viewing the ClinCheck ensures the patient and the doctor have the same expectations for the treatment outcome.
● Most orthodontists are willing to share the ClinCheck if asked.
● The process involves email communication and a password to ensure HIPAA compliance.
● Dr. Amanda advised patients to choose an orthodontist with an intraoral scanner.
● Using traditional rubbery impressions might indicate a need for more experience.
● Dr. Amanda encouraged patients to assert their right to see the simulation before making financial commitments.
● Dr. Amanda’s message focused on empowering patients to make informed decisions about their orthodontic treatment.
Summary
Dr. Amanda’s recent discussion shed light on a critical aspect of Invisalign treatment: the ability for patients to review their ClinCheck animations before embarking on their journey to straighter teeth. She underscored that this crucial step isn’t determined by Invisalign but rather by the orthodontist or dentist managing the case. Dr. Amanda stressed the importance of patients advocating for themselves and insisting on seeing ClinCheck align expectations with their healthcare provider. Her insightful guidance on approaching orthodontists and choosing practitioners with modern scanning technology aims to empower patients to make well-informed decisions about their orthodontic treatment, ensuring a smoother and more satisfying experience.
Understanding Round-Tripping in Orthodontics Cases

Understanding Round-Tripping in Orthodontics Cases
Have you ever heard or used the term “round-tripping” for your orthodontics cases? Whether you’re a patient or an orthodontist, understanding this term can help you ensure you’re creating the most effective treatment plan based on your patient’s needs – and giving better results, accordingly.
What is Round-Tripping?
First, we need to define what round-tripping is. For crooked teeth on the lower arch (in braces or aligners cases), round-trip cases aim to resolve crowding by straightening out crooked teeth first and then adding IPR before retracting the teeth.
For those who want to do IPR early or late in treatment, this is something that should be notified when creating the initial Invisalign or clear aligner treatment plan.
Is Round-Tripping Always Right?
In some cases, round-tripping may be possible. For example, when you take a CEPH, you can look at the labial bone to see if it’s possible to round-trip safely. However, in other cases, this could compromise the results of the treatment plan and cause irreversible damage to the teeth (e.g. sensitivity issues, perio issues, or permanently mobile teeth).
In addition to taking a CEPH, there are many physical features you can look for that can influence whether or not you should round-trip. For example, look for blanching or root scalloping to help inform your decision.
If you’re not sure about whether to do round-tripping as part of your patient’s treatment plan, make sure you’ve considered the aforementioned points. And, if you still need support in finding the perfect treatment plan, our Straight Smile Solutions orthodontics experts can help!
Bonding Buttons to Crowns in Invisalign: Should You Do It?
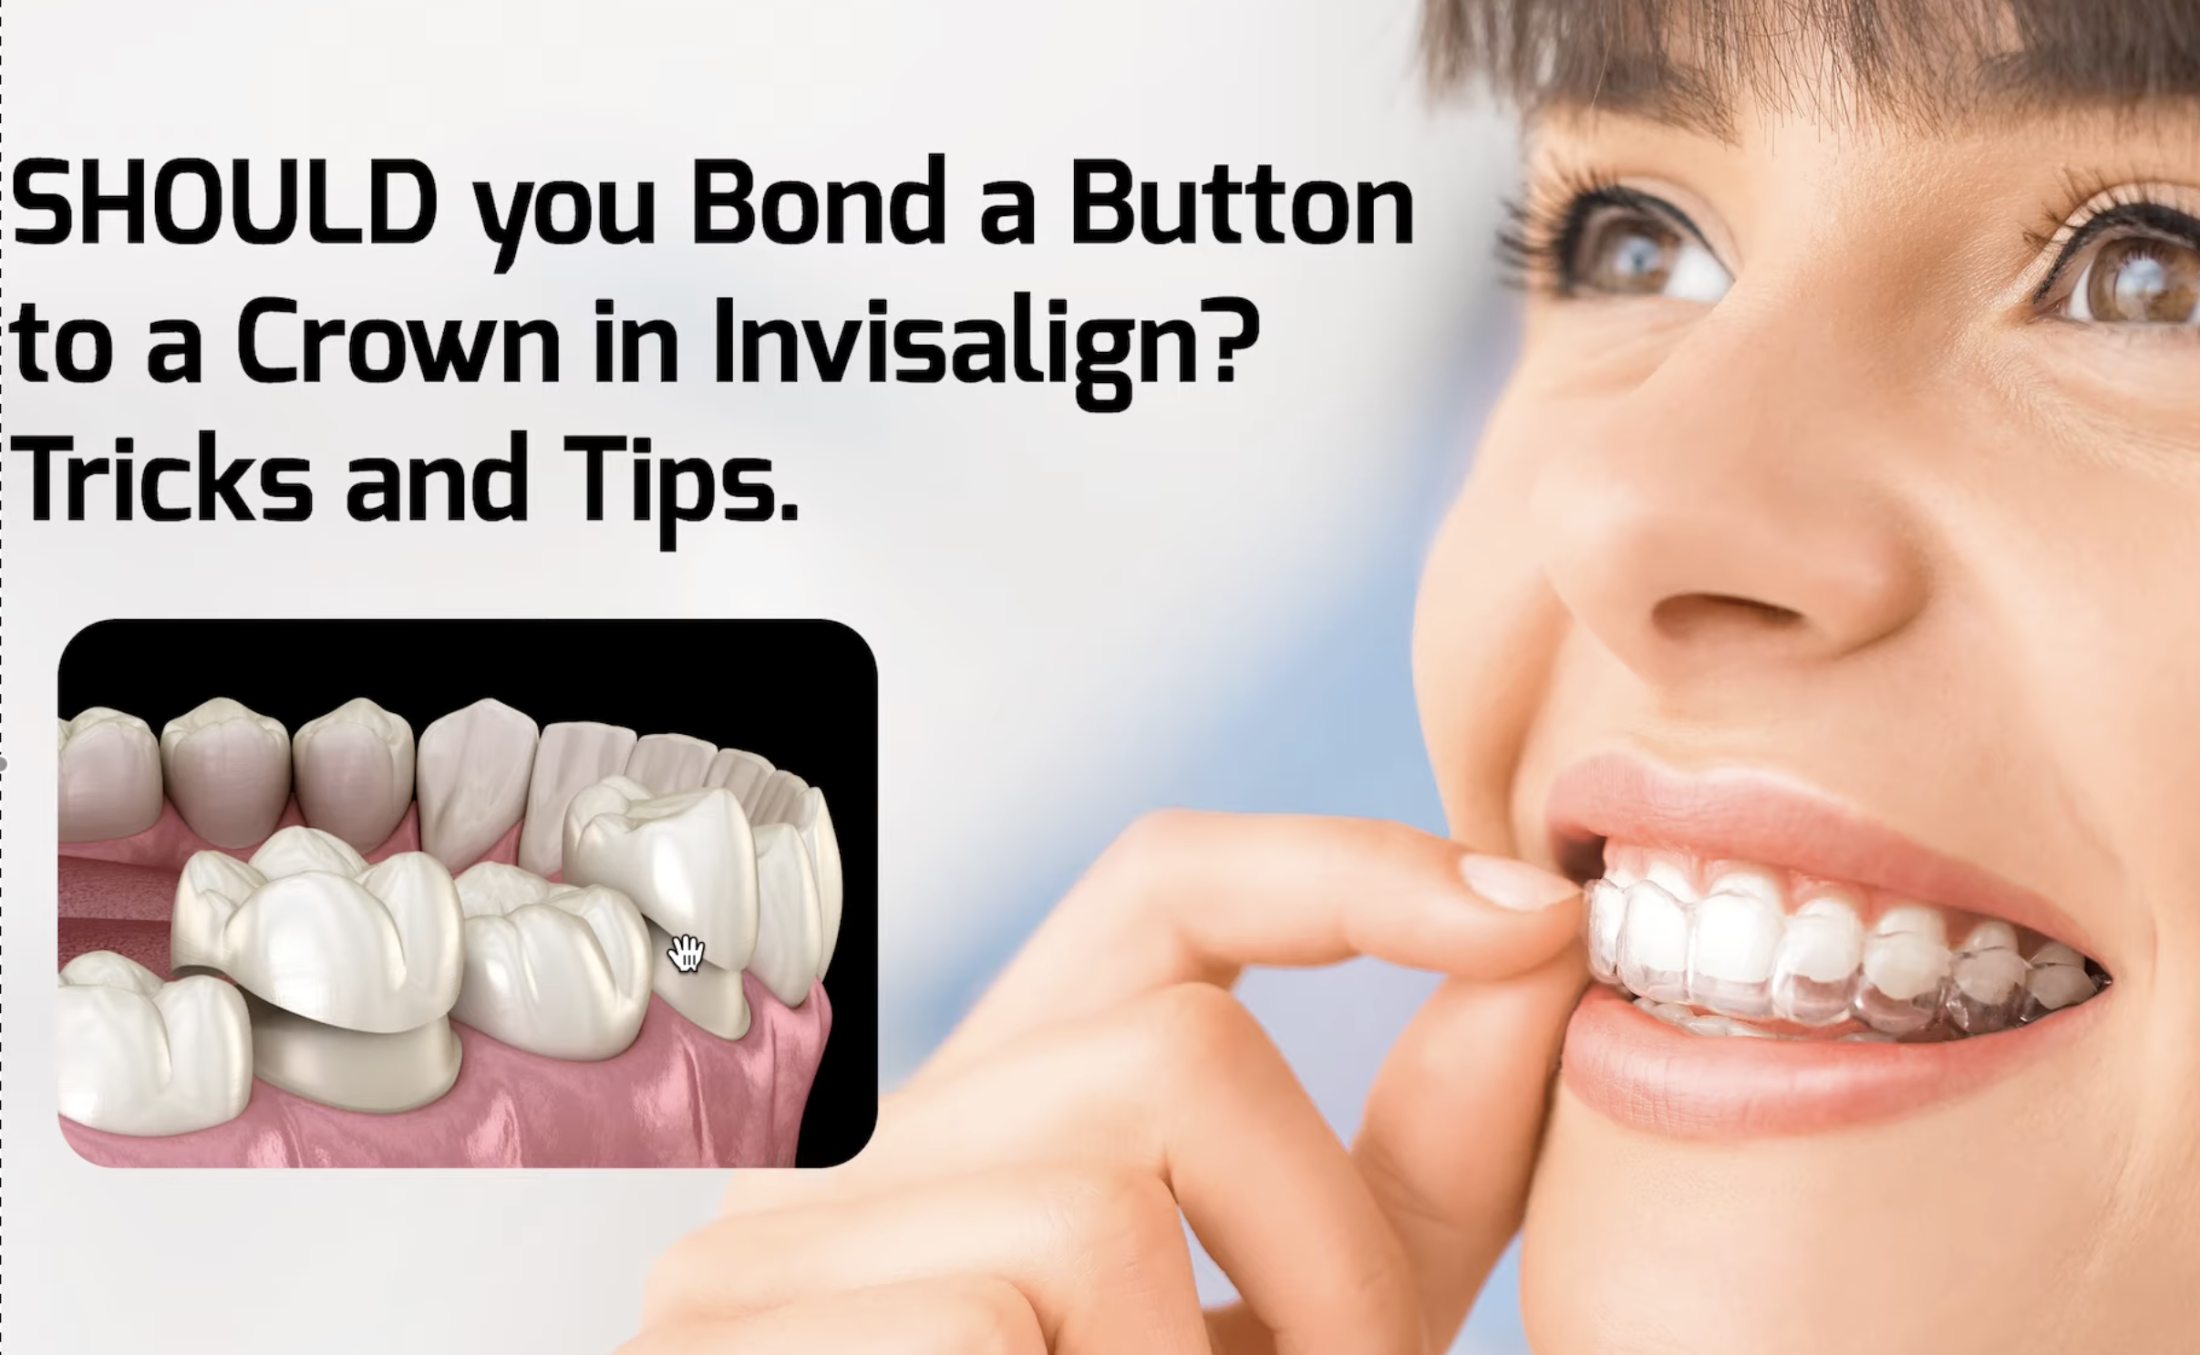
Bonding Buttons to Crowns in Invisalign: Should You Do It?
When doing Invisalign cases, knowing about the different quirks you might encounter while creating a treatment plan (and how to approach them). One such example is crowns – knowing whether you should bond a button to a crown can help you create better treatment plans.
Should You Bond Buttons to Crowns in Invisalign?
If your Invisalign patient has crowns, we generally recommend not bonding to crowns unless there is no other option. If you do bond to crowns, you’ll likely need to replace the crown after the treatment plan – and naturally, this may not be feasible for patients who have gold crowns and the like that come with a high price tag.
Slots or Buttons: Which is Right For Crown Treatment Plans?
If your Invisalign treatment plan has crowns involved, there are a few options you could consider.
The exact approach you’ll likely want to use will often depend on the level of movement and your preferences. Here at Straight Smile Solutions, we generally prefer to avoid slots, as the approach can potentially pull the trays out of the mouth (especially in cases with lots of movement). Due to this, doing the movement first may help.
A more valuable option may be to move the precision cut for the button to another tooth. Usually, the one behind or in front of the crown may be popular, and while this may need different elastics, it can still work well with the right treatment plan.
If you’re still unsure, contact our friendly experts at Straight Smile Solutions for support with your specific case.
Do I Need a CEPH with Invisalign CBCT?
Do I Need a CEPH with Invisalign CBCT?
Have you ever wondered whether a CEPH is still needed when using Invisalign’s CBCT upload feature? In many cases, this isn’t always clear, but there’s a lot you’ll need to keep in mind – and so, our Straight Smile Solutions orthodontics experts have summarized some of the main things you need to know.
Do I Need a CEPH with Invisalign CBCT?
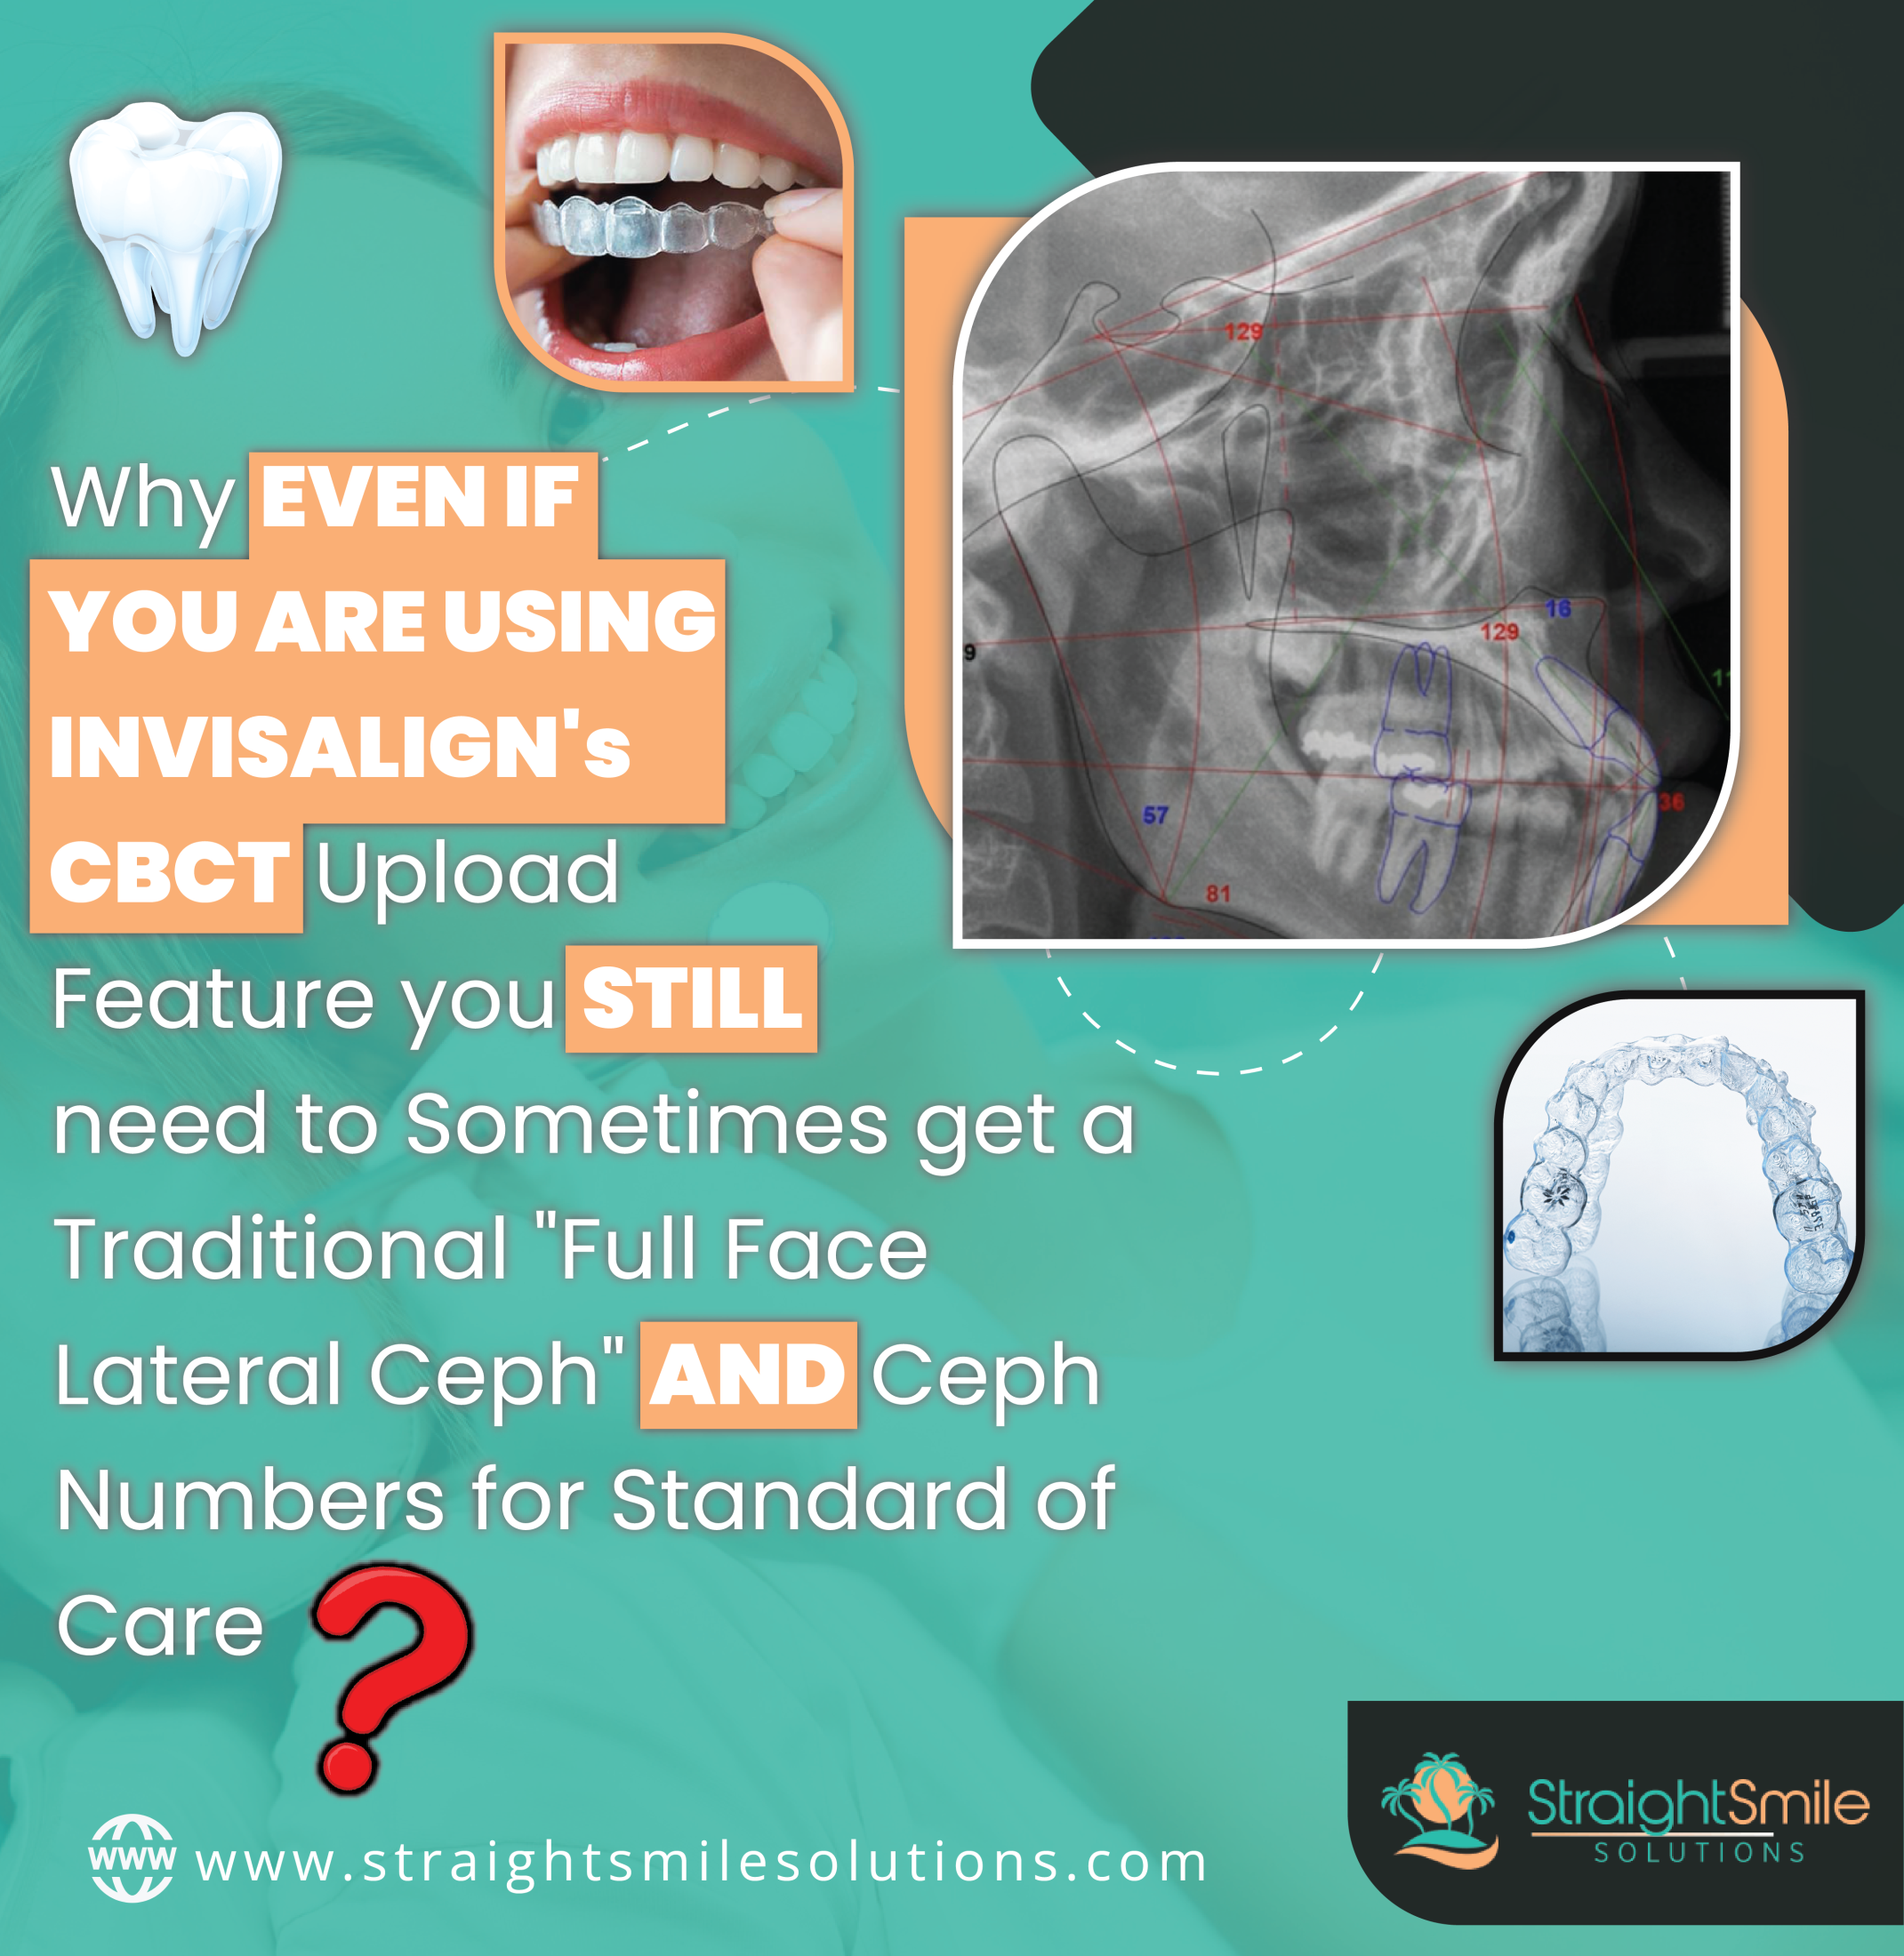
Even when you’re using Invisalign CBCT for your orthodontics cases, getting a CEPH first is still hugely important. There are numerous reasons for this, but it’s worth noting that traditional full face lateral CEPH and CEPH numbers are often essential to Standard of Care.
Remember, without a CEPH, you’ll be missing a lot of information that’s not contained within the upper and lower jaw, such as soft tissue, the lips, the border of the mandible, and the cranial base. As such, getting a CEPH first, especially for cases that are more complex than just Class I, getting a CEPH before starting on orthodontics work can be an important aspect of delivering quality results for your patients.
What About Other Clear Aligner Companies?
If you’re working with other clear aligner companies that use a CBCT feature, you’ll still want to get a CEPH before getting started in many cases.
Ortho Discounts for Dental Teams and Families
Ortho Discounts for Dental Teams and Families
Dr. Amanda from Straight Smile Solutions discusses costs and pricing options for staff, families, and friends.
Comprehensive Financial Approach
● Orthodontic treatment involves a significant commitment of time and money.
● Addressing financial aspects of the orthodontic journey.
Pricing Structure:
● Refer to the office’s handbook and policies.
● Free preventative care and discounts on treatments, including lab fees.
● It is ideal for minor procedures and scheduling gaps.
Substantial Procedures (e.g., Orthodontic Treatments):
● Full-time employees with specific tenure:
● Upfront payment of ortho treatment lab fee (approx. $1900).
● Cover additional lab fees during treatment while employed.
● No case transfer if leaving the company.
● Responsibility for treatment completion.
● Encouraging commitment aligns with the office’s interests.
● Charges are applicable only during employment with the company.
Invisalign Partnership:
● Negotiate reduced lab fees for hitting the case threshold.
● Motivational incentive for team performance.
● Clear communication and tracking of eligible cases.
Part-Time Employees’ Benefits:
● Part-time employees receive a discount on the lab fee.
● Increases accessibility to orthodontic treatment.
Friends and Family:
● Offer a modest yet appealing discount.
● Flexibility in discount offers.
Streamlined Approach:
● Offer white-label aligners for simple cases.
● The pay-per-aligner model reduces overall costs.
Evolving Policies:
● Policies are subject to change; stay informed through open communication with staff.
Building Community and Well-being:
● Orthodontic treatment beyond aesthetics
● Fostering a sense of community and well-being
● Benefits extend to employees, friends, and family
Incentives for Active Engagement:
● Invisalign treatment offers reduced lab fees based on case numbers.
● Motivates staff to work together and potentially decrease treatment costs.
Consider the Bigger Picture:
● Orthodontic treatment is not just about aesthetics.
● Focus on creating a sense of well-being and shared values.
The outlined strategies underscore the importance of clear communication, commitment, and the practice’s best interests. Your practice and its members can foster successful treatment outcomes and enduring relationships by adhering to these guidelines.
Why you MUST have Photos and not JUST Scans for your Invisalign Starts
Why You Shouldn’t Use JPG Screenshots for Ortho Starts
When it comes to your orthodontics and Invisalign cases, it’s hugely important to ensure you’re meeting standard of care for patients. Unfortunately, this isn’t always the case, often unknowingly. One such example is using JPG / JPEG screenshots of scans for intraoral images for Ortho Starts. But why is this? Well, we’ve outlined what you should and shouldn’t be doing for ortho starts as follows.
JPG Screenshots of Scans Are Not Standard of Care
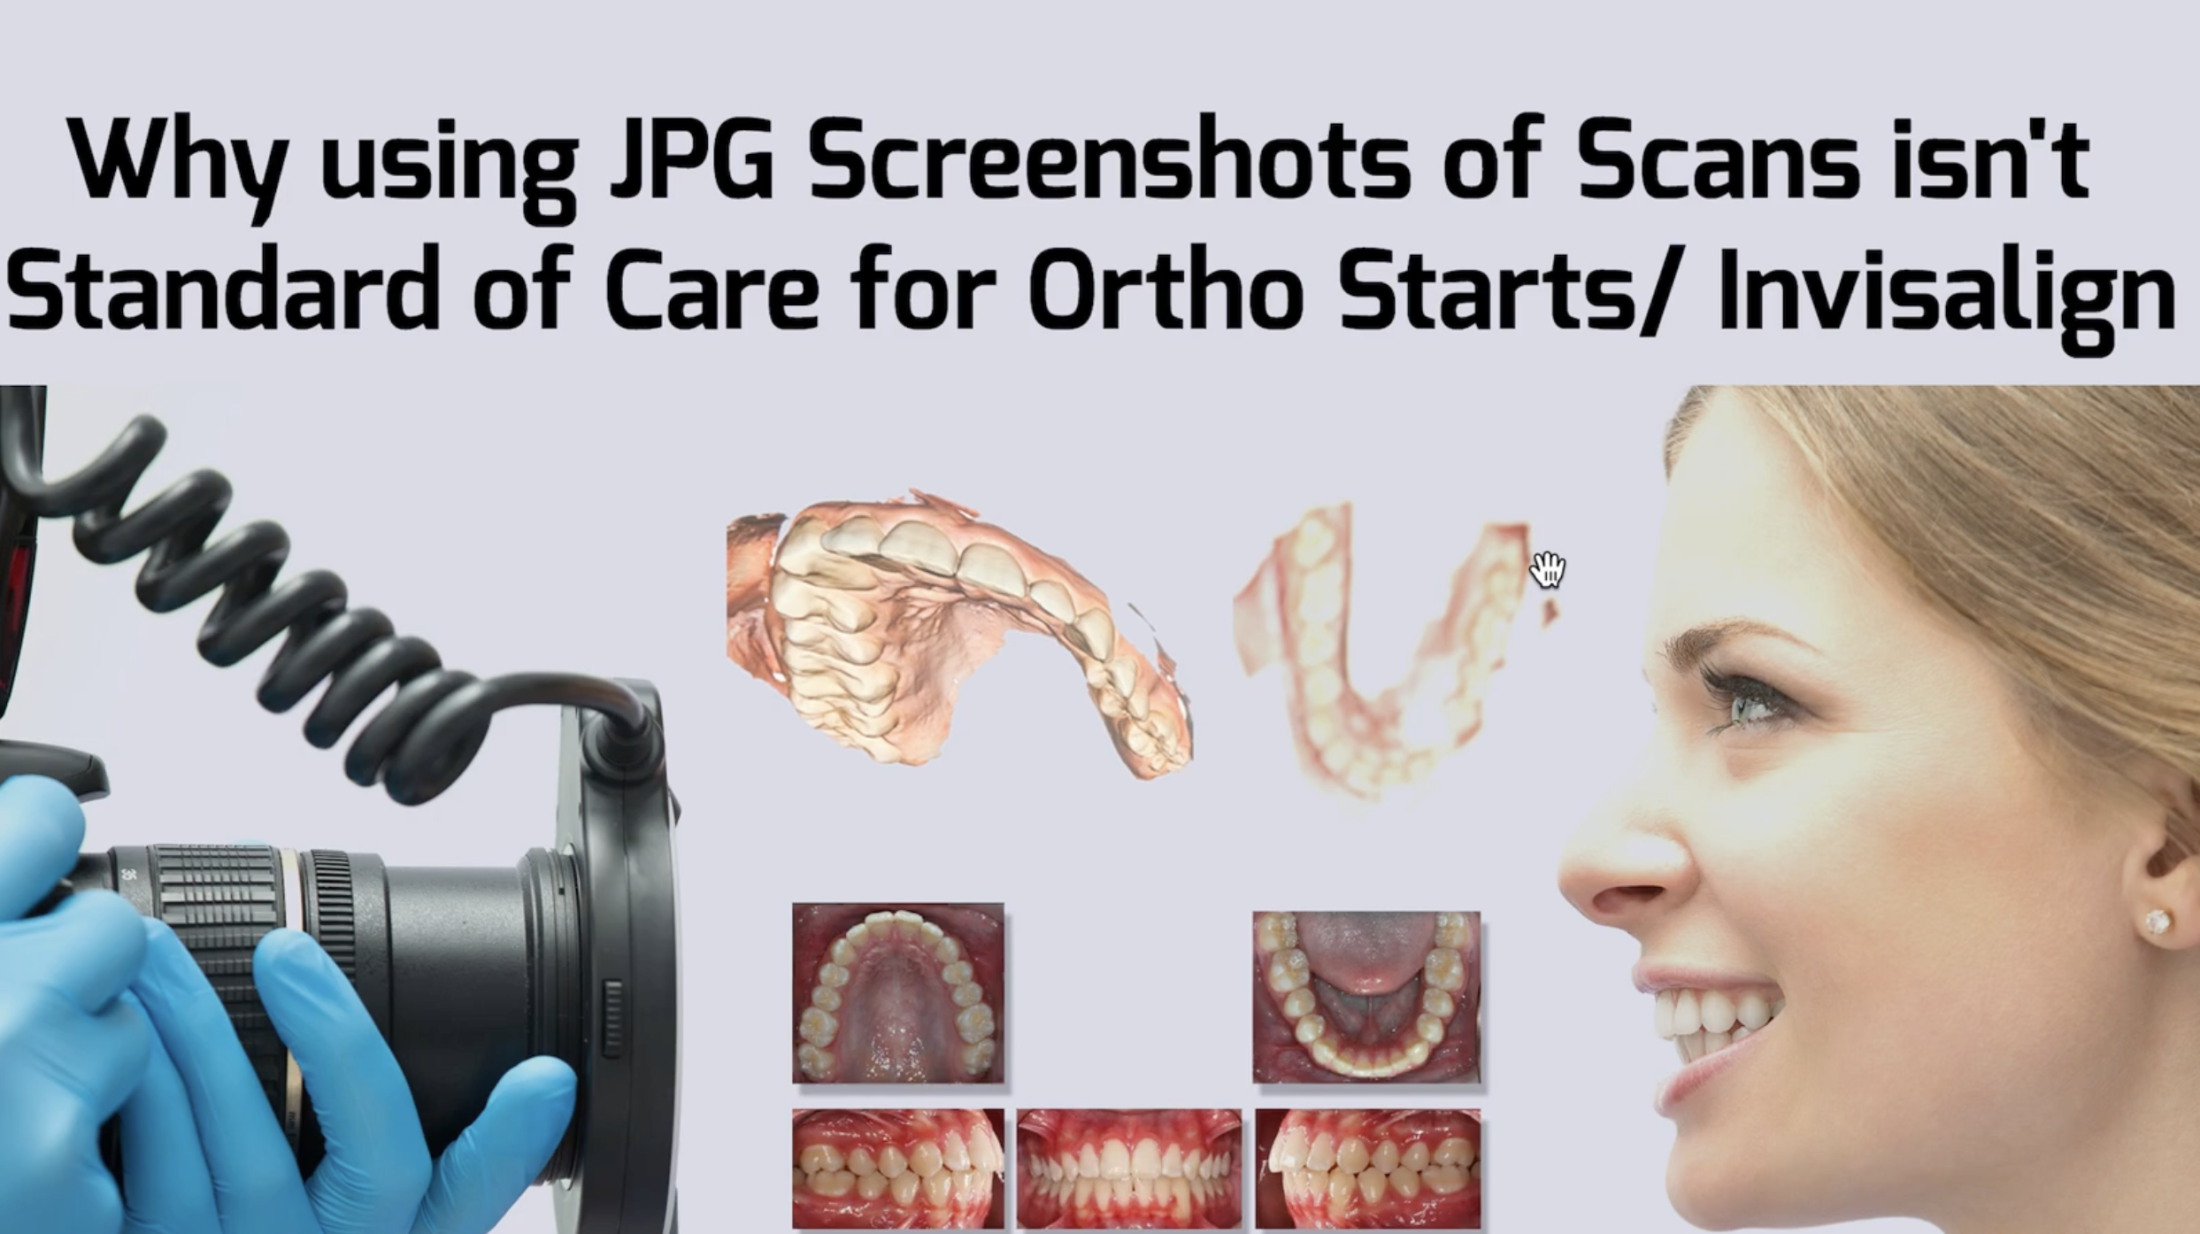
If your patient has had a scan, it can be tempting to save time by just sending off a JPG/JPEG screenshot of the scan when submitting. However, this is not standard of care, as there is a lot that can’t be seen from these screenshots – and this could lead to inaccurate treatment plans. For example, you can’t see palatal anatomy, the color will be different, the tissue and root scalloping may be unclear, the freedom under the tongue and lips, and so on.
Of course, creating an inaccurate treatment plan can result in the patient being given an unsuitable treatment. In turn, this can require revisions and can potentially even result in patients submitting complaints.
Always Take a Full Set of Intraoral Photos
Rather than taking JPG/JPEG screenshots, you should always take a full set of intraoral photos where you can see all of the molars on both the top and bottom, the first molars, and the buccal shots. That’s why we always require our A La Carte doctors to provide a full set of intraoral photos in our consulting sessions to ensure they’re creating the optimal treatment plan.
The easiest way to take these intraoral photos for Invisalign is to use a mobile phone with a high-quality camera and the Invisalign Photo Uploader. This is HIPAA compliant and the photos go directly to your Invisalign portal. Of course, make sure that your phone is HIPAA compliant by getting help from a HIPAA compliant first.
If you need further support, our Straight Smile Solutions doctors can use our screenshot guide for free – or otherwise, feel free to download it from our store to help with your ortho starts.
White Label Aligners and “Batch Printing”
Using Batch Printing and Alternative Custom Aligners
Have you been looking to use alternative brands for your patients’ custom aligners? In many cases, finding new ways to reduce lab fees can seem tricky – but if you want to take things a step further, white label aligners could be a good option. And, with the right approach, you can potentially save a good sum of money through batch printing approaches – provided that you’ve started with a great team of custom aligner designers.
Using Batch Printing to Reduce Fees for White Label Aligners
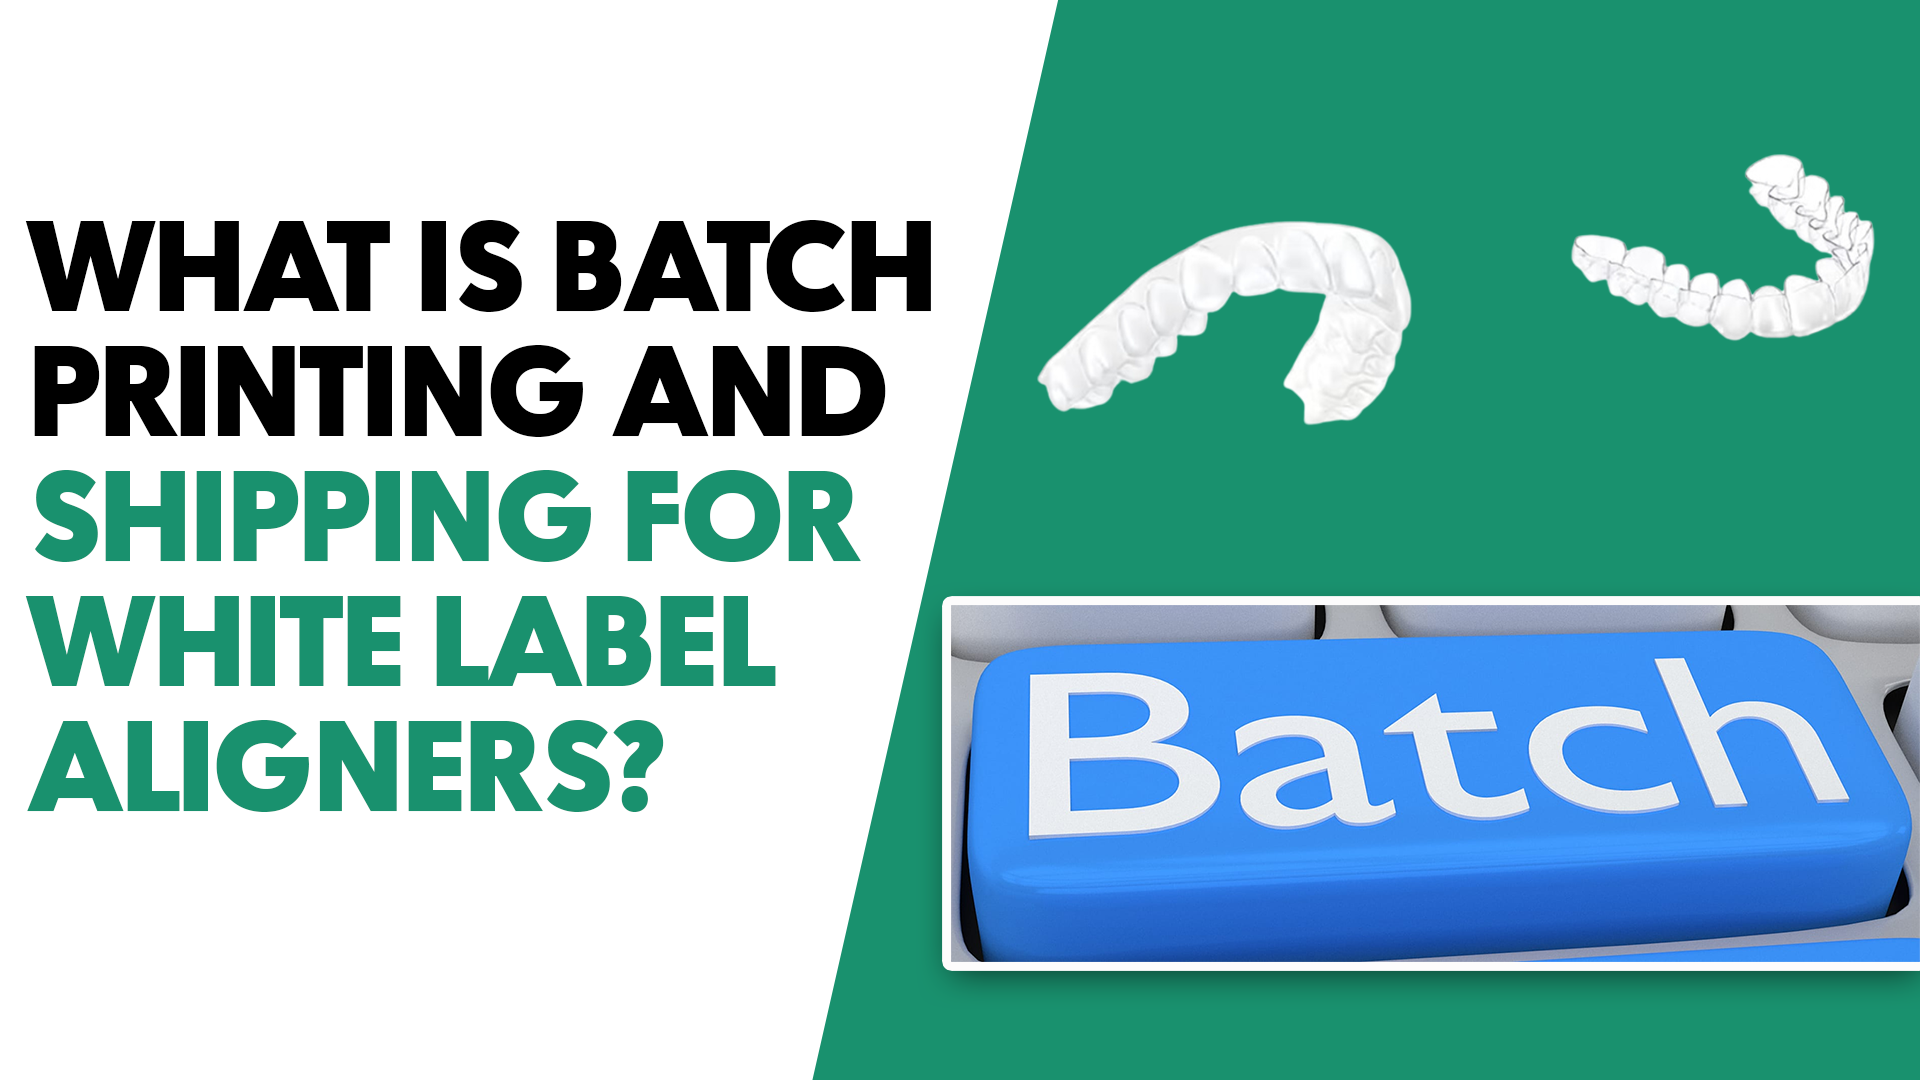
If you’re planning to outsource your custom aligner manufacturing and designing, batch printing can be an option to consider to save money – although it’s often not offered by the white label companies directly. As such, you’ll often have to ask for it.
When batch printing, it’s advisable to print a proportion of the case’s aligners – for example, five upper and lower aligners on a ten-aligner case. By harnessing batch printing, you can save a surprising sum of money and significantly reduce lab fees. If the first batch goes well, you can potentially look at ordering the next batch after.
However, don’t purchase all of the aligners upfront, as if things don’t progress as well as you had hoped, you may end up wasting money. Aligner tracking can be a good option here to ensure the cases don’t go off track. Luckily, most companies will offer revisions for free.
It’s worth noting, though, that for cases requiring a great deal of aligners (i.e., more than 20), Invisalign Comprehensive might be comparably priced or even more affordable.
If you decide to use batch printing to reduce lab and aligner fees, though, make sure you start with a good designer and manufacturer. Always ask key questions to ensure quality results, such as the trimming process and the manufacturing material. Our preferred material is FLX, generally.
What Companies Should I Use for White Label Aligners?
If you’d like to begin making your own custom white label aligners but don’t know where to start, contact our team here at Straight Smile Solutions, and we’d be glad to let you know the designers and manufacturers we personally have worked with.
Should an Orthodontist Treat a Patient who Cries?

Should an Orthodontist Treat a Patient who Cries
Dr. Amanda from Straight Smile Solutions. Today, let’s delve into a crucial query that concerns dentists, pediatric dentists, and orthodontists working with children: “Are you wondering if it’s the right moment to address a dental problem when your patient is feeling unhappy, crying, or a bit uncooperative?”
Patient Readiness and Timing:
● Treating a dental issue isn’t an emergency, even if it’s orthodontic. Cosmetic and functional improvements are important, but patient readiness is equally vital.
● Starting a case at the right time is pivotal. Rushing into treatment when a patient is unmanageable due to behavioral or medical factors can lead to suboptimal outcomes.
● Consider the age and individual growth patterns of the child. Phase 1 treatment should be differentiated based on the patient’s age, gender, and needs.
● Parental desires for early treatment must be balanced with the patient’s readiness. Convenience should never override the patient’s well-being.
Transparency and Communication:
● Transparency is the cornerstone of successful treatment. If you’re considering starting a borderline case, communicate openly with parents about the challenges and potential extended treatment duration.
● Discuss the possibility of accommodating appointments during less busy hours to ensure an environment that suits the patient’s needs.
● Written agreements are essential when making special arrangements. These help avoid misunderstandings and establish a clear framework for treatment expectations.
Team Alignment and Collaboration:
● A united team approach is non-negotiable. All members must align with the treatment plan, including the family, patient, and staff.
● Taking on cases your staff isn’t equipped to handle can lead to detrimental outcomes. Assess the capabilities of your team before committing to complex cases.
● Collaborate closely with parents to address compliance issues. While you can provide alternatives, parental management of the child’s behavior is a shared responsibility.
Empowering Parents and Setting Boundaries:
● Educate parents about their role in managing compliance. Removable treatment options with shorter appointments can be more manageable for certain cases.
● While you can offer guidance, it’s important to establish that parental management is outside your scope of responsibility.
Treatment Discontinuation and Final Decision:
● The doctor has the ultimate authority in deciding whether to continue or discontinue treatment. This decision can be made by either the parent or the doctor at any point.
● Clearly outline the process for discontinuation and associated costs from the outset to prevent confusion later on.
Prioritizing Stress-Free Treatment:
● The well-being of everyone involved, including the patient, should be the priority throughout the treatment journey.
● A successful outcome hinges on factors like patient readiness, effective communication, and the collaborative efforts of the entire team.
Conclusion
Treating a dental issue in an unhappy or uncooperative child requires careful consideration. The readiness of the patient, transparent communication with parents, team alignment, and a clear treatment approach are all pivotal aspects. By working together, you can ensure that dental treatment for children is effective and a positive experience for everyone involved.