I. Introduction
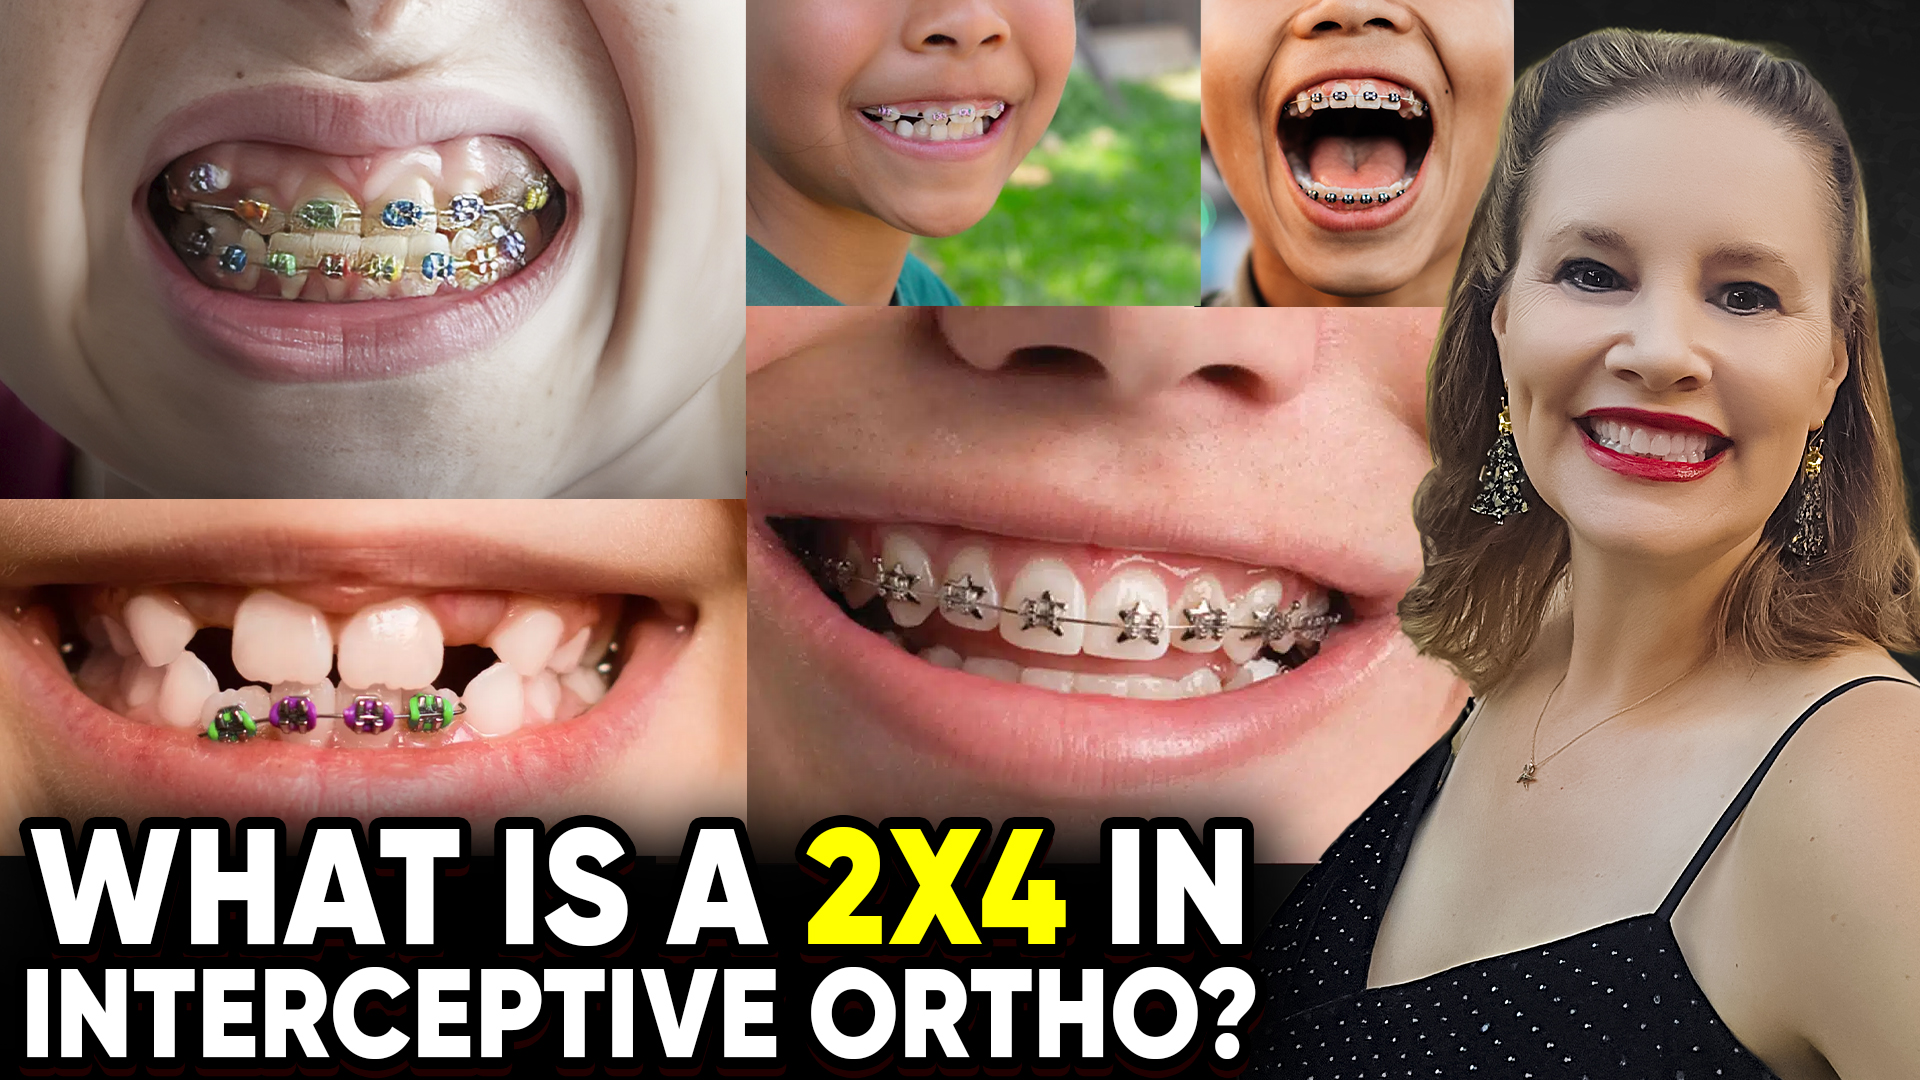
- Dr. Amanda from StraightSmile Solutions explains the “2×4” in interceptive orthodontics.
- The name comes from placing four brackets on the front teeth and two on the back teeth.
- This is a common Phase 1 braces setup.
II. Why Not Just Front Teeth Only?
- A wire only on the front teeth (without back brackets) becomes “wonky” and unstable.
- Back brackets are needed to round out the arch and provide anchorage for power chains.
- Without back brackets, the wire flexes too much, brackets snap off, and movement is unpredictable.
III. The First Step: Create Space
- Before placing any braces, ensure there is enough space for the teeth.
- Pulling baby canines as a “sloppy” shortcut creates worse problems later (impacted or blocked-out permanent canines).
- Expand the arches first if space is deficient.
IV. Wire Sequence and Cinching
- Start with a sectional wire (light gauge: 12, 14, or 16 NiTi) on the front teeth only.
- Always CINCH the ends of the sectional wire to prevent flipping or “smiley V” distortion.
- Once front teeth are straight, move to a heavier rectangular wire (e.g., 18×25 or 19×25 NiTi).
- Then bond brackets on the back teeth (usually on first molars or primary E’s / A and J).
V. Bonding on Primary Teeth
- Bonding on primary canines can be risky – they may become loose before treatment ends, making debond traumatic.
- Bonding on primary first molars (E’s / A and J) is safer because those teeth typically exfoliate around age 12, and Phase 1 is done at ages 8-10.
VI. The Bottom Line
- 2×4 = four front brackets + two back brackets.
- Create space first. Start with a sectional wire. Cinch the ends.
- Add back brackets only after the front is aligned, and you need anchorage or arch rounding.
- Proper 2×4 technique makes Phase 1 braces efficient and predictable.