 Measuring Inter-Molar Width – Screening for Phase 1 Interceptive Treatment (40mm ± MP Cusp Tip of 6’s)
I. Introduction
Dr Amanda from StraightSmile Solutions explains how to measure inter-molar width as a screening tool for Phase 1 interceptive treatment.
This is just one of many data points – not a standalone diagnosis.
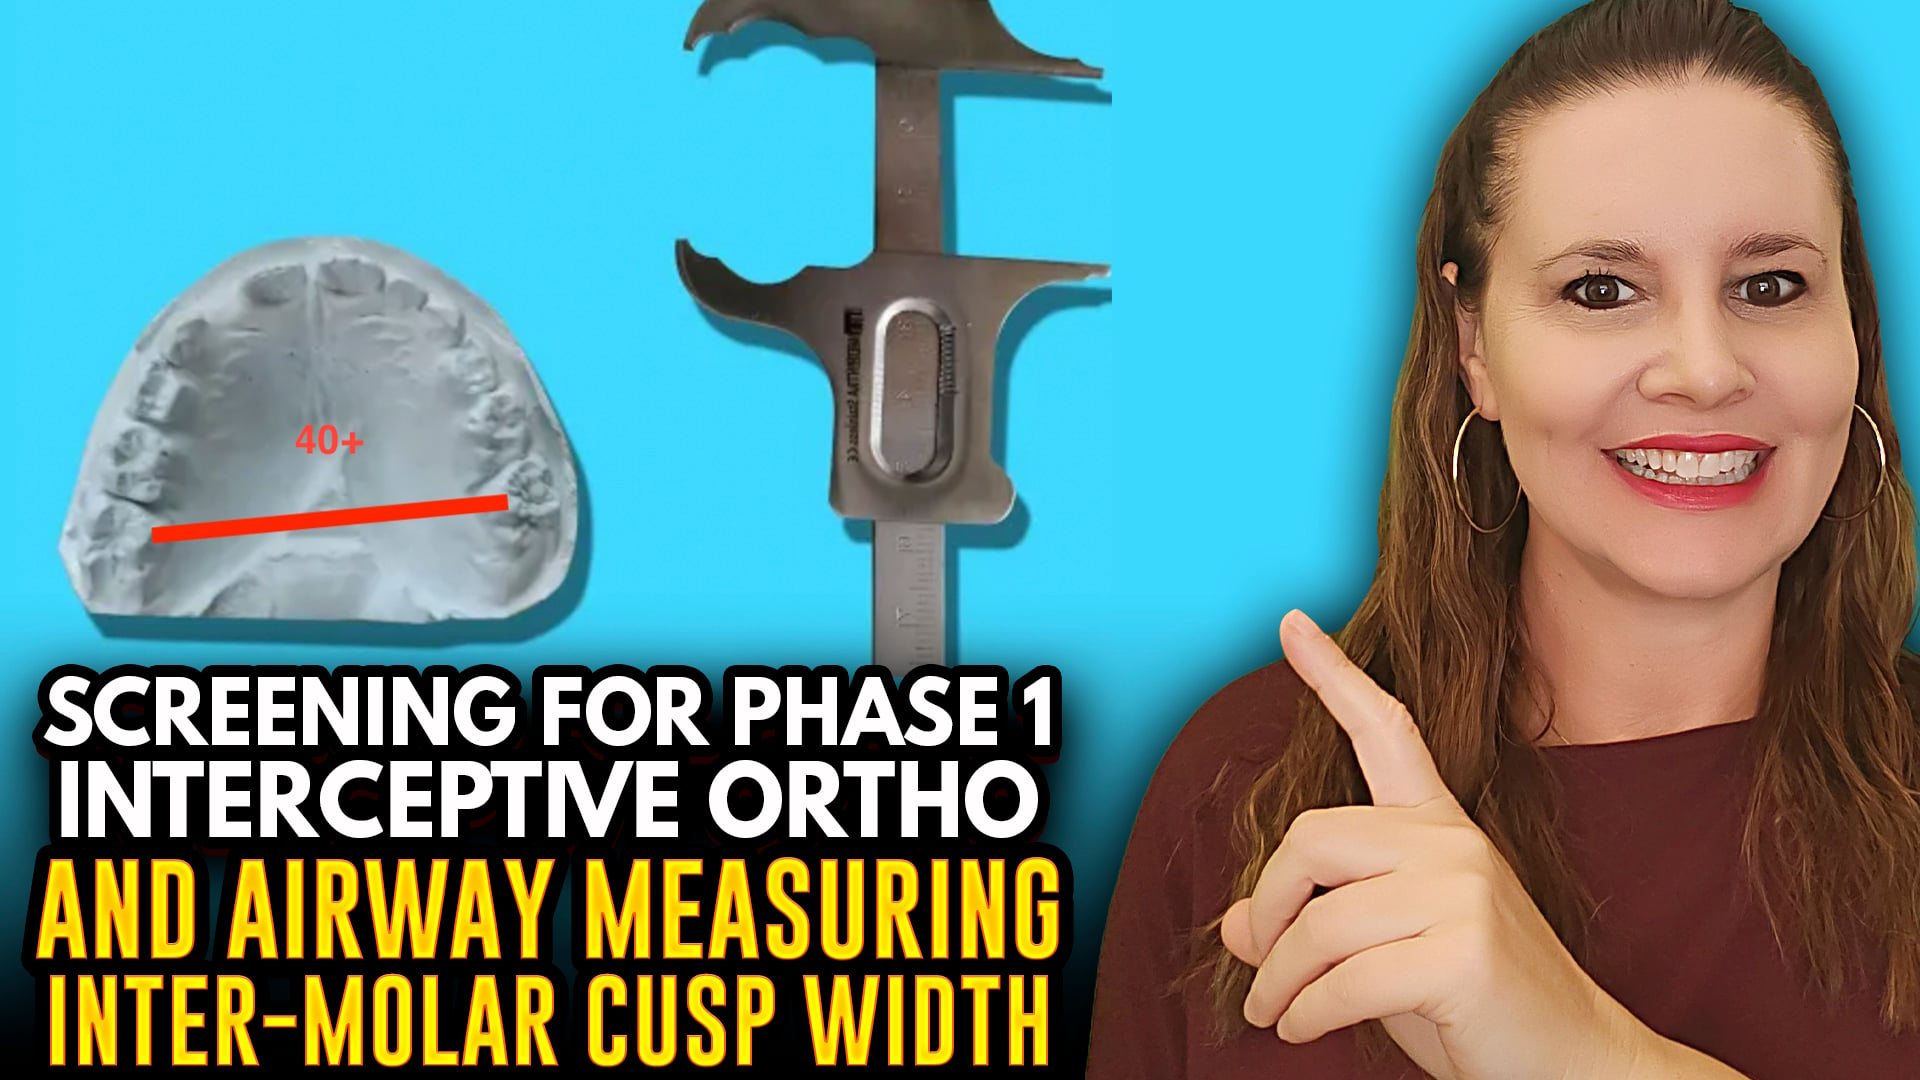
II. How to Measure
Measure from the mesial palatal cusp tip of the upper first molar to the same point on the opposite side.
Use a Boley gauge. If you don’t have one, use a piece of floss and lay it next to a millimeter ruler.
III. The 40mm Benchmark
For average-sized teeth, the minimum inter-molar width is approximately 40mm (around 40ish).
Patients with larger teeth may need 48-52mm.
Patients with smaller than average teeth (e.g., Dr Amanda’s) may be fine at 36mm.
IV. Important Caveats
If the molars are rotated inward, rotating them out increases the measured width, but that is alignment, not true expansion.
Use this measurement as a screening flag, not a hard rule.
Consider tooth size, arch form, and other clinical findings together.
V. Where to Learn More
Full details are in Dr Amanda’s Phase 1 course at www.straightSmileSolutions.com.
The course is affordable ($14/CE unit) and offers CE or non-CE options.
VI. The Bottom Line
Measuring inter-molar width is a quick, useful screening tool for possible maxillary constriction.
But always combine it with a complete evaluation before planning Phase 1 treatment.