Mastering Maximum Anchorage: How to Use Steel Orthodontic Ligature Ties
Managing space closure in orthodontics is a balancing act governed by physics. When you use an elastic power chain to close a gap, the force pulls from both directions. This means your front teeth move back, but your back teeth also slip forward. If your clinical goal is to keep those back teeth exactly where they are, you must establish maximum anchorage.
While some practices rely on Temporary Anchorage Devices (TADs) or fixed appliances like a Nance or transpalatal arch (TPA), there is a highly effective, non-invasive method. Utilizing a long stainless steel ligature tie—commonly referred to as a lace-back, under-tie, or tie-back—allows you to secure the arch without the added costs, patient discomfort, or surgical risks of skeletal anchors.
The Biology of Anchorage Mechanics
The concept behind a steel lace-back is best described as a game of biological tug-of-war. If you pit one stubborn front tooth against a single back tooth, they will pull toward each other and compromise your alignment. However, if you group multiple large, multi-rooted back teeth into a single immovable unit, that heavy anchor block will win the tug-of-war every single time.
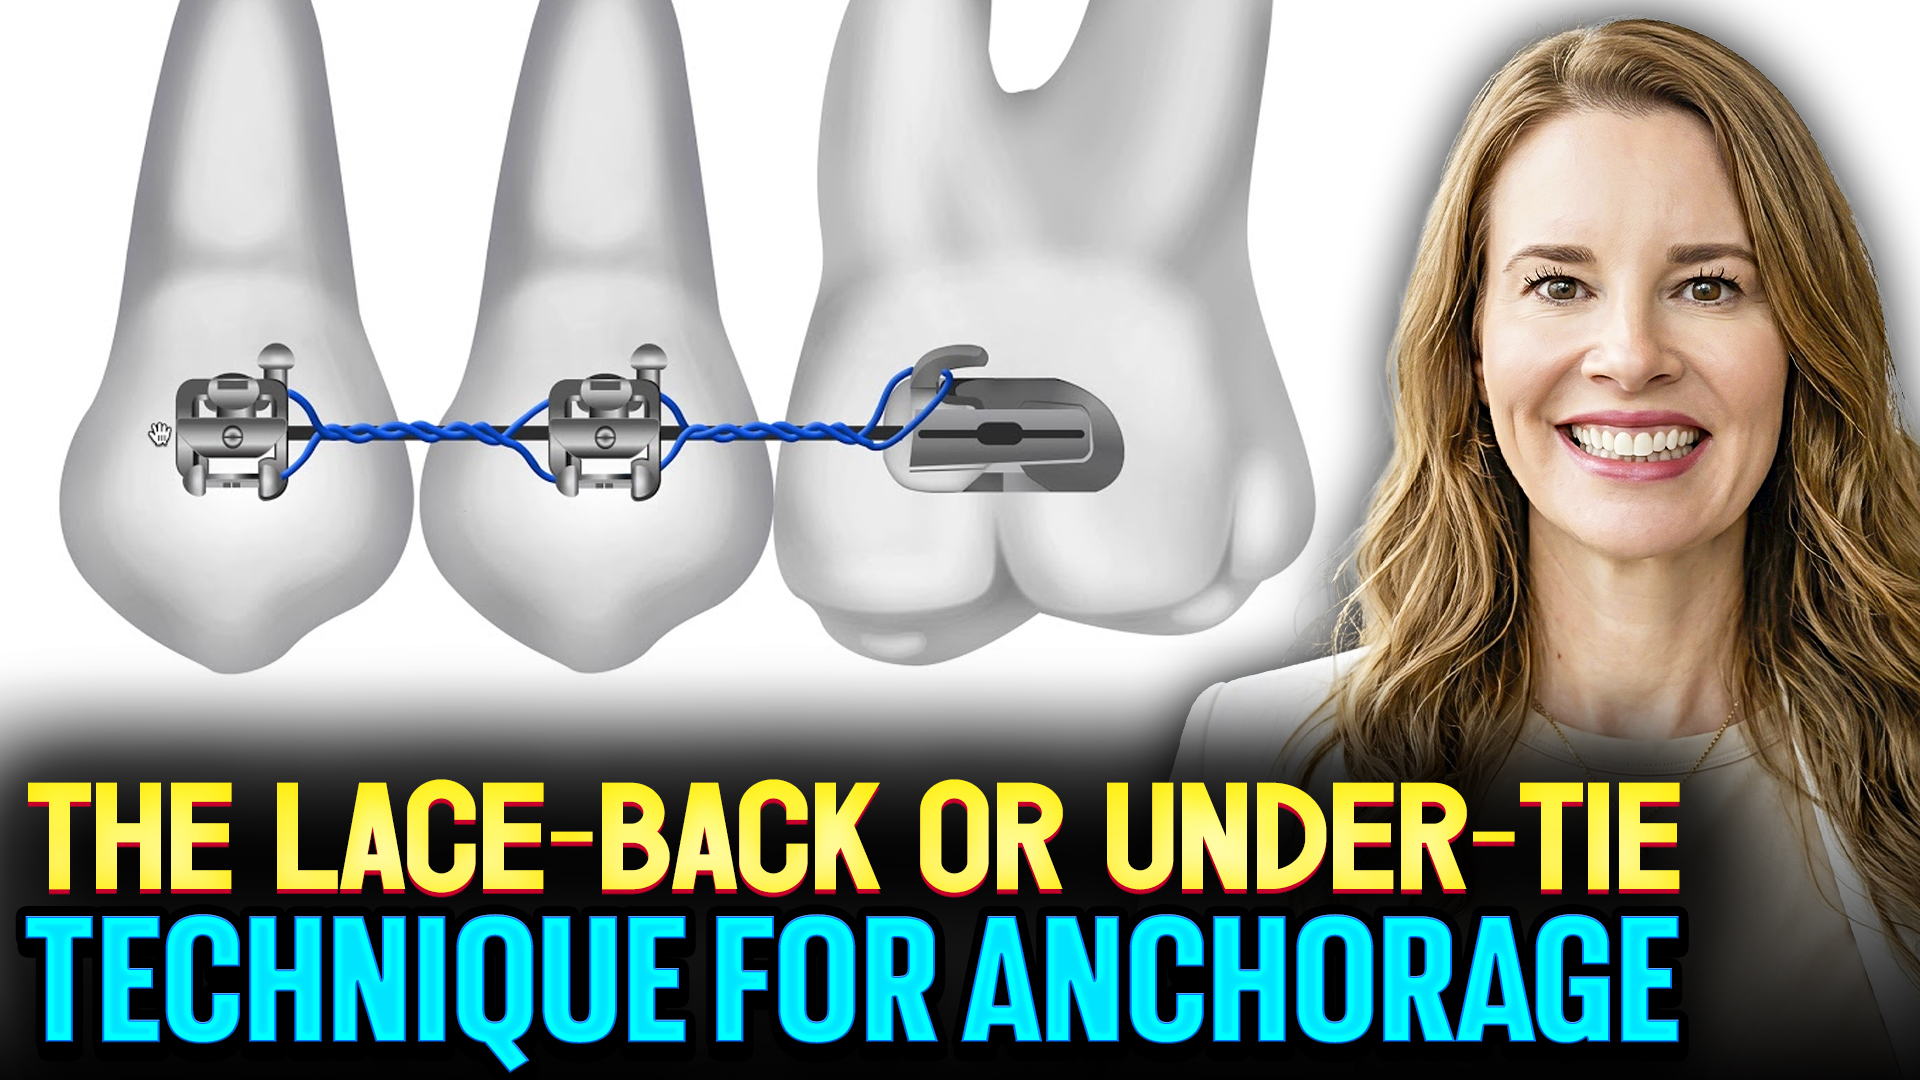
By tightly linking the molars and premolars together with a passive steel wire, you create a solid structural block. This allows you to safely retract a canine or pull front teeth backward without losing posterior anchorage.
Step-by-Step Application Technique
Achieving a completely stable anchor block requires a very specific twisting technique with a long stainless steel tie wire:
- Loop the Terminal Tooth: Take the steel wire and loop it securely around the terminal hook of your furthest back molar.
- Twist Between Every Bracket: Pull the wire forward and perform multiple tight twists in the dead space between the brackets before moving to the next tooth. Skipping these intermediate twists drastically reduces the structural strength of the unit.
- Secure the Unit: Continue threading, looping, and twisting across the adjacent premolars until your entire anchor group is tightly linked together.
- Tuck the Tail: Terminally twist the very end of the wire, clip it short, and tuck it neatly under the archwire so it cannot poke or irritate the patient’s cheek.
Consolidating Space One Bead at a Time
Once your anchor block is secure, you can actively retract your target tooth against it. As that tooth moves back and touches your anchor block, the consolidation process continues.
At the next appointment, simply remove the old wire and re-tie a new lace-back that includes the newly retracted tooth into the steel unit. By moving teeth one by one—like tracking beads on a string—you can completely consolidate an extraction arch while keeping your overall bite alignment perfectly controlled.