
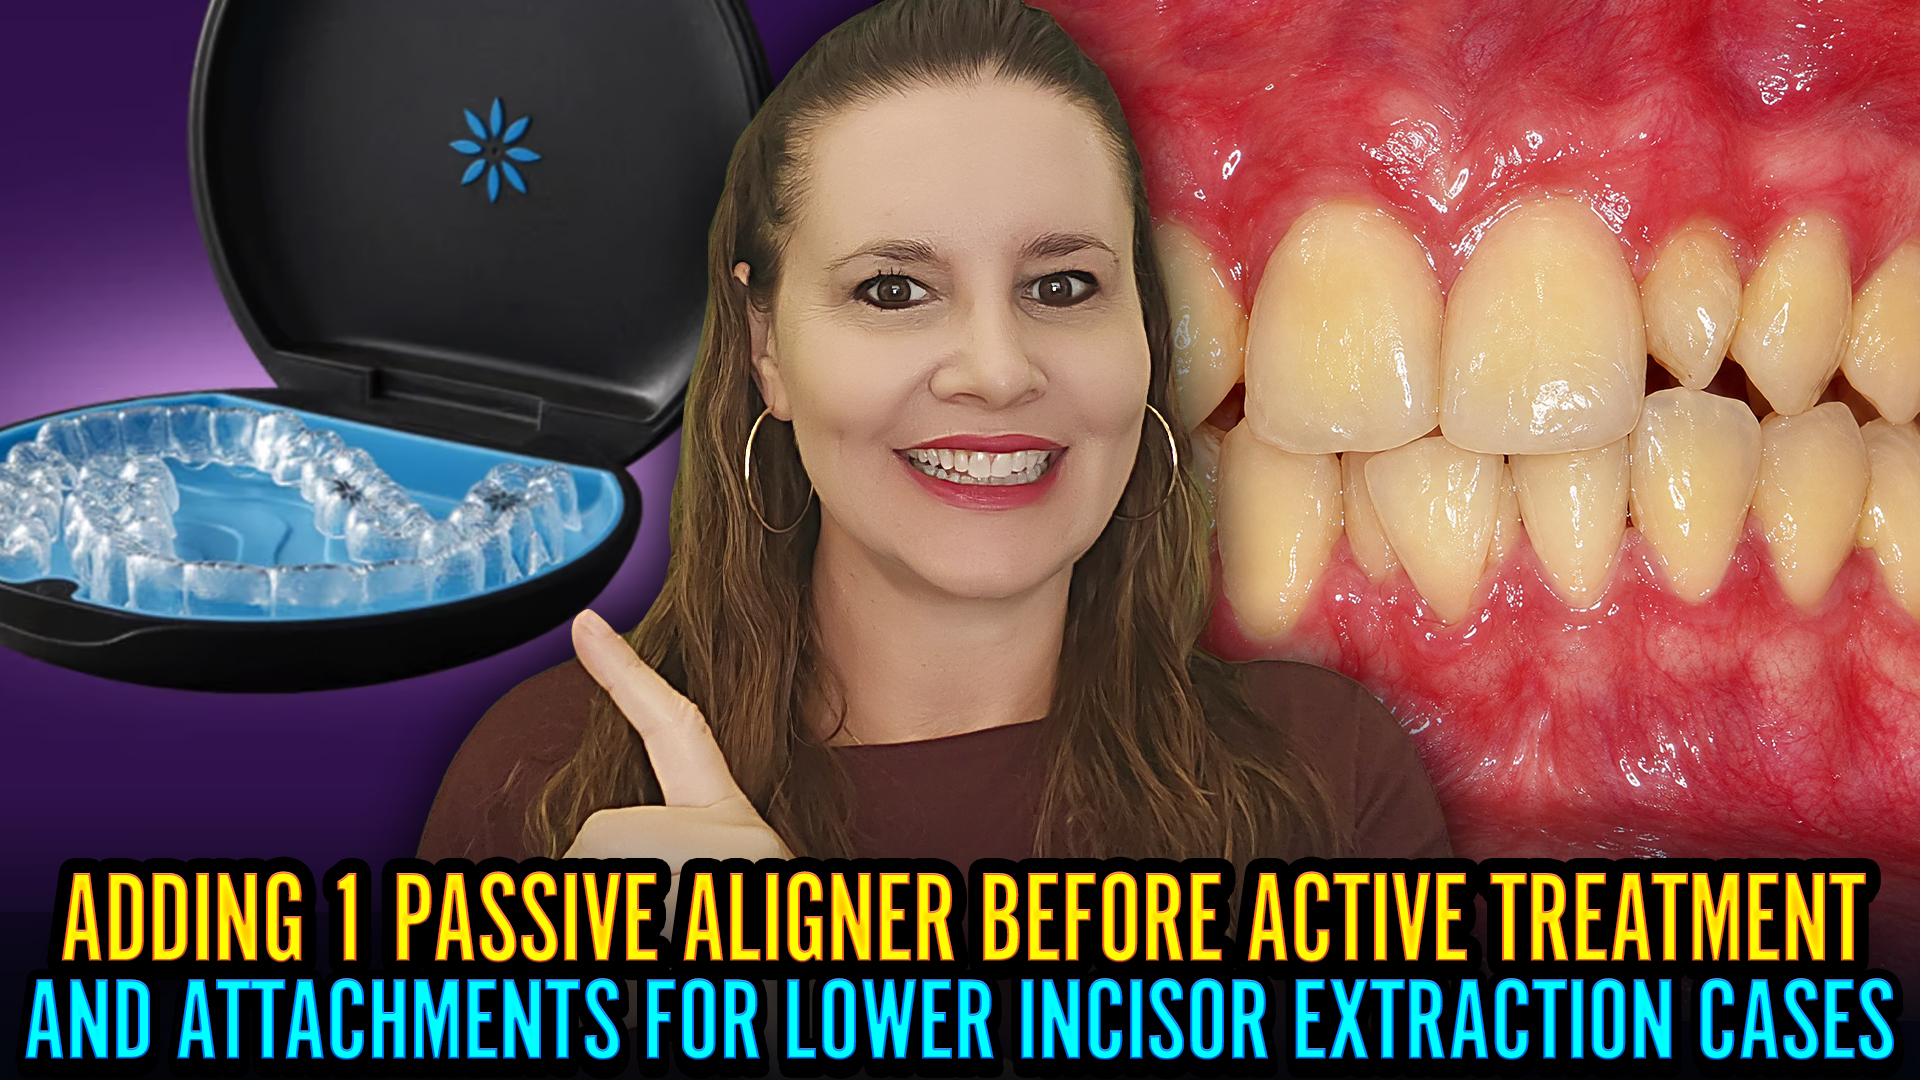
Managing lower incisor extractions in clear aligner therapy can be tricky, especially when coordinating the sequence of appointments, tissue healing, and the delivery of the first active tray. If you have ever felt rushed trying to place attachments on the same day as a surgical extraction, or worried about patient comfort on an open socket, this straightforward workflow modification is a total game changer.
The hack revolves around a single, simple request to your lab technician during the ClinCheck workup: add exactly one passive aligner at the very beginning of the treatment plan.
If your planned case is 40 stages, it now becomes 41 stages. This new first stage acts as a “dummy aligner” or a clear retainer. Crucially, you must instruct the lab to delay all attachments, IPR, or any active tooth movements until stage two. Aligners one and two are visually identical, but aligner one is passive and completely smooth.
On the day of the extraction, your workflow becomes entirely stress-free. First, try in stage two with the patient to verify it fits over the unextracted anatomy perfectly. Next, try in stage one. Once fit is confirmed, perform the extraction.
Because stage one has no attachments and exerts no active pressure, it can be delivered immediately post-extraction with a filled pontic to act as a protective bandage. The patient leaves your office comfortable, with their extraction site hidden, and has something easy to wear home while the tissue heals.
One to two weeks later, once the socket has healed, bring the patient back to bond your attachments and deliver stage two to officially kick off active tooth movement. It is a seamless process, adds zero lab fees on comprehensive plans, and guarantees a much better experience for both you and your patient.