
In comprehensive orthodontic treatment, settling the posterior occlusion is a key component of a stable clinical outcome. Clinicians frequently use posterior box elastics to vertically express teeth and establish solid maximum intercuspation. While the choice of elastic size and force level is highly critical, configuring the precise vector orientation of these elastics is equally vital for avoiding unintended side effects during the mechanics phase.
Biomechanics in Leveling vs. Finishing Stages
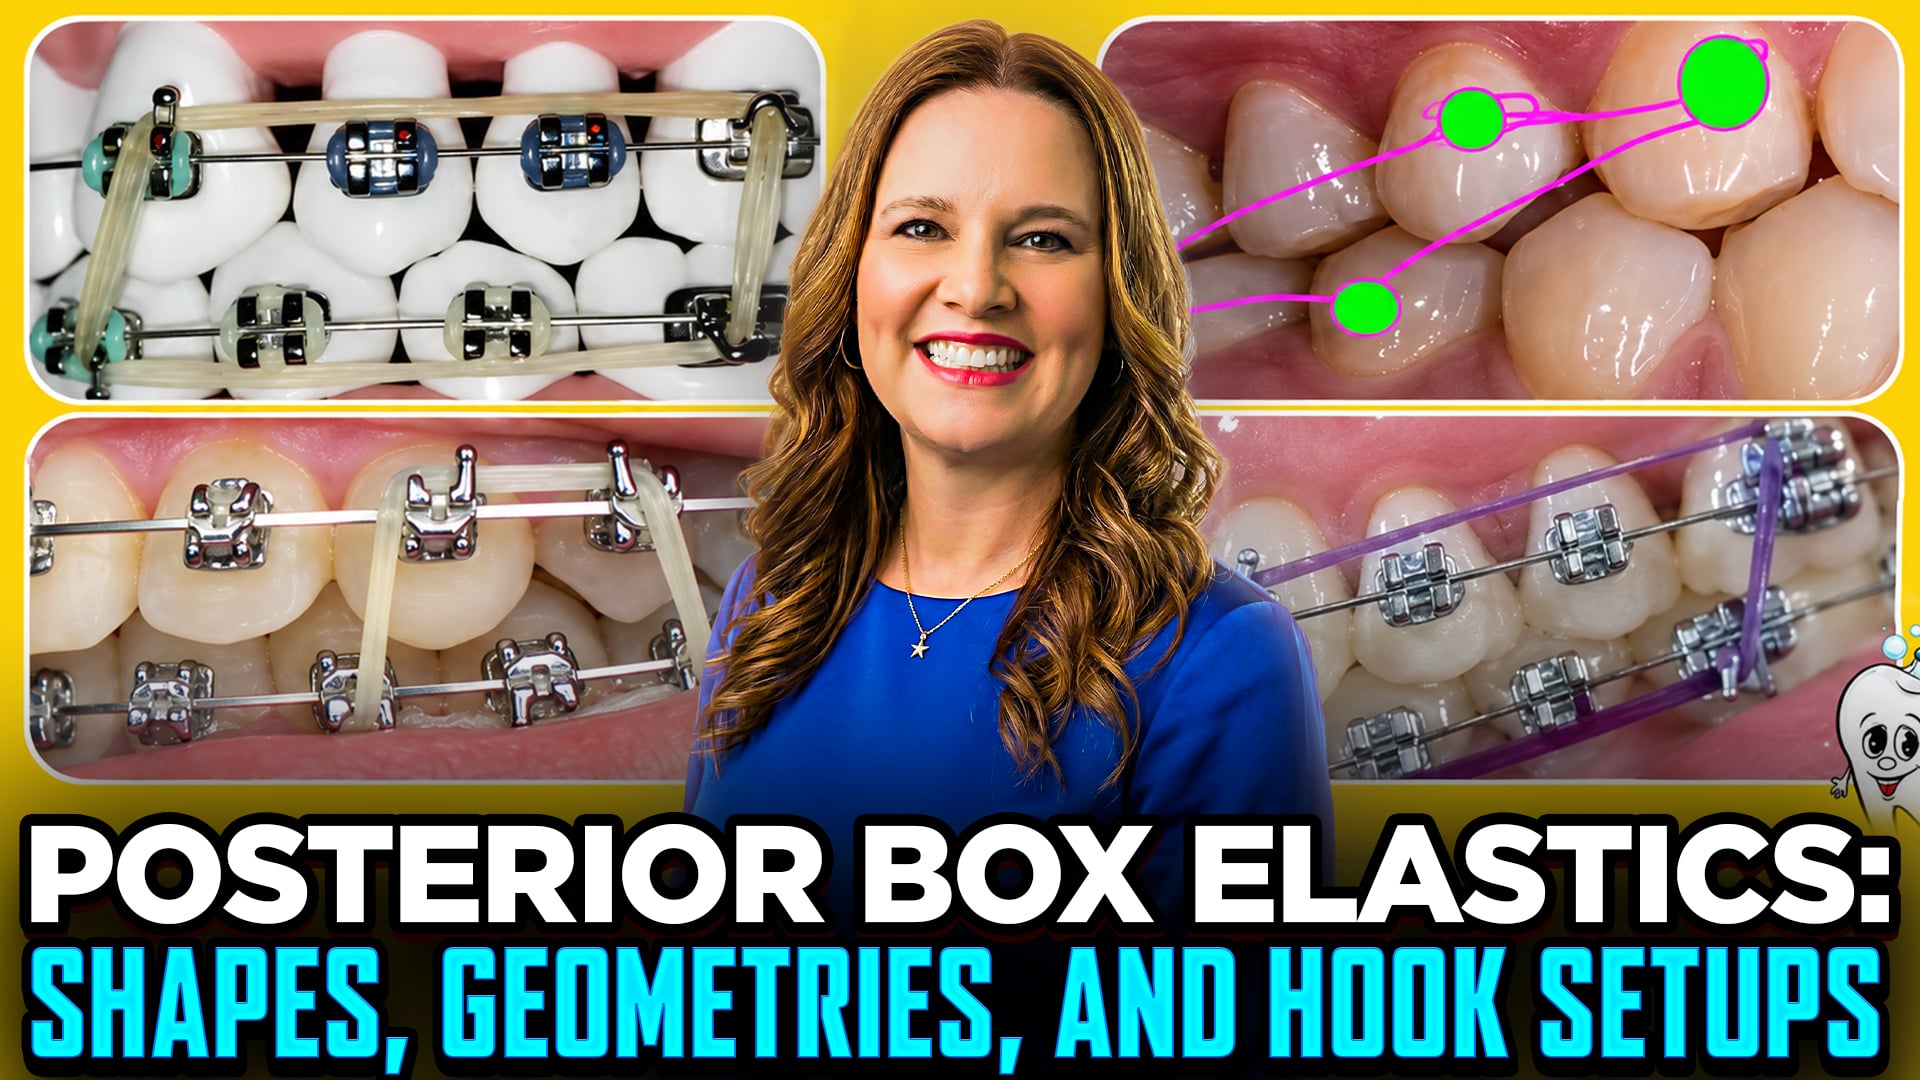
The behavioral requirements for elastic vectors shift dramatically across the different stages of fixed appliance therapy:
Leveling and Aligning Stage: Introducing light vertical box elastics early in treatment primarily serves to accelerate leveling arches and settling mild vertical gaps. At this point, clinicians typically use light forces ranging from two to three ounces. Because the force levels are minimal, slight variations in vector orientation rarely produce adverse dental movements, making precise orientation less critical during this initial phase.
Finishing and Detailing Stage: During the final treatment phase, mechanics change as heavy wires are engaged and heavy settling forces of six to six and a half ounces are deployed. Because these significant force levels are applied to complete the case, incorrect vector orientation can rapidly cause unwanted tooth movement or disrupt a coordinated canine relationship. Clinicians must verify the precise anchor teeth using articulating paper before finalizing the elastic configuration.
Coordinating Vectors with Anteroposterior Profiles
To achieve optimal finishing intercuspation, the directional force of the heavy elastic must match the patient’s existing anteroposterior skeletal blueprint:
Class One Profiles: For patients with properly coordinated skeletal and dental bases, box elastics should be worn in a strictly vertical direction. This orientation provides direct extrusion to close posterior open bites without introducing problematic horizontal forces.
Class Two Profiles: If a mild Class Two relationship persists into the finishing phase, the box elastic should feature a dedicated Class Two force vector. Angling the elastic forward from the lower molars to the upper premolars or canines helps settle the back teeth while simultaneously assisting with a final millimeter of overjet correction.
Class Three Profiles: For patients presenting a Class Three tendency, the exact opposite orientation must be prescribed. Running the vector forward from the upper arch to the lower arch creates a Class Three vector that pulls the lower dentition distally while extruding the posterior segment to achieve stable intercuspation.
To learn more about tailored orthodontic treatment planning or to submit a specific clinical inquiry, visit StraightSmile Solutions.